2015 FORD EXPLORER automatic transmission
[x] Cancel search: automatic transmissionPage 5 of 596
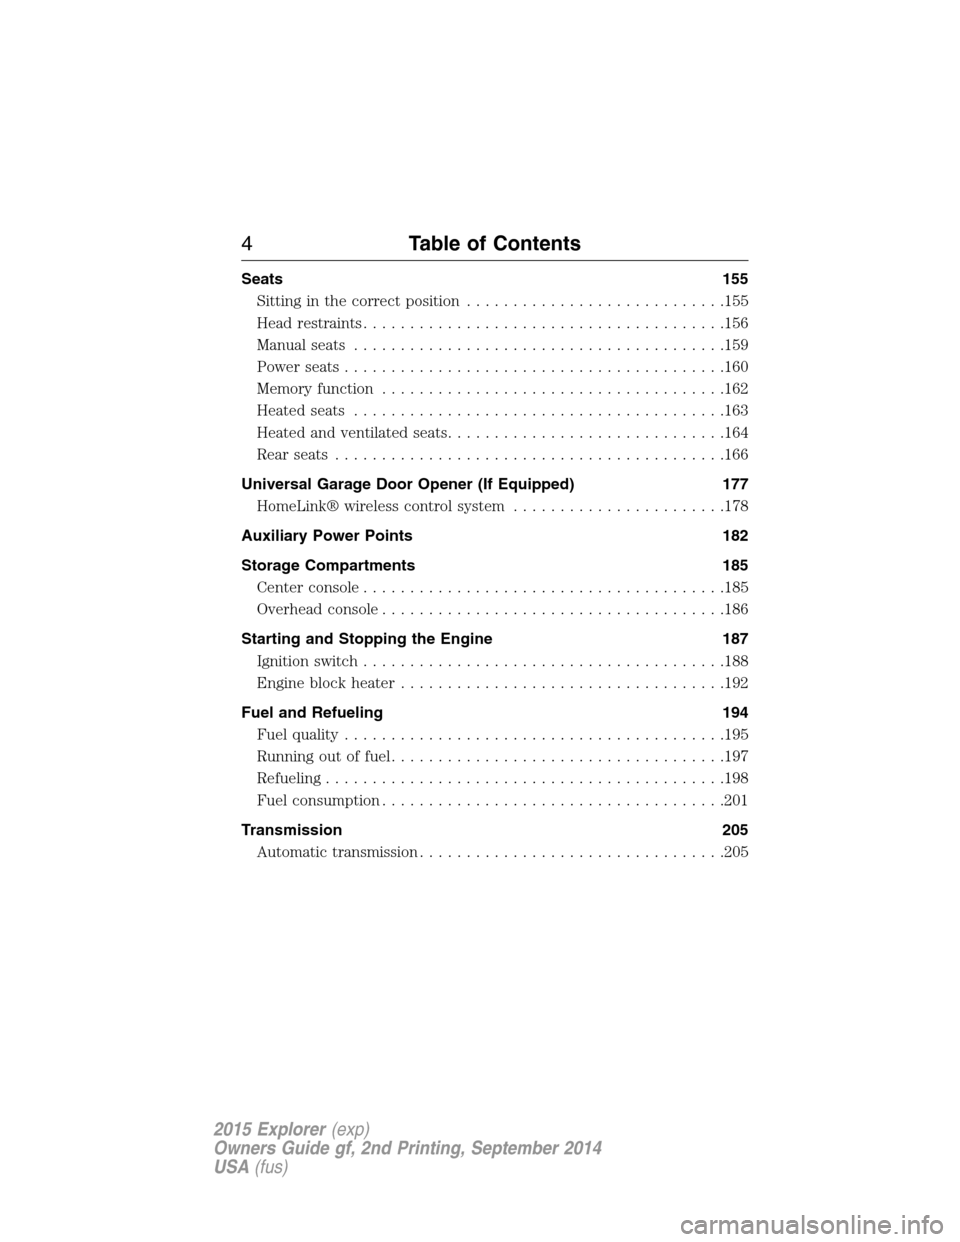
Seats 155
Sitting in the correct position............................155
Head restraints.......................................156
Manual seats........................................159
Power seats.........................................160
Memory function.....................................162
Heated seats........................................163
Heated and ventilated seats..............................164
Rear seats..........................................166
Universal Garage Door Opener (If Equipped) 177
HomeLink® wireless control system.......................178
Auxiliary Power Points 182
Storage Compartments 185
Center console.......................................185
Overhead console.....................................186
Starting and Stopping the Engine 187
Ignition switch.......................................188
Engine block heater...................................192
Fuel and Refueling 194
Fuel quality.........................................195
Running out of fuel....................................197
Refueling...........................................198
Fuel consumption.....................................201
Transmission 205
Automatic transmission.................................205
4Table of Contents
2015 Explorer(exp)
Owners Guide gf, 2nd Printing, September 2014
USA(fus)
Page 8 of 596

Maintenance 310
General information...................................310
Opening and closing the hood............................311
Under hood overview..................................312
Engine oil dipstick....................................315
Engine oil check......................................316
Engine coolant check..................................316
Automatic transmission fluid check........................322
Brake fluid check.....................................326
Fuel filter...........................................327
Washer fluid check....................................327
Battery ............................................327
Checking the wiper blades..............................330
Air filter(s).........................................331
Adjusting the headlamps................................333
Changing a bulb......................................335
Bulb specification chart.................................339
Vehicle Care 341
Cleaning products.....................................341
Cleaning the exterior..................................341
Waxing.............................................343
Repairing minor paint damage............................343
Cleaning the engine...................................343
Cleaning the windows and wiper blades.....................344
Cleaning the interior...................................345
Cleaning the instrument panel and instrument cluster lens.......345
Cleaning leather seats..................................346
Cleaning the alloy wheels...............................347
Vehiclestorage.......................................348
Table of Contents7
2015 Explorer(exp)
Owners Guide gf, 2nd Printing, September 2014
USA(fus)
Page 68 of 596

The remote start system will not work if:
•the ignition is on
•the alarm system is triggered
•you disable the feature
•the hood is open
•the transmission is not inP
•the vehicle battery voltage is too low
•the fuel is too low
•the service engine soon light is on.
Remote Starting the Vehicle
Note:You must press each button within three seconds of each other.
Your vehicle will not remote start and the horn will not sound if you do
not follow this sequence.
The label on your transmitter
details the starting procedure.
To remote start your vehicle:
1. Press the lock button to lock all the doors.
2. Press the remote start button twice. The exterior lamps will flash twice.
The horn will sound if the system fails to start.
Note:If you remote start your vehicle with an integrated keyhead
transmitter, you must switch the ignition on before driving your vehicle.
If you remote start your vehicle with an intelligent access transmitter,
you must have a programmed intelligent access key inside your vehicle
and press theSTART/STOPbutton on the instrument panel once while
applying the brake pedal before driving your vehicle.
The power windows will not work during the remote start and the radio
will not turn on automatically.
The parking lamps will remain on and your vehicle will run for 5, 10, or
15 minutes, depending on the setting. See theInformation Displays
chapter to select the duration of the remote start system.
Keys and Remote Control67
2015 Explorer(exp)
Owners Guide gf, 2nd Printing, September 2014
USA(fus)
Page 102 of 596
DAYTIME RUNNING LAMPS (IF EQUIPPED)
WARNING:Always remember to turn on your headlamps at
dusk or during inclement weather. The Daytime Running Lamp
(DRL) system does not activate the tail lamps and generally may not
provide adequate lighting during these conditions. Failure to activate
your headlamps under these conditions may result in a collision.
The system turns the headlamps on with a reduced output.
To activate:
•the ignition must be in the on position and
•the lighting control is in the off, autolamp, or parking lamp position
and
•the transmission is not in PARK.
AUTOMATIC HIGH BEAM CONTROL (IF EQUIPPED)
The system will automatically turn on your high beams if it is dark
enough and no other traffic is present. When it detects an approaching
vehicle’s headlights, a preceding vehicle’s tail lamps or street lighting, the
system will turn off the high beams (low beams remain on) before they
distract other drivers.
Note:If it appears that automatic control of the high beams is not
functioning properly, check the windshield in front of the camera for
blockage. A clear view of the road is required for proper system
operation. Any windshield damage in the area of the camera field-of-view
should be repaired.
Note:If a blockage is detected (e.g. bird dropping, bug splatter, snow, or
ice) and no changes are observed, the system will go into low beam
mode until the blockage is cleared. A message may also appear in the
instrument cluster display noting the front camera is blocked.
Note:Typical road dust, dirt and water spots will not affect the
automatic high beam system’s performance. However, in cold or
inclement weather conditions, the automatic high beam system’s
availability may be decreased. If the driver wants to change the beam
state independently of the system, the driver may turn the high beams
on or off using the multifunction switch stalk. Automatic control will
resume when conditions are correct.
Note:Modification of the vehicle ride height (e.g. using much larger
tires) may degrade feature performance.
Lighting101
2015 Explorer(exp)
Owners Guide gf, 2nd Printing, September 2014
USA(fus)
Page 130 of 596
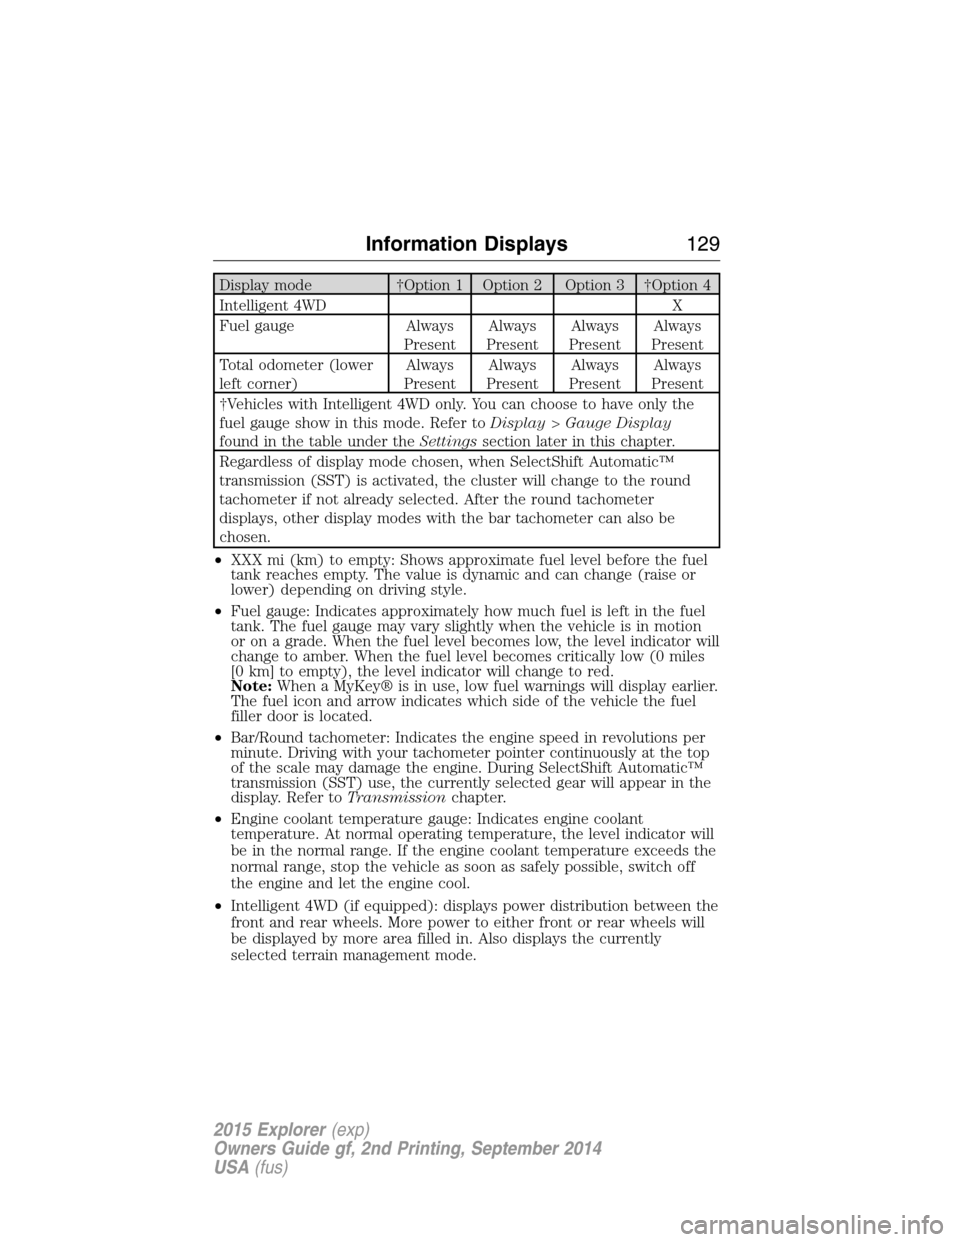
Display mode †Option 1 Option 2 Option 3 †Option 4
Intelligent 4WD X
Fuel gauge Always
PresentAlways
PresentAlways
PresentAlways
Present
Total odometer (lower
left corner)Always
PresentAlways
PresentAlways
PresentAlways
Present
†Vehicles with Intelligent 4WD only. You can choose to have only the
fuel gauge show in this mode. Refer toDisplay>Gauge Display
found in the table under theSettingssection later in this chapter.
Regardless of display mode chosen, when SelectShift Automatic™
transmission (SST) is activated, the cluster will change to the round
tachometer if not already selected. After the round tachometer
displays, other display modes with the bar tachometer can also be
chosen.
•XXX mi (km) to empty: Shows approximate fuel level before the fuel
tank reaches empty. The value is dynamic and can change (raise or
lower) depending on driving style.
•Fuel gauge: Indicates approximately how much fuel is left in the fuel
tank. The fuel gauge may vary slightly when the vehicle is in motion
or on a grade. When the fuel level becomes low, the level indicator will
change to amber. When the fuel level becomes critically low (0 miles
[0 km] to empty), the level indicator will change to red.
Note:When a MyKey® is in use, low fuel warnings will display earlier.
The fuel icon and arrow indicates which side of the vehicle the fuel
filler door is located.
•Bar/Round tachometer: Indicates the engine speed in revolutions per
minute. Driving with your tachometer pointer continuously at the top
of the scale may damage the engine. During SelectShift Automatic™
transmission (SST) use, the currently selected gear will appear in the
display. Refer toTransmissionchapter.
•Engine coolant temperature gauge: Indicates engine coolant
temperature. At normal operating temperature, the level indicator will
be in the normal range. If the engine coolant temperature exceeds the
normal range, stop the vehicle as soon as safely possible, switch off
the engine and let the engine cool.
•Intelligent 4WD (if equipped): displays power distribution between the
front and rear wheels. More power to either front or rear wheels will
be displayed by more area filled in. Also displays the currently
selected terrain management mode.
Information Displays129
2015 Explorer(exp)
Owners Guide gf, 2nd Printing, September 2014
USA(fus)
Page 163 of 596

MEMORY FUNCTION (IF EQUIPPED)
This memory control, located on the
driver door, allows automatic
positioning of the driver seat and
power mirrors to three
programmable positions. You may
also have this feature for the
steering column and power
adjustable foot pedals.
Programming a memory position
1. Switch the ignition on.
2. Adjust the memory features to your desired positions using the
associated controls.
3. Press and hold the desired pre-set button for about two seconds until
you hear a single tone.
Note:You can save up to three pre-set memory positions.
Recalling a memory position
Press and release the desired memory pre-set button to recall a saved
memory position.
Note:A pre-set memory position can only be recalled when the ignition
is off, or when the transmission is in park (P) or neutral (N) if the
ignition is on.
A pre-set memory position can also be recalled by:
•Pressing the unlock button on your intelligent access key fob if it is
linked to a pre-set position.
•Unlocking the intelligent driver door handle if a linked key fob is
present.
•Entering a personal entry code on the Securicode keypad. SeeLocks.
Note:Using a linked key fob to recall your memory position when the
ignition is off will move the seat and steering column to the Easy Entry
position (if the feature is enabled).
Note:Pressing any seat or mirror adjustment control (or any memory
button) during a memory recall cancels the operation.
Recalling memory positions with the remote control
To program the memory feature to a remote control, see theKeys and
Remote Controlchapter.
162Seats
2015 Explorer(exp)
Owners Guide gf, 2nd Printing, September 2014
USA(fus)
Page 206 of 596
AUTOMATIC TRANSMISSION
WARNING:Always set the parking brake fully and make sure
the gearshift is latched inP(Park). Turn the ignition to the off
position and remove the key whenever you leave your vehicle.
WARNING:Do not use the tow feature when driving in icy or
slippery conditions as the increased engine braking can cause the
rear wheels to slide and the vehicle to swing around with the possible
loss of vehicle control.
Your vehicle has been designed to improve fuel economy by reducing
fuel usage while coasting or decelerating. When you take your foot off
the accelerator pedal and the vehicle begins to slow down, the torque
converter clutch locks up and aggressively shuts off fuel flow to the
engine while decelerating. This fuel economy benefit may be perceived
as a light to medium braking sensation when removing your foot from
the accelerator pedal.
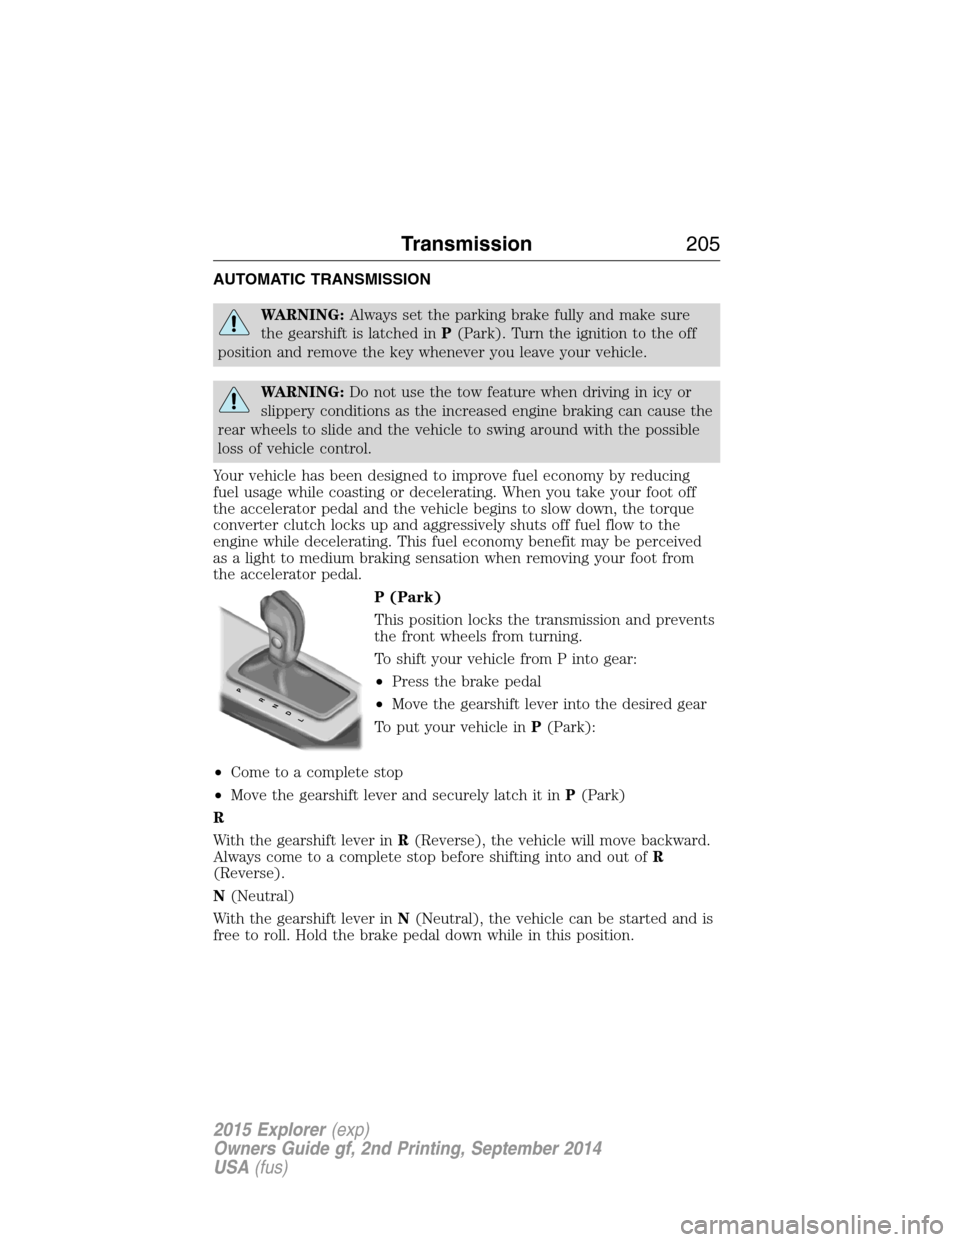
P (Park)
This position locks the transmission and prevents
the front wheels from turning.
To shift your vehicle from P into gear:
•Press the brake pedal
•Move the gearshift lever into the desired gear
To put your vehicle inP(Park):
•Come to a complete stop
•Move the gearshift lever and securely latch it inP(Park)
R
With the gearshift lever inR(Reverse), the vehicle will move backward.
Always come to a complete stop before shifting into and out ofR
(Reverse).
N(Neutral)
With the gearshift lever inN(Neutral), the vehicle can be started and is
free to roll. Hold the brake pedal down while in this position.
PRNDL
Transmission205
2015 Explorer(exp)
Owners Guide gf, 2nd Printing, September 2014
USA(fus)
Page 207 of 596
D (Drive) with Overdrive
The normal driving position for the best fuel economy. Transmission
operates in gears one through six.
The automatic transmission shift strategy has the ability to detect hilly
terrain or mountainous areas and will provide a limited amount of grade
assist features automatically. Refer toD(Drive) with Grade assist or
SelectShift for more information.
D (Drive) with Tow on
Press theTOWswitch located on the instrument panel by the headlamp
control to activate tow. TheTOW/HAULmessage will illuminate in the
instrument cluster.
The tow feature improves transmission operation when towing a trailer or a
heavy load. All transmission gear ranges are available when using tow.
The tow feature delays upshifts to reduce frequency of transmission
shifting. Tow also provides engine braking in all forward gears when the
transmission is in theD(Overdrive) position. This engine braking will
slow the vehicle and assist the driver in controlling the vehicle when
descending a grade. Depending on driving conditions and load
conditions, the transmission may downshift, slow the vehicle and control
the vehicle speed when descending a hill, without the accelerator pedal
being pressed. The amount of downshift braking provided will vary based
upon the amount the brake pedal is depressed.
Press theTOWbutton to deactivate the tow feature and return to
normal driving mode. The tow light will no longer be illuminated.
When you shut-off and restart the engine, the transmission will
automatically return to normalD(Overdrive) mode (tow off).
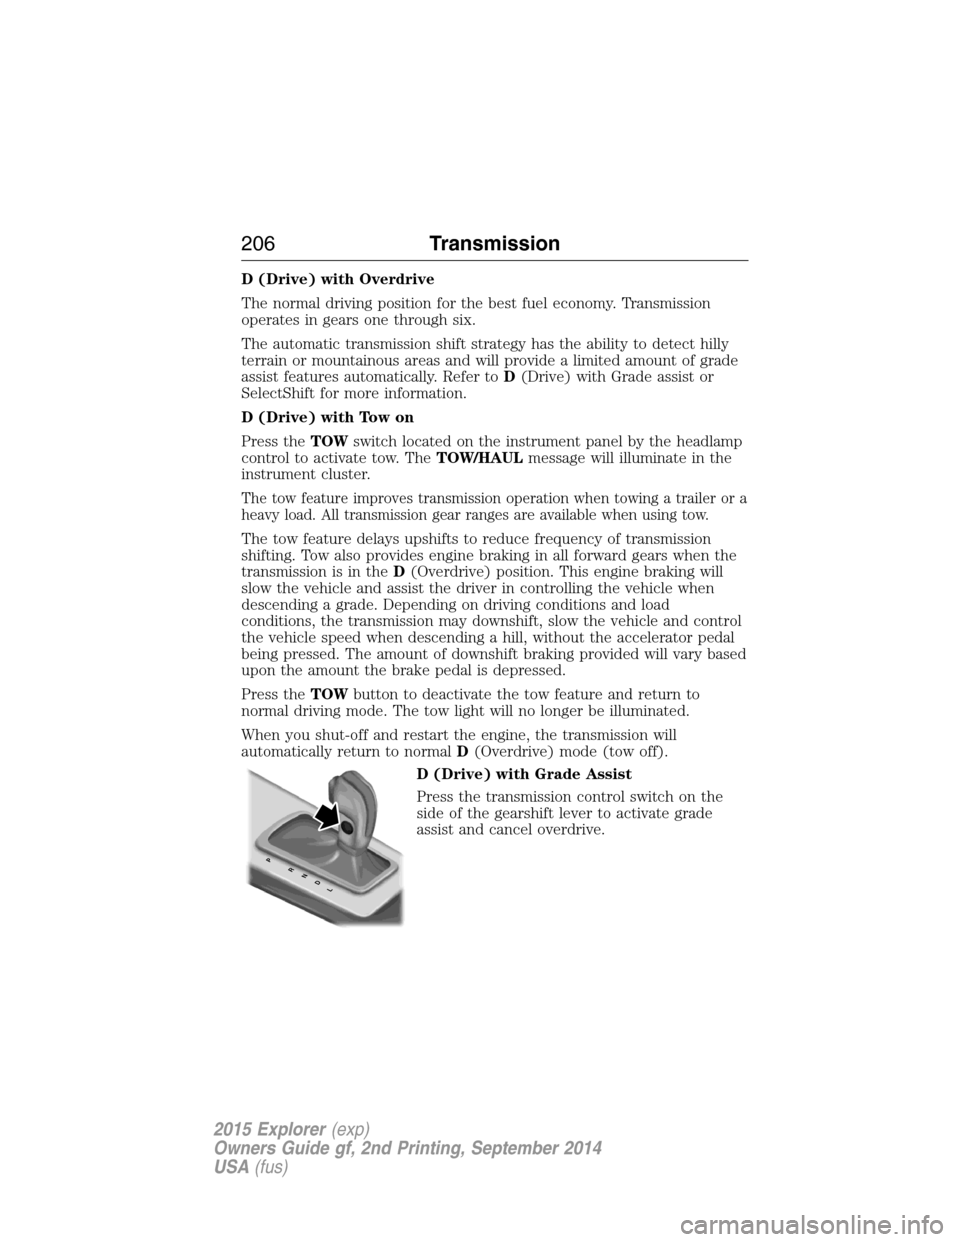
D (Drive) with Grade Assist
Press the transmission control switch on the
side of the gearshift lever to activate grade
assist and cancel overdrive.
PRNDL
206Transmission
2015 Explorer(exp)
Owners Guide gf, 2nd Printing, September 2014
USA(fus)