2015 FORD EXPEDITION clock reset
[x] Cancel search: clock resetPage 190 of 564
Easy Fuel® “No Cap” Fuel System
WARNING:The fuel system may be under pressure. If you hear
a hissing sound near the fuel filler door, do not refuel until the
sound stops. Otherwise, fuel may spray out, which could cause serious
personal injury.
When fueling your vehicle:
1. Turn the engine off.
2. Open the fuel door by pulling the indent on the door.
3. Insert the fuel plug key (if equipped) into the locking plug and turn it
counterclockwise to unlock it.
4. Slowly insert the fuel filler nozzle fully into the fuel system, and leave
the nozzle fully inserted until you are done pumping.
5. After you are done pumping fuel, slowly remove the fuel filler
nozzle—allow about ten seconds after pumping fuel before removing the
fuel filler nozzle. This allows residual fuel to drain back into the fuel tank
and not spill onto the vehicle.
6. Reinstall the plug (if equipped) into the fuel fill inlet and turn the key
clockwise to lock.
Note:Do not overfill the tank or fuel spillage will occur.
If the fuel fill inlet was not properly closed, a Check Fuel Fill Inlet
message may appear on the information display. See theInformation
Displayschapter for more information.
At the next opportunity, do the following:
1. Safely pull off the road.
2. Turn off the engine.
3. Open the fuel filler door and remove any visible debris from the fuel
fill opening.
4. Insert either the fuel fill nozzle or the fuel fill funnel provided with the
vehicle several times to dislodge any debris and/or allow the inlet to
close properly.
If this action corrects the problem, the message may not reset
immediately. It may take several driving cycles for the message to turn
off. A driving cycle consists of an engine start-up (after four or more
hours with the engine off) followed by city/highway driving. Continuing
to drive with the message on may cause the service engine soon lamp to
turn on as well.
Fuel and Refueling189
2015 Expedition(exd)
Owners Guide gf, 1st Printing, July 2014
USA(fus)
Page 302 of 564
If you see any corrosion on the battery or terminals, remove the cables
from the terminals and clean with a wire brush. You can neutralize the
acid with a solution of baking soda and water.
It is recommended that the negative battery cable terminal be
disconnected from the battery if you plan to store your vehicle for an
extended period of time. This will minimize the discharge of your battery
during storage.
Because your vehicle’s engine is electronically controlled by a computer,
some control conditions are maintained by power from the battery. When
the battery is disconnected or a new battery is installed, the engine must
relearn its idle and fuel trim strategy for optimum driveability and
performance. To begin this process:
1. With the vehicle at a complete stop, set the parking brake.
2. Put the gearshift in P (Park), turn off all accessories and start the
engine.
3. Run the engine until it reaches normal operating temperature.
4. Allow the engine to idle for at least one minute.
5. Turn the A/C on and allow the engine to idle for at least one minute.
6. Drive the vehicle to complete the relearning process.
•The vehicle may need to be driven 10 miles (16 km) or more to
relearn the idle and fuel trim strategy.
•Note:If you do not allow the engine to relearn its idle trim, the idle
quality of your vehicle may be adversely affected until the idle trim is
eventually relearned.
If the battery has been disconnected or a new battery has been installed,
the clock and radio settings must be reset once the battery is reconnected.
CHECKING THE WIPER BLADES
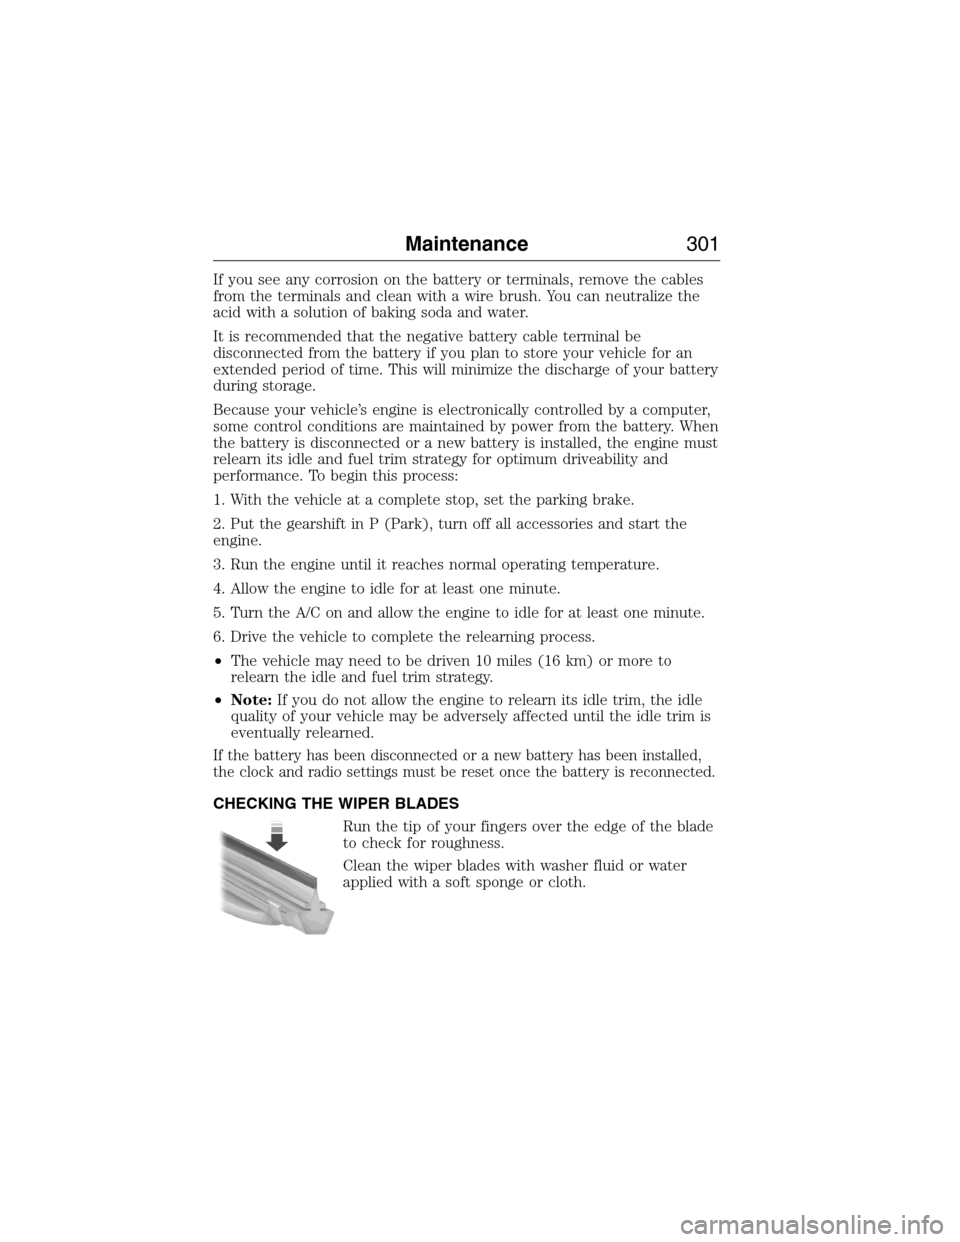
Run the tip of your fingers over the edge of the blade
to check for roughness.
Clean the wiper blades with washer fluid or water
applied with a soft sponge or cloth.
Maintenance301
2015 Expedition(exd)
Owners Guide gf, 1st Printing, July 2014
USA(fus)
Page 372 of 564
B.Number block:
•In radio mode, store your favorite stations for later access. When
tuned to any station, press and hold a preset button until sound
returns.
•In CD mode, press a button to select a track.
•In phone mode, press the buttons to enter a phone number.
C.Function buttons:Select different functions of the audio system
depending on which mode you are in (such as Radio mode or CD mode).
D.TUNE:
•In radio mode, turn to search the frequency band in individual
increments.
•In satellite radio mode, turn the control to tune to the next or
previous channel.
E.OK and arrow buttons:
•Press the up and down or left and right arrow buttons to browse
menu selections.
•PressOKto confirm menu selections.
F.Reverse and Fast Forward; AM/FM/CD Seek:
•In radio mode, select a frequency band and press one of these
buttons. The system stops at the first station it finds in that direction.
Press and hold one of these buttons to move quickly in that direction
to the next strong radio station or memory preset.
•In Sirius mode, press one of these buttons to select the previous or
next channel. If you select a specific category (such as Jazz, Rock or
News), use these buttons to find the previous or next channel in the
selected category. Press and hold one of these buttons to move
quickly in that direction to the next channel or category.
•In CD mode, press one of these buttons to select the previous or next
track. Press and hold one of these buttons to move quickly in that
direction within the current track.
G.Power and Volume:
•Press this button to switch the system off and on.
•Turn it to adjust the volume.
H.CD slot:Insert a CD.
I.Eject:Press this button to eject a CD.
J.SOUND:Press this button to adjust settings for Treble, Midrange,
Bass, Balance and Fade.
K.CLOCK:Press this button to access the clock setting. Use the center
arrow controls to change the hours and minutes.
Audio System371
2015 Expedition(exd)
Owners Guide gf, 1st Printing, July 2014
USA(fus)
Page 377 of 564
E.VOL and Power:
•Press this button to switch the system off and on.
•Turn it to adjust the volume.
F.Eject:Press this button to eject a CD.
G.CD Slot:Insert a CD.
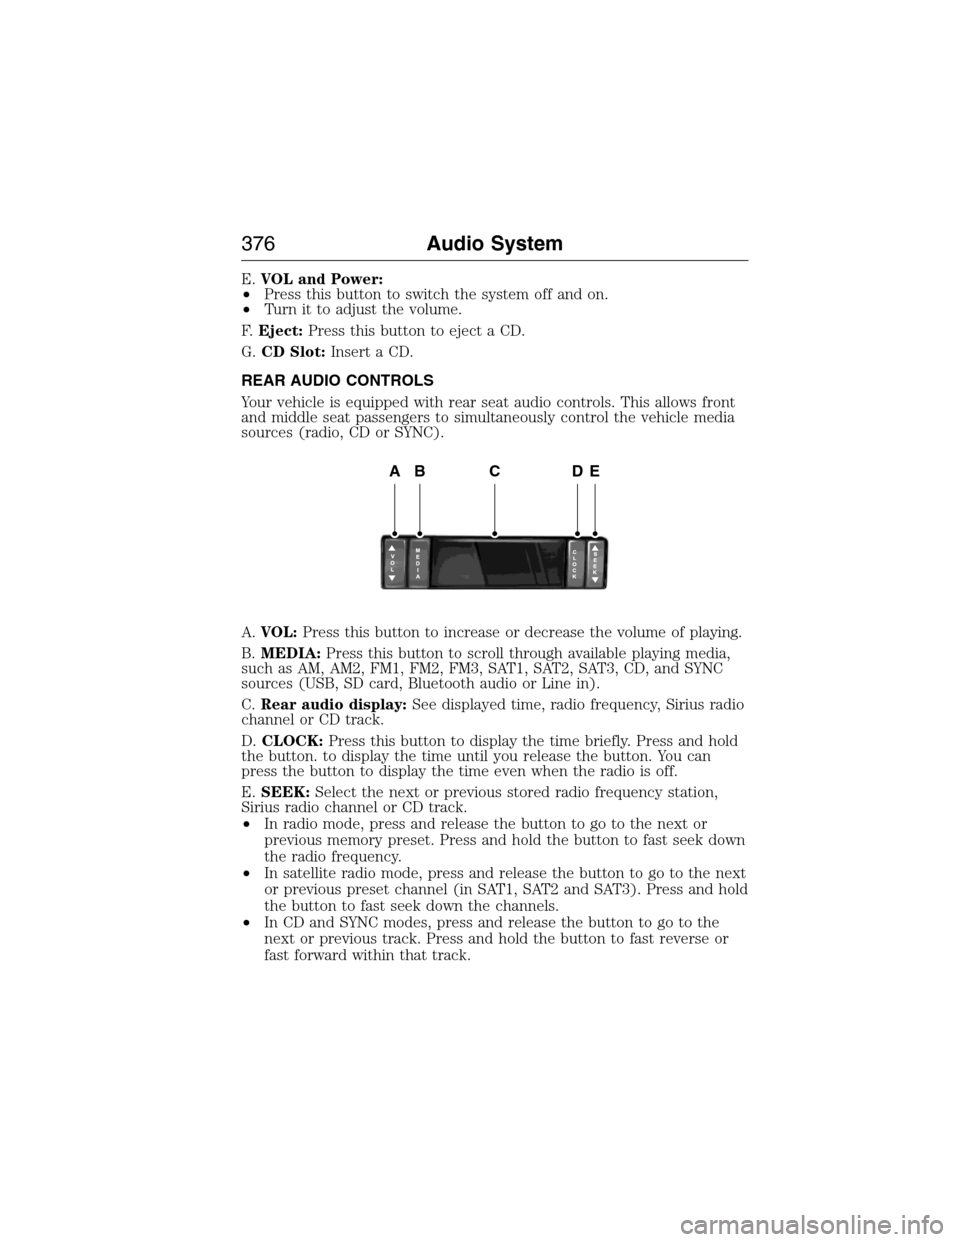
REAR AUDIO CONTROLS
Your vehicle is equipped with rear seat audio controls. This allows front
and middle seat passengers to simultaneously control the vehicle media
sources (radio, CD or SYNC).
A.VOL:Press this button to increase or decrease the volume of playing.
B.MEDIA:Press this button to scroll through available playing media,
such as AM, AM2, FM1, FM2, FM3, SAT1, SAT2, SAT3, CD, and SYNC
sources (USB, SD card, Bluetooth audio or Line in).
C.Rear audio display:See displayed time, radio frequency, Sirius radio
channel or CD track.
D.CLOCK:Press this button to display the time briefly. Press and hold
the button. to display the time until you release the button. You can
press the button to display the time even when the radio is off.
E.SEEK:Select the next or previous stored radio frequency station,
Sirius radio channel or CD track.
•In radio mode, press and release the button to go to the next or
previous memory preset. Press and hold the button to fast seek down
the radio frequency.
•In satellite radio mode, press and release the button to go to the next
or previous preset channel (in SAT1, SAT2 and SAT3). Press and hold
the button to fast seek down the channels.
•In CD and SYNC modes, press and release the button to go to the
next or previous track. Press and hold the button to fast reverse or
fast forward within that track.
ABCDE
376Audio System
2015 Expedition(exd)
Owners Guide gf, 1st Printing, July 2014
USA(fus)
Page 501 of 564
I.Heated rear window:Turns the heated rear window on and off. See
Heated windows and mirrorsin theClimate Controlchapter.
J.Defrost:Touch the button to distribute air to the windshield vents
and de-mister. Air distribution to instrument panel and footwell vents
turn off. You can use this setting to defog and clear the windshield of a
thin covering of ice.
K.Manual controls:Touch these buttons to switch airflow from the
windshield, instrument panel, or footwell vents on or off. The system can
distribute air through any combination of these vents.
L.Driver settings:Depending on your vehicle and option package, you
may have the following features:
•Touch the+or–to increase or decrease the air temperature on the
passenger side of the vehicle.
•Touch the heated seat icon to switch the heated seat off and on (if
equipped).
•Touch the climate-controlled seat icon to switch the
climate-controlled seat off and on (if equipped).
•TouchMyTempto select your preset temperature setpoint. Touch
and holdMyTempto save a new preset temperature setpoint.
•If your vehicle is equipped with a heated steering wheel, touch the
heated steering wheel icon to warm the steering wheel.
Note:If your vehicle is equipped with a wood-trimmed steering wheel, it
does not heat between the 10 o’clock and 2 o’clock positions.
Climate Control Voice Commands
The following voice commands are available at the main menu
level of a voice session. For example, press the voice button
and after the prompt, “Say a command”; say any of the
following commands:
Climate control voice commands
“Climate automatic”
“Climate my temperature”
“Climate off”
“Climate on”
“Climate temperature <15.5–29.5> degrees”
“Climate temperature <60–85> degrees”
“Help”
500MyFord Touch® (If Equipped)
2015 Expedition(exd)
Owners Guide gf, 1st Printing, July 2014
USA(fus)