Page 32 of 438
Liftgate Emergency Release
As a security measure, a Liftgate Emergency Release is
built into the liftgate latching mechanism. To access the
Liftgate Emergency Release proceed as follows:
1. Remove the rear headrests and fold down the seats
completely
2. Take the screwdriver from the tool box supplied
3.With the screwdriver remove the tab of yellow color (A)
Yellow Tab Location
30 THINGS TO KNOW BEFORE STARTING YOUR VEHICLE
Page 67 of 438

WARNING!
•Improper installation can lead to failure of an
infant or child restraint. It could come loose in a
collision. The child could be badly injured or
killed. Follow the child restraint manufacturer ’s
directions exactly when installing an infant or
child restraint.
•After a child restraint is installed in the vehicle, do
not move the vehicle seat forward or rearward
because it can loosen the child restraint attach-
ments. Remove the child restraint before adjusting
the vehicle seat position. When the vehicle seat has
been adjusted, reinstall the child restraint.
(Continued)
WARNING!(Continued)
•When your child restraint is not in use, secure it in
the vehicle with the seat belt or LATCH anchor-
ages, or remove it from the vehicle. Do not leave it
loose in the vehicle. In a sudden stop or accident, it
could strike the occupants or seatbacks and cause
serious personal injury.
Children Too Large For Booster Seats
Children who are large enough to wear the shoulder belt
comfortably, and whose legs are long enough to bend
over the front of the seat when their back is against the
seatback, should use the seat belt in a rear seat. Use this
simple 5-step test to decide whether the child can use the
vehicle’s seat belt alone:
1. Can the child sit all the way back against the back of
the vehicle seat?
2
THINGS TO KNOW BEFORE STARTING YOUR VEHICLE 65
Page 109 of 438

Head Restraints
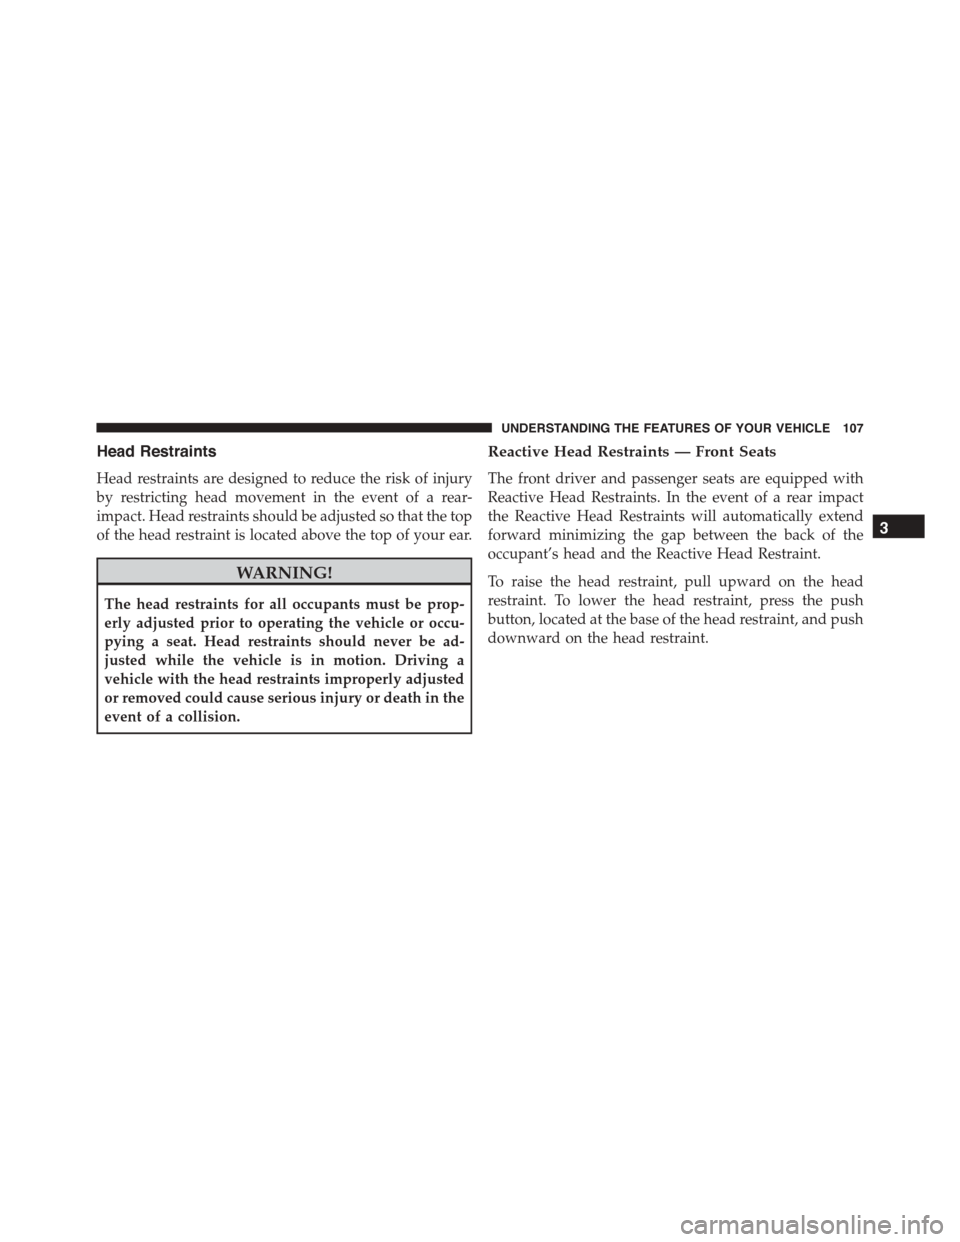
Head restraints are designed to reduce the risk of injury
by restricting head movement in the event of a rear-
impact. Head restraints should be adjusted so that the top
of the head restraint is located above the top of your ear.
WARNING!
The head restraints for all occupants must be prop-
erly adjusted prior to operating the vehicle or occu-
pying a seat. Head restraints should never be ad-
justed while the vehicle is in motion. Driving a
vehicle with the head restraints improperly adjusted
or removed could cause serious injury or death in the
event of a collision.
Reactive Head Restraints — Front Seats
The front driver and passenger seats are equipped with
Reactive Head Restraints. In the event of a rear impact
the Reactive Head Restraints will automatically extend
forward minimizing the gap between the back of the
occupant’s head and the Reactive Head Restraint.
To raise the head restraint, pull upward on the head
restraint. To lower the head restraint, press the push
button, located at the base of the head restraint, and push
downward on the head restraint.
3
UNDERSTANDING THE FEATURES OF YOUR VEHICLE 107
Page 111 of 438
Rear Head Restraints
The rear seats are equipped with adjustable head re-
straints, the outboard head restraints have two comfort
positions, while the central head restraint have to use in
the raised position. When there are no occupants in the
centre seat the head restraint can be lowered for maxi-
mum visibility for the driver, when the center seat is
being occupied the head restraint has to be in the raised
position.
To raise the outboard head restraints, pull upward on the
head restraint. To lower the head restraints, press the
push button, located at the base of the head restraint, and
push downward on the head restraint.NOTE:
•The head restraints should only be removed by quali-
fied technicians, for service purposes only. If any of the
head restraints require removal, see you authorized
dealer.
Push Buttons
3
UNDERSTANDING THE FEATURES OF YOUR VEHICLE 109
Page 382 of 438

•To remove heavy soil and/or excessive brake dust, use
MOPAR® Wheel Cleaner.
NOTE:If your vehicle is equipped with Dark Vapor or
Black Satin Chrome wheels DO NOT USE wheel cleaners,
abrasives or polishing compounds. They will perma-
nently damage this finish and such damage is not cov-
ered by the New Vehicle Limited Warranty. USE ONLY
MILD SOAP AND WATER WITH A SOFT CLOTH. Used
on a regular basis this is all that is required to maintain
this finish.
CAUTION!
Do not use scouring pads, steel wool, a bristle brush,
or metal polishes. Do not use oven cleaner. These
products may damage the wheel’s protective finish.
Avoid automatic car washes that use acidic solutions
(Continued)
CAUTION!(Continued)
or harsh brushes that may damage the wheel’s pro-
tective finish. Only MOPAR® Wheel Cleaner or
equivalent is recommended.
Stain Repel Fabric Cleaning Procedure — If
Equipped
Stain Repel seats may be cleaned in the following man-
ner:
•Remove as much of the stain as possible by blotting
with a clean, dry towel.
•Blot any remaining stain with a clean, damp towel.
•For tough stains, apply MOPAR® Total Clean, or a
mild soap solution to a clean, damp cloth and remove
stain. Use a fresh, damp towel to remove soap residue.
380 MAINTAINING YOUR VEHICLE
Page 383 of 438

•For grease stains, apply MOPAR® Multi-Purpose
Cleaner to a clean, damp cloth and remove stain. Use
a fresh, damp towel to remove soap residue.
•Do not use any harsh solvents or any other form of
protectants on Stain Repel products.
Interior Care
Use MOPAR® Total Clean to clean fabric upholstery and
carpeting.
Use MOPAR® Total Clean to clean vinyl upholstery.
MOPAR® Total Clean is specifically recommended for
leather upholstery.
Your leather upholstery can be best preserved by regular
cleaning with a damp soft cloth. Small particles of dirt
can act as an abrasive and damage the leather upholstery
and should be removed promptly with a damp cloth.
Stubborn soils can be removed easily with a soft cloth
and MOPAR® Total Clean. Care should be taken to avoid
soaking your leather upholstery with any liquid. Please
do not use polishes, oils, cleaning fluids, solvents, deter-
gents, or ammonia-based cleaners to clean your leather
upholstery. Application of a leather conditioner is not
required to maintain the original condition.
WARNING!
Do not use volatile solvents for cleaning purposes.
Many are potentially flammable, and if used in
closed areas they may cause respiratory harm.
CAUTION!
Do not use Alcohol and Alcohol-based and/or Keton
based cleaning products to clean leather seats, as
damage to the seat may result.
7
MAINTAINING YOUR VEHICLE 381