2015 FIAT 500L transmission oil
[x] Cancel search: transmission oilPage 84 of 438
WARNING!
•An incorrectly anchored tether strap could lead to
increased head motion and possible injury to the
child. Use only the anchorage position directly
behind the child seat to secure a child restraint top
tether strap.
•If your vehicle is equipped with a split rear seat,
make sure the tether strap does not slip into the
opening between the seatbacks as you remove
slack in the strap.
Transporting Pets
Air Bags deploying in the front seat could harm your pet.
An unrestrained pet will be thrown about and possibly
injured, or could injure a passenger during panic braking
or in a collision.
Pets should be restrained in the rear seat in pet harnesses
or pet carriers that are secured by seat belts.
ENGINE BREAK-IN RECOMMENDATIONS
A long break-in period is not required for the engine and
drivetrain (transmission and axle) in your vehicle.
Drive moderately during the first 300 miles (500 km).
After the initial 60 miles (100 km), speeds up to 50 or
55 mph (80 or 90 km/h) are desirable.
While cruising, brief full-throttle acceleration within the
limits of local traffic laws contributes to a good break-in.
Wide-open throttle acceleration in low gear can be detri-
mental and should be avoided.
The engine oil installed in the engine at the factory is a
high-quality energy conserving type lubricant. Oil
changes should be consistent with anticipated climate
conditions under which vehicle operations will occur. For
the recommended viscosity and quality grades, refer to
“Maintenance Procedures” in “Maintaining Your Ve-
hicle.”
82 THINGS TO KNOW BEFORE STARTING YOUR VEHICLE
Page 172 of 438
grades. It should not be allowed to exceed the upper
limits of the normal operating range.
CAUTION!
Driving with a hot engine cooling system could
damage your vehicle. If all the segments of the
temperature gauge are lit, pull over and stop the
vehicle. Idle the vehicle with the air conditioner
turned off until the pointer drops back into the
normal range. If you hear continuous chimes, turn
the engine off immediately and call an authorized
dealer for service.
WARNING!
A hot engine cooling system is dangerous. You or
others could be badly burned by steam or boiling
(Continued)
WARNING!(Continued)
coolant. You may want to call an authorized dealer
for service if your vehicle overheats. If you decide to
look under the hood yourself, see “Maintaining Your
Vehicle.” Follow the warnings under the “Cooling
System Pressure Cap” paragraph.
11. Engine Temperature Warning Light
This light warns of an overheated engine condition. The
engine coolant temperature indicator will illuminate and
a single chime will sound after reaching a set threshold.
If the light turns on while driving, safely pull over and
stop the vehicle. If the A/C system is on, turn it off. Also,
shift the transmission into NEUTRAL and idle the ve-
hicle. If the temperature reading does not return to
normal, turn the engine off immediately and call for
service. Refer to “If Your Engine Overheats” in “What To
Do In Emergencies” for further information.
170 UNDERSTANDING YOUR INSTRUMENT PANEL
Page 240 of 438

•At low speeds you may hear mechanical noises similar
to a manual transmission as the transmission changes
gears. These noises are normal and will not damage
the transmission.
•Very aggressive driving may result in some clutch
odor similar to a manual transmission. An active
warning message will display in the Instrument Clus-
ter if cool down actions are needed.
•When stopped on an incline, always use the brakes to
hold the vehicle in place. On steep inclines, Hill Start
Assist (HSA) will temporarily hold the car in position
when the brake pedal is released. If the accelerator
pedal is not applied after a short time, the car will roll
back. Either reapply the brake (to hold the vehicle) or
press the accelerator to climb the hill.
•Before and after the engine is started, you may hear a
hydraulic pump for a short period of time. This noise
is normal and will not damage the transmission.
•When frequent transmission shifting occurs (such as
when operating the vehicle under heavy loading con-
ditions, in hilly terrain, or traveling into strong head
winds), use the AutoStick shift control (refer to
“AutoStick” in this section for further information) to
select a lower gear. Under these conditions, using a
lower gear will improve performance and extend
transmission life by reducing excessive shifting and
heat buildup.
•During extremely cold temperatures, the transmission
will not operate if the oil temperature is -22° F (-30° C)
or below. Allow the engine to idle briefly with the
transmission in PARK in order to warm the fluid.
Normal operation will resume once the transmission
temperature has risen to a suitable level.
238 STARTING AND OPERATING
Page 321 of 438
WARNING!(Continued)
•Tire Service Kit Sealant solution contains latex. In
case of an allergic reaction or rash, consult a phy-
sician immediately. Keep Tire Service Kit out of
reach of children. If swallowed, rinse mouth imme-
diately with plenty of water and drink plenty of
water. Do not induce vomiting! Consult a physician
immediately.
Sealing A Tire With Tire Service Kit
(A) Whenever You Stop To Use Tire Service Kit:
1. Pull over to a safe location and turn on the vehicle’s
Hazard Warning flashers.
2. Verify that the valve stem (on the wheel with the
deflated tire) is in a position that is near to the ground.
This will allow the Tire Service Kit Hoses (6) and (7) to
reach the valve stem and keep the Tire Service Kit flat
on the ground. This will provide the best positioning
of the kit when injecting the sealant into the deflated
tire and running the air pump. Move the vehicle as
necessary to place the valve stem in this position
before proceeding.
3. Place the transmission in PARK (auto transmission) or
in Gear (manual transmission) and place the ignition
in the OFF position.
4. Set the parking brake.
(B) Setting Up To Use Tire Service Kit:
1. Push in the Mode Select Knob (5) and turn to the
Sealant Mode position.
2. Uncoil the Sealant Hose (6) and then remove the cap
from the fitting at the end of the hose.
3. Place the Tire Service Kit flat on the ground next to the
deflated tire.
6
WHAT TO DO IN EMERGENCIES 319
Page 322 of 438
4. Remove the cap from the valve stem and then screw
the fitting at the end of the Sealant Hose (6) onto the
valve stem.
5. Uncoil the Power Plug (8) and insert the plug into the
vehicle’s 12 Volt power outlet.
NOTE:Do not remove foreign objects (e.g., screws or
nails) from the tire.
(C) Injecting Tire Service Kit Sealant Into The
Deflated Tire:
•Always start the engine before turning ON the Tire
Service Kit.
NOTE:Manual transmission vehicles must have the
parking brake engaged and the shift lever in NEUTRAL.
•After pressing the Power Button (4), the sealant (white
fluid) will flow from the Sealant Bottle (1) through the
Sealant Hose (6) and into the tire.
NOTE:Sealant may leak out through the puncture in the
tire.
If the sealant (white fluid) does not flow within0–10
seconds through the Sealant Hose (6):
1. Press the Power Button (4) to turn Off the Tire Service
Kit. Disconnect the Sealant Hose (6) from the valve
stem. Make sure the valve stem is free of debris.
Reconnect the Sealant Hose (6) to the valve stem.
Check that the Mode Select Knob (5) is in the Sealant
Mode position and not Air Mode. Press the Power
Button (4) to turn On the Tire Service Kit.
2. Connect the Power Plug (8) to a different 12 Volt
power outlet in your vehicle or another vehicle, if
available. Make sure the engine is running before
turning ON the Tire Service Kit.
3. The Sealant Bottle (1) may be empty due to previous
use. Call for assistance.
320 WHAT TO DO IN EMERGENCIES
Page 347 of 438
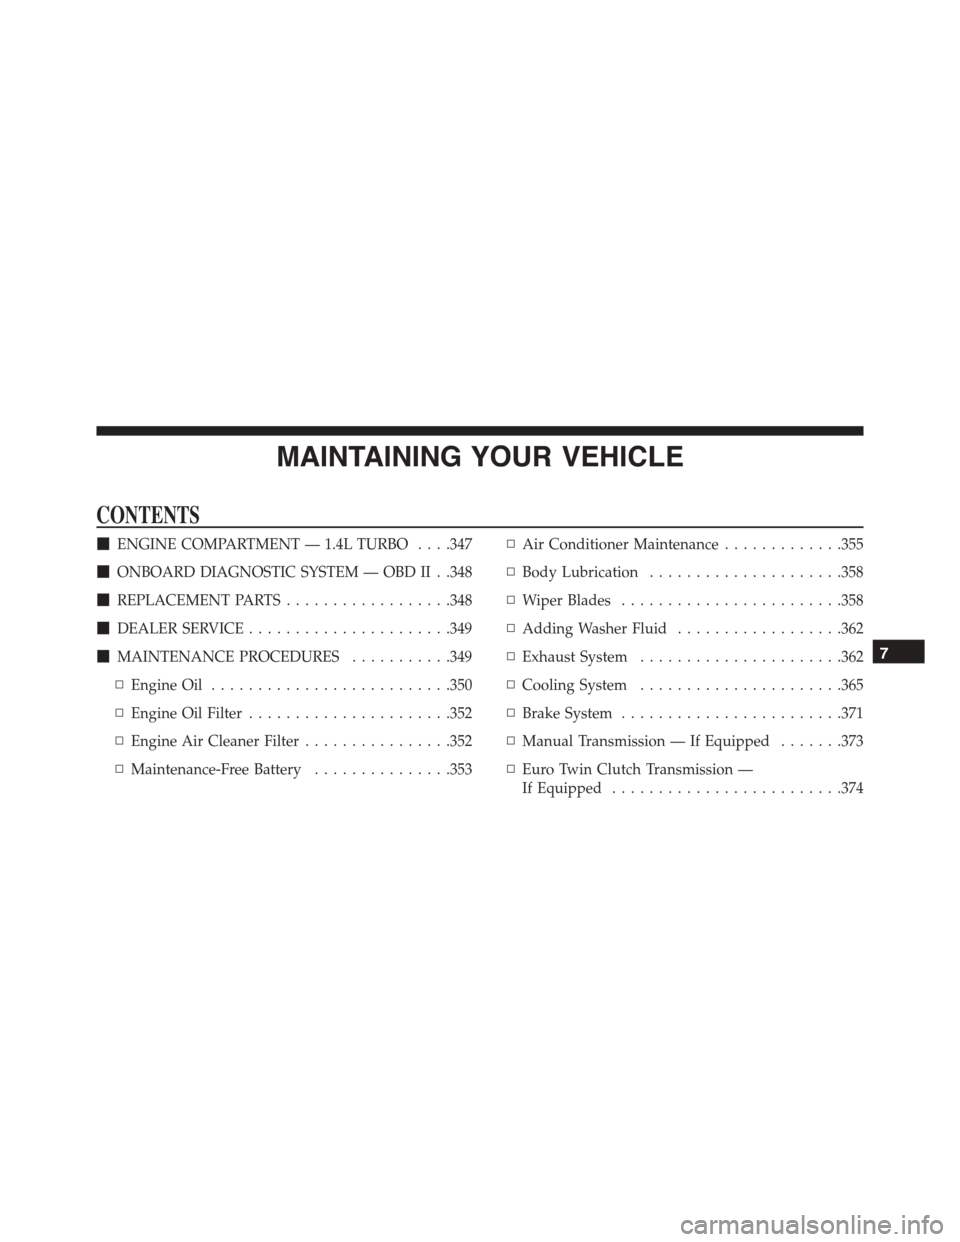
MAINTAINING YOUR VEHICLE
CONTENTS
!ENGINE COMPARTMENT — 1.4L TURBO . . . .347
!ONBOARD DIAGNOSTIC SYSTEM — OBD II . .348
!REPLACEMENT PARTS..................348
!DEALER SERVICE......................349
!MAINTENANCE PROCEDURES...........349
▫Engine Oil..........................350
▫Engine Oil Filter......................352
▫Engine Air Cleaner Filter................352
▫Maintenance-Free Battery...............353
▫Air Conditioner Maintenance.............355
▫Body Lubrication.....................358
▫Wiper Blades........................358
▫Adding Washer Fluid..................362
▫Exhaust System......................362
▫Cooling System......................365
▫Brake System........................371
▫Manual Transmission — If Equipped.......373
▫Euro Twin Clutch Transmission —
If Equipped.........................374
7
Page 352 of 438
CAUTION!(Continued)
•Your vehicle has been built with improved fluids
that protect the performance and durability of your
vehicle and also allow extended maintenance inter-
vals. Do not use chemical flushes in these compo-
nents as the chemicals can damage your engine,
transmission, or air conditioning. Such damage is
not covered by the New Vehicle Limited Warranty.
If a flush is needed because of component malfunc-
tion, use only the specified fluid for the flushing
procedure.
Engine Oil
Checking Oil Level
To assure proper engine lubrication, the engine oil must
be maintained at the correct level. Check the oil level at
regular intervals, such as every fuel stop. The best time to
check the engine oil level is about five minutes after a
fully warmed engine is shut off. Do not check oil level
before starting the engine after it has sat overnight.
Checking engine oil level when the engine is cold will
give you an incorrect reading.
Checking the oil while the vehicle is on level ground, and
about five minutes after a fully warmed engine is shut
off, will improve the accuracy of the oil level readings.
Maintain the oil level between the range markings on the
dipstick. The safe range is indicated by a crosshatch zone.
Adding 1 quart (0.9 Liters) of oil when the reading is at
the low end of the indicated range will result in the oil
level at the full end of the indicator range.
CAUTION!
Do not overfill the engine with oil. Overfilling the
engine with oil will cause oil aeration, which can
lead to loss of oil pressure and an increase in oil
(Continued)
350 MAINTAINING YOUR VEHICLE
Page 402 of 438
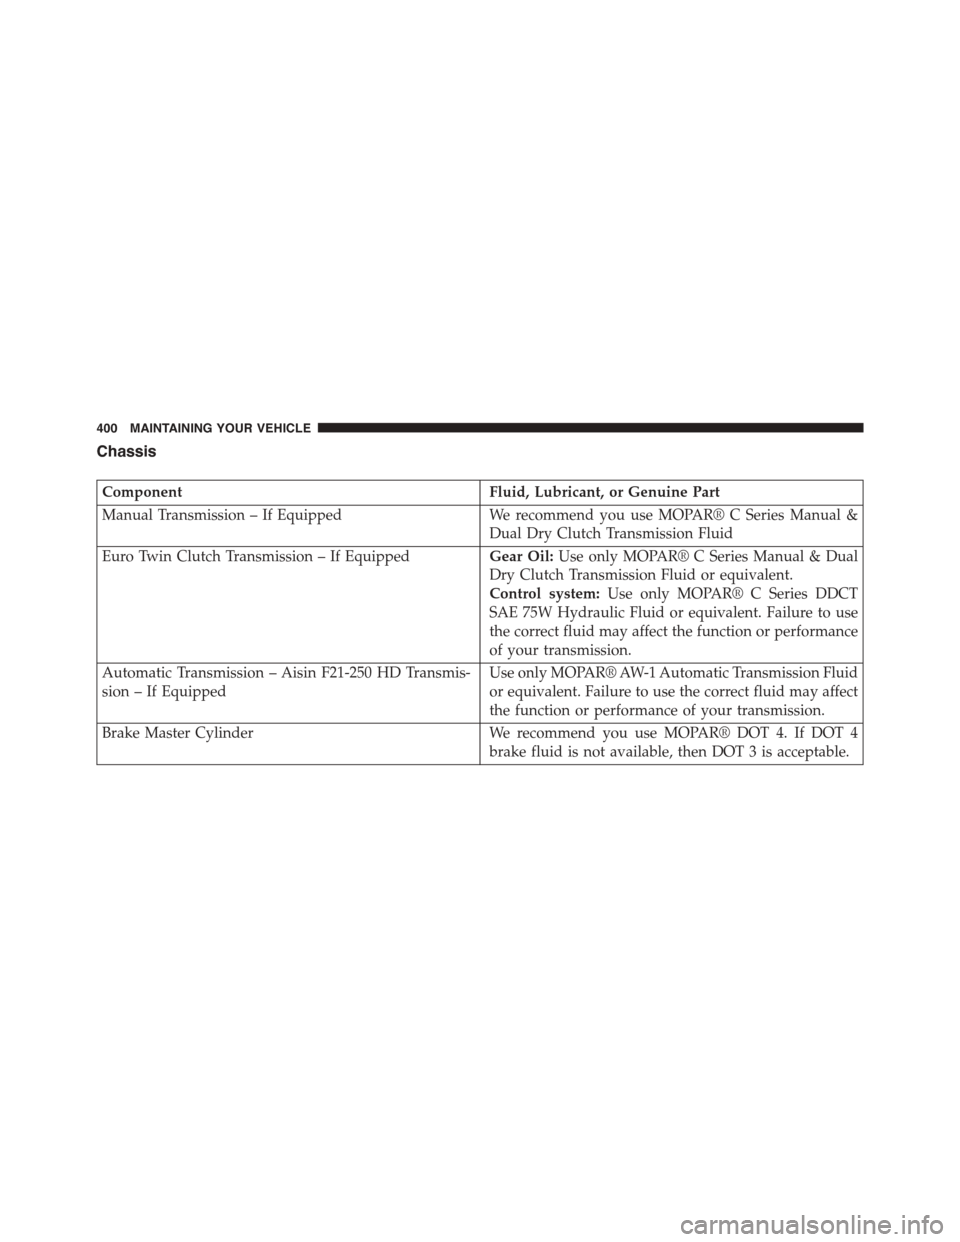
Chassis
ComponentFluid, Lubricant, or Genuine Part
Manual Transmission – If EquippedWe recommend you use MOPAR® C Series Manual &
Dual Dry Clutch Transmission Fluid
Euro Twin Clutch Transmission – If EquippedGear Oil:Use only MOPAR® C Series Manual & Dual
Dry Clutch Transmission Fluid or equivalent.
Control system:Use only MOPAR® C Series DDCT
SAE 75W Hydraulic Fluid or equivalent. Failure to use
the correct fluid may affect the function or performance
of your transmission.
Automatic Transmission – Aisin F21-250 HD Transmis-
sion – If Equipped
Use only MOPAR® AW-1 Automatic Transmission Fluid
or equivalent. Failure to use the correct fluid may affect
the function or performance of your transmission.
Brake Master CylinderWe recommend you use MOPAR® DOT 4. If DOT 4
brake fluid is not available, then DOT 3 is acceptable.
400 MAINTAINING YOUR VEHICLE