Page 311 of 438
WHAT TO DO IN EMERGENCIES
CONTENTS
!HAZARD WARNING FLASHERS...........311
!IF YOUR ENGINE OVERHEATS............311
!WHEEL AND TIRE TORQUE
SPECIFICATIONS......................312
▫Torque Specifications...................313
!TIRE SERVICE KIT — IF EQUIPPED.........314
▫Tire Service Kit Storage.................315
▫Tire Service Kit Components And Operation . .315
▫Tire Service Kit Usage Precautions..........316
▫Sealing A Tire With Tire Service Kit.........319
!JACKING AND TIRE CHANGING — IF
EQUIPPED...........................324
▫Jack Location........................325
▫Spare Tire Removal....................326
▫Preparations For Jacking................327
▫Jacking Instructions...................328
▫Spare Tire Stowage....................332
!JUMP-STARTING PROCEDURE............332
▫Preparations For Jump-Start..............333
▫Jump-Starting Procedure................335
6
Page 326 of 438

(F) Sealant Bottle And Hose Replacement:
1. Uncoil the Sealant Hose (6) (clear in color).
2. Locate the round Sealant Bottle release button in the
recessed area under the sealant bottle.
3. Press the Sealant Bottle release button. The Sealant
Bottle (1) will pop up. Remove the bottle and dispose
of it accordingly.
4. Clean any remaining sealant from the Tire Service Kit
housing.
5. Position the new Sealant Bottle (1) in the housing so
that the Sealant Hose (6) aligns with the hose slot in
the front of the housing. Press the bottle into the
housing. An audible click will be heard indicating the
bottle is locked into place.
6. Verify that the cap is installed on the fitting at the end
of the Sealant Hose (6) and return the hose to its
storage area (located on the bottom of the air pump).
7. Return the Tire Service Kit to its storage location in the
vehicle.
JACKING AND TIRE CHANGING — IF EQUIPPED
WARNING!
•Do not attempt to change a tire on the side of the
vehicle close to moving traffic. Pull far enough off
the road to avoid the danger of being hit when
operating the jack or changing the wheel.
(Continued)
324 WHAT TO DO IN EMERGENCIES
Page 329 of 438
Preparations For Jacking
1. Park the vehicle on a firm level surface, avoiding ice or
slippery areas.
WARNING!
Do not attempt to change a tire on the side of the
vehicle close to moving traffic, pull far enough off
the road to avoid the danger of being hit when
operating the jack or changing the wheel.
2. Turn on the Hazard Warning flashers.
3. Set the parking brake.
4. Place the shift lever in PARK (Euro Twin Clutch
Transmission) or REVERSE (manual transmission).
5. Turn Off the ignition.
6. Block both the front and rear of the wheel diagonally
opposite of the jacking position. For
example, if changing the right front
tire, block the left rear wheel.
NOTE:Passengers should not remain in the vehicle
while the vehicle is being jacked.
6
WHAT TO DO IN EMERGENCIES 327
Page 330 of 438

Jacking Instructions
WARNING!
Carefully follow these tire changing warnings to
help prevent personal injury or damage to your
vehicle:
•Always park on a firm, level surface as far from the
edge of the roadway as possible before raising the
vehicle.
•Turn on the Hazard Warning flasher.
•Block the wheel diagonally opposite the wheel to
be raised.
•Set the parking brake firmly and set an Euro Twin
Clutch Transmission in PARK; a manual transmis-
sion in REVERSE.
•Never start or run the engine with the vehicle on a
jack.
(Continued)
WARNING!(Continued)
•Do not let anyone sit in the vehicle when it is on a
jack.
•Do not get under the vehicle when it is on a jack. If
you need to get under a raised vehicle, take it to a
service center where it can be raised on a lift.
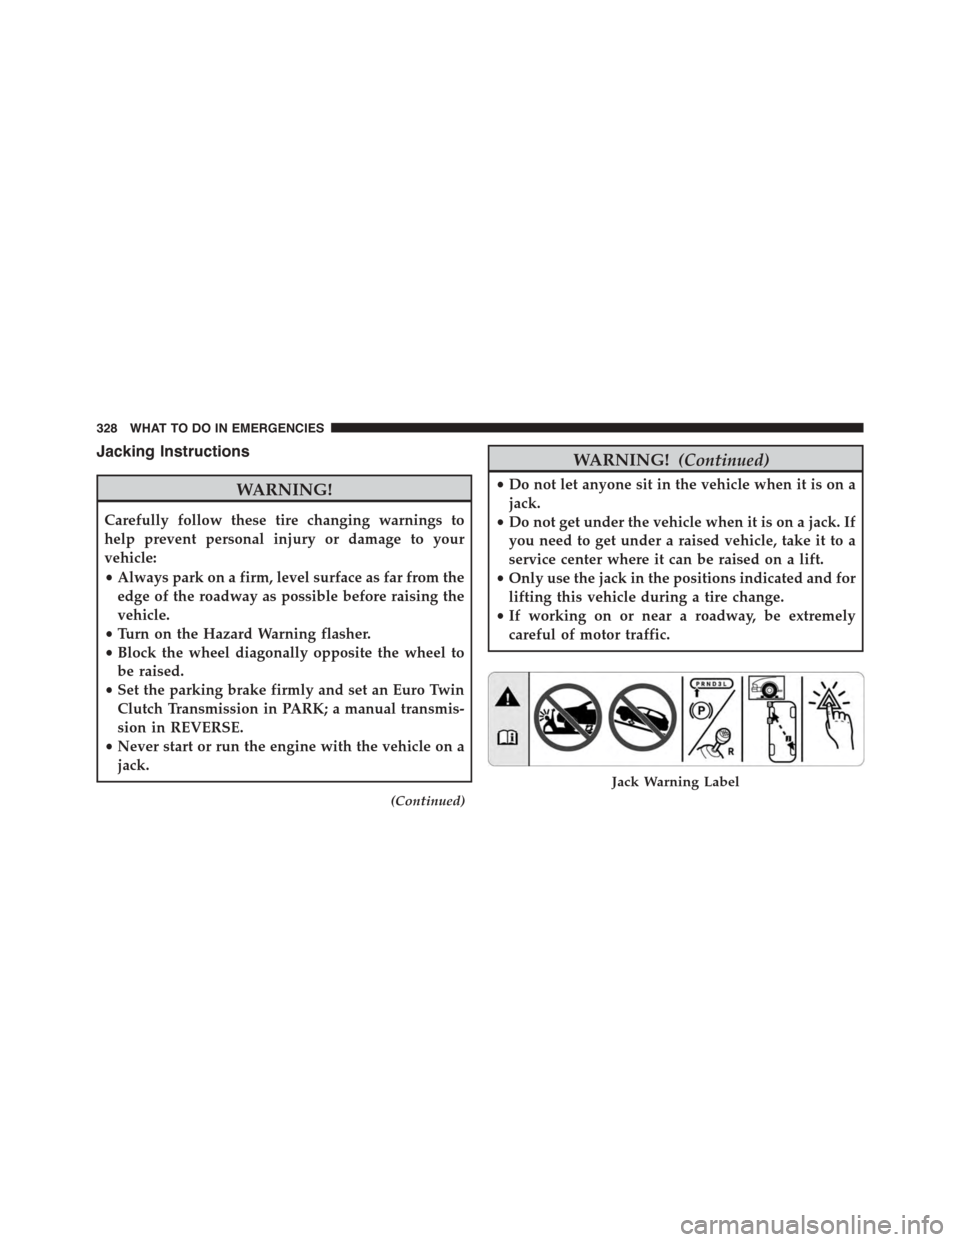
•Only use the jack in the positions indicated and for
lifting this vehicle during a tire change.
•If working on or near a roadway, be extremely
careful of motor traffic.
Jack Warning Label
328 WHAT TO DO IN EMERGENCIES
Page 331 of 438
CAUTION!
Do not attempt to raise the vehicle by jacking on
locations other than those indicated in the Jacking
Instructions for this vehicle.
1. Remove the spare tire, jack, and wheel bolt wrench.
2. If equipped with aluminum wheels where the center
cap covers the wheel bolts, use the wheel bolt wrench
to pry the center cap off carefully before raising the
vehicle.
3. Before raising the vehicle, use the wheel bolt wrench
to loosen, but not remove, the wheel bolts on the
wheel with the flat tire. Turn the wheel bolts counter-
clockwise one turn while the wheel is still on the
ground.
Front Jacking Location
6
WHAT TO DO IN EMERGENCIES 329
Page 332 of 438
NOTE:There are front and rear jacking locations on each
side of the body (as indicated by the traingular lift point
symbols on the sill molding).
4. Place the jack underneath the lift area that is closest to
the flat tire. Turn the jack screw clockwise to firmly
engage the jack saddle with the lift area of the sill
flange, centering the jack saddle between the locating
notches on the sill flange.
5. Raise the vehicle just enough to remove the flat tire
and install the spare tire.
WARNING!
Raising the vehicle higher than necessary can make
the vehicle less stable. It could slip off the jack and
hurt someone near it. Raise the vehicle only enough
to remove the tire.
6. Remove the wheel bolts and tire.
7. Mount the spare tire.
Rear Jacking Location
330 WHAT TO DO IN EMERGENCIES
Page 426 of 438

Electronic Stability Control (ESC)..............262
Electronic Vehicle Information Center (EVIC)......134
Exit Trip..............................182
Start Of Trip Procedure...................182
Emergency Deck Lid Release..................30
Emergency, In Case of
Hazard Warning Flasher..................311
Jacking...............................324
Jump Starting..........................332
Towing..............................340
Emergency Trunk Release....................30
Engine
Air Cleaner...........................352
Break-In Recommendations.................82
Checking Oil Level......................350
Compartment..........................347
Cooling..............................365
Exhaust Gas Caution.....................84
Fails to Start...........................226
Flooded, Starting.......................226
Fuel Requirements......................299
Oil . . . . . . . . . . . . . . . . . . . . . . . . . . . . . . . . ..350
Oil Filler Cap..........................351
Oil Selection...........................351
Overheating...........................311
Starting..............................224
Temperature Gauge......................169
Enhanced Accident Response Feature............55
Euro Twin Clutch Transmission...............229
Fluid Type............................374
Gear Ranges...........................233
Event Data Recorder........................60
Exhaust Gas Caution........................84
Exhaust System...........................84
Exterior Lights............................87
Filler Location Fuel........................169
424 INDEX
Page 429 of 438

Jacking Instructions........................328
Jack Location............................325
Jack Operation...........................324
Jump Starting............................332
Key-In Reminder..........................14
Key, Replacement..........................15
Keys...................................11
Key, Sentry (Immobilizer)....................14
Lane Change and Turn Signals................169
Lane Change Assist........................114
Lap/Shoulder Belts.........................34
Latches.................................87
Lead Free Gasoline........................299
Leaks, Fluid..............................87
Life of Tires.............................288
Liftgate (Sedan)...........................29
Light Bulbs..............................87
Lighter, Cigar............................148
Lights..................................87
Airbag................................57
Anti-Lock.............................177
Brake Assist Warning....................263
Brake Warning.........................168
Bulb Replacement.......................392
Center Mounted Stop....................396
Engine Temperature Warning...............170
Exterior...............................87
High Beam Indicator.....................171
Low Fuel.............................169
Malfunction Indicator (Check Engine).........172
Oil Pressure...........................172
Park.................................114
Passing..............................114
Seat Belt Reminder......................171
Security Alarm..........................15
Service...............................392
10
INDEX 427