2015 FIAT 500L tow
[x] Cancel search: towPage 173 of 438

12. High Beam Indicator
This light indicates that the headlights are on high
beam. Pull the turn signal lever toward the steer-
ing wheel to switch the headlights to low beam.
13. Park/Headlight ON Indicator / Follow Me Home
(Headlight Delay) Indicator — If Equipped
This indicator will illuminate when the park
lights or headlights are turned on. If the Follow
Me Home feature is activated this indicator
will illuminate and the Electronic Vehicle Infor-
mation Center (EVIC) will show how long the function
remains active. For further information, refer to “Follow
Me Home” in “Understanding The Features of Your
Vehicle”.
14. Tachometer
The white area of the scale shows the permissible engine
revolutions-per-minute (RPM x 1000) for each gear range.
Before reaching the red area, ease up on the accelerator to
prevent engine damage.
15. Seat Belt Reminder Light
When the ignition switch is first turned to ON/
RUN, this light will turn on if the driver’s seat belt
is unbuckled, a chime will sound. When driving,
if the driver’s seat belt remains unbuckled, the Seat Belt
Reminder Light will illuminate and the chime will sound.
Refer to “Occupant Restraints” in “Things To Know
Before Starting Your Vehicle” for further information.
4
UNDERSTANDING YOUR INSTRUMENT PANEL 171
Page 175 of 438

bulb does not come on when turning the key from
OFF/LOCK to ON/RUN, have the condition checked
promptly.
Certain conditions, such as poor fuel quality, etc., may
illuminate the MIL after engine start. The vehicle should
be serviced if the light stays on through several of your
typical driving cycles. In most situations, the vehicle will
drive normally and will not require towing.
CAUTION!
Prolonged driving with the Malfunction Indicator
Light (MIL) on could cause damage to the engine
control system. It also could affect fuel economy and
driveability. If the MIL is flashing, severe catalytic
converter damage and power loss will soon occur.
Immediate service is required.
WARNING!
A malfunctioning catalytic converter, as referenced
above, can reach higher temperatures than in normal
operating conditions. This can cause a fire if you
drive slowly or park over flammable substances such
as dry plants, wood, cardboard, etc. This could result
in death or serious injury to the driver, occupants or
others.
20. Tire Pressure Monitoring Telltale Light
Each tire, including the spare (if provided),
should be checked monthly when cold and in-
flated to the inflation pressure recommended by
the vehicle manufacturer on the vehicle placard
or tire inflation pressure label. (If your vehicle has tires of
a different size than the size indicated on the vehicle
placard or tire inflation pressure label, you should deter-
mine the proper tire inflation pressure for those tires.)
4
UNDERSTANDING YOUR INSTRUMENT PANEL 173
Page 178 of 438

U.S. Federal regulations require that upon transfer of
vehicle ownership, the seller certify to the purchaser the
correct mileage that the vehicle has been driven. If your
odometer needs to be repaired or serviced, the repair
technician should leave the odometer reading the same
as it was before the repair or service. If s/he cannot do so,
then the odometer must be set at zero, and a sticker must
be placed in the door jamb stating what the mileage was
before the repair or service. It is a good idea for you to
make a record of the odometer reading before the repair/
service, so that you can be sure that it is properly reset, or
that the door jamb sticker is accurate if the odometer
must be reset at zero.
NOTE:If the vehicle is equipped with the Electronic
Vehicle Information Center (EVIC) in the instrument
cluster, all warnings including “door” and “gate” and
“Change Engine Oil” will only be displayed in the EVIC
display. For additional information, refer to “Electronic
Vehicle Information Center (EVIC).”
23. Fuel Door Location Reminder
The fuel door reminder indicates that the fuel filler door
is located on the right side of the vehicle.
24. Electronic Throttle Control (ETC) Light
This light informs you of a problem with the
Electronic Throttle Control (ETC) system. If a
problem is detected, the light will come on
while the engine is running. Cycle the ignition
key when the vehicle has completely stopped and the
shift lever is placed in the NEUTRAL position. The light
should turn off. If the light remains lit with the engine
running, your vehicle will usually be drivable; however,
see an authorized dealer for service as soon as possible. If
the light is flashing when the engine is running, imme-
diate service is required and you may experience reduced
performance, an elevated/rough idle or engine stall and
your vehicle may require towing. The light will come on
when the ignition is first turned to ON/RUN and remain
176 UNDERSTANDING YOUR INSTRUMENT PANEL
Page 195 of 438

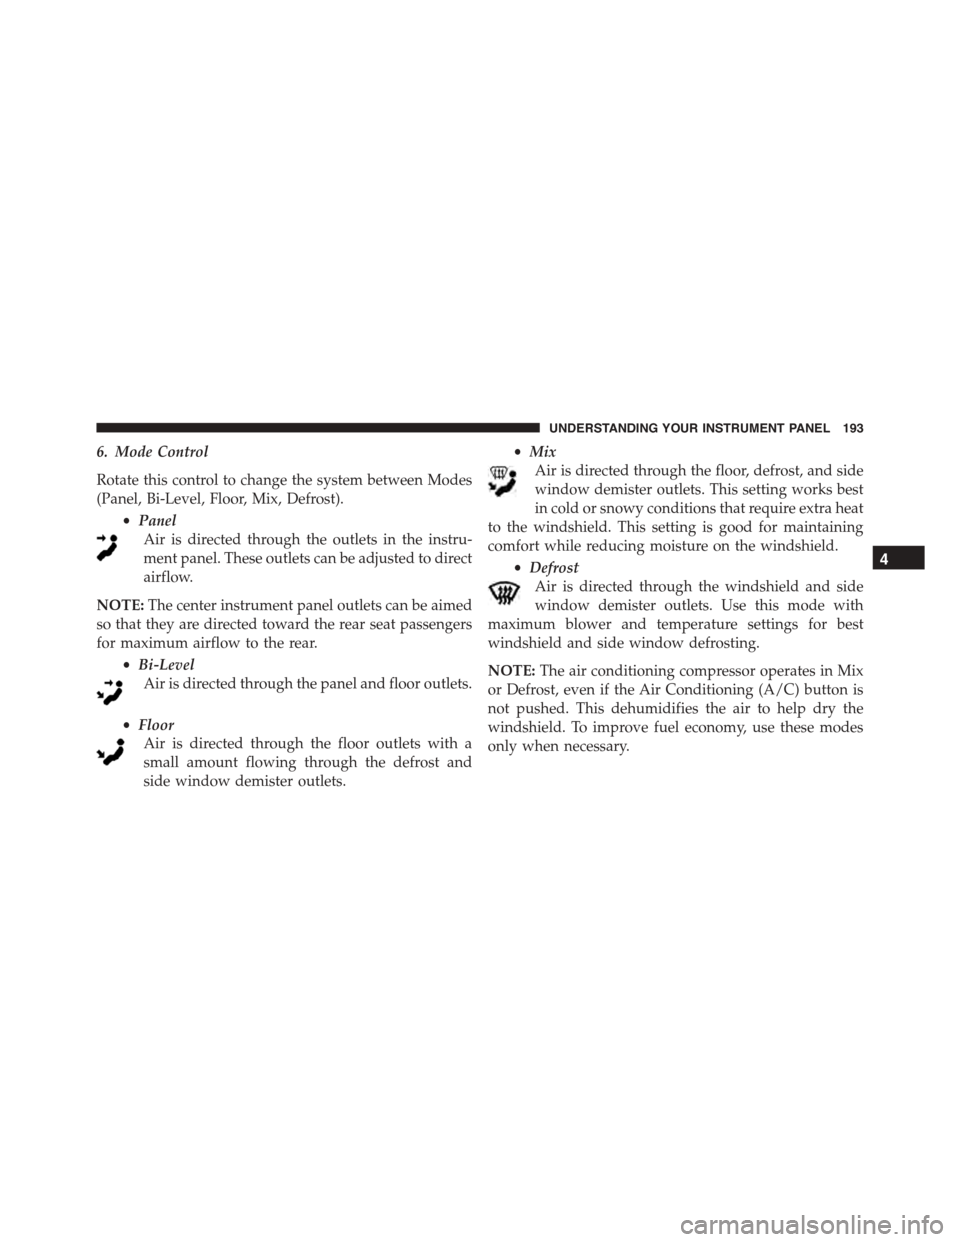
6. Mode Control
Rotate this control to change the system between Modes
(Panel, Bi-Level, Floor, Mix, Defrost).
•Panel
Air is directed through the outlets in the instru-
ment panel. These outlets can be adjusted to direct
airflow.
NOTE:The center instrument panel outlets can be aimed
so that they are directed toward the rear seat passengers
for maximum airflow to the rear.
•Bi-Level
Air is directed through the panel and floor outlets.
•Floor
Air is directed through the floor outlets with a
small amount flowing through the defrost and
side window demister outlets.
•Mix
Air is directed through the floor, defrost, and side
window demister outlets. This setting works best
in cold or snowy conditions that require extra heat
to the windshield. This setting is good for maintaining
comfort while reducing moisture on the windshield.
•Defrost
Air is directed through the windshield and side
window demister outlets. Use this mode with
maximum blower and temperature settings for best
windshield and side window defrosting.
NOTE:The air conditioning compressor operates in Mix
or Defrost, even if the Air Conditioning (A/C) button is
not pushed. This dehumidifies the air to help dry the
windshield. To improve fuel economy, use these modes
only when necessary.
4
UNDERSTANDING YOUR INSTRUMENT PANEL 193
Page 225 of 438

▫Tire Pressures For High Speed Operation . . . .281
▫Radial Ply Tires......................281
▫Tire Types...........................282
▫Run Flat Tires — If Equipped.............284
▫Spare Tires — If Equipped...............284
▫Tire Spinning........................287
▫Tread Wear Indicators..................287
▫Life Of Tire.........................288
▫Replacement Tires.....................289
!TIRE CHAINS (TRACTION DEVICES).......290
!TIRE ROTATION RECOMMENDATIONS.....292
!TIRE PRESSURE MONITORING SYSTEM
(TPMS)..............................293
▫Base System.........................296
▫General Information...................298
!FUEL REQUIREMENTS — 1.4L Turbo........299
▫Reformulated Gasoline.................299
▫Gasoline/Oxygenate Blends..............299
▫MMT In Gasoline.....................300
▫Materials Added To Fuel................300
▫Fuel System Cautions...................301
▫Carbon Monoxide Warnings.............302
!ADDING FUEL........................302
!TRAILER TOWING.....................305
!RECREATIONAL TOWING (BEHIND
MOTORHOME, ETC.)...................306
▫Towing This Vehicle Behind Another Vehicle . .306
5
STARTING AND OPERATING 223
Page 228 of 438

4. If the engine fails to start after eight attempts, allow
the starter to cool for at least 10 minutes, then repeat
the procedure.
CAUTION!
To prevent damage to the starter, do not continuously
crank the engine for more than 10 seconds at a time.
Wait 10 to 15 seconds before trying again.
If Engine Fails To Start
WARNING!
Never pour fuel or other flammable liquids into the
throttle body air inlet opening in an attempt to start
the vehicle. This could result in a flash fire causing
serious personal injury.
CAUTION!
•Do not attempt to push or tow your vehicle to get it
started. Vehicles equipped with a Euro Twin Clutch
Transmission cannot be started this way. Unburned
fuel could enter the catalytic converter and once the
engine has started, ignite and damage the converter
and vehicle.
•To prevent damage to the starter, do not continu-
ously crank the engine for more than 15 seconds at
a time. Wait 10 to 15 seconds before trying again.
After Starting
The idle speed is controlled automatically and it will
decrease as the engine warms up.
Turbo Charger “Cool Down”
This vehicle is equipped with an after-run pump to cool
the turbocharger after the engine is shut off. Depending
226 STARTING AND OPERATING
Page 235 of 438

NOTE:If the shift lever cannot be moved to the PARK,
REVERSE, or NEUTRAL position (when pushed for-
ward) it is probably in the AutoStick (+/-) position
(beside the DRIVE position). In AutoStick mode, the
transmission gear (1, 2, 3, etc.) is displayed in the
instrument cluster. Move the shift lever to the right (into
the DRIVE [D] position) for access to PARK, REVERSE,
and NEUTRAL.
Gear Ranges
DO NOT race the engine when shifting from PARK or
NEUTRAL into another gear range.
NOTE:After selecting any gear range, wait a moment to
allow the selected gear to engage before accelerating.
This is especially important when the engine is cold.
PARK (P)
This range supplements the parking brake by locking the
transmission. The engine can be started in this range.
Never attempt to use PARK while the vehicle is in
motion. Apply the parking brake when leaving the
vehicle in this range.
When parking on a level surface, you may shift the
transmission into PARK first, and then apply the parking
brake.
When parking on a hill, apply the parking brake before
shifting the transmission to PARK, otherwise the load on
the transmission locking mechanism may make it diffi-
cult to move the shift lever out of PARK. As an added
precaution, turn the front wheels toward the curb on a
downhill grade and away from the curb on an uphill
grade.
5
STARTING AND OPERATING 233
Page 239 of 438

WARNING!
Do not coast in NEUTRAL and never turn off the
ignition to coast down a hill. These are unsafe
practices that limit your response to changing traffic
or road conditions. You might lose control of the
vehicle and have a collision.
CAUTION!
Towing the vehicle, coasting, or driving for any other
reason with the transmission in NEUTRAL can cause
severe transmission damage. Refer to “Recreational
Towing” in “Starting And Operating” and “Towing A
Disabled Vehicle” in “What To Do In Emergencies”
for further information.
DRIVE (D)
This range should be used for most city and highway
driving. It provides the smoothest upshifts and down-
shifts, and the best fuel economy. The transmission
automatically upshifts through all forward gears. The
DRIVE position provides optimum driving characteris-
tics under all normal operating conditions.
To maximize fuel economy, the Euro Twin Clutch Six
Speed Transmission uses a geartrain arrangement similar
to a manual transmission. Therefore, you should become
familiar with some of the normal operational character-
istics of this transmission:
•During low-speed driving conditions in first gear,
vehicle momentum changes may feel exaggerated in
response to changes in accelerator pedal position. This
behavior is normal and is similar to vehicles equipped
with a manual transmission.
5
STARTING AND OPERATING 237