Page 241 of 438
Instrument Cluster Messages
Messages will be displayed in the instrument cluster to
alert the driver when certain unusual conditions occur.
These messages are described below.
MESSAGEDESCRIPTION
GEAR UNAVAILABLEIn AutoStick mode, the gear selected by the driver is not
available due to a fault condition. See your authorized
dealer for diagnosis and service.
SHIFT NOT ALLOWEDThe gear position requested by the driver is currently
blocked. This occurs if REVERSE is requested while mov-
ing (at 6 mph [10 km/h] or faster), or if DRIVE is re-
quested while moving backwards (at 6 mph [10 km/h] or
faster). Make sure the vehicle is stopped before engaging
DRIVE or REVERSE.
5
STARTING AND OPERATING 239
Page 245 of 438

Six-Speed Automatic Transmission (Aisin F21-250
HD) — If Equipped
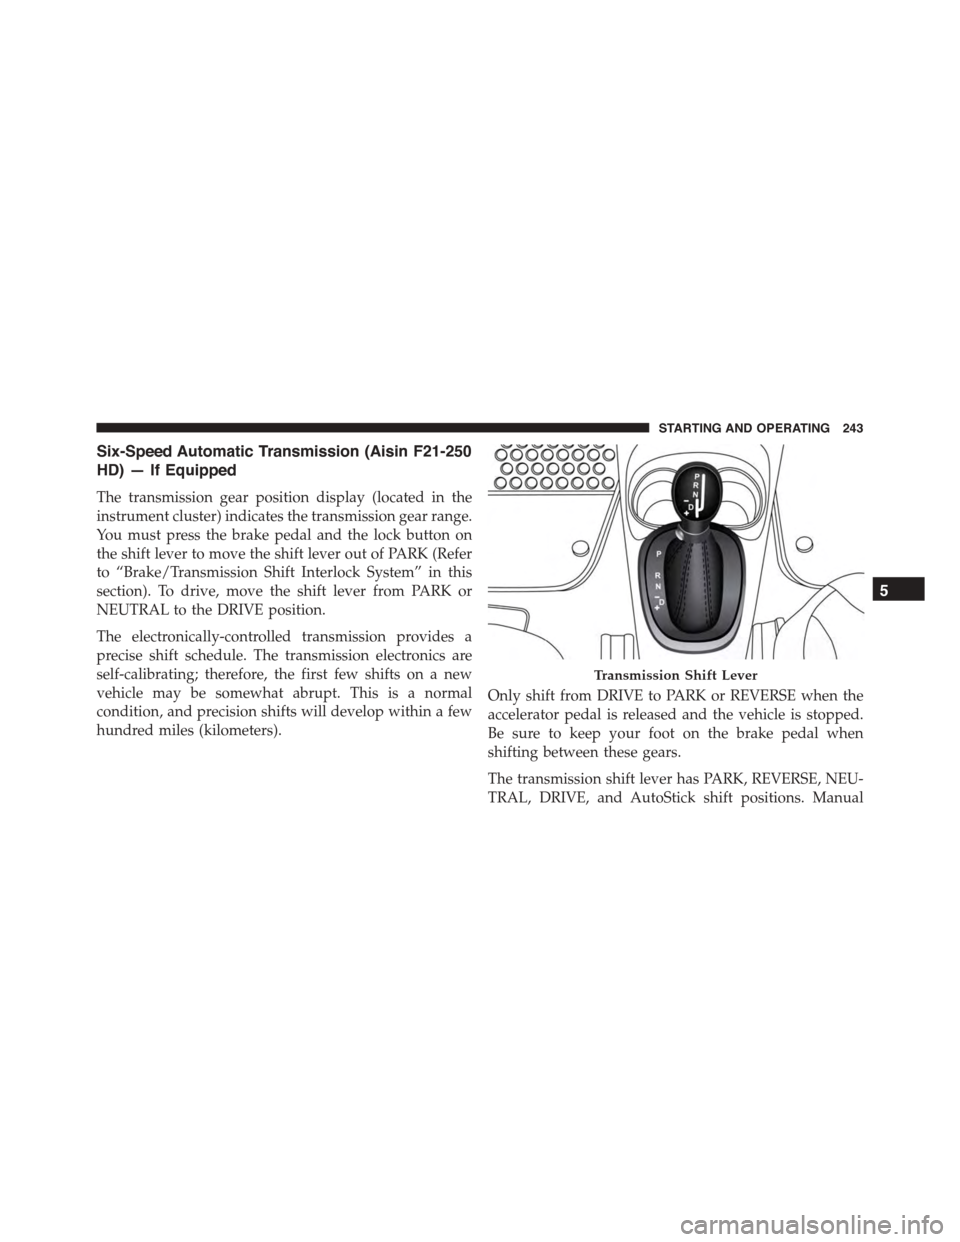
The transmission gear position display (located in the
instrument cluster) indicates the transmission gear range.
You must press the brake pedal and the lock button on
the shift lever to move the shift lever out of PARK (Refer
to “Brake/Transmission Shift Interlock System” in this
section). To drive, move the shift lever from PARK or
NEUTRAL to the DRIVE position.
The electronically-controlled transmission provides a
precise shift schedule. The transmission electronics are
self-calibrating; therefore, the first few shifts on a new
vehicle may be somewhat abrupt. This is a normal
condition, and precision shifts will develop within a few
hundred miles (kilometers).
Only shift from DRIVE to PARK or REVERSE when the
accelerator pedal is released and the vehicle is stopped.
Be sure to keep your foot on the brake pedal when
shifting between these gears.
The transmission shift lever has PARK, REVERSE, NEU-
TRAL, DRIVE, and AutoStick shift positions. Manual
Transmission Shift Lever
5
STARTING AND OPERATING 243
Page 246 of 438

shifts can be made using the AutoStick shift control (refer
to “AutoStick” in this section for further information).
Moving the shift lever into the AutoStick (+/-) position
(beside the DRIVE position) activates AutoStick mode,
providing manual shift control and displaying the cur-
rent gear in the instrument cluster (as 1, 2, 3, etc).
Toggling the shift lever forward (-) or rearward (+) while
in the Autostick position will manually select the trans-
mission gear.
NOTE:If the shift lever cannot be moved to the PARK,
REVERSE, or NEUTRAL position (when pushed for-
ward) it is probably in the AutoStick (+/-) position
(beside the DRIVE position). In AutoStick mode, the
transmission gear (1, 2, 3, etc.) is displayed in the
instrument cluster. Move the shift lever to the right (into
the DRIVE [D] position) for access to PARK, REVERSE,
and NEUTRAL.
Gear Ranges
DO NOT race the engine when shifting from PARK or
NEUTRAL into another gear range.
NOTE:After selecting any gear range, wait a moment to
allow the selected gear to engage before accelerating.
This is especially important when the engine is cold.
PARK (P)
This range supplements the parking brake by locking the
transmission. The engine can be started in this range.
Never attempt to use PARK while the vehicle is in
motion. Apply the parking brake when leaving the
vehicle in this range.
When parking on a level surface, you may shift the
transmission into PARK first, and then apply the parking
brake.
When parking on a hill, apply the parking brake before
shifting the transmission to PARK, otherwise the load on
244 STARTING AND OPERATING
Page 252 of 438

If the transmission cannot be reset, authorized dealer
service is required.
AUTOSTICK
AutoStick is a driver-interactive transmission feature
providing manual shift control, giving you more control
of the vehicle. AutoStick allows you to maximize engine
braking, eliminate undesirable upshifts and downshifts,
and improve overall vehicle performance. This system
can also provide you with more control during passing,
city driving, cold slippery conditions, mountain driving,
and many other situations.
Operation
When the shift lever is in the AutoStick position (beside
the Drive position), it can be moved forward and rear-
ward. This allows the driver to manually select the
transmission gear being used. Moving the shift lever
forward (-) triggers a downshift, and rearward (+) an
upshift. The current gear is displayed in the instrument
cluster.
NOTE:In AutoStick mode, the transmission will only
shift up or down when the driver moves the shift lever
rearward (+) or forward (-), except as described below.
•The transmission will automatically upshift when nec-
essary to prevent engine over-speed.
•The transmission will automatically downshift as the
vehicle slows (to prevent engine lugging) and will
display the current gear.
•The transmission will automatically downshift to first
gear when coming to a stop. After a stop, the driver
should manually upshift (+) the transmission as the
vehicle is accelerated.
•With six-speed automatic (Aisin F21-250 HD) trans-
mission, you can start out (from a stop) in first, second,
250 STARTING AND OPERATING
Page 257 of 438
ELECTRIC POWER STEERING
This only operates with the key turned to MAR/ON and
the engine started. The steering allows the force required
at the steering wheel to be adjusted to suit driving
conditions.
NOTE:When turning the ignition key quickly, full power
steering functionality can be achieved after a few sec-
onds.
PARKING BRAKE
Before leaving the vehicle, make sure that the parking
brake is fully applied. Also, be certain to leave manual
transmission in REVERSE or first gear.
The parking brake lever is located in the center console.
To apply the parking brake, pull the lever up as firmly as
possible. To release the parking brake, pull the lever up
slightly, press the side button with your thumb, then
lower the lever completely.
When the parking brake is applied with the ignition
switch in the MAR (ACC/ON/RUN) position, the Brake
Warning Light in the instrument cluster will illuminate.
1 — Parking Brake Release Button2—ParkingBrakeLever
5
STARTING AND OPERATING 255
Page 265 of 438

ESC Activation/Malfunction Indicator Light And
ESC OFF Indicator Light
The ESC Activation/Malfunction Indicator
Light in the instrument cluster will come on
when the ignition switch is turned to the MAR
(ACC/ON/RUN) position for four seconds. If
the ESC Activation/Malfunction Indicator Light comes
on continuously with the engine running, a malfunction
has been detected in the ESC system. If this light remains
on after several ignition cycles, and the vehicle has been
driven several miles (kilometers) at speeds greater than
30 mph (48 km/h), see your authorized dealer as soon as
possible to have the problem diagnosed and corrected.
The ESC Activation/Malfunction Indicator Light (located
in the instrument cluster) starts to flash as soon as the
tires lose traction and the ESC system becomes active.
The ESC Activation/Malfunction Indicator Light also
flashes when TCS is active. If the ESC Activation/
Malfunction Indicator Light begins to flash during accel-
eration, ease up on the accelerator and apply as little
throttle as possible. Be sure to adapt your speed and
driving to the prevailing road conditions.
NOTE:
•The ESC Activation/Malfunction Indicator Light and
the ESC OFF Indicator Light come on momentarily
each time the ignition switch is turned ON.
•Each time the ignition is turned ON, the ESC system
will be ON even if it was turned off previously.
The ESC OFF Indicator Light indicates the
Electronic Stability Control (ESC) is partially
off.
5
STARTING AND OPERATING 263
Page 298 of 438

Under-inflation also reduces fuel efficiency and tire
tread life, and may affect the vehicle’s handling and
stopping ability.
•The TPMS is not a substitute for proper tire mainte-
nance, and it is the driver ’s responsibility to maintain
correct tire pressure using an accurate tire gauge, even
if under-inflation has not reached the level to trigger
illumination of the Tire Pressure Monitoring Telltale
Light.
•Seasonal temperature changes will affect tire pressure,
and the TPMS will monitor the actual tire pressure in
the tire.
Base System
This is the TPMS warning indicator located in the
instrument cluster.
The TPMS uses wireless technology with wheel rim
mounted electronic sensors to monitor tire pressure lev-
els. Sensors, mounted to each wheel as part of the valve
stem, transmit tire pressure readings to the Receiver
Module.
NOTE:It is particularly important for you to check the
tire pressure in all of the tires on your vehicle regularly
and to maintain the proper pressure.
The TPMS consists of the following components:
•Receiver Module.
•Four Tire Pressure Monitoring Sensors.
•Tire Pressure Monitoring Telltale Light.
Tire Pressure Monitoring Low Pressure Warnings
The Tire Pressure Monitoring Telltale Light will illumi-
nate in the instrument cluster, an audible chime will be
activated, and the “Check left or right front/rear tire”
296 STARTING AND OPERATING
Page 314 of 438

CAUTION!
Driving with a hot cooling system could damage
your vehicle. If the pointer rises to the H (red) mark,
the instrument cluster will sound a chime. When
safe, pull over and stop the vehicle with the engine at
idle. Turn off the air conditioning and wait until the
pointer drops back into the normal range. If the
pointer remains on the H (red) mark for more than a
minute, turn the engine off immediately and call for
service.
WARNING!
You or others can be badly burned by hot engine
coolant (antifreeze) or steam from your radiator. If
you see or hear steam coming from under the hood,
do not open the hood until the radiator has had time
(Continued)
WARNING!(Continued)
to cool. Never try to open a cooling system pressure
cap when the radiator or coolant bottle is hot.
WHEEL AND TIRE TORQUE SPECIFICATIONS
Proper lug nut/bolt torque is very important to ensure
that the wheel is properly mounted to the vehicle. Any
time a wheel has been removed and reinstalled on the
vehicle the lug nuts/bolts should be torqued using a
properly calibrated torque wrench.
312 WHAT TO DO IN EMERGENCIES