Page 170 of 438

NOTE:
•The ESC Off Indicator Light and the ESC Activation/
Malfunction Indicator Light come on momentarily
each time the ignition switch is turned to ON/RUN.
•Each time the ignition is turned to ON/RUN, the
ESC system will be on, even if it was turned off
previously.
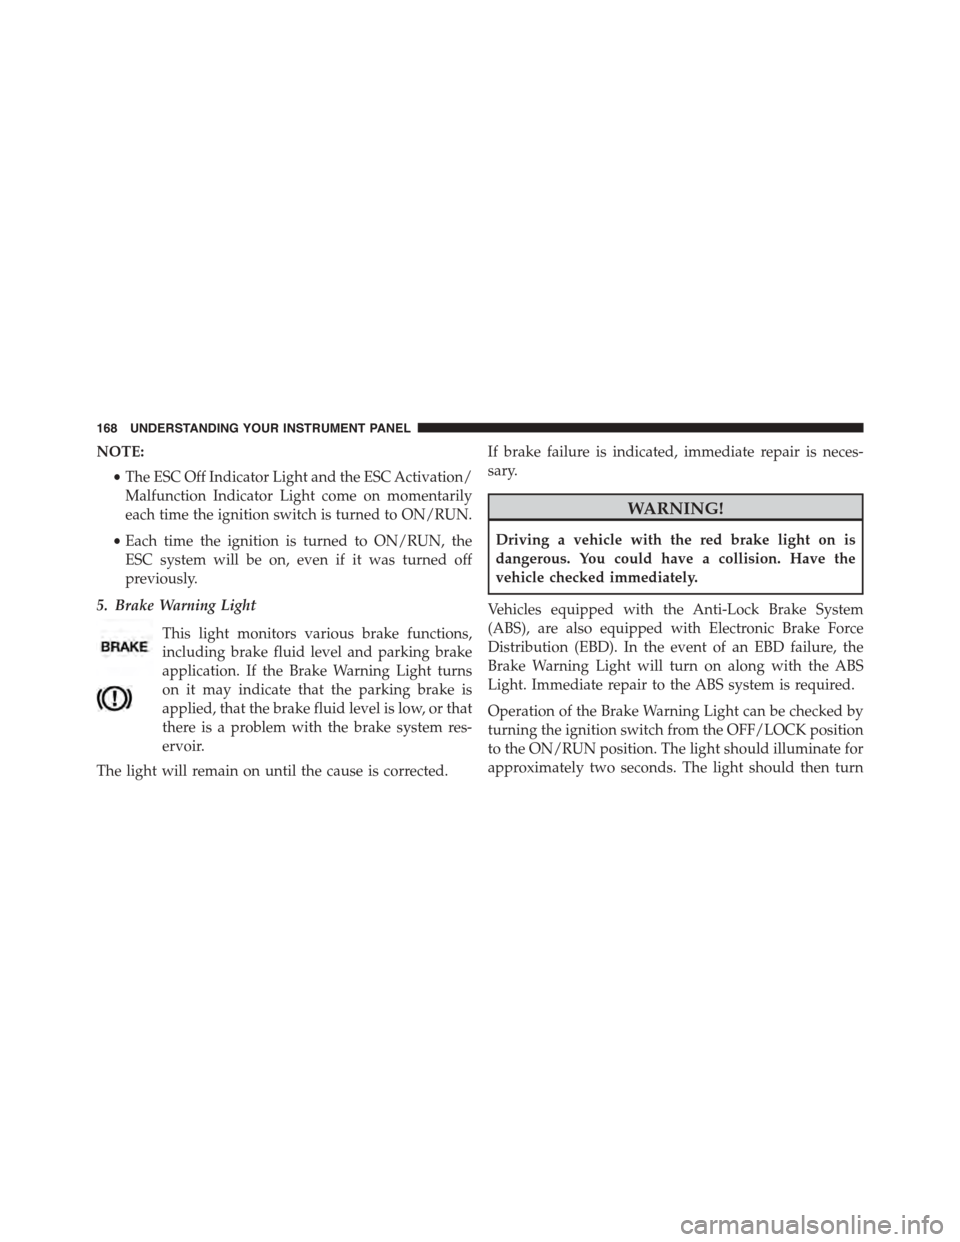
5. Brake Warning Light
This light monitors various brake functions,
including brake fluid level and parking brake
application. If the Brake Warning Light turns
on it may indicate that the parking brake is
applied, that the brake fluid level is low, or that
there is a problem with the brake system res-
ervoir.
The light will remain on until the cause is corrected.
If brake failure is indicated, immediate repair is neces-
sary.
WARNING!
Driving a vehicle with the red brake light on is
dangerous. You could have a collision. Have the
vehicle checked immediately.
Vehicles equipped with the Anti-Lock Brake System
(ABS), are also equipped with Electronic Brake Force
Distribution (EBD). In the event of an EBD failure, the
Brake Warning Light will turn on along with the ABS
Light. Immediate repair to the ABS system is required.
Operation of the Brake Warning Light can be checked by
turning the ignition switch from the OFF/LOCK position
to the ON/RUN position. The light should illuminate for
approximately two seconds. The light should then turn
168 UNDERSTANDING YOUR INSTRUMENT PANEL
Page 171 of 438

off unless the parking brake is applied or a brake fault is
detected. If the light does not illuminate, have the light
inspected by an authorized dealer.
The light also will turn on when the parking brake is
applied with the ignition switch in the ON/RUN posi-
tion.
NOTE:This light shows only that the parking brake is
applied. It does not show the degree of brake application.
6. Rear Defrost Light
This indicator will illuminate when the rear win-
dow defroster is on. The rear window defroster
automatically turns off after 20 minutes.
7. Low Fuel Light
When the fuel level reaches approximately 2.0 gallon
(7.6L) this light will turn on, and remain on until fuel is
added.
8. Fuel Gauge
When the ignition switch is in the ON/RUN position, the
digital scale will show the level of fuel remaining in the
fuel tank.
NOTE:The fuel gauge and range will not immediately
update accurately when refueling with the engine on.
9. Turn Signal Indicators
The arrows will flash in unison with the exte-
rior turn signal, when using the turn signal
lever.
10. Temperature Gauge
The temperature digital scale shows engine coolant tem-
perature. Any reading within the normal range indicates
that the engine cooling system is operating satisfactorily.
The gauge pointer will likely indicate a higher tempera-
ture when driving in hot weather, or up mountain
4
UNDERSTANDING YOUR INSTRUMENT PANEL 169
Page 179 of 438

on briefly as a bulb check. If the light does not come on
during starting, have the system checked by an autho-
rized dealer.
25. Anti-Lock Brake (ABS) Light
This light monitors the Anti-Lock Brake System
(ABS). The light will turn on when the ignition
switch is turned to the ON/RUN position and
may stay on for as long as four seconds.
If the ABS light remains on or turns on while driving, it
indicates that the Anti-Lock portion of the brake system
is not functioning and that service is required. However,
the conventional brake system will continue to operate
normally if the BRAKE warning light is not on.
If the ABS light is on, the brake system should be serviced
as soon as possible to restore the benefits of Anti-Lock
brakes. If the ABS light does not turn on when the
ignition switch is turned to the ON/RUN position, have
the light inspected by an authorized dealer.
ELECTRONIC VEHICLE INFORMATION CENTER
(EVIC)
The Electronic Vehicle Information Center (EVIC) fea-
tures a driver-interactive display that is located in the
instrument cluster.
The EVIC consists of the following:
•System Status
•Vehicle Information Warning Message Displays
•Personal Settings (Customer-Programmable Features)
•Outside Temperature Display
•Trip Computer Functions
EVIC Screen
The EVIC will display the following:
•Time
4
UNDERSTANDING YOUR INSTRUMENT PANEL 177
Page 189 of 438

Hill Start Assist
This function is used when starting a vehicle from a stop
on a hill. Hill Start Assist maintains the same level of
brake pressure the driver applied for a short period of
time after the foot has been removed from the brake
pedal.
Proceed as follows to switch this function on or off:
1. Briefly push and release theMENUbutton. “On” or
“Off” will flash on the display (according to previous
setting).
2. Push and release the UPor DOWNbutton for
setting.
3. Briefly push and release theMENUbutton to go back
to the menu screen, or push and hold the button
(approximately one second) to go back to the main
screen without storing the settings.
Exit Menu
This function closes the initial menu screen.
Briefly push and release theMENUbutton to go back to
the main screen.
Push and release thebutton to return to the first
menu option (Speed Beep).
Push and release thebutton to return to the last
menu option (Daylights).
Uconnect® RADIOS
For detailed information about your Uconnect® radio,
refer to your Uconnect® supplement Manual.
iPod®/USB/MEDIA PLAYER CONTROL
This feature allows an iPod® or external USB device to be
plugged into the AUX Jack or USB port.
4
UNDERSTANDING YOUR INSTRUMENT PANEL 187
Page 223 of 438
STARTING AND OPERATING
CONTENTS
!STARTING PROCEDURES................224
▫Manual Transmission — If Equipped.......224
▫Automatic Transmission — If Equipped.....224
▫Normal Starting.......................224
▫Cold Weather Operation................225
▫Extended Park Starting..................225
▫If Engine Fails To Start.................226
▫After Starting........................226
▫Turbo Charger “Cool Down”.............226
!MANUAL TRANSMISSION — IF EQUIPPED . .227
▫Downshifting........................228
!AUTOMATIC TRANSMISSION —
IF EQUIPPED.........................229
▫Key Ignition Park Interlock...............231
▫Brake/Transmission Shift Interlock System . . .231
▫Six-Speed Euro Twin Clutch Transmission —
If Equipped.........................231
▫Six-Speed Automatic Transmission (Aisin F21-250
HD) — If Equipped...................243
!AUTOSTICK..........................250
▫Operation...........................250
5
Page 224 of 438

!DRIVING ON SLIPPERY SURFACES.........251
▫Acceleration.........................251
▫Traction............................252
!DRIVING THROUGH WATER.............252
▫Flowing/Rising Water..................253
▫Shallow Standing Water.................253
!ELECTRIC POWER STEERING.............255
!PARKING BRAKE......................255
!BRAKE SYSTEM.......................257
!ELECTRONIC BRAKE CONTROL SYSTEM . . . .257
▫Four-Wheel Anti-Lock Brake System (ABS) . . .257
▫Brake Assist System (BAS)...............259
▫Traction Control System (TCS)............260
▫Hill Start Assist (HSA).................260
▫Dynamic Steering Torque (DST)...........261
▫Electronic Stability Control (ESC)..........262
▫ESC Activation/Malfunction Indicator Light And
ESC OFF Indicator Light................263
▫Electronic Roll Mitigation (ERM)..........265
!TIRE SAFETY INFORMATION.............266
▫Tire Markings........................266
▫Tire Identification Number (TIN)...........270
▫Tire Terminology And Definitions..........271
▫Tire Loading And Tire Pressure...........273
!TIRES — GENERAL INFORMATION........278
▫Tire Pressure........................278
▫Tire Inflation Pressures.................279
222 STARTING AND OPERATING
Page 226 of 438

STARTING PROCEDURES
Before starting your vehicle, adjust your seat, adjust both
inside and outside mirrors, and fasten your seat belts.
WARNING!
•Never leave children alone in a vehicle, or with
access to an unlocked vehicle.
•Allowing children to be in a vehicle unattended is
dangerous for a number of reasons. A child or
others could be seriously or fatally injured. Chil-
dren should be warned not to touch the parking
brake, brake pedal or the shift lever.
•Do not leave the Key Fob in or near the vehicle (or
in a location accessible to children). A child could
operate power windows, other controls, or move
the vehicle.
Manual Transmission — If Equipped
Apply the parking brake, place the shift lever in NEU-
TRAL, and press the clutch pedal before starting the
vehicle. This vehicle is equipped with a clutch interlock-
ing ignition system. It will not start unless the clutch
pedal is pressed to the floor.
Automatic Transmission — If Equipped
The shift lever must be in the PARK or NEUTRAL
position before you can start the engine. Depress the
brake pedal before shifting to any driving gear.
NOTE:You must press the brake pedal before shifting
out of PARK.
Normal Starting
NOTE:Normal starting of either a cold or a warm
engine is obtained without pumping or pressing the
accelerator pedal.
224 STARTING AND OPERATING
Page 229 of 438
on the type of driving and the amount of cargo, the pump
will run for up to 10 minutes after the engine has been
shut off to circulate coolant through the turbocharger.
Although the pump is rubber-mounted for quiet opera-
tion, it is normal to hear it running during this time.
MANUAL TRANSMISSION — IF EQUIPPED
WARNING!
You or others could be injured if you leave the
vehicle unattended without having the parking
brake fully applied. The parking brake should al-
ways be applied when the driver is not in the vehicle,
especially on an incline.
Fully press the clutch pedal before you shift gears. As you
release the clutch pedal, lightly press the accelerator
pedal.
Use each gear in numerical order, do not skip a gear. Be
sure the transmission is in first gear, (not third), when
starting from a standing position. Damage to the clutch
can result from starting in third.
Shift Pattern (Six-Speed)
5
STARTING AND OPERATING 227