Page 45 of 426

On the other hand, depending on the type and location of
impact, Advanced Front Air Bags may deploy in crashes
with little vehicle front-end damage but that produce a
severe initial deceleration.
Because air bag sensors measure vehicle deceleration
over time, vehicle speed and damage by themselves are
not good indicators of whether or not an air bag should
have deployed.
Seat belts are necessary for your protection in all colli-
sions, and also are needed to help keep you in position,
away from an inflating air bag.
When the ORC detects a collision requiring the Ad-
vanced Front Air Bags, it signals the inflator units. A large
quantity of non-toxic gas is generated to inflate the
Advanced Front Air Bags.
The steering wheel hub trim cover and the upper right
side of the instrument panel separate and fold out of the
way as the air bags inflate to their full size. The Advanced
Front Air Bags fully inflate in less time than it takes to
blink your eyes. The air bags then quickly deflate while
helping to restrain the driver and front passenger.
Knee Impact Bolsters
The Knee Impact Bolsters help protect the knees of the
driver and front passenger, and position the front occu-
pants for improved interaction with the Advanced Front
Air Bags.
WARNING!
•Do not drill, cut, or tamper with the knee impact
bolsters in any way.
•Do not mount any accessories to the knee impact
bolsters such as alarm lights, stereos, citizen band
radios, etc.
2
THINGS TO KNOW BEFORE STARTING YOUR VEHICLE 43
Page 54 of 426

If a reset procedure step is not completed within 45
seconds, then the turn signal lights will turn off and the
reset procedure must be performed again in order to be
successful.
Air Bag Warning Light
The air bags must be ready to inflate for your
protection in a collision. The Occupant Re-
straint Controller (ORC) monitors the internal
circuits and interconnecting wiring associated
with air bag system electrical components.
The ORC monitors the readiness of the electronic parts of
the air bag system whenever the ignition is in the START
or ON/RUN position. If the ignition is in the OFF
position, the air bag system is not on and the air bags will
not inflate.
The ORC contains a backup power supply system that
may deploy the air bags even if the battery loses power or
it becomes disconnected prior to deployment.
The ORC turns on the Air Bag Warning Light in the
instrument panel for approximately four to eight seconds
for a self-check when the ignition is first placed in the
ON/RUN position. After the self-check, the Air Bag
Warning Light will turn off. If the ORC detects a mal-
function in any part of the system, it turns on the Air Bag
Warning Light, either momentarily or continuously. A
single chime will sound to alert you if the light comes on
again after initial startup.
The ORC also includes diagnostics that will illuminate
the instrument panel Air Bag Warning Light if a malfunc-
tion is detected that could affect the air bag system. The
diagnostics also record the nature of the malfunction.
While the air bag system is designed to be maintenance
52 THINGS TO KNOW BEFORE STARTING YOUR VEHICLE
Page 136 of 426

CAUTION!
•Many accessories that can be plugged in draw
power from the vehicle’s battery, even when not in
use (i.e., cellular phones, etc.). Eventually, if
plugged in long enough, the vehicle’s battery will
discharge sufficiently to degrade battery life and/or
prevent the engine from starting.
•Accessories that draw higher power (i.e., coolers,
vacuum cleaners, lights, etc.) will degrade the bat-
tery even more quickly. Only use these intermit-
tently and with great caution.
•After the use of high power draw accessories, or
long periods of the vehicle not being started (with
accessories still plugged in), the vehicle must be
driven a sufficient length of time to allow the
generator to recharge the vehicle’s battery.
CIGAR LIGHTER — IF EQUIPPED
This is located on the center console, in front of the cup
holders. To activate the cigar lighter, push and release the
knob. After a few seconds the knob automatically returns
to its initial position, and the cigar lighter is ready for use.
WARNING!
When the cigar lighter is in use it becomes very hot.
To avoid serious injury, handle the cigar lighter with
care. Always check that the cigar lighter has turned
off.
134 UNDERSTANDING THE FEATURES OF YOUR VEHICLE
Page 145 of 426
INSTRUMENT PANEL FEATURES
1—SideVent7—PassengerAirBag13 — Storage Compartment2—MultifunctionLever–LightControl8—GloveCompartment14 — Shift Lever3—Instrument Cluster And Warning Lights9—RearDefrostButton15 — Sport Button4 — Windshield Wiper, Washer, Trip Computer10 — Hazard Button16 — Horn/Driver Airbag5 — Central Air Vents11 — Climate Controls17 — Boost Gauge6—StorageCompartment/Radio12 — Power Windows Control
4
UNDERSTANDING YOUR INSTRUMENT PANEL 143
Page 153 of 426

5. Air Bag Warning Light
This light will turn on for four to eight seconds
as a bulb check when the ignition switch is first
turned to ON/RUN. If the light is either not on
during starting, stays on, or turns on while
driving, have the system inspected at an authorized
dealer as soon as possible. Refer to “Occupant Restraints”
in “Things To Know Before Starting Your Vehicle” for
further information.
6. Park/Headlight ON Indicator — If Equipped
This indicator will illuminate when the park
lights or headlights are turned on.
7. High Beam Indicator
This light shows that the high beam headlights
are on. Push the multifunction control lever
away from you to switch the headlights to high
beam. Pull the lever toward you to switch the headlights
back to low beam. If the driver’s door is open, and the
headlights or park lights are left on, the high beam
indicator light will remain illuminated and a chime will
sound.
8. Seat Belt Reminder Light
When the ignition switch is first turned to
ON/RUN, this light will turn on for four to
eight seconds as a bulb check. During the bulb
check, if the driver’s seat belt is unbuckled, a
chime will sound. After the bulb check or when driving,
if the driver’s seat belt remains unbuckled, the seat belt
reminder light will flash or remain on continuously. Refer
to “Occupant Restraints” in “Things To Know Before
Starting Your Vehicle” for further information.
4
UNDERSTANDING YOUR INSTRUMENT PANEL 151
Page 155 of 426

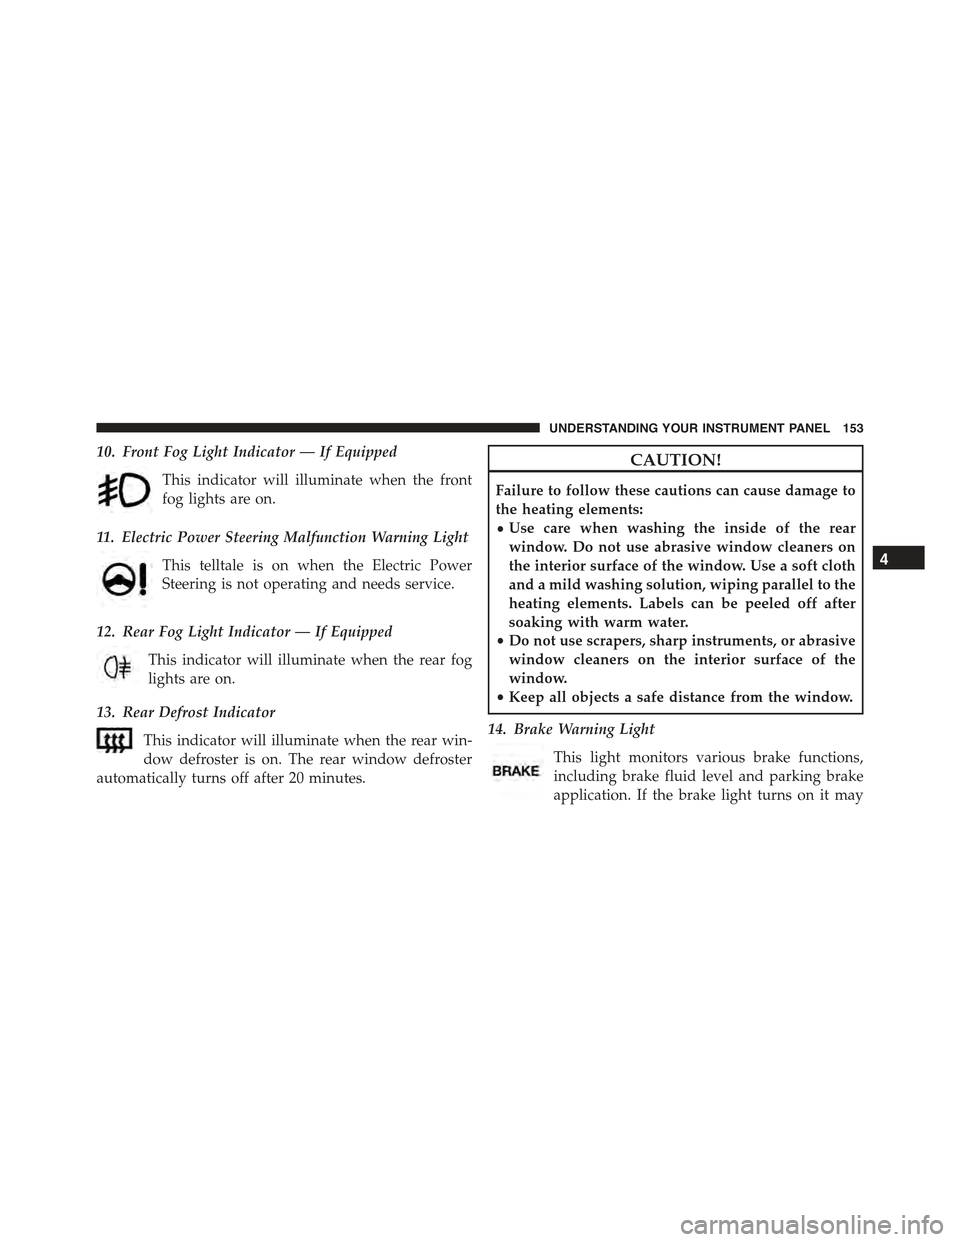
10. Front Fog Light Indicator — If Equipped
This indicator will illuminate when the front
fog lights are on.
11. Electric Power Steering Malfunction Warning Light
This telltale is on when the Electric Power
Steering is not operating and needs service.
12. Rear Fog Light Indicator — If Equipped
This indicator will illuminate when the rear fog
lights are on.
13. Rear Defrost Indicator
This indicator will illuminate when the rear win-
dow defroster is on. The rear window defroster
automatically turns off after 20 minutes.
CAUTION!
Failure to follow these cautions can cause damage to
the heating elements:
•Use care when washing the inside of the rear
window. Do not use abrasive window cleaners on
the interior surface of the window. Use a soft cloth
and a mild washing solution, wiping parallel to the
heating elements. Labels can be peeled off after
soaking with warm water.
•Do not use scrapers, sharp instruments, or abrasive
window cleaners on the interior surface of the
window.
•Keep all objects a safe distance from the window.
14. Brake Warning Light
This light monitors various brake functions,
including brake fluid level and parking brake
application. If the brake light turns on it may
4
UNDERSTANDING YOUR INSTRUMENT PANEL 153
Page 164 of 426
EVIC Displays
1. Red Telltales (Left Bank)
•Hood Ajar
•Low Oil Pressure
•Electronic Throttle Control
•Door Ajar
•Speed Limiter — If Equipped
2. Amber Telltales
•Ice Risk
•Fuel Cut Off
•Fuel Cut Off Failed
•Hill Holder Failed
•Oil Change Request
•Check Lights
•Vehicle Lock
3. Electronic Speed Control Active
4. Amber Telltales
•Generic Warning Light
•Glow Plug Light
•Park Sensor Failed
•Stop Lamp Failed
Instrument Cluster
162 UNDERSTANDING YOUR INSTRUMENT PANEL
Page 375 of 426

Interior Care
Use MOPAR® Total Clean to clean fabric upholstery and
carpeting.
Use MOPAR® Total Clean to clean vinyl upholstery.
MOPAR® Total Clean is specifically recommended for
leather upholstery.
Your leather upholstery can be best preserved by regular
cleaning with a damp soft cloth. Small particles of dirt
can act as an abrasive and damage the leather upholstery
and should be removed promptly with a damp cloth.
Stubborn soils can be removed easily with a soft cloth
and MOPAR® Total Clean. Care should be taken to avoid
soaking your leather upholstery with any liquid. Please
do not use polishes, oils, cleaning fluids, solvents, deter-
gents, or ammonia-based cleaners to clean your leather
upholstery. Application of a leather conditioner is not
required to maintain the original condition.
WARNING!
Do not use volatile solvents for cleaning purposes.
Many are potentially flammable, and if used in
closed areas they may cause respiratory harm.
CAUTION!
Do not use Alcohol and Alcohol-based and/or Keton
based cleaning products to clean leather seats, as
damage to the seat may result.
Cleaning Headlights
Your vehicle has plastic headlights that are lighter and
less susceptible to stone breakage than glass headlights.
Plastic is not as scratch resistant as glass and therefore
different lens cleaning procedures must be followed.
7
MAINTAINING YOUR VEHICLE 373