Page 13 of 426
A WORD ABOUT YOUR KEYS
The key fob contains the Remote Keyless Entry (RKE)
transmitter with an integrated key. To use the mechanical
key, simply push the mechanical key release button.
The vehicle is supplied with a code card containing key
code numbers to order duplicate keys, and the autho-
rized dealer that sold you your new vehicle has the key
code numbers for your vehicle locks. These numbers can
be used to order duplicate keys.
Ignition Key Removal
1. Push the clutch pedal to the floor.
2. Bring the vehicle to a stop.
3. Apply the parking brake fully.
4. Place the shift lever into REVERSE gear.
5. Turn the key to place the ignition switch in the
OFF/LOCK position.
Mechanical Key Release Button
2
THINGS TO KNOW BEFORE STARTING YOUR VEHICLE 11
Page 14 of 426
6. Remove the key from the ignition switch lock cylinder.
7. Release the clutch pedal.
WARNING!
•Before exiting a vehicle, always turn the ignition to
the OFF/LOCK position, apply the parking brake,
shift the transmission into REVERSE gear, and
remove the Key Fob from the vehicle. When leav-
ing the vehicle, always lock your vehicle.
•Never leave children alone in a vehicle, or with
access to an unlocked vehicle.
•Allowing children to be in a vehicle unattended is
dangerous for a number of reasons. A child or
others could be seriously or fatally injured. Chil-
dren should be warned not to touch the parking
brake, brake pedal or the gear selector.
•Do not leave the Key Fob in or near the vehicle, or
in a location accessible to children. A child could
operate power windows, other controls, or move
the vehicle.
(Continued)
Ignition Switch Positions
1—STOP(OFF/LOCK)2—MAR(ACC/ON/RUN)3—AVV(START)
12 THINGS TO KNOW BEFORE STARTING YOUR VEHICLE
Page 23 of 426
WARNING!
•Do not leave children or animals inside parked
vehicles in hot weather. Interior heat build-up may
cause serious injury or death.
(Continued)
WARNING!(Continued)
•For personal security and safety in the event of a
collision, lock the vehicle doors as you drive as
well as when you park and leave the vehicle.
•Before exiting a vehicle, always turn the ignition to
the OFF/LOCK position, apply the parking brake,
shift the transmission into REVERSE gear, and
remove the Key Fob from the vehicle. When leav-
ing the vehicle, always lock your vehicle.
•Never leave children alone in a vehicle, or with
access to an unlocked vehicle.
•Allowing children to be in a vehicle unattended is
dangerous for a number of reasons. A child or
others could be seriously or fatally injured. Chil-
dren should be warned not to touch the parking
brake, brake pedal or the gear selector.
(Continued)
Driver ’s Door Lock Handle
2
THINGS TO KNOW BEFORE STARTING YOUR VEHICLE 21
Page 83 of 426
Periodic Safety Checks You Should Make Outside
The Vehicle
Tires
Examine tires for excessive tread wear and uneven wear
patterns. Check for stones, nails, glass, or other objects
lodged in the tread or sidewall. Inspect the tread for cuts
and cracks. Inspect sidewalls for cuts, cracks and bulges.
Check the wheel bolts for tightness. Check the tires for
proper cold inflation pressure.
Lights
Have someone observe the operation of brake lights and
exterior lights while you work the controls. Check turn
signal and high beam indicator lights on the instrument
panel.
Door Latches
Check for positive closing, latching, and locking.
Fluid Leaks
Check area under vehicle after overnight parking for fuel,
engine coolant, oil, or other fluid leaks. Also, if gasoline
fumes are detected or if fuel, power steering fluid (if
equipped), or brake fluid leaks are suspected. The cause
should be located and corrected immediately.
2
THINGS TO KNOW BEFORE STARTING YOUR VEHICLE 81
Page 155 of 426

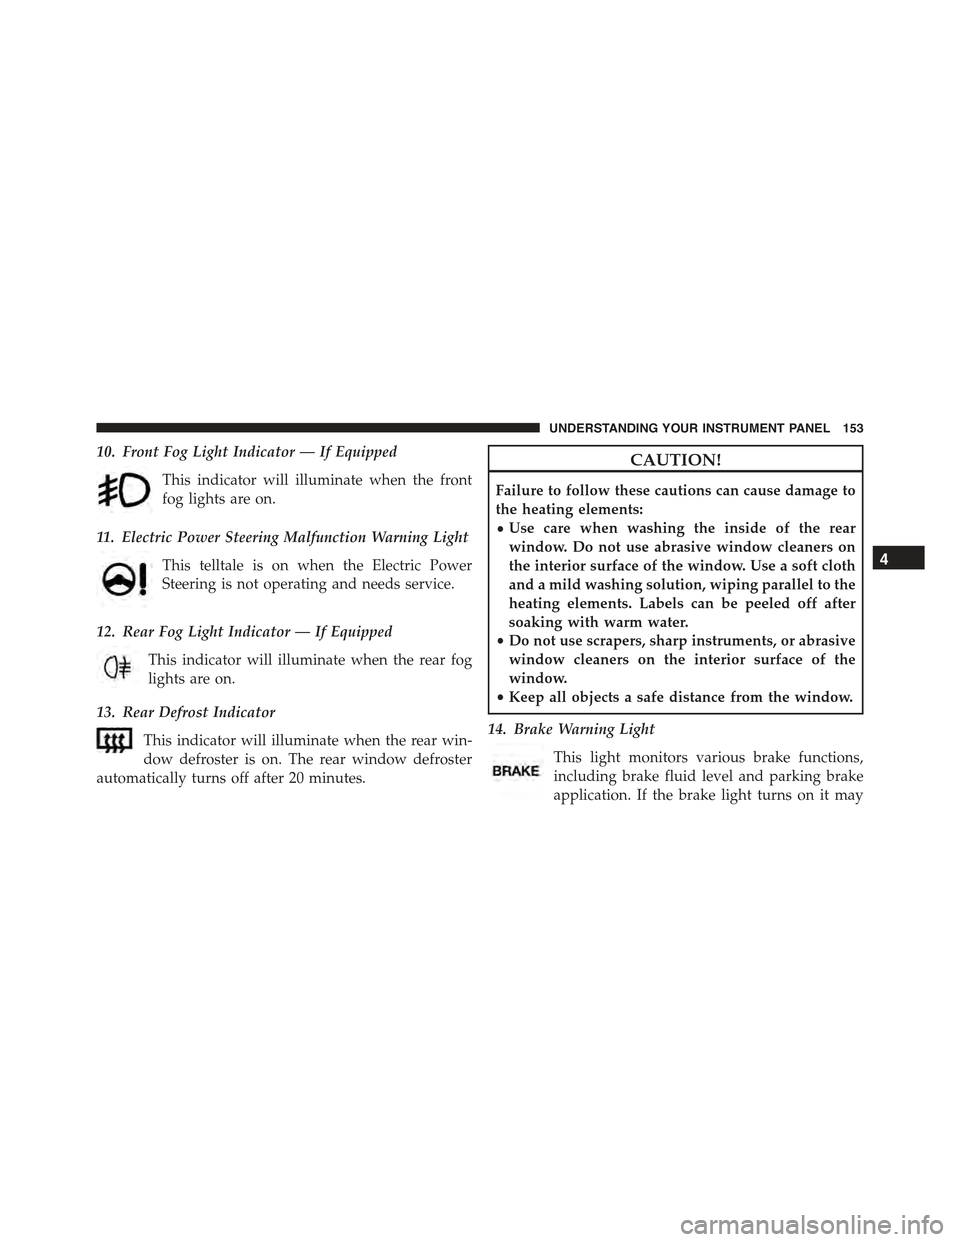
10. Front Fog Light Indicator — If Equipped
This indicator will illuminate when the front
fog lights are on.
11. Electric Power Steering Malfunction Warning Light
This telltale is on when the Electric Power
Steering is not operating and needs service.
12. Rear Fog Light Indicator — If Equipped
This indicator will illuminate when the rear fog
lights are on.
13. Rear Defrost Indicator
This indicator will illuminate when the rear win-
dow defroster is on. The rear window defroster
automatically turns off after 20 minutes.
CAUTION!
Failure to follow these cautions can cause damage to
the heating elements:
•Use care when washing the inside of the rear
window. Do not use abrasive window cleaners on
the interior surface of the window. Use a soft cloth
and a mild washing solution, wiping parallel to the
heating elements. Labels can be peeled off after
soaking with warm water.
•Do not use scrapers, sharp instruments, or abrasive
window cleaners on the interior surface of the
window.
•Keep all objects a safe distance from the window.
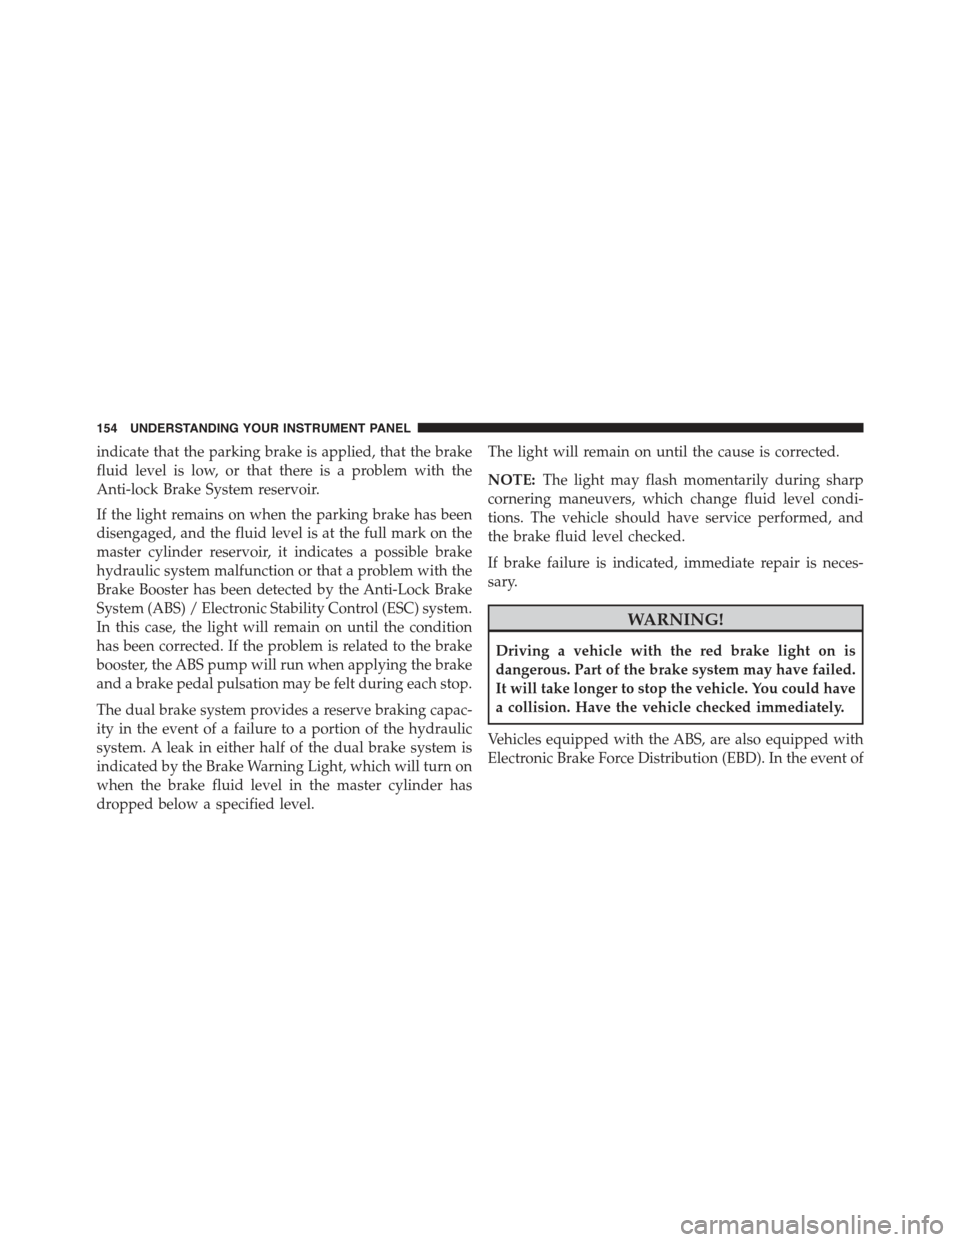
14. Brake Warning Light
This light monitors various brake functions,
including brake fluid level and parking brake
application. If the brake light turns on it may
4
UNDERSTANDING YOUR INSTRUMENT PANEL 153
Page 156 of 426

indicate that the parking brake is applied, that the brake
fluid level is low, or that there is a problem with the
Anti-lock Brake System reservoir.
If the light remains on when the parking brake has been
disengaged, and the fluid level is at the full mark on the
master cylinder reservoir, it indicates a possible brake
hydraulic system malfunction or that a problem with the
Brake Booster has been detected by the Anti-Lock Brake
System (ABS) / Electronic Stability Control (ESC) system.
In this case, the light will remain on until the condition
has been corrected. If the problem is related to the brake
booster, the ABS pump will run when applying the brake
and a brake pedal pulsation may be felt during each stop.
The dual brake system provides a reserve braking capac-
ity in the event of a failure to a portion of the hydraulic
system. A leak in either half of the dual brake system is
indicated by the Brake Warning Light, which will turn on
when the brake fluid level in the master cylinder has
dropped below a specified level.
The light will remain on until the cause is corrected.
NOTE:The light may flash momentarily during sharp
cornering maneuvers, which change fluid level condi-
tions. The vehicle should have service performed, and
the brake fluid level checked.
If brake failure is indicated, immediate repair is neces-
sary.
WARNING!
Driving a vehicle with the red brake light on is
dangerous. Part of the brake system may have failed.
It will take longer to stop the vehicle. You could have
a collision. Have the vehicle checked immediately.
Vehicles equipped with the ABS, are also equipped with
Electronic Brake Force Distribution (EBD). In the event of
154 UNDERSTANDING YOUR INSTRUMENT PANEL
Page 157 of 426

an EBD failure, the Brake Warning Light will turn on
along with the ABS Light. Immediate repair to the ABS
system is required.
Operation of the Brake Warning Light can be checked by
turning the ignition switch from the OFF position to the
ON/RUN position. The light should illuminate for ap-
proximately two seconds. The light should then turn off
unless the parking brake is applied or a brake fault is
detected. If the light does not illuminate, have the light
inspected by an authorized dealer.
The light also will turn on when the parking brake is
applied with the ignition switch in the ON/RUN posi-
tion.
NOTE:This light shows only that the parking brake is
applied. It does not show the degree of brake application.
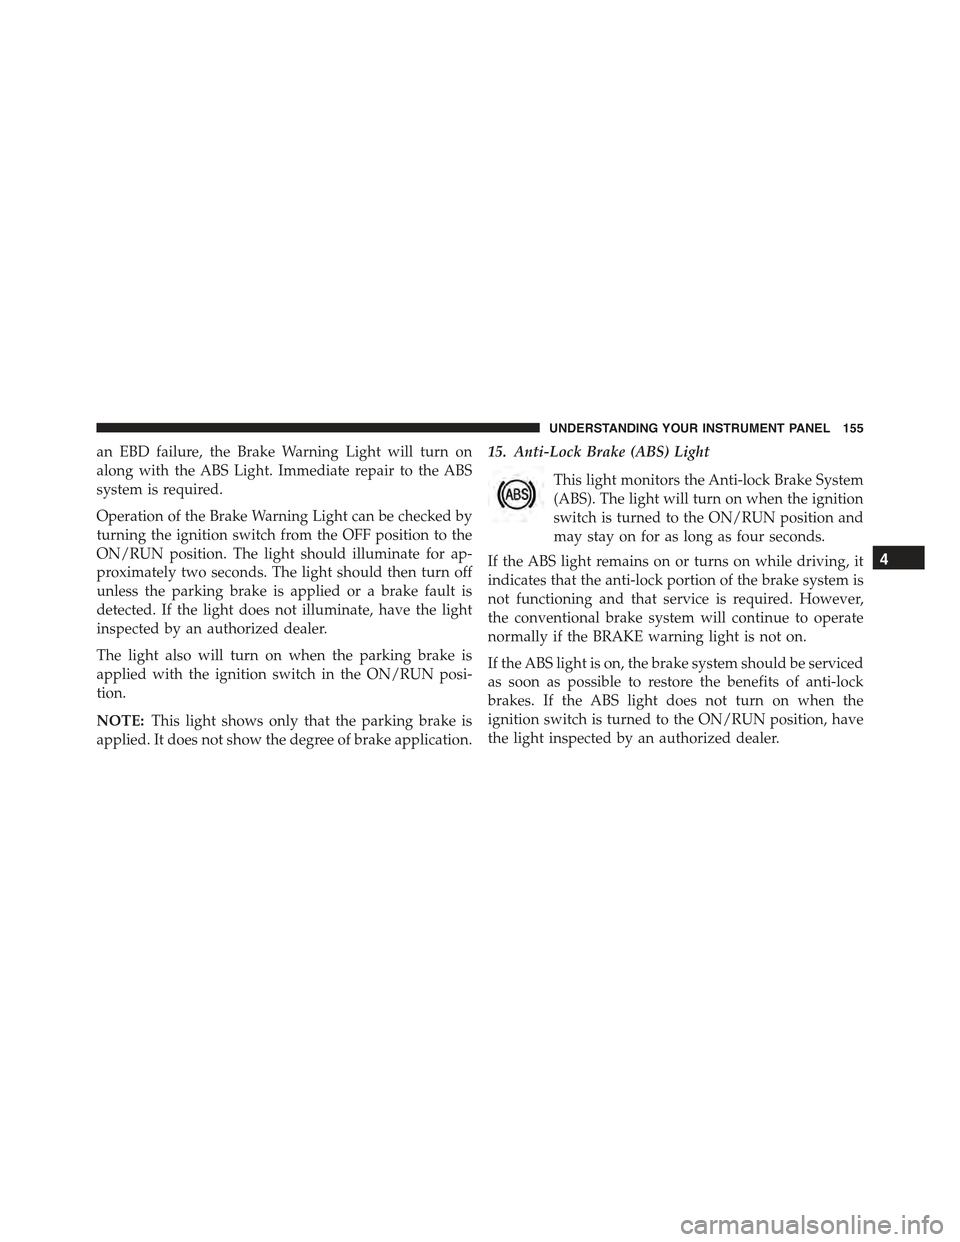
15. Anti-Lock Brake (ABS) Light
This light monitors the Anti-lock Brake System
(ABS). The light will turn on when the ignition
switch is turned to the ON/RUN position and
may stay on for as long as four seconds.
If the ABS light remains on or turns on while driving, it
indicates that the anti-lock portion of the brake system is
not functioning and that service is required. However,
the conventional brake system will continue to operate
normally if the BRAKE warning light is not on.
If the ABS light is on, the brake system should be serviced
as soon as possible to restore the benefits of anti-lock
brakes. If the ABS light does not turn on when the
ignition switch is turned to the ON/RUN position, have
the light inspected by an authorized dealer.
4
UNDERSTANDING YOUR INSTRUMENT PANEL 155
Page 226 of 426

!AUTOSTICK..........................242
▫Operation...........................242
!DRIVING ON SLIPPERY SURFACES.........244
▫Acceleration.........................244
▫Traction............................244
!DRIVING THROUGH WATER.............245
▫Flowing/Rising Water..................245
▫Shallow Standing Water.................245
!POWER STEERING.....................247
!PARKING BRAKE......................248
!SPORT MODE.........................250
▫Manual Transmission — If Equipped........250
▫Automatic Transmission — If Equipped......251
!BRAKE SYSTEM.......................252
!ELECTRONIC BRAKE CONTROL SYSTEM . . . .252
▫Four-Wheel Anti-Lock Brake System (ABS) . . .252
▫Brake Assist System (BAS)...............254
▫Traction Control System (TCS)............254
▫Hill Start Assist (HSA).................255
▫Electronic Stability Control (ESC)..........256
▫ESC Activation/Malfunction Indicator Light
And ESC OFF Indicator Light............260
!TIRE SAFETY INFORMATION.............261
▫Tire Markings........................261
▫Tire Identification Number (TIN)...........264
▫Tire Terminology And Definitions..........266
224 STARTING AND OPERATING