Page 556 of 703

WARNING!
•Do not connect trailer brakes to your vehicle’s
hydraulic brake lines. It can overload your brake
system and cause it to fail. You might not have
brakes when you need them and could have a
collision.
•Towing any trailer will increase your stopping
distance. When towing you should allow for addi-
tional space between your vehicle and the vehicle
in front of you. Failure to do so could result in a
collision.
CAUTION!
If the trailer weighs more than 1,000 lbs (454 kg)
loaded, it should have its own brakes and they
should be of adequate capacity. Failure to do this
(Continued)
CAUTION!(Continued)
could lead to accelerated brake lining wear, higher
brake pedal effort, and longer stopping distances.
Towing Requirements — Trailer Lights And Wiring
Whenever you pull a trailer, regardless of the trailer size,
stoplights and turn signals on the trailer are required for
motoring safety.
The Trailer Tow Package may include a four- and seven-
pin wiring harness. Use a factory approved trailer har-
ness and connector.
NOTE:Do not cut or splice wiring into the vehicles
wiring harness.
The electrical connections are all complete to the vehicle
but you must mate the harness to a trailer connector.
Refer to the following illustrations.
554 STARTING AND OPERATING
Page 557 of 703
Four-Pin Connector
1 — Female Pins4 — Park2 — Male Pin5 — Left Stop/Turn3—Ground6—RightStop/Turn
Seven-Pin Connector
1—Battery5—Ground2—BackupLamps6—LeftStop/Turn3—RightStop/Turn7—RunningLamps4 — Electric Brakes
5
STARTING AND OPERATING 555
Page 560 of 703
Recreational Towing — All Models
Recreational towing is allowed ONLY if the front wheels
are OFF the ground. This may be accomplished using a
tow dolly or vehicle trailer. If using a tow dolly, follow
this procedure:
1. Properly secure the dolly to the tow vehicle, following
the dolly manufacturer’s instructions.
2. Drive the front wheels onto the tow dolly.
3. Firmly apply the parking brake. Place the transmis-
sion in PARK.
4. Properly secure the front wheels to the dolly, follow-
ing the dolly manufacturer’s instructions.
5. Release the parking brake.
CAUTION!
•DO NOT flat tow this vehicle. Damage to the
drivetrain will result. If this vehicle requires tow-
ing, make sure the drive wheels are OFF the
ground.
•Towing this vehicle in violation of the above re-
quirements can cause severe transmission damage.
Damage from improper towing is not covered un-
der the New Vehicle Limited Warranty.
558 STARTING AND OPERATING
Page 570 of 703

on the ground. This will provide the best positioning
of the kit when injecting the sealant into the deflated
tire and running the air pump. Move the vehicle as
necessary to place the valve stem in this position
before proceeding.
3. Place the transmission in PARK (auto transmission) or
in Gear (manual transmission) and turn Off the igni-
tion.
4. Set the parking brake.
(B) Setting Up To Use Tire Service Kit:
1. Push in the Mode Select Knob (5) and turn to the
Sealant Mode position.
2. Uncoil the Sealant Hose (6) and then remove the cap
from the fitting at the end of the hose.
3. Place the Tire Service Kit flat on the ground next to the
deflated tire.
4. Remove the cap from the valve stem and then screw
the fitting at the end of the Sealant Hose (6) onto the
valve stem.
5. Uncoil the Power Plug (8) and insert the plug into the
vehicle’s 12 Volt power outlet.
NOTE:Do not remove foreign objects (e.g., screws or
nails) from the tire.
(C) Injecting Tire Service Kit Sealant Into The
Deflated Tire:
•Always start the engine before turning ON the Tire
Service Kit.
NOTE:Manual transmission vehicles must have the
parking brake engaged and the shift lever in NEUTRAL.
•After pressing the Power Button (4), the sealant (white
fluid) will flow from the Sealant Bottle (1) through the
Sealant Hose (6) and into the tire.
568 WHAT TO DO IN EMERGENCIES
Page 584 of 703
4. Stand the tire/cover assembly upright and remove the
wheel spacer by squeezing the winch retaining tabs
together. Push the retainer through the spare tire to
release it from the wheel.
Preparations For Jacking
1. Park the vehicle on a firm, level surface. Avoid ice or
slippery areas.
WARNING!
Do not attempt to change a tire on the side of the
vehicle close to moving traffic, pull far enough off
the road to avoid being hit when operating the jack
or changing the wheel.
2. Turn on the Hazard Warning flasher.
3. Set the parking brake.
4. Place the shift lever into PARK.
5. Turn OFF the ignition.Removing Wheel Spacer
582 WHAT TO DO IN EMERGENCIES
Page 585 of 703

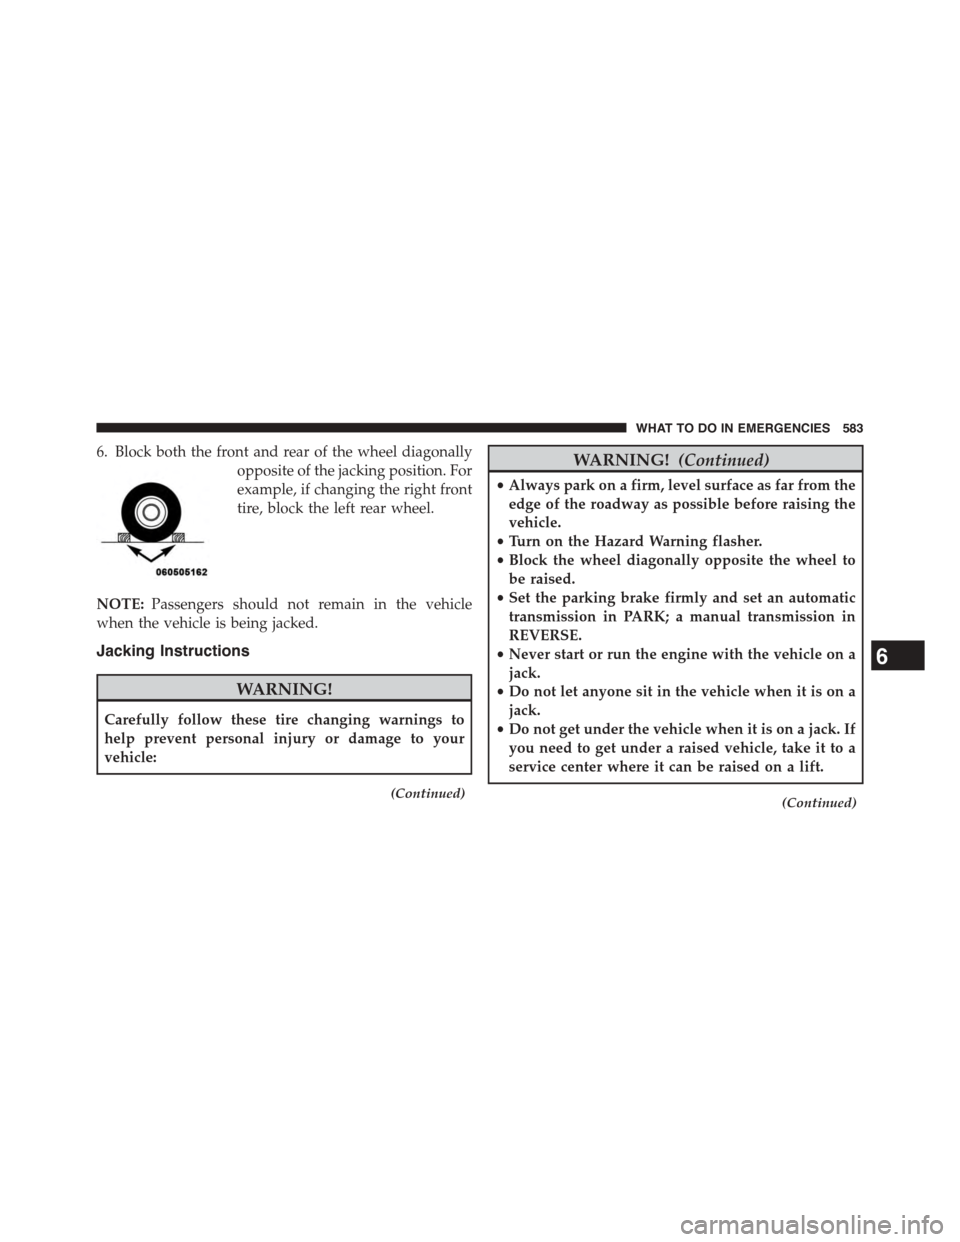
6. Block both the front and rear of the wheel diagonally
opposite of the jacking position. For
example, if changing the right front
tire, block the left rear wheel.
NOTE:Passengers should not remain in the vehicle
when the vehicle is being jacked.
Jacking Instructions
WARNING!
Carefully follow these tire changing warnings to
help prevent personal injury or damage to your
vehicle:
(Continued)
WARNING!(Continued)
•Always park on a firm, level surface as far from the
edge of the roadway as possible before raising the
vehicle.
•Turn on the Hazard Warning flasher.
•Block the wheel diagonally opposite the wheel to
be raised.
•Set the parking brake firmly and set an automatic
transmission in PARK; a manual transmission in
REVERSE.
•Never start or run the engine with the vehicle on a
jack.
•Do not let anyone sit in the vehicle when it is on a
jack.
•Do not get under the vehicle when it is on a jack. If
you need to get under a raised vehicle, take it to a
service center where it can be raised on a lift.
(Continued)
6
WHAT TO DO IN EMERGENCIES 583
Page 597 of 703
Preparations For Jump-Start
The battery in your vehicle is located on the left side of
the engine compartment.
WARNING!
•Take care to avoid the radiator cooling fan when-
ever the hood is raised. It can start anytime the
ignition switch is ON. You can be injured by
moving fan blades.
•Remove any metal jewelry such as rings, watch
bands and bracelets that could make an inadvertent
electrical contact. You could be seriously injured.
•Batteries contain sulfuric acid that can burn your
skin or eyes and generate hydrogen gas which is
flammable and explosive. Keep open flames or
sparks away from the battery.
1. Set the parking brake, shift the automatic transmission
into PARK and turn the ignition to LOCK.
2. Turn off the heater, radio, and all unnecessary electri-
cal accessories.
Positive Battery Post
6
WHAT TO DO IN EMERGENCIES 595
Page 598 of 703

3. If using another vehicle to jump-start the battery, park
the vehicle within the jumper cables reach, set the
parking brake and make sure the ignition is OFF.
WARNING!
Do not allow vehicles to touch each other as this
could establish a ground connection and personal
injury could result.
Jump-Starting Procedure
WARNING!
Failure to follow this jump-starting procedure could
result in personal injury or property damage due to
battery explosion.
CAUTION!
Failure to follow these procedures could result in
damage to the charging system of the booster vehicle
or the discharged vehicle.
Connecting The Jumper Cables
1. Connect the positive(+)end of the jumper cable to the
positive(+)post of the vehicle with the discharged
battery.
2. Connect the opposite end of the positive(+)jumper
cable to the positive(+)post of the booster battery.
3. Connect the negative(-)end of the jumper cable to the
negative(-)post of the booster battery.
4. Connect the opposite end of the negative(-)jumper
cable to a good engine ground (exposed metal part of
596 WHAT TO DO IN EMERGENCIES