Page 574 of 703
If the tire pressure is 19 psi (1.3 Bar) or higher:
1. Press the Power Button (4) to turn on Tire Service Kit
and inflate the tire to the pressure indicated on the tire
and loading information label on the driver-side door
opening.
NOTE:If the tire becomes over-inflated, press the Defla-
tion Button to reduce the tire pressure to the recom-
mended inflation pressure before continuing.
2. Disconnect the Tire Service Kit from the valve stem,
reinstall the cap on the valve stem and unplug from 12
Volt outlet.
3. Place the Tire Service Kit in its proper storage area in
the vehicle.
4. Have the tire inspected and repaired or replaced at the
earliest opportunity at an authorized dealer or tire
service center.
5. Remove the Speed Limit sticker from the instrument
panel after the tire has been repaired.
6. Replace the Sealant Bottle (1) and Sealant Hose (6)
assembly at your authorized dealer as soon as pos-
sible. Refer to (F) “Sealant Bottle and Hose Replace-
ment”.
NOTE:When having the tire serviced, advise the autho-
rized dealer or service center that the tire has been sealed
using the Tire Service Kit.
(F) Sealant Bottle And Hose Replacement:
1. Uncoil the Sealant Hose (6) (clear in color).
2. Locate the round Sealant Bottle release button in the
recessed area under the sealant bottle.
3. Press the Sealant Bottle release button. The Sealant
Bottle (1) will pop up. Remove the bottle and dispose
of it accordingly.
572 WHAT TO DO IN EMERGENCIES
Page 575 of 703
4. Clean any remaining sealant from the Tire Service Kit
housing.
5. Position the new Sealant Bottle (1) in the housing so
that the Sealant Hose (6) aligns with the hose slot in
the front of the housing. Press the bottle into the
housing. An audible click will be heard indicating the
bottle is locked into place.
6. Verify that the cap is installed on the fitting at the end
of the Sealant Hose (6) and return the hose to its
storage area (located on the bottom of the air pump).
7. Return the Tire Service Kit to its storage location in the
vehicle.
WHEEL AND TIRE TORQUE SPECIFICATIONS
Proper lug nut/bolt torque is very important to ensure
that the wheel is properly mounted to the vehicle. Any
time a wheel has been removed and reinstalled on the
vehicle the lug nuts/bolts should be torqued using a
properly calibrated torque wrench.
Torque Specifications
Lug Nut/Bolt Torque **Lug Nut/
Bolt Size
Lug Nut/
Bolt
Socket
Size
100 Ft-Lbs (135 N·m) M12 x 1.25 19 mm
**Use only Chrysler recommended lug nuts/bolts and
clean or remove any dirt or oil before tightening.
6
WHAT TO DO IN EMERGENCIES 573
Page 607 of 703
MAINTAINING YOUR VEHICLE
CONTENTS
!ENGINE COMPARTMENT — 3.6L..........607
!ONBOARD DIAGNOSTIC SYSTEM — OBD II . .608
▫Loose Fuel Filler Cap Message............608
!EMISSIONS INSPECTION AND MAINTENANCE
PROGRAMS..........................609
!REPLACEMENT PARTS..................611
!DEALER SERVICE......................611
!MAINTENANCE PROCEDURES...........612
▫Engine Oil..........................612
▫Engine Oil Filter......................615
▫Engine Air Cleaner Filter................615
▫Exhaust System......................616
▫Maintenance-Free Battery...............618
▫Air Conditioner Maintenance.............619
▫Body Lubrication.....................622
▫Windshield Wiper Blades...............622
▫Cooling System......................624
▫Brake System........................630
▫Automatic Transmission................633
7
Page 609 of 703
ENGINE COMPARTMENT — 3.6L
1—AirFilter6—EngineCoolantReservoir2 — Power Steering Fluid Reservoir7 — Engine Oil Dipstick3 — Brake Fluid Reservoir8 — Engine Oil Fill4 — Battery9 — Coolant Pressure Cap5 — Totally Integrated Power Module (Fuses)10 — Washer Fluid Reservoir
7
MAINTAINING YOUR VEHICLE 607
Page 614 of 703

MAINTENANCE PROCEDURES
The pages that follow contain therequiredmaintenance
services determined by the engineers who designed your
vehicle.
Besides those maintenance items specified in the fixed
“Maintenance Schedule”, there are other components
which may require servicing or replacement in the future.
CAUTION!
•Failure to properly maintain your vehicle or per-
form repairs and service when necessary could
result in more costly repairs, damage to other
components or negatively impact vehicle perfor-
mance. Immediately have potential malfunctions
examined by an authorized dealer or qualified
repair center.
(Continued)
CAUTION!(Continued)
•Your vehicle has been built with improved fluids
that protect the performance and durability of your
vehicle and also allow extended maintenance inter-
vals. Do not use chemical flushes in these compo-
nents as the chemicals can damage your engine,
transmission, power steering or air conditioning.
Such damage is not covered by the New Vehicle
Limited Warranty. If a flush is needed because of
component malfunction, use only the specified
fluid for the flushing procedure.
Engine Oil
Checking Oil Level
To assure proper engine lubrication, the engine oil must
be maintained at the correct level. Check the oil level at
612 MAINTAINING YOUR VEHICLE
Page 615 of 703

regular intervals, such as every fuel stop. The best time to
check the engine oil level is about five minutes after a
fully warmed engine is shut OFF.
Checking the oil while the vehicle is on level ground will
improve the accuracy of the oil level readings. Maintain
the oil level between the MIN and MAX markings on the
dipstick. Adding one quart of oil when the reading is at
the MIN mark will result in a MAX reading on these
engines.
CAUTION!
Overfilling or underfilling will cause oil aeration, or
loss of oil pressure. This could damage your engine.
Change Engine Oil
The oil change indicator system will remind you that it is
time to take your vehicle in for scheduled maintenance.
Refer to the “Maintenance Schedule” for further informa-
tion.
NOTE: Under no circumstances should oil change in-
tervals exceed 10,000 miles (16,000 km) or twelve
months, whichever occurs first.
Engine Oil Selection
For best performance and maximum protection under all
types of operating conditions, the manufacturer only
recommends engine oils that are API Certified and meet
the requirements of Chrysler Material Standard MS-6395.
7
MAINTAINING YOUR VEHICLE 613
Page 616 of 703
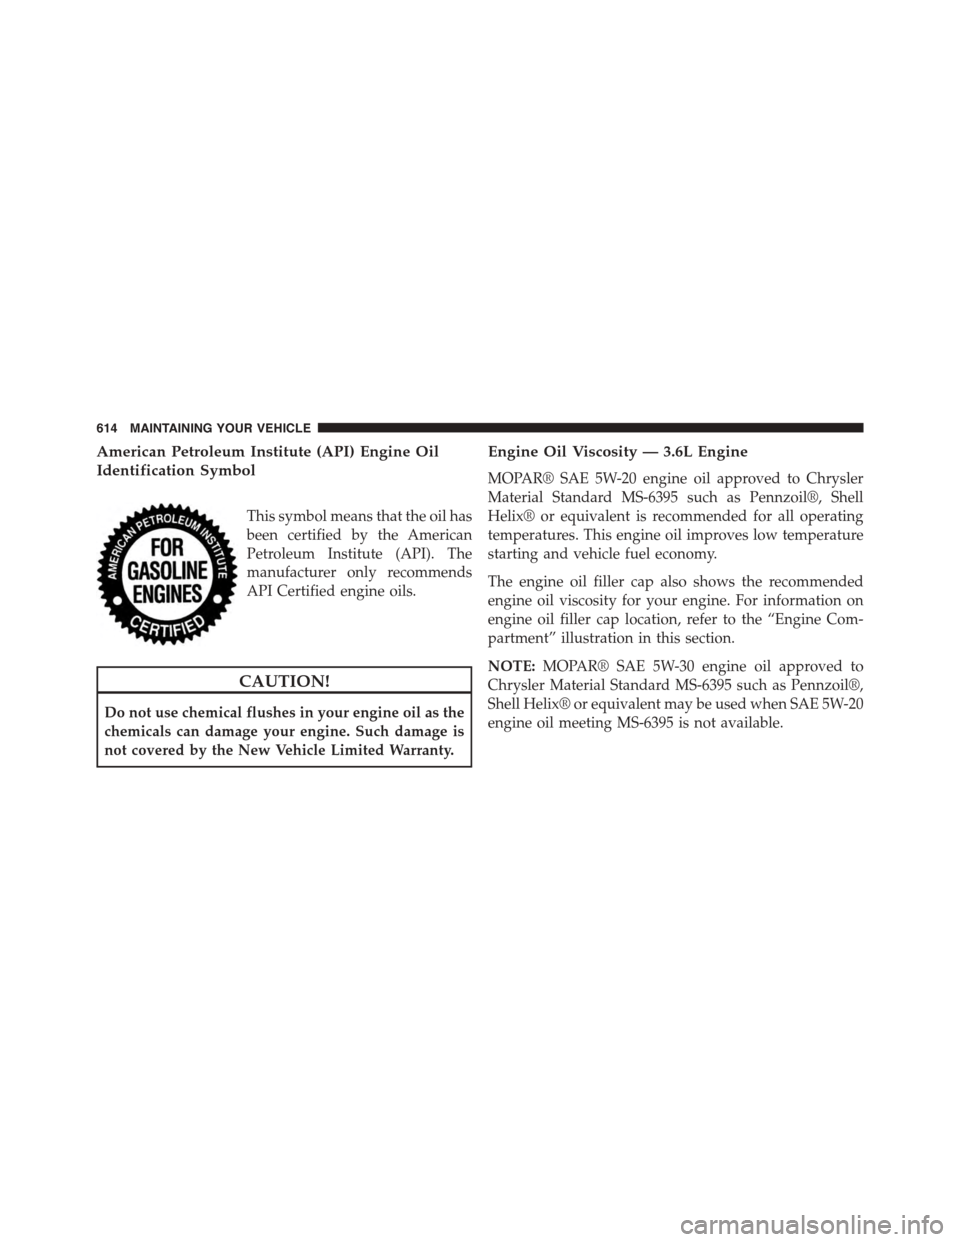
American Petroleum Institute (API) Engine Oil
Identification Symbol
This symbol means that the oil has
been certified by the American
Petroleum Institute (API). The
manufacturer only recommends
API Certified engine oils.
CAUTION!
Do not use chemical flushes in your engine oil as the
chemicals can damage your engine. Such damage is
not covered by the New Vehicle Limited Warranty.
Engine Oil Viscosity — 3.6L Engine
MOPAR® SAE 5W-20 engine oil approved to Chrysler
Material Standard MS-6395 such as Pennzoil®, Shell
Helix® or equivalent is recommended for all operating
temperatures. This engine oil improves low temperature
starting and vehicle fuel economy.
The engine oil filler cap also shows the recommended
engine oil viscosity for your engine. For information on
engine oil filler cap location, refer to the “Engine Com-
partment” illustration in this section.
NOTE:MOPAR® SAE 5W-30 engine oil approved to
Chrysler Material Standard MS-6395 such as Pennzoil®,
Shell Helix® or equivalent may be used when SAE 5W-20
engine oil meeting MS-6395 is not available.
614 MAINTAINING YOUR VEHICLE
Page 617 of 703
Synthetic Engine Oils
You may use synthetic engine oils provided the recom-
mended oil quality requirements are met, and the recom-
mended maintenance intervals for oil and filter changes
are followed.
Materials Added To Engine Oil
The manufacturer strongly recommends against the ad-
dition of any additives (other than leak detection dyes) to
the engine oil. Engine oil is an engineered product and its
performance may be impaired by supplemental addi-
tives.
Disposing Of Used Engine Oil And Oil Filters
Care should be taken in disposing of used engine oil and
oil filters from your vehicle. Used oil and oil filters,
indiscriminately discarded, can present a problem to the
environment. Contact your authorized dealer, service
station or governmental agency for advice on how and
where used oil and oil filters can be safely discarded in
your area.
Engine Oil Filter
The engine oil filter should be replaced with a new filter
at every engine oil change.
Engine Oil Filter Selection
This manufacturer’s engines have a full-flow type oil
filter. Use a filter of this type for replacement. The quality
of replacement filters varies considerably. Only high
quality filters should be used to assure most efficient
service. MOPAR® engine oil filters are a high quality oil
filter and are recommended.
Engine Air Cleaner Filter
Refer to the “Maintenance Schedule” for the proper
maintenance intervals.
7
MAINTAINING YOUR VEHICLE 615