Page 341 of 703

button to scroll through the available information dis-
plays, then push and release SELECT to display any one
of the following choices.
•Coolant Temp
Displays the actual coolant temperature.
•Oil Temp
Displays the actual oil temperature.
•Oil Pressure
Displays the actual oil pressure.
•Trailer Brake — If Equipped
Displays trailer brake output power and trailer brake
status indicator.
•Engine Hours
Displays the number of hours of engine operation.
Messages #
Select from Main Menu using the UP or DOWN buttons.
This feature shows the number of stored warning mes-
sages (in the # place holder). Pushing the SELECT button
will allow you to see what the stored messages are. Push
and release the UP and DOWN buttons if there is more
than one message to step through the remaining stored
messages. Pushing the BACK button takes you back to
the Main Menu.
Keyless Enter-N-Go™ Display — If Equipped
When the ENGINE START/STOP button is pushed to
change ignition switch position, current ignition status
will be displayed in the lower right corner of the EVIC
display to the right of the odometer value.
Refer to “Keyless Enter-N-Go™” in “Starting And Oper-
ating” for more information.
4
UNDERSTANDING YOUR INSTRUMENT PANEL 339
Page 459 of 703
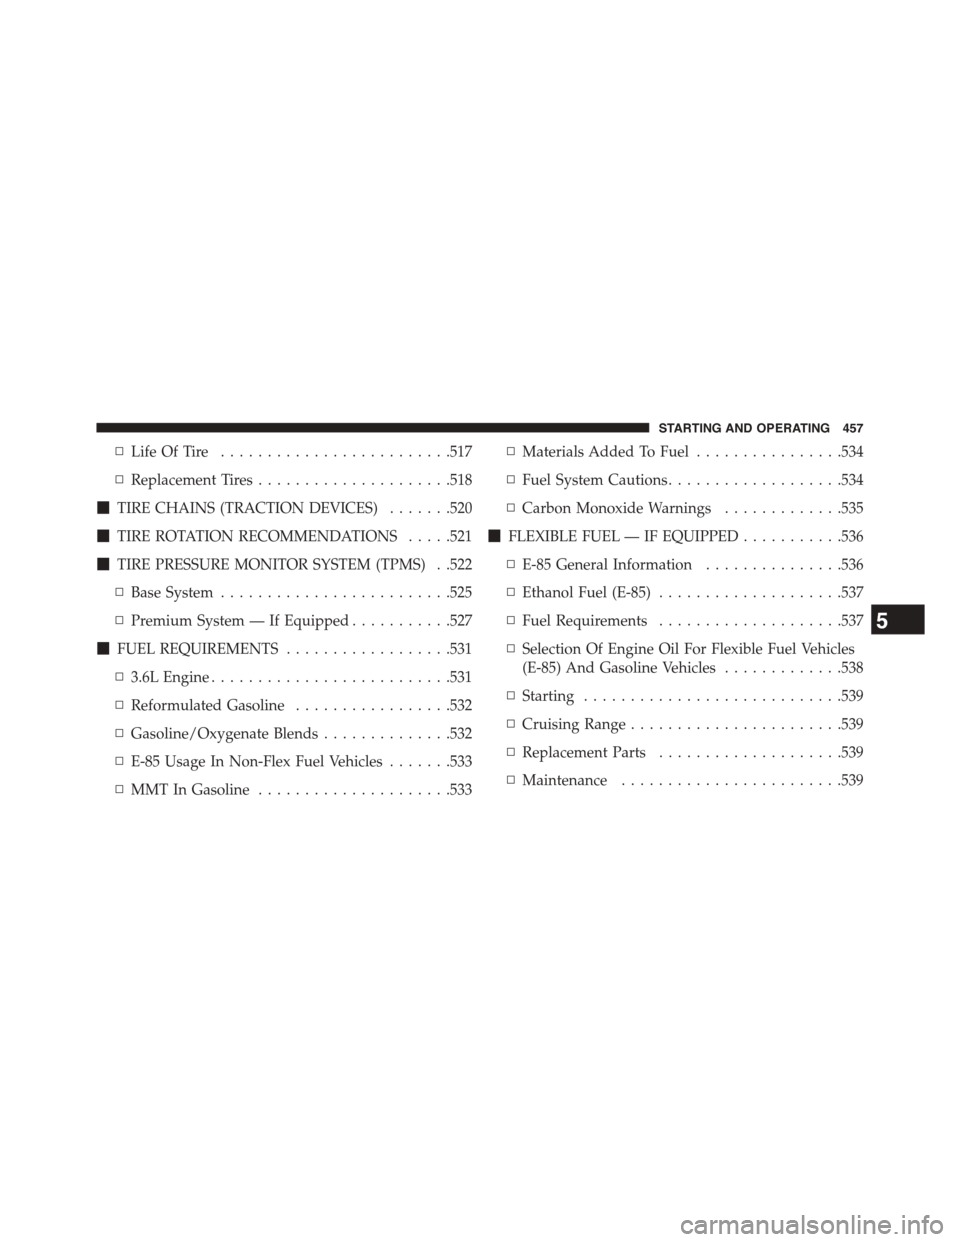
▫Life Of Tire.........................517
▫Replacement Tires.....................518
!TIRE CHAINS (TRACTION DEVICES).......520
!TIRE ROTATION RECOMMENDATIONS.....521
!TIRE PRESSURE MONITOR SYSTEM (TPMS) . .522
▫Base System.........................525
▫Premium System — If Equipped...........527
!FUEL REQUIREMENTS..................531
▫3.6L Engine..........................531
▫Reformulated Gasoline.................532
▫Gasoline/Oxygenate Blends..............532
▫E-85 Usage In Non-Flex Fuel Vehicles.......533
▫MMT In Gasoline.....................533
▫Materials Added To Fuel................534
▫Fuel System Cautions...................534
▫Carbon Monoxide Warnings.............535
!FLEXIBLE FUEL — IF EQUIPPED...........536
▫E-85 General Information...............536
▫Ethanol Fuel (E-85)....................537
▫Fuel Requirements....................537
▫Selection Of Engine Oil For Flexible Fuel Vehicles
(E-85) And Gasoline Vehicles.............538
▫Starting............................539
▫Cruising Range.......................539
▫Replacement Parts....................539
▫Maintenance........................539
5
STARTING AND OPERATING 457
Page 480 of 703

CAUTION!(Continued)
•Driving through standing water may cause damage
to your vehicle’s drivetrain components. Always
inspect your vehicle’s fluids (i.e., engine oil, trans-
mission, axle, etc.) for signs of contamination (i.e.,
fluid that is milky or foamy in appearance) after
driving through standing water. Do not continue to
operate the vehicle if any fluid appears contami-
nated, as this may result in further damage. Such
damage is not covered by the New Vehicle Limited
Warranty.
•Getting water inside your vehicle’s engine can
cause it to lock up and stall out, and cause serious
internal damage to the engine. Such damage is not
covered by the New Vehicle Limited Warranty.
POWER STEERING
The standard power steering system will give you good
vehicle response and increased ease of maneuverability
in tight spaces. The system will provide mechanical
steering capability if power assist is lost.
If for some reason the power assist is interrupted, it will
still be possible to steer your vehicle. Under these condi-
tions, you will observe a substantial increase in steering
effort, especially at very low vehicle speeds and during
parking maneuvers.
NOTE:
•Increased noise levels at the end of the steering wheel
travel are considered normal and do not indicate that
there is a problem with the power steering system.
•Upon initial start-up in cold weather, the power steer-
ing pump may make noise for a short amount of time.
This is due to the cold, thick fluid in the steering
478 STARTING AND OPERATING
Page 520 of 703

tread life. Rotation of these tires per the vehicle main-
tenance schedule is highly recommended.
WARNING!
Tires and the spare tire should be replaced after six
years, regardless of the remaining tread. Failure to
follow this warning can result in sudden tire failure.
You could lose control and have a collision resulting
in serious injury or death.
Keep dismounted tires in a cool, dry place with as little
exposure to light as possible. Protect tires from contact
with oil, grease, and gasoline.
Replacement Tires
The tires on your new vehicle provide a balance of many
characteristics. They should be inspected regularly for
wear and correct cold tire inflation pressures. The manu-
facturer strongly recommends that you use tires equiva-
lent to the originals in size, quality and performance
when replacement is needed. Refer to the paragraph on
“Tread Wear Indicator.” Refer to the Tire and Loading
Information placard or the Vehicle Certification Label for
the size designation of your tire. The Load Index and
Speed Symbol for your tire will be found on the original
equipment tire sidewall. See the Tire Sizing Chart ex-
ample found in the Tire Safety Information section of this
manual for more information relating to the Load Index
and Speed Symbol of a tire.
It is recommended to replace the two front tires or two
rear tires as a pair. Replacing just one tire can seriously
affect your vehicle’s handling. If you ever replace a
wheel, make sure that the wheel’s specifications match
those of the original wheels.
518 STARTING AND OPERATING
Page 535 of 703
E-85 Usage In Non-Flex Fuel Vehicles
Non-Flex Fuel Vehicles (FFV) are compatible with gaso-
line containing 10% ethanol (E10). Gasoline with higher
ethanol content may void the New Vehicle Limited
Warranty.
If a Non-FFV vehicle is inadvertently fueled with E-85
fuel, the engine will have some or all of these symptoms:
•Operate in a lean mode.
•OBD II “Malfunction Indicator Light” on.
•Poor engine performance.
•Poor cold start and cold drivability.
•Increased risk for fuel system component corrosion.
To fix a Non-FFV vehicle inadvertently fueled once with
E-85 perform the following:
•Drain the fuel tank (see your authorized dealer).
•Change the engine oil and oil filter.
•Disconnect and reconnect the battery to reset the
engine controller memory.
More extensive repairs will be required for prolonged
exposure to E-85 fuel.
MMT In Gasoline
Methylcyclopentadienyl Manganese Tricarbonyl (MMT)
is a manganese-containing metallic additive that is
blended into some gasoline to increase octane. Gasoline
blended with MMT provides no performance advantage
beyond gasoline of the same octane number without
MMT. Gasoline blended with MMT reduces spark plug
life and reduces emissions system performance in some
vehicles. The manufacturer recommends that gasoline
5
STARTING AND OPERATING 533
Page 540 of 703
When you do switch fuel types it is recommended that:
•You do not add less than 5 gallons (19 Liters) when
refueling.
•You drive the vehicle immediately after refueling for at
least 5 miles (8 km).
Observing these precautions will avoid possible hard
starting and/or significant deterioration in driveability
during warm up.
NOTE:
•Use seasonally adjusted E-85 fuel (ASTM D5798). With
non-seasonally adjusted E-85 fuel, you may experience
hard starting and rough idle following start up even if
the above recommendations are followed, especially
when the ambient temperature is below 32°F (0°C).
•Some additives used in regular gasoline are not fully
compatible with E-85 and may form deposits in your
engine. To eliminate driveability issues that may be
caused by these deposits, a supplemental gasoline
additive, such as MOPAR® Injector Cleanup or
Techron may be used.
Selection Of Engine Oil For Flexible Fuel Vehicles
(E-85) And Gasoline Vehicles
FFV vehicles operated on E-85 require specially formu-
lated engine oils. These special requirements are included
in MOPAR® engine oils, and in equivalent oils meeting
Chrysler Specification MS-6395. The manufacturer only
recommends engine oils that are API Certified and meet
the requirements of Material Standard MS-6395. MS-6395
contains additional requirements, developed during ex-
tensive fleet testing, to provide additional protection to
Chrysler Group LLC engines. Use MOPAR® or an
equivalent oil meeting the specification MS-6395.
538 STARTING AND OPERATING
Page 570 of 703
on the ground. This will provide the best positioning
of the kit when injecting the sealant into the deflated
tire and running the air pump. Move the vehicle as
necessary to place the valve stem in this position
before proceeding.
3. Place the transmission in PARK (auto transmission) or
in Gear (manual transmission) and turn Off the igni-
tion.
4. Set the parking brake.
(B) Setting Up To Use Tire Service Kit:
1. Push in the Mode Select Knob (5) and turn to the
Sealant Mode position.
2. Uncoil the Sealant Hose (6) and then remove the cap
from the fitting at the end of the hose.
3. Place the Tire Service Kit flat on the ground next to the
deflated tire.
4. Remove the cap from the valve stem and then screw
the fitting at the end of the Sealant Hose (6) onto the
valve stem.
5. Uncoil the Power Plug (8) and insert the plug into the
vehicle’s 12 Volt power outlet.
NOTE:Do not remove foreign objects (e.g., screws or
nails) from the tire.
(C) Injecting Tire Service Kit Sealant Into The
Deflated Tire:
•Always start the engine before turning ON the Tire
Service Kit.
NOTE:Manual transmission vehicles must have the
parking brake engaged and the shift lever in NEUTRAL.
•After pressing the Power Button (4), the sealant (white
fluid) will flow from the Sealant Bottle (1) through the
Sealant Hose (6) and into the tire.
568 WHAT TO DO IN EMERGENCIES
Page 573 of 703
(D) Drive Vehicle:
Immediately after injecting sealant and inflating the tire,
drive the vehicle 5 miles (8 km) or 10 minutes to ensure
distribution of the Tire Service Kit Sealant within the tire.
Do not exceed 55 mph (90 km/h).
WARNING!
Tire Service Kit is not a permanent flat tire repair.
Have the tire inspected and repaired or replaced after
using Tire Service Kit. Do not exceed 55 mph (90
km/h) until the tire is repaired or replaced. Failure to
follow this warning can result in injuries that are
serious or fatal to you, your passengers, and others
around you.
(E) After Driving:
Pull over to a safe location. Refer to “Whenever You Stop
to Use Tire Service Kit” before continuing.
1. Push in the Mode Select Knob (5) and turn to the Air
Mode position.
2. Uncoil the power plug and insert the plug into the
vehicle’s 12 Volt power outlet.
3. Uncoil the Air Pump Hose (7) (black in color) and
screw the fitting at the end of hose (7) onto the valve
stem.
4. Check the pressure in the tire by reading the Pressure
Gauge (3).
If tire pressure is less than 19 psi (1.3 Bar):
The tire is too badly damaged. Do not attempt to drive
the vehicle further. Call for assistance.
6
WHAT TO DO IN EMERGENCIES 571