2015 DODGE GRAND CARAVAN light
[x] Cancel search: lightPage 336 of 703
overheating will cause the temperature gauge to passH,
a continuous chime will occur until the engine is allowed
to cool.
If the light turns on while driving, safely pull over and
stop the vehicle. If the A/C system is on, turn it off. Also,
shift the transmission into NEUTRAL and idle the ve-
hicle. If the temperature reading does not return to
normal, turn the engine off immediately and call for
service. Refer to “If Your Engine Overheats” in “What To
Do In Emergencies” for more information.
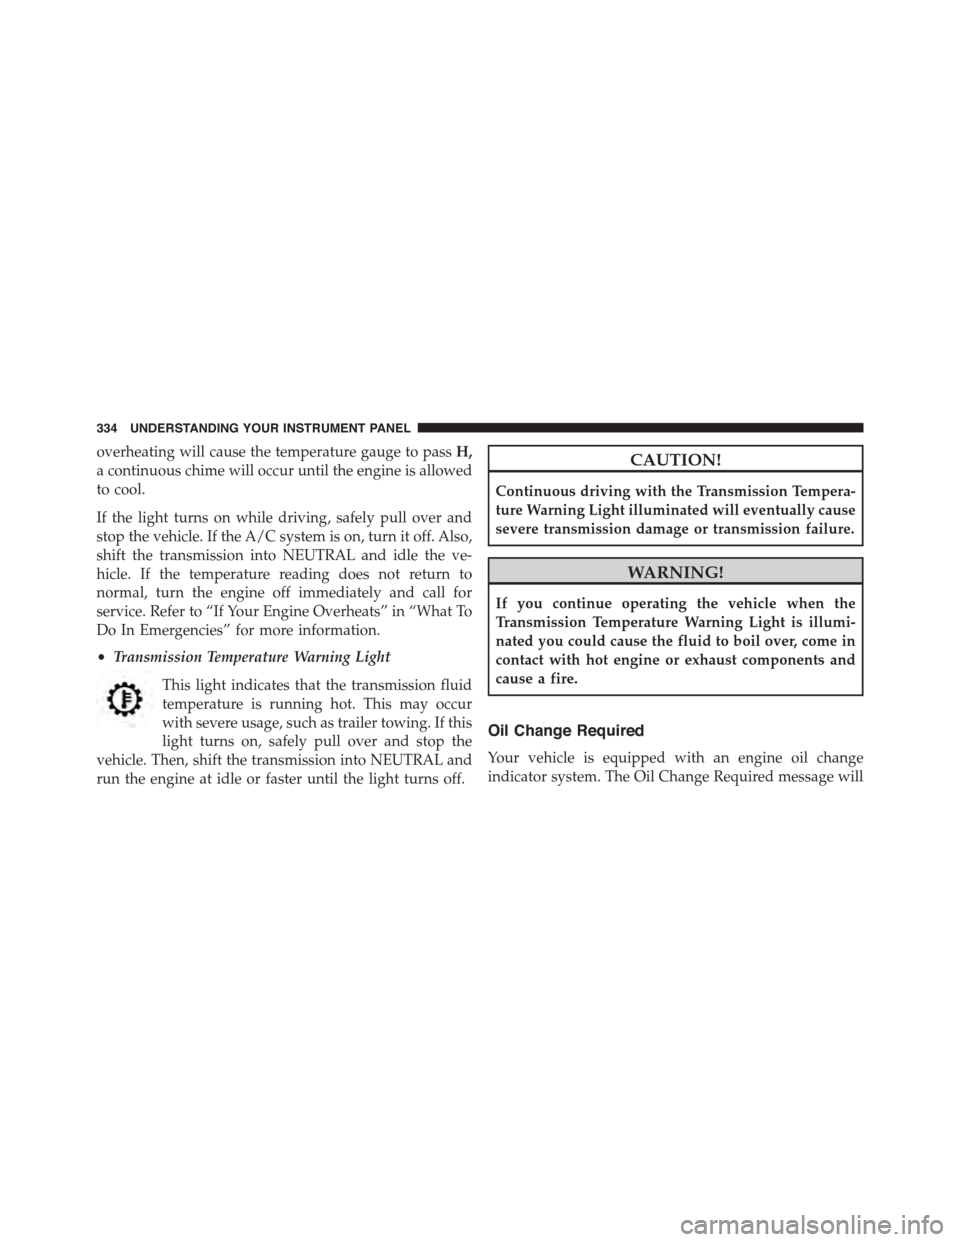
•Transmission Temperature Warning Light
This light indicates that the transmission fluid
temperature is running hot. This may occur
with severe usage, such as trailer towing. If this
light turns on, safely pull over and stop the
vehicle. Then, shift the transmission into NEUTRAL and
run the engine at idle or faster until the light turns off.
CAUTION!
Continuous driving with the Transmission Tempera-
ture Warning Light illuminated will eventually cause
severe transmission damage or transmission failure.
WARNING!
If you continue operating the vehicle when the
Transmission Temperature Warning Light is illumi-
nated you could cause the fluid to boil over, come in
contact with hot engine or exhaust components and
cause a fire.
Oil Change Required
Your vehicle is equipped with an engine oil change
indicator system. The Oil Change Required message will
334 UNDERSTANDING YOUR INSTRUMENT PANEL
Page 338 of 703
Fuel Economy
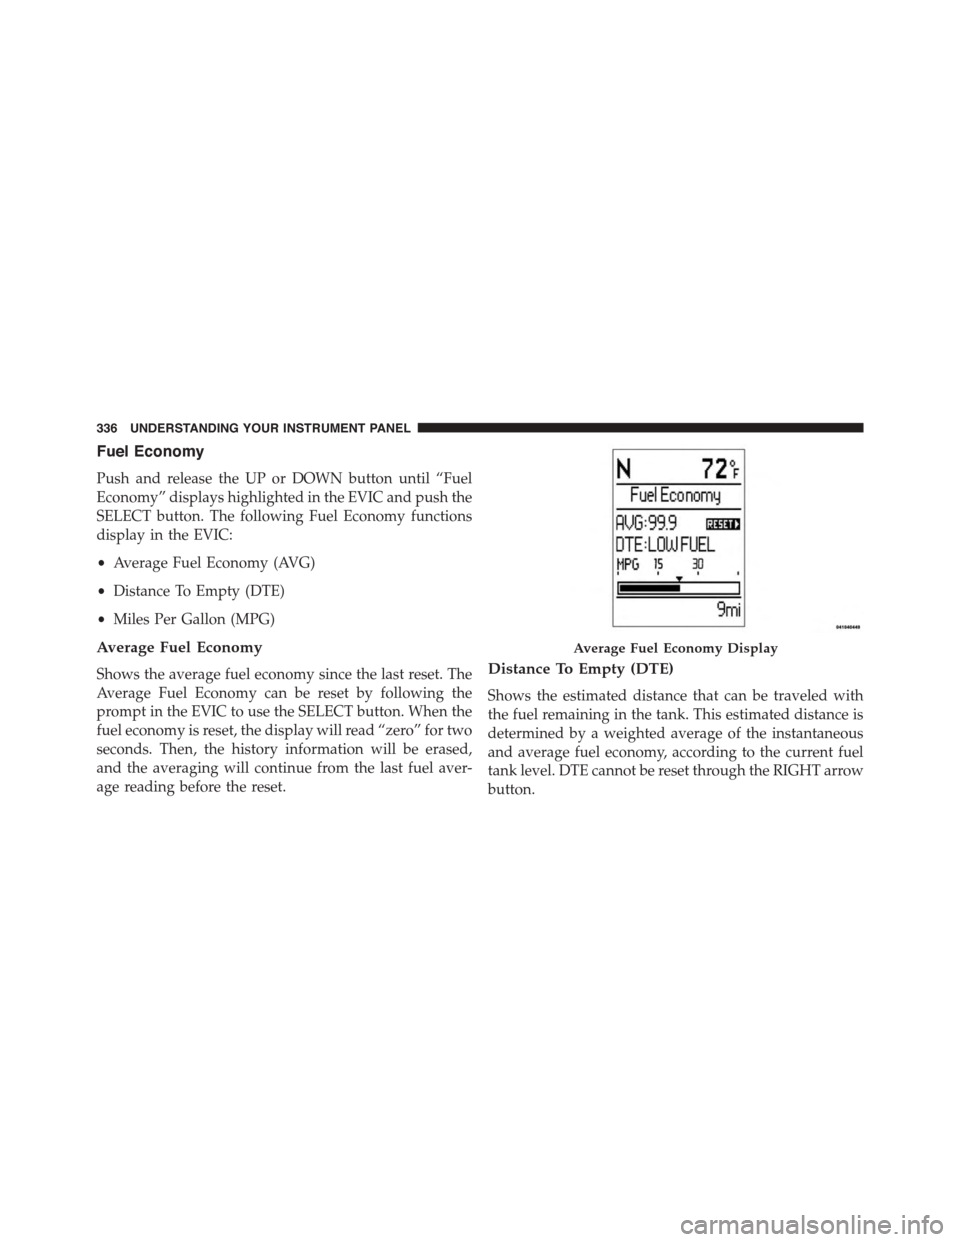
Push and release the UP or DOWN button until “Fuel
Economy” displays highlighted in the EVIC and push the
SELECT button. The following Fuel Economy functions
display in the EVIC:
•Average Fuel Economy (AVG)
•Distance To Empty (DTE)
•Miles Per Gallon (MPG)
Average Fuel Economy
Shows the average fuel economy since the last reset. The
Average Fuel Economy can be reset by following the
prompt in the EVIC to use the SELECT button. When the
fuel economy is reset, the display will read “zero” for two
seconds. Then, the history information will be erased,
and the averaging will continue from the last fuel aver-
age reading before the reset.
Distance To Empty (DTE)
Shows the estimated distance that can be traveled with
the fuel remaining in the tank. This estimated distance is
determined by a weighted average of the instantaneous
and average fuel economy, according to the current fuel
tank level. DTE cannot be reset through the RIGHT arrow
button.
Average Fuel Economy Display
336 UNDERSTANDING YOUR INSTRUMENT PANEL
Page 339 of 703
NOTE:Significant changes in driving style or vehicle
loading will greatly affect the actual drivable distance of
the vehicle, regardless of the DTE displayed value.
When the DTE value is less than 30 miles (48 km)
estimated driving distance, the DTE display will change
to a “LOW FUEL” message. This display will continue
until the vehicle runs out of fuel. Adding a significant
amount of fuel to the vehicle will turn off the “LOW
FUEL” message and a new DTE value will display.
Miles Per Gallon (MPG)
This display shows the instantaneous MPG in bar graph
form while driving. This will monitor the gas mileage in
real-time as you drive and can be used to modify driving
habits in order to increase fuel economy.
Vehicle Speed
Push and release the UP or DOWN button until “Vehicle
Speed” displays highlighted in the EVIC and push the
RIGHT arrow button. Push and release the RIGHT arrow
button to display the current speed in mph or km/h.
Pushing the RIGHT arrow button a second time will
toggle the unit of measure between mph or km/h.
NOTE:Changing the unit of measure in the Vehicle
Speed menu will not change the unit of measure in the
EVIC.
Trip Info
Push and release the UP or DOWN button until “Trip
Info” is highlighted in the EVIC and push the SELECT
button. Push and release the UP/DOWN buttons to
highlight one of the following functions if you want to
reset it:
Trip A
Shows the total distance traveled for Trip A since the last
reset.
4
UNDERSTANDING YOUR INSTRUMENT PANEL 337
Page 340 of 703

Trip B
Shows the total distance traveled for Trip B since the last
reset.
Elapsed Time
Shows the total elapsed time of travel since the last reset
when the ignition switch is in the ACC position. Elapsed
time will increment when the ignition switch is in the ON
or START position.
To Reset A Trip Function
Reset will only occur while a resettable function is
selected (highlighted). Push and hold the SELECT button
to clear the resettable function being displayed.
Tire PSI
Push and release the UP or DOWN button until “Tire
PSI:” displays highlighted in the EVIC. Push and release
the SELECT button to view a graphic of the vehicle with
a tire pressure value at each corner of the graphic.
Units
Push and release the UP or DOWN button until “Units”
displays highlighted in the EVIC and push the SELECT
button. The EVIC, odometer, and navigation system (if
equipped) can be changed between English and Metric
units of measure. To make your selection, scroll up or
down until the preferred setting is highlighted, then push
and release the SELECT button until a check-mark ap-
pears next to the setting, showing that the setting has
been selected.
Vehicle Info (Customer Information Features)
Push and release the UP or DOWN button until “Vehicle
Info” displays in the EVIC. Then, push and release the
SELECT button. Push and release the UP and DOWN
338 UNDERSTANDING YOUR INSTRUMENT PANEL
Page 344 of 703

1. Turn the ignition switch ON.
2. Press the UP or DOWN button until the Setup
(Customer-Programmable Features) menu is reached,
then press the SELECT button.
3. Press the DOWN button until the “Compass Variance”
message is displayed in the EVIC, then press the
SELECT button. The last variance zone number dis-
plays in the EVIC.
4. Press and release the SELECT button until the proper
variance zone is selected, according to the map.
5. Press and release the RETURN button to exit.
Compass Variance
Refer to “Compass/Temperature Display” in “Electronic
Vehicle Information (EVIC)” in “Understanding Your
Instrument Panel” for more information.
Turn Menu Off
Push and release RIGHT arrow button to turn the menu
off.
Customer-Programmable Features (System
Setup)
Personal Settings allows you to set and recall features
when the transmission is in PARK. If the transmission is
out of PARK or the vehicle begins moving, a warning
messageSYSTEM SETUP NOT AVAILABLE VEHICLE
NOT IN PARKdisplays when you try to select “System
Setup” from the main menu.
Push and release the UP or DOWN button until#System
Setup#is highlighted in the main menu of the EVIC. Then
push and release the SELECT button to enter the System
Setup sub-menu. Push and release the UP or DOWN
button to select a feature form the following choices:
342 UNDERSTANDING YOUR INSTRUMENT PANEL
Page 347 of 703
check-mark appears next to the feature showing the
system has been activated or the check-mark is removed
showing the system has been deactivated.
Remote Start Comfort Sys.
When this feature is selected and the remote start is
activated, the heated steering wheel and driver heated
seat features will automatically turn on in cold weather.
These features will stay on through the duration of
remote start or until the key is cycled to ON/RUN
position. To make your selection, push and release the
RIGHT arrow button until a check-mark appears next to
the feature showing the system has been activated or the
check-mark is removed showing the system has been
deactivated.
Horn With Remote Lock
When this feature is selected, a short horn sound will
occur when the RKE transmitter LOCK button is pushed.
To make your selection, push and release the RIGHT
arrow button until a check-mark appears next to the
feature showing the system has been activated or the
check-mark is removed showing the system has been
deactivated.
Flash Lamps With Lock
When selected, the front and rear turn signals will flash
when the doors are locked with the RKE transmitter. To
make your selection, push and release the RIGHT arrow
button until a check-mark appears next to the feature
showing the system has been activated or the check-mark
is removed showing the system has been deactivated.
Automatic High Beams — If Equipped
When this feature is selected, the high beam headlights
will deactivate automatically under certain conditions. To
make your selection, push and release the SELECT
button until a check-mark appears next to the feature
showing the system has been activated or the check-mark
4
UNDERSTANDING YOUR INSTRUMENT PANEL 345
Page 348 of 703

is removed showing the system has been deactivated.
Refer to “SmartBeam™” in “Understanding The Features
Of Your Vehicle” for further information.
Headlamp Off Delay
When this feature is selected, the driver can choose to
have the headlights remain on for 0, 30, 60, or 90 seconds
when exiting the vehicle. To make your selection, scroll
up or down until the preferred setting is highlighted,
then push and release the SELECT button until a check-
mark appears next to the setting, showing that the setting
has been selected.
Headlamps With Wipers (Available With Auto
Headlights Only)
When ON is selected, and the headlight switch is in the
AUTO position, the headlights will turn on approxi-
mately 10 seconds after the wipers are turned on. The
headlights will also turn off when the wipers are turned
off if they were turned on by this feature. To make your
selection, push and release the SELECT button until a
check-mark appears next to the setting, showing that the
setting has been selected.
NOTE:Turning the headlights on during the daytime
causes the instrument panel lights to dim. To increase the
brightness, refer to “Lights” in “Understanding The
Features Of Your Vehicle.”
Intermittent Wiper Options — If Equipped
When ON is selected, the system will automatically
activate the windshield wipers if it senses moisture on
the windshield. To make your selection, push and release
the SELECT button until a check-mark appears next to
the feature showing the system has been activated or the
check-mark is removed showing the system has been
deactivated. When the system is deactivated, the system
reverts to the standard intermittent wiper operation.
346 UNDERSTANDING YOUR INSTRUMENT PANEL
Page 349 of 703
Key-Off Power Delay
When this feature is selected, the power window
switches, radio, Uconnect® phone (if equipped), DVD
video system (if equipped), power sunroof (if equipped),
and power outlets will remain active for up to 10 minutes
after the ignition switch is turned OFF. Opening either
front vehicle door will cancel this feature. To make your
selection, scroll up or down until the preferred setting is
highlighted, then push and release the SELECT button
until a check-mark appears next to the setting, showing
that the setting has been selected.
Illuminated Approach
When this feature is selected, the headlights will activate
and remain on for up to 90 seconds when the doors are
unlocked with the RKE transmitter. To make your selec-
tion, scroll up or down until the preferred setting is
highlighted, then push and release the SELECT button
until a check-mark appears next to the setting, showing
that the setting has been selected.
Hill Start Assist (HSA) — If Equipped
When on is selected, the HSA system is active. Refer to
“Electronic Brake Control System” in “Starting And
Operating” for system function and operating informa-
tion. To make your selection, push and release the
SELECT button until “ON” or “OFF” appears.
Flashers With Sliding Door
When this feature is selected the signal lamps activate
when power or manual sliding doors are in operation,
signaling other drivers that someone may be exiting or
entering the vehicle. To make your selection, push and
release the SELECT button until a check-mark appears
next to the feature showing the system has been activated
or the check-mark is removed showing the system has
been deactivated.
4
UNDERSTANDING YOUR INSTRUMENT PANEL 347