2015 DODGE CHARGER flat tire
[x] Cancel search: flat tirePage 514 of 638
on the ground. This will provide the best positioning
of the kit when injecting the sealant into the deflated
tire and running the air pump. Move the vehicle as
necessary to place the valve stem in this position
before proceeding.
3. Place the transmission in PARK (auto transmission) or
in Gear (manual transmission) and place the ignition
in the OFF position.
4. Set the parking brake.
(B) Setting Up To Use Tire Service Kit:
1. Push in the Mode Select Knob (5) and turn to the
Sealant Mode position.
2. Uncoil the Sealant Hose (6) and then remove the cap
from the fitting at the end of the hose.
3. Place the Tire Service Kit flat on the ground next to the
deflated tire.
4. Remove the cap from the valve stem and then screw
the fitting at the end of the Sealant Hose (6) onto the
valve stem.
5. Uncoil the Power Plug (8) and insert the plug into the
vehicle’s 12 Volt power outlet.
NOTE:Do not remove foreign objects (e.g., screws or
nails) from the tire.
(C) Injecting Tire Service Kit Sealant Into The
Deflated Tire:
•Always start the engine before turning ON the Tire
Service Kit.
NOTE:Manual transmission vehicles must have the
parking brake engaged and the shift lever in NEUTRAL.
•After pushing the Power Button (4), the sealant (white
fluid) will flow from the Sealant Bottle (1) through the
Sealant Hose (6) and into the tire.
512 WHAT TO DO IN EMERGENCIES
Page 515 of 638
NOTE:Sealant may leak out through the puncture in the
tire.
If the sealant (white fluid) does not flow within0–10
seconds through the Sealant Hose (6):
1. Push the Power Button (4) to turn Off the Tire Service
Kit. Disconnect the Sealant Hose (6) from the valve
stem. Make sure the valve stem is free of debris.
Reconnect the Sealant Hose (6) to the valve stem.
Check that the Mode Select Knob (5) is in the Sealant
Mode position and not Air Mode. Push the Power
Button (4) to turn On the Tire Service Kit.
2. Connect the Power Plug (8) to a different 12 Volt
power outlet in your vehicle or another vehicle, if
available. Make sure the engine is running before
turning ON the Tire Service Kit.
3. The Sealant Bottle (1) may be empty due to previous
use. Call for assistance.
NOTE:If the Mode Select Knob (5) is on Air Mode and
the pump is operating, air will dispense from the Air
Pump Hose (7) only, not the Sealant Hose (6).
If the sealant (white fluid) does flow through the
Sealant Hose (6):
1.Continue to operate the pump until sealant is no longer
flowing through hose (typically takes 30 - 70 seconds).
As the sealant flows through the Sealant Hose (6), the
Pressure Gauge (3) can read as high as 70 psi (4.8 Bar).
The Pressure Gauge (3) will decrease quickly from
approximately 70 psi (4.8 Bar) to the actual tire pressure
when the Sealant Bottle (1) is empty.
2. The pump will start to inject air into the tire immedi-
ately after the Sealant Bottle (1) is empty. Continue to
operate the pump and inflate the tire to the pressure
indicated on the tire pressure label on the driver-side
latch pillar (recommended pressure). Check the tire
pressure by looking at the Pressure Gauge (3).
6
WHAT TO DO IN EMERGENCIES 513
Page 516 of 638
If the tire does not inflate to at least 26 psi (1.8 Bar)
pressure within 15 minutes:
•The tire is too badly damaged. Do not attempt to drive
the vehicle further. Call for assistance.
NOTE:If the tire becomes over-inflated, push the Defla-
tion Button to reduce the tire pressure to the recom-
mended inflation pressure before continuing.
If the tire inflates to the recommended pressure or is at
least 26 psi (1.8 Bar) pressure within 15 minutes:
1. Push the Power Button (4) to turn off the Tire Service
Kit.
2. Remove the Speed Limit sticker from the top of the
Sealant Bottle (1) and place the sticker on the instru-
ment panel.
3.Immediately disconnect the Sealant Hose (6) from the
valve stem, reinstall the cap on the fitting at the end of the
hose, and place the Tire Service Kit in the vehicle storage
location. Quickly proceed to (D) “Drive Vehicle.”
CAUTION!
•The metal end fitting from Power Plug (8) may get
hot after use, so it should be handled carefully.
•Failure to reinstall the cap on the fitting at the end
of the Sealant Hose (6) can result in sealant con-
tacting your skin, clothing, and the vehicle’s inte-
rior. It can also result in sealant contacting internal
Tire Service Kit components which may cause
permanent damage to the kit.
(D) Drive Vehicle:
Immediately after injecting sealant and inflating the tire,
drive the vehicle 5 miles (8 km) or 10 minutes to ensure
distribution of the Tire Service Kit Sealant within the tire.
Do not exceed 55 mph (90 km/h).
514 WHAT TO DO IN EMERGENCIES
Page 517 of 638
WARNING!
Tire Service Kit is not a permanent flat tire repair.
Have the tire inspected and repaired or replaced after
using Tire Service Kit. Do not exceed 55 mph (90
km/h) until the tire is repaired or replaced. Failure to
follow this warning can result in injuries that are
serious or fatal to you, your passengers, and others
around you.
(E) After Driving:
Pull over to a safe location. Refer to “Whenever You Stop
to Use Tire Service Kit” before continuing.
1. Push in the Mode Select Knob (5) and turn to the Air
Mode position.
2. Uncoil the power plug and insert the plug into the
vehicle’s 12 Volt power outlet.
3. Uncoil the Air Pump Hose (7) (black in color) and
screw the fitting at the end of hose (7) onto the valve
stem.
4. Check the pressure in the tire by reading the Pressure
Gauge (3).
If tire pressure is less than 19 psi (1.3 Bar):
The tire is too badly damaged. Do not attempt to drive
the vehicle further. Call for assistance.
If the tire pressure is 19 psi (1.3 Bar) or higher:
1. Push the Power Button (4) to turn on Tire Service Kit
and inflate the tire to the pressure indicated on the tire
and loading information label on the driver-side door
opening.
NOTE:If the tire becomes over-inflated, push the Defla-
tion Button to reduce the tire pressure to the recom-
mended inflation pressure before continuing.
6
WHAT TO DO IN EMERGENCIES 515
Page 614 of 638
WARNING!
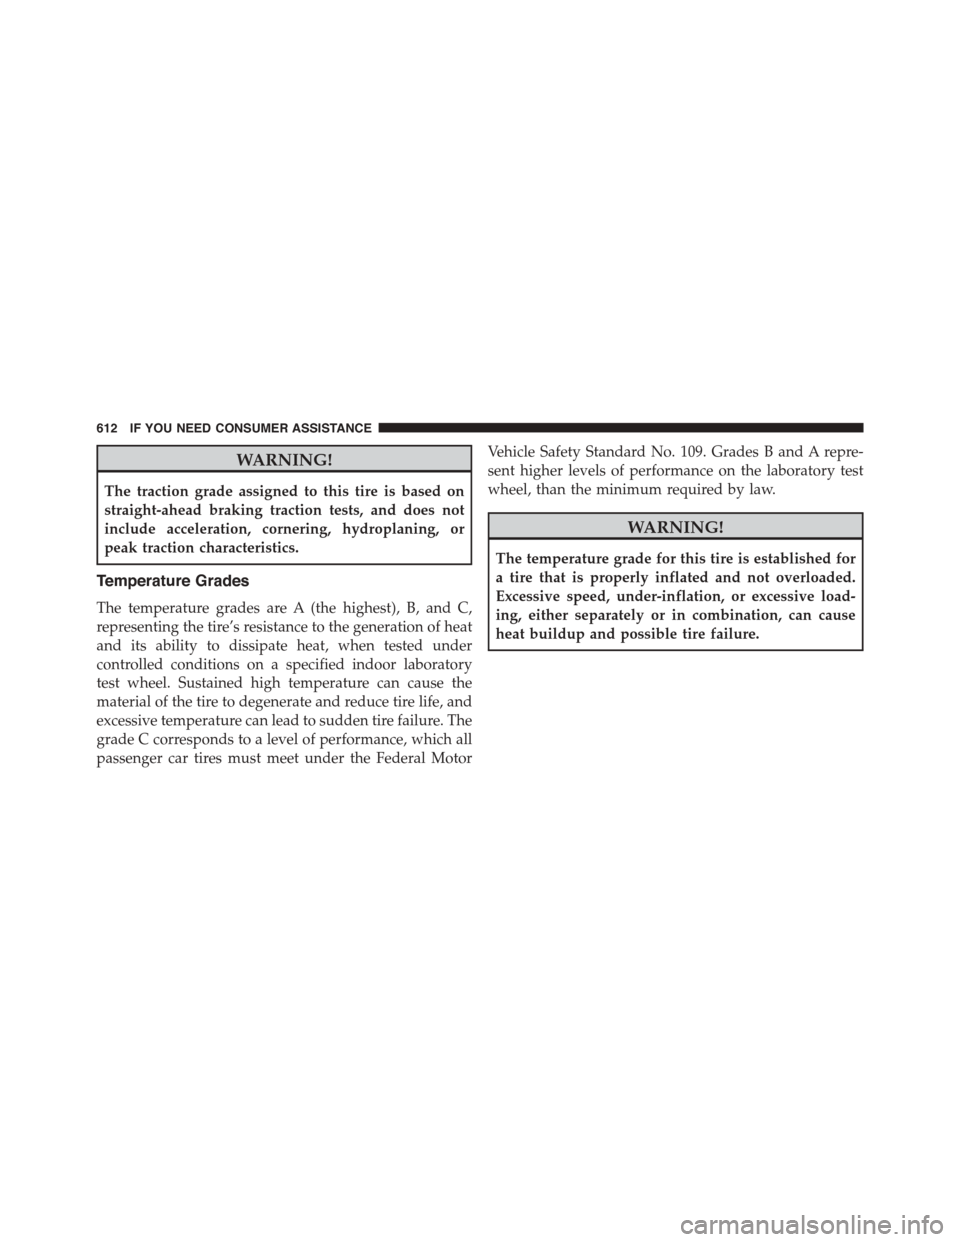
The traction grade assigned to this tire is based on
straight-ahead braking traction tests, and does not
include acceleration, cornering, hydroplaning, or
peak traction characteristics.
Temperature Grades
The temperature grades are A (the highest), B, and C,
representing the tire’s resistance to the generation of heat
and its ability to dissipate heat, when tested under
controlled conditions on a specified indoor laboratory
test wheel. Sustained high temperature can cause the
material of the tire to degenerate and reduce tire life, and
excessive temperature can lead to sudden tire failure. The
grade C corresponds to a level of performance, which all
passenger car tires must meet under the Federal Motor
Vehicle Safety Standard No. 109. Grades B and A repre-
sent higher levels of performance on the laboratory test
wheel, than the minimum required by law.
WARNING!
The temperature grade for this tire is established for
a tire that is properly inflated and not overloaded.
Excessive speed, under-inflation, or excessive load-
ing, either separately or in combination, can cause
heat buildup and possible tire failure.
612 IF YOU NEED CONSUMER ASSISTANCE
Page 618 of 638
Brake Assist System.......................424
Brake Control System, Electronic..............421
Brake Fluid.............................593
Brake, Parking...........................418
Brakes.................................420
Brake System............................420
Anti-Lock (ABS)........................421
Fluid Check...........................559
Master Cylinder........................559
Parking..............................418
Warning Light.........................263
Brake/Transmission Interlock.................400
Break-In Recommendations, New Vehicle.........96
Brightness, Interior Lights...................161
Bulb Replacement.........................585
Bulbs, Light.............................102
Camera, Rear............................227
Capacities, Fluid..........................589
Caps, Filler
Oil (Engine)...........................541
Radiator (Coolant Pressure)................556
Carbon Monoxide Warning...................98
Cargo (Vehicle Loading)....................477
Car Washes.............................565
Cellular Phone...........................351
Certification Label.........................477
Chains, Tire.............................456
Changing A Flat Tire.......................498
Chart, Tire Sizing.........................434
Check Engine Light (Malfunction Indicator Light) . .535
Checking Your Vehicle For Safety...............97
Checks, Safety............................97
Child Restraint............................75
Child Restraints
Booster Seats...........................79
Center Seat LATCH......................88
Child Restraints.........................75
616 INDEX
Page 633 of 638
Tilt Column...........................168
Wheel, Heated.........................170
Wheel, Tilt............................168
Steering Wheel Audio Controls...............350
Steering Wheel Mounted Sound System Controls . . .350
Storage................................584
Storage, Vehicle...........................368
Storing Your Vehicle.......................584
Stuck, Freeing............................521
Sunglasses Storage........................232
Sun Roof...............................241
Supplemental Restraint System - Airbag..........60
Synthetic Engine Oil.......................542
System, Remote Starting.....................26
Tachometer..............................263
Telescoping Steering Column.................168
Temperature Control, Automatic (ATC)..........360
Temperature Gauge, Engine Coolant............263
Tilt Steering Column.......................168
Time Delay, Headlight......................155
Tire and Loading Information Placard...........439
Tire Markings............................432
Ti re s . . . . . . . . . . . . . . . . . . . . . . . . . . . . . . . . ..102
Aging (Life of Tires).....................454
Air Pressure...........................444
Chains...............................456
Changing.............................498
Compact Spare.........................451
General Information.....................444
High Speed...........................447
Inflation Pressures.......................446
Jacking...............................498
Life of Tires...........................454
Load Capacity.........................439
Pressure Monitor System (TPMS)............458
Pressure Warning Light...................263
QualityGrading........................611
10
INDEX 631