Page 81 of 638
remain in a forward-facing child seat with a harness for
as long as possible, up to the highest weight or height
allowed by the child seat.
All children whose weight or height is above the
forward-facing limit for the child seat should use a
belt-positioning booster seat until the vehicle’s seat belts
fit properly. If the child cannot sit with knees bent over
the vehicle’s seat cushion while the child’s back is against
the seatback, they should use a belt-positioning booster
seat. The child and belt-positioning booster seat are held
in the vehicle by the seat belt.
WARNING!
•Improper installation can lead to failure of an infant
or child restraint. It could come loose in a collision.
The child could be badly injured or killed. Follow
the child restraint manufacturer ’s directions exactly
when installing an infant or child restraint.
(Continued)
WARNING!(Continued)
•After a child restraint is installed in the vehicle, do
not move the vehicle seat forward or rearward
because it can loosen the child restraint attach-
ments. Remove the child restraint before adjusting
the vehicle seat position. When the vehicle seat has
been adjusted, reinstall the child restraint.
•When your child restraint is not in use, secure it in
the vehicle with the seat belt or LATCH anchor-
ages, or remove it from the vehicle. Do not leave it
loose in the vehicle. In a sudden stop or accident, it
could strike the occupants or seatbacks and cause
serious personal injury.
Children Too Large For Booster Seats
Children who are large enough to wear the shoulder belt
comfortably, and whose legs are long enough to bend
over the front of the seat when their back is against the
2
THINGS TO KNOW BEFORE STARTING YOUR VEHICLE 79
Page 182 of 638
WARNING!(Continued)
•The ACC system:
•Does not react to pedestrians, oncoming vehicles,
and stationary objects (e.g., a stopped vehicle in a
traffic jam or a disabled vehicle).
•Cannot take street, traffic, and weather condi-
tions into account, and may be limited upon
adverse sight distance conditions.
•Does not always fully recognize complex driving
conditions, which can result in wrong or missing
distance warnings.
(Continued)
WARNING!(Continued)
•Will bring the vehicle to a complete stop while
following a target vehicle and hold the vehicle
for 2 seconds in the stop position. If the target
vehicle does not start moving within two seconds
the ACC system will display a message that the
system will release the brakes and that the
brakes must be applied manually. An audible
chime will sound when the brakes are released.
You should switch off the ACC system:
•When driving in fog, heavy rain, heavy snow, sleet,
heavy traffic, and complex driving situations (i.e.,
in highway construction zones).
•When entering a turn lane or highway off ramp;
when driving on roads that are winding, icy, snow-
covered, slippery, or have steep uphill or downhill
slopes.
(Continued)
180 UNDERSTANDING THE FEATURES OF YOUR VEHICLE
Page 194 of 638
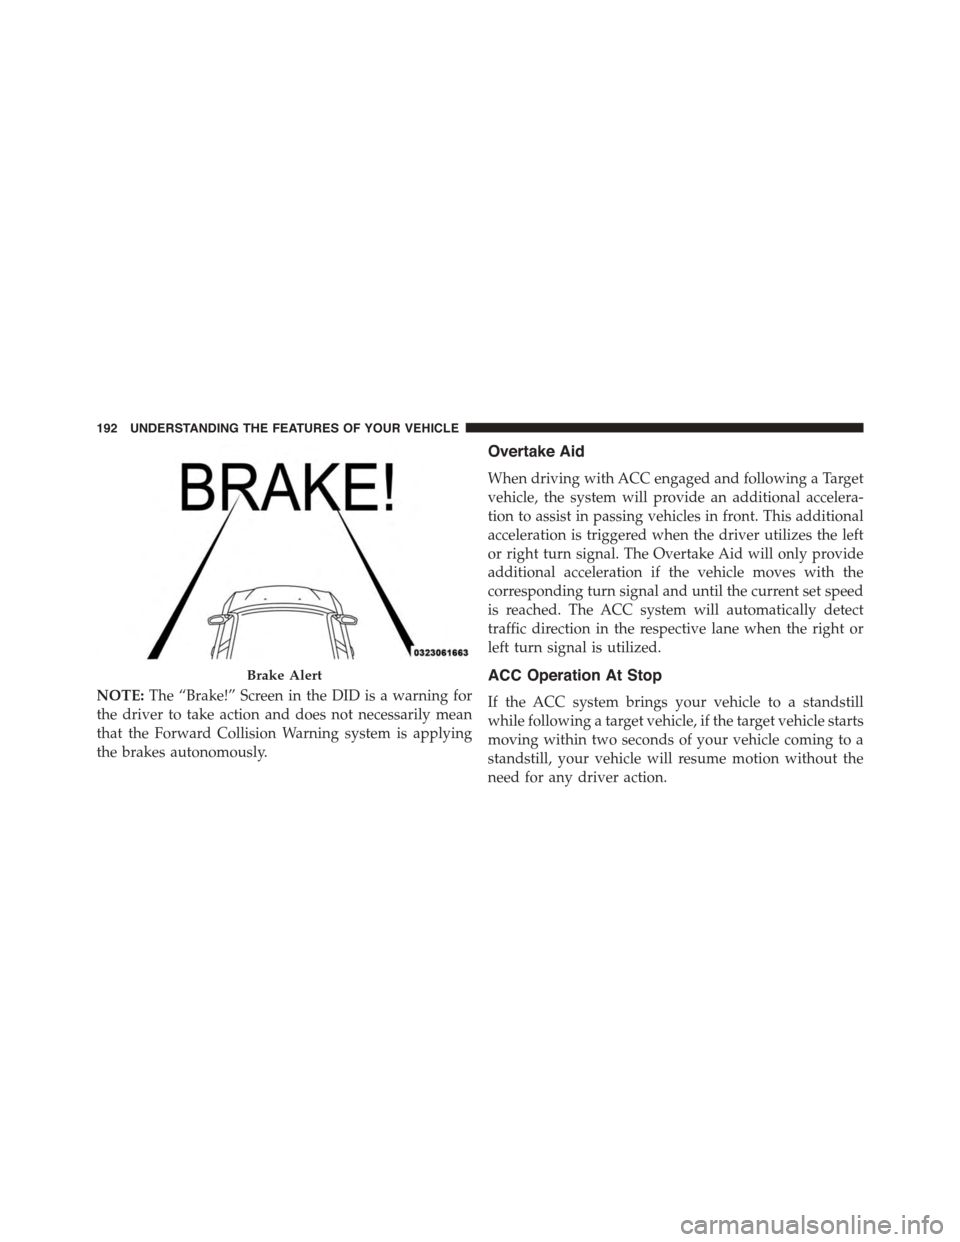
NOTE:The “Brake!” Screen in the DID is a warning for
the driver to take action and does not necessarily mean
that the Forward Collision Warning system is applying
the brakes autonomously.
Overtake Aid
When driving with ACC engaged and following a Target
vehicle, the system will provide an additional accelera-
tion to assist in passing vehicles in front. This additional
acceleration is triggered when the driver utilizes the left
or right turn signal. The Overtake Aid will only provide
additional acceleration if the vehicle moves with the
corresponding turn signal and until the current set speed
is reached. The ACC system will automatically detect
traffic direction in the respective lane when the right or
left turn signal is utilized.
ACC Operation At Stop
If the ACC system brings your vehicle to a standstill
while following a target vehicle, if the target vehicle starts
moving within two seconds of your vehicle coming to a
standstill, your vehicle will resume motion without the
need for any driver action.
Brake Alert
192 UNDERSTANDING THE FEATURES OF YOUR VEHICLE
Page 195 of 638
If the target vehicle does not start moving within two
seconds of your vehicle coming to a standstill, the ACC
with Stop system will cancel and the brakes will release.
A cancel message will display on the DID and produce a
warning chime. Driver intervention will be required at
this moment.
While ACC with Stop is holding your vehicle at a
standstill, if the driver seatbelt is unbuckled or the driver
door is opened, the ACC with Stop system will cancel
and the brakes will release. A cancel message will display
on the DID and produce a warning chime. Driver inter-
vention will be required at this moment.
WARNING!
When the ACC system is resumed, the driver must
ensure that there are no pedestrians, vehicles or
objects in the path of the vehicle. Failure to follow
(Continued)
WARNING!(Continued)
these warnings can result in a collision and death or
serious personal injury.
Adaptive Cruise Control (ACC) Menu
The DID displays the current ACC system settings. The
DID is located in the center of the instrument cluster. The
information it displays depends on ACC system status.
Push the ADAPTIVE CRUISE CONTROL (ACC) ON/
OFF button (located on the steering wheel) until one of
the following displays in the DID:
Adaptive Cruise Control Off
When ACC is deactivated, the display will read “Adap-
tive Cruise Control Off.”
3
UNDERSTANDING THE FEATURES OF YOUR VEHICLE 193
Page 262 of 638
INSTRUMENT PANEL FEATURES
1—AirOutlet6—GloveBox2 — Instrument Cluster7 — Power Outlet3—RadioControls—IfEquipped8—IgnitionStart/StopButton4 — Uconnect® System9 — Trunk Release Button5 — Climate Control Hard Controls10 — Headlight Switch
260 UNDERSTANDING YOUR INSTRUMENT PANEL
Page 266 of 638
NOTE:The light may flash momentarily during sharp
cornering maneuvers which change fluid level condi-
tions. The vehicle should have service performed, and
the brake fluid level checked.
If brake failure is indicated, immediate repair is neces-
sary.
WARNING!
Driving a vehicle with the brake light on is danger-
ous. Part of the brake system may have failed. It will
take longer to stop the vehicle. You could have a
collision. Have the vehicle checked immediately.
Vehicles equipped with the Anti-Lock Brake System
(ABS) are also equipped with Electronic Brake Force
Distribution (EBD). In the event of an EBD failure, the
Brake Warning Light will turn on along with the ABS
Light. Immediate repair to the ABS system is required.
Operation of the Brake Warning Light can be checked by
placing the ignition from the OFF position to the ON/
RUN position. The light should illuminate for approxi-
mately two seconds. The light should then turn off unless
the parking brake is applied or a brake fault is detected.
If the light does not illuminate, have the light inspected
by an authorized dealer.
The light also will turn on when the parking brake is
applied with the ignition in the ON/RUN position.
NOTE:This light shows only that the parking brake is
applied. It does not show the degree of brake application.
4. Air Bag Warning Light
This light will turn on for four to eight seconds
as a bulb check when the ignition is first cycled
to the ON/RUN position. If the light is either
not on during starting, stays on, or turns on
264 UNDERSTANDING YOUR INSTRUMENT PANEL
Page 277 of 638
•Pushing the left arrow button will exit each submenu
layer and return to the main menu.
For the Trip and Fuel Economy menus (and new Perfor-
mance Timers):
•Information is reset by pushing and holding the OK
button.
Engine Oil Life Reset
Oil Change Required
Your vehicle is equipped with an engine oil change
indicator system. The “Oil Change Required” message
will display in the DID for five seconds after a single
chime has sounded, to indicate the next scheduled oil
change interval. The engine oil change indicator system
is duty cycle based, which means the engine oil change
interval may fluctuate, dependent upon your personal
driving style.
Unless reset, this message will continue to display each
time you place the ignition in the ON/RUN position. To
turn off the message temporarily, push and release the
OK button. To reset the oil change indicator system (after
performing the scheduled maintenance), refer to the
following procedure.
Vehicles Equipped With Keyless Enter-N-Go™
1. Without pushing the brake pedal, push the ENGINE
START/STOP button and place the ignition to the
ON/RUN position (do not start the engine).
2. Fully push the accelerator pedal, slowly, three times
within 10 seconds.
3. Without pushing the brake pedal, push the ENGINE
START/STOP button once to return the ignition to the
OFF/LOCK position.
4
UNDERSTANDING YOUR INSTRUMENT PANEL 275
Page 281 of 638
NOTE:
•Even if power steering assistance is no longer opera-
tional, it is still possible to steer the vehicle. Under
these conditions there will be a substantial increase in
steering effort, especially at very low vehicle speeds
and during parking maneuvers.
•If the condition persists, see your authorized dealer for
service.
•Door Ajar
This light will turn on to indicate that one or
more doors may be ajar.
•Decklid Ajar
This light will turn on to indicate the decklid
may be ajar.
•Oil Pressure Warning Light
This light indicates low engine oil pressure. The
light should turn on momentarily when the engine is
started. If the light turns on while driving, stop the
vehicle and shut off the engine as soon as possible. A
chime will sound for four minutes when this light turns
on.
Do not operate the vehicle until the cause is corrected.
This light does not show how much oil is in the engine.
The engine oil level must be checked under the hood.
•Charging System Light
This light shows the status of the electrical charg-
ing system. If the light stays on or comes on while
driving, turn off some of the vehicle’s non-essential
electrical devices or increase engine speed (if at idle). If
the charging system light remains on, it means that the
4
UNDERSTANDING YOUR INSTRUMENT PANEL 279