2015 DODGE CHALLENGER reset
[x] Cancel search: resetPage 118 of 220

RADIO
•ToaccesstheRadiomode,pressthe“Radio”buttononthetouchscreenatthelower
left of the screen.
Selecting Radio Stations
•Pressthedesiredradioband(AM,FMorSXM)buttononthetouchscreen.
Seek Up/Seek Down
•Pressthe“Seekarrow”buttonsonthetouchscreenforlessthantwosecondstoseek
through radio stations.
•Pressandholdeither“arrow”buttononthetouchscreenformorethantwosecondsto
bypass stations without stopping. The radio will stop at the next listenable station once
the “arrow” button on the touchscreen is released.
Direct Tune
•Tunedirectlytoaradiostationbypressingthe“Tune”buttononthescreen,and
entering the desired station number.
Uconnect® 8.4AN Radio
1—RadioStationPresets6—DirectTuneToARadioStation2—TogglePresets1–6And7–12 7—Seek Down3—HDRadioAvailable8—BrowseAndManage4—AudioSettings9—ChooseRadioBand5—SeekUp
ELECTRONICS
116
Page 119 of 220
Store Radio Presets
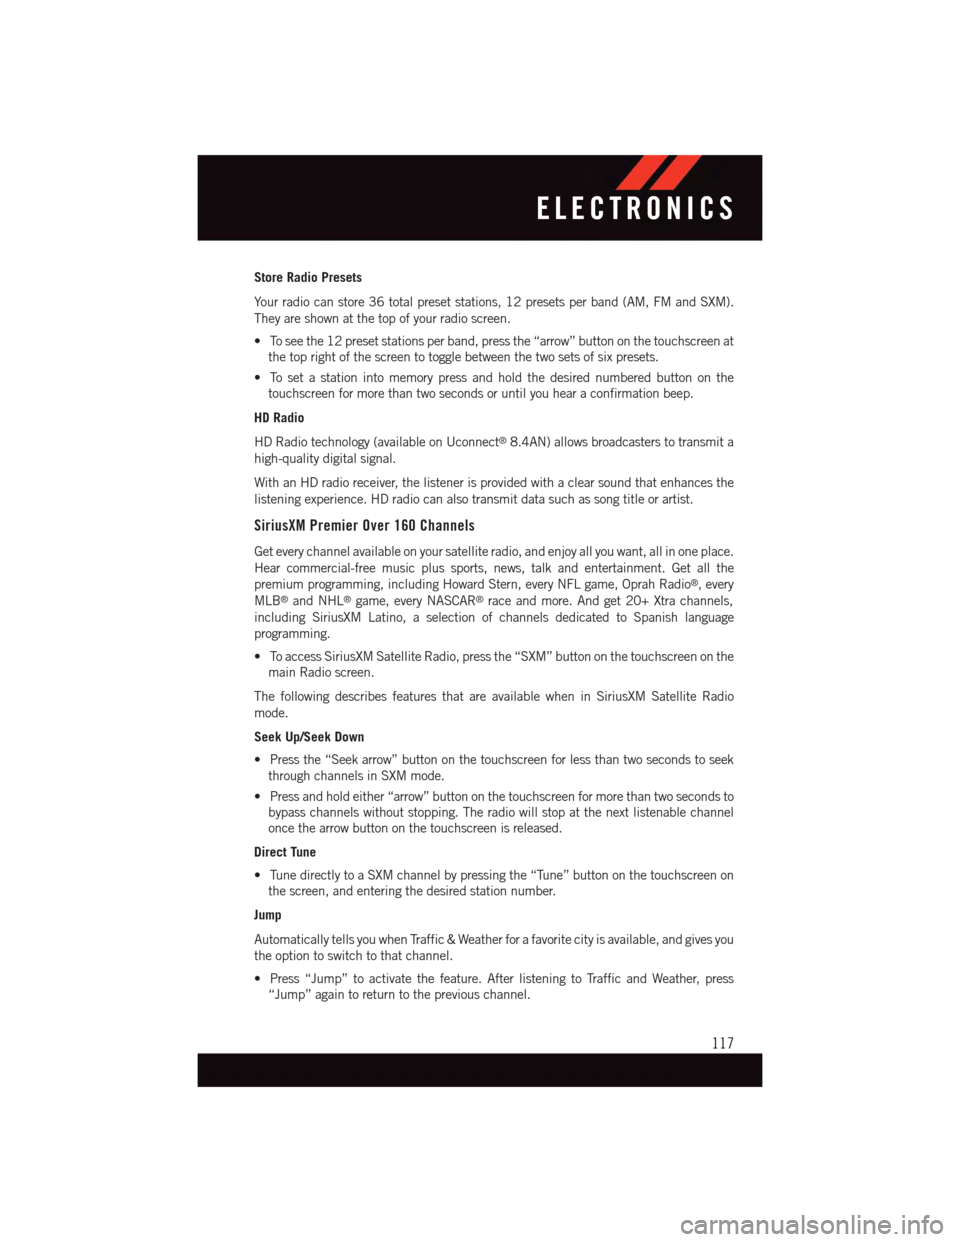
Yo u r r a d i o c a n s t o r e 3 6 t o t a l p r e s e t s t a t i o n s , 1 2 p r e s e t s p e r b a n d ( A M , F M a n d S X M ) .
They are shown at the top of your radio screen.
•Toseethe12presetstationsperband,pressthe“arrow”buttononthetouchscreenat
the top right of the screen to toggle between the two sets of six presets.
•Tosetastationintomemorypressandholdthedesirednumberedbuttononthe
touchscreen for more than two seconds or until you hear a confirmation beep.
HD Radio
HD Radio technology (available on Uconnect®8.4AN) allows broadcasters to transmit a
high-quality digital signal.
With an HD radio receiver, the listener is provided with a clear sound that enhances the
listening experience. HD radio can also transmit data such as song title or artist.
SiriusXM Premier Over 160 Channels
Get every channel available on your satellite radio, and enjoy all you want, all in one place.
Hear commercial-free music plus sports, news, talk and entertainment. Get all the
premium programming, including Howard Stern, every NFL game, Oprah Radio®,every
MLB®and NHL®game, every NASCAR®race and more. And get 20+ Xtra channels,
including SiriusXM Latino, a selection of channels dedicated to Spanish language
programming.
•ToaccessSiriusXMSatelliteRadio,pressthe“SXM”buttononthetouchscreenonthe
main Radio screen.
The following describes features that are available when in SiriusXM Satellite Radio
mode.
Seek Up/Seek Down
•Pressthe“Seekarrow”buttononthetouchscreenforlessthantwosecondstoseek
through channels in SXM mode.
•Pressandholdeither“arrow”buttononthetouchscreenformorethantwosecondsto
bypass channels without stopping. The radio will stop at the next listenable channel
once the arrow button on the touchscreen is released.
Direct Tune
•TunedirectlytoaSXMchannelbypressingthe“Tune”buttononthetouchscreenon
the screen, and entering the desired station number.
Jump
Automatically tells you when Traffic & Weather for a favorite city is available, and gives you
the option to switch to that channel.
•Press“Jump”toactivatethefeature.AfterlisteningtoTrafficandWeather,press
“Jump” again to return to the previous channel.
ELECTRONICS
117
Page 120 of 220
Fav
Activates the favorites menu. You can add up to 50 favorite artists or songs.
•JustpressAddFavArtistorAddFavSongwhilethesongisplaying.Youwillthenbe
alerted any time one of these songs, or works by these artists, is playing on other
SiriusXM channels.
SiriusXM Parental Controls
Yo u c a n s k i p o r h i d e c e r t a i n c h a n n e l s f r o m v i e w i f y o u d o n o t w a n t a c c e s s t o t h e m .
•Pressthe“More”buttononthetouchscreen,thenthe“Settings”buttononthe
touchscreen, next press the “Sirius Setup” button on the touchscreen, then select
“Channel Skip”. Press the box, check-mark, next to the channel you want skipped.
They will not show up in normal usage.
SiriusXM also offers the option to permanently block selected channels. Call
(1-888-601-6297 for U.S. customers, 1-877-438-9677 for Canadian customers) and
request the Family-Friendly Package.
Browse
Lets you browse the SiriusXM channel listing or Genre listing. Favorites, Game Zone,
Weather and Jump settings also provide a way to browse the SiriusXM channel list.
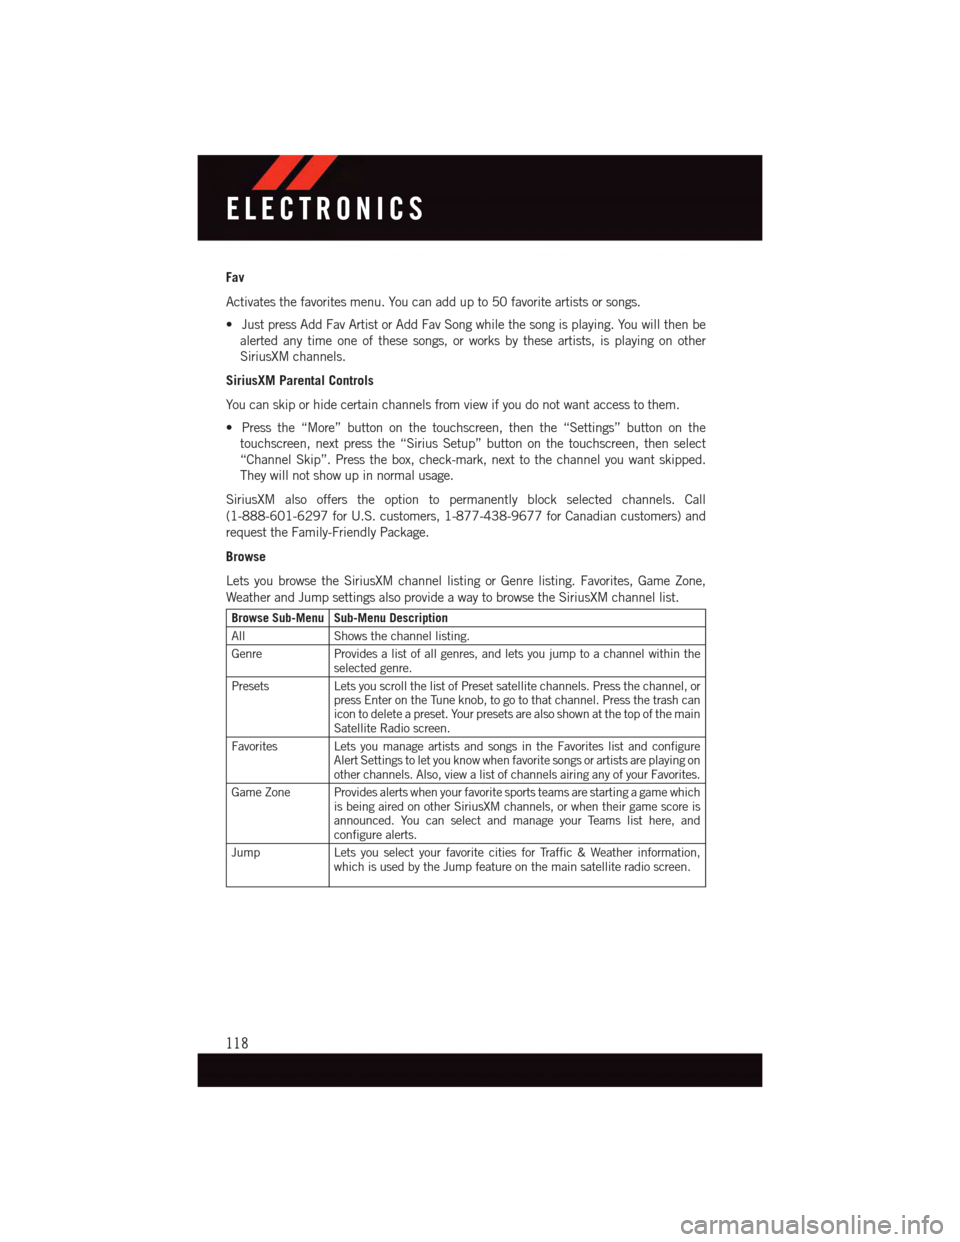
Browse Sub-Menu Sub-Menu Description
AllShows the channel listing.
GenreProvides a list of all genres, and lets you jump to a channel within theselected genre.
PresetsLets you scroll the list of Preset satellite channels. Press the channel, orpress Enter on the Tune knob, to go to that channel. Press the trash canicon to delete a preset. Your presets are also shown at the top of the mainSatellite Radio screen.
Favorites Lets you manage artists and songs in the Favorites list and configureAlert Settings to let you know when favorite songs or artists are playing onother channels. Also, view a list of channels airing any of your Favorites.
Game Zone Provides alerts when your favorite sports teams are starting a game whichis being aired on other SiriusXM channels, or when their game score isannounced. You can select and manage your Teams list here, andconfigure alerts.
JumpLets you select your favorite cities for Traffic & Weather information,which is used by the Jump feature on the main satellite radio screen.
ELECTRONICS
118
Page 132 of 220
STEERING WHEEL AUDIO CONTROLS
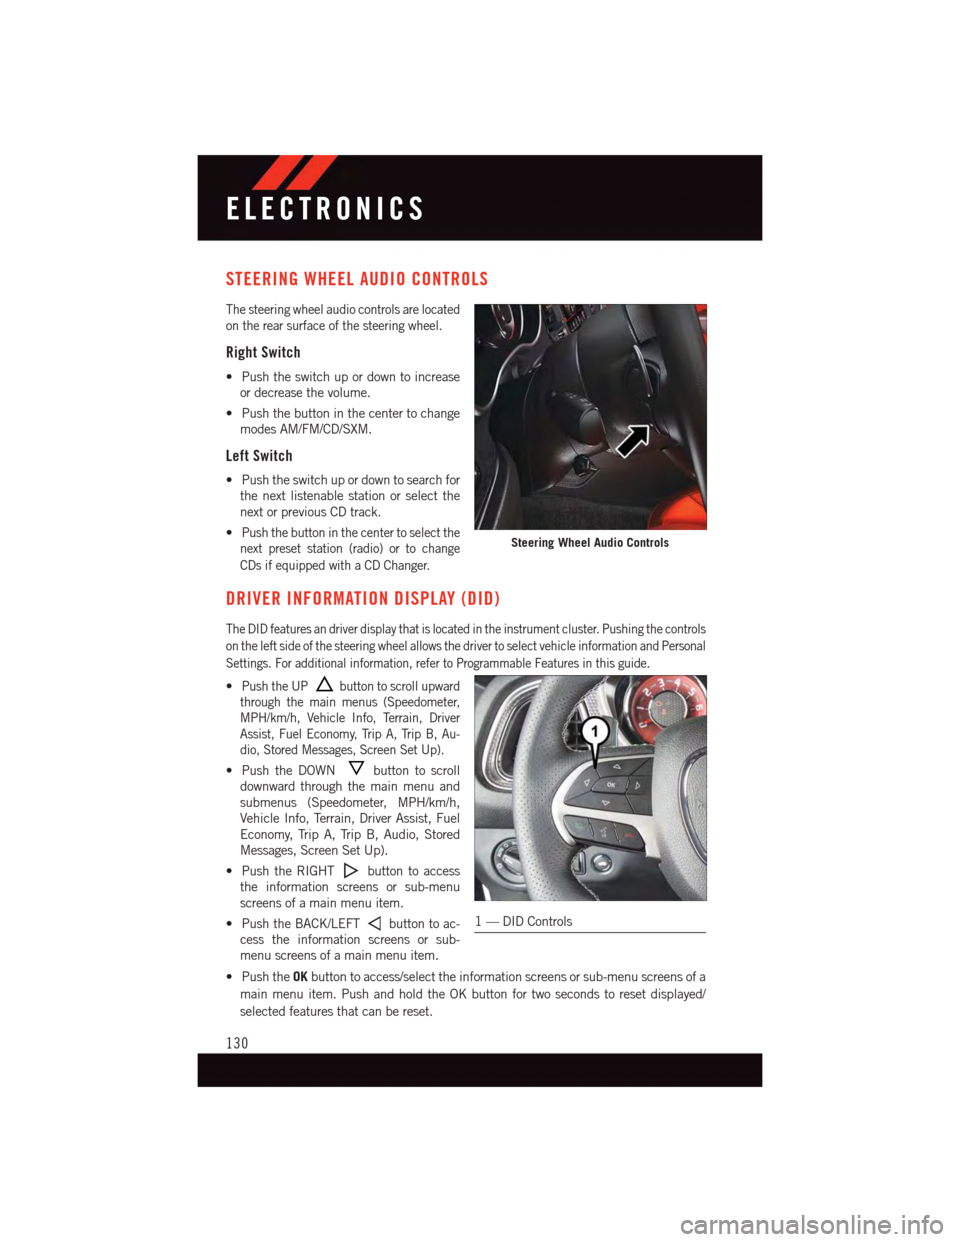
The steering wheel audio controls are located
on the rear surface of the steering wheel.
Right Switch
•Pushtheswitchupordowntoincrease
or decrease the volume.
•Pushthebuttoninthecentertochange
modes AM/FM/CD/SXM.
Left Switch
•Pushtheswitchupordowntosearchfor
the next listenable station or select the
next or previous CD track.
•Push the button in the center to select the
next preset station (radio) or to change
CDs if equipped with a CD Changer.
DRIVER INFORMATION DISPLAY (DID)
The DID features an driver display that is located in the instrument cluster. Pushing the controls
on the left side of the steering wheel allows the driver to select vehicle information and Personal
Settings. For additional information, refer to Programmable Features in this guide.
•Push the UPbutton to scroll upward
through the main menus (Speedometer,
MPH/km/h, Vehicle Info, Terrain, Driver
Assist, Fuel Economy, Trip A, Trip B, Au-
dio, Stored Messages, Screen Set Up).
•PushtheDOWNbutton to scroll
downward through the main menu and
submenus (Speedometer, MPH/km/h,
Vehicle Info, Terrain, Driver Assist, Fuel
Economy, Trip A, Trip B, Audio, Stored
Messages, Screen Set Up).
•PushtheRIGHTbutton to access
the information screens or sub-menu
screens of a main menu item.
•PushtheBACK/LEFTbutton to ac-
cess the information screens or sub-
menu screens of a main menu item.
•PushtheOKbutton to access/select the information screens or sub-menu screens of a
main menu item. Push and hold the OK button for two seconds to reset displayed/
selected features that can be reset.
Steering Wheel Audio Controls
1—DIDControls
ELECTRONICS
130
Page 133 of 220
PROGRAMMABLE FEATURES
Uconnect® Customer Programmable Features
The Uconnect®system allows you to access Customer Programmable feature settings
such as Display, Clock, Safety/Assistance, Lights, Doors & Locks, Auto-On Comfort &
Remote Start, Engine Off Operation, Compass Settings, Audio, Trailer Brake,
Phone/Bluetooth®,SuspensionandSiriusXMSetupandSystemInformationthrough
buttons on the touchscreen.
NOTE:
If equipped with the Super Track Pak option please refer to the “Drive Mode Supplement”
within your Owners Information Kit for further descriptions of these modes.
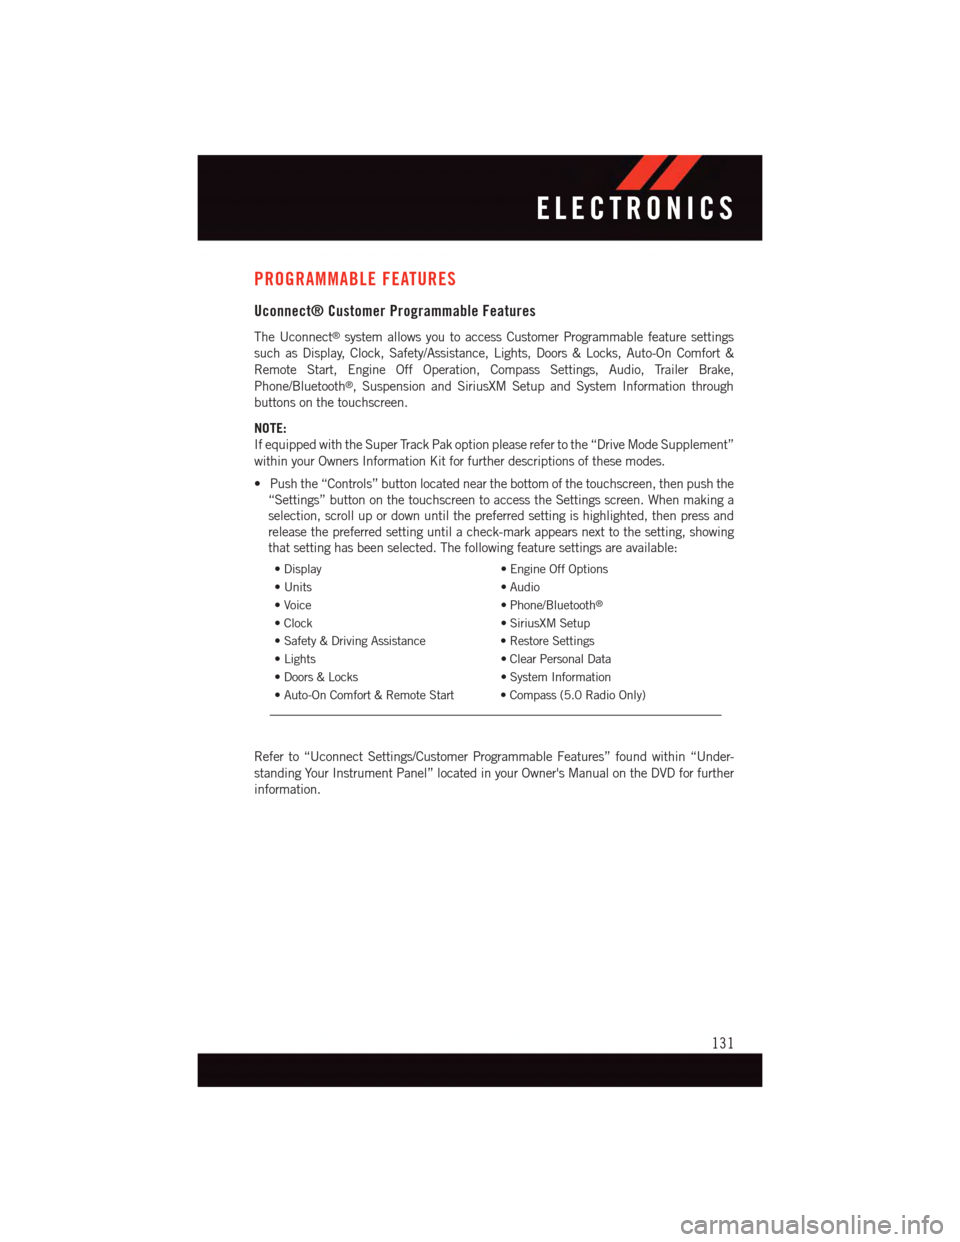
•Pushthe“Controls”buttonlocatednearthebottomofthetouchscreen,thenpushthe
“Settings” button on the touchscreen to access the Settings screen. When making a
selection, scroll up or down until the preferred setting is highlighted, then press and
release the preferred setting until a check-mark appears next to the setting, showing
that setting has been selected. The following feature settings are available:
•Display•EngineOffOptions
•Units•Audio
•Voice•Phone/Bluetooth®
•Clock•SiriusXMSetup
•Safety&DrivingAssistance•RestoreSettings
•Lights•ClearPersonalData
•Doors&Locks•SystemInformation
•Auto-OnComfort&RemoteStart •Compass(5.0RadioOnly)
Refer to “Uconnect Settings/Customer Programmable Features” found within “Under-
standing Your Instrument Panel” located in your Owner's Manual on the DVD for further
information.
ELECTRONICS
131
Page 143 of 220
•Engagingtheparkingbrakewilldisablethisfeature.
•Theword“READY”willdisplaywhenconditionsaremetfortheeventtobegin.
•Thedistanceandspeedmeasurementsdisplaywhiletheeventistakingplace.
•Thedistancemeasurementwillbeabortedifthebrakepedalisreleasedbeforethe
vehicle comes to a complete stop.
•ThedistanceandspeedmeasurementswillcontinuetodisplayuntiltheOKbutton is
pushed.
•PushingtheOKbutton will clear the current run and prepare the cluster to record a new
run.
Current G-Force
•Whenselected,thisscreendisplaysthecurrentG-Force(lateralandlongitudinal)along
with a friction circle that displays the directions of the forces.
Peak G-Force
When selected, this screen displays all four G-Force values (two lateral and two longitu-
dinal).
•Whenaforcegreaterthanzeroismeasured,thedisplaywillupdatethevalueasit
climbs. As the G-Force falls, the peak forces will continue to display.
•PushingtheOKbutton will clear the peak force values.
Lap Timer
When selected the Lap Timer page will show the timer always at 0:00.00 with the previous
Best and Last time data (unless the driver has cleared it via hold to Reset).
•PushingOKwillstart“current”timerfrom0:00.0.
•WhenOKispushedthetimesareupdatedaccordingly.
•AssoonasthedriverexitstheLapTimerpagesthe“current”timerwillstopandthe
time will be reset to 0:00.00.
•IfthedriverstaysontheLapTimerpagesthe“current”timerwillresetto0:00.0when
ignition is placed in the off position, or ignition placed in the ON position (or will roll
over at 59:59.99 if ever possible).
•EachtimethedriverpushesOKforaLapthatcurrenttimepopulatestheLasttimeand
also populates the 1st (top) space on the Timer History page the current time resets to
0:00.0 at every push of the OK button.
•Thetimerwillstopwhenthedrivernavigatesawayfromthispage.
Lap History
When selected, this screen displays the Lap History, and will color highlight the time that
is the best time from the Timer Page.
•EachtimethedriverpressestheOKbutton(whileontheLapTimerpage)thecurrent
Lap Time populates the 1st spot and the rest of the data shifts down.
SRT
141
Page 144 of 220

•ColorwillindicatethetimethatisthebesttimefromtheTimerPage.
•HoldingtheOKbuttononlyresetsthepageyouareon.
•LapHistorypageisastaticdisplayoflaptimesonly.
Top Speed
When selected, this screen displays the To Speed during a drive cycle:
•Populatesatopspeedfromfirstdrivecycleandeverytimethatspeedisexceededthat
number is stored here unless/until the driver resets the screen.
•Latchingoverignitioncycles.
•Unitswillchangewiththeglobalchangeinunits.
WARNING!
Measurement of vehicle statistics with the Performance Features is intended for
off-highway or off-road use only and should not be done on any public roadways. It is
recommended that these features be used in a controlled environment and within the
limits of the law. The capabilities of the vehicle as measured by the performance pages
must never be exploited in a reckless or dangerous manner, which can jeopardize the
user’s safety or the safety of others. Only a safe, attentive, and skillful driver can prevent
accidents.
Uconnect® SRT PERFORMANCE PAGES
•ToaccesstheSRTPerformancePages,pressthe“SRT&Apps”buttononthe
touchscreen then press the “SRT Performance” button on the touchscreen. Press the
feature button on the touchscreen to select that feature.
•ThePerformancePagesincludesthefollowingmenus:
•Home•Gauges 2
•Ti m e r s•G–Force
•Gauges 1•Engine
Home
When Home is selected, the following options will be available:
•Aseriesofsiximageswhichcanbeselectedbytheuser.
•Aleftandrightarrowtoallowtheusertoscrollthroughvehicleimages.
•Ashort-cuttotheSRTDriveModesfeature.
SRT
142
Page 151 of 220

CAUTION!
Continuous driving with the Transmission Temperature Warning Light illuminated will
eventually cause severe transmission damage or transmission failure.
WARNING!
If you continue operating the vehicle when the Transmission Temperature Warning
Light is illuminated you could cause the fluid to boil over, come in contact with hot
engine or exhaust components and cause a fire.
Oil Life Reset
Yo u r v e h i c l e i s e q u i p p e d w i t h a n e n g i n e o i l c h a n g e i n d i c a t o r s y s t e m . T h e “ O i l C h a n g e
Due” message will flash in the DID display for approximately 10 seconds after a single
chime has sounded, to indicate the next scheduled oil change interval. The engine oil
change indicator system is duty cycle based, which means the engine oil change interval
may fluctuate, dependent upon your personal driving style.
Vehicles Equipped With Passive Entry
•Withoutpushingthebrakepedal,pushtheENGINESTART/STOPbuttonandcyclethe
ignition to the ON/RUN position (Do not start the engine.)
•PushandreleasetheDOWNarrow button to scroll downward through the main
menu to “Vehicle Info”.
•PushandreleasetheRIGHTarrow button to access the ”Oil Life” screen.
•PushandholdtheRIGHTarrow button for one second to access the ”Oil Life Reset”
screen.
•PushandholdtheDOWNarrow button until the screen shows 100% oil life.
•PushandreleasetheUparrow button to exit the DID screen.
Vehicles Not Equipped With Passive Entry
•Withoutpushingthebrakepedal,cycletheignitiontotheON/RUNposition(Donot
start the engine.)
•PushandreleasetheDOWNarrow button to scroll downward through the main
menu to “Vehicle Info”.
•PushandreleasetheRIGHTarrow button to access the ”Oil Life” screen.
•PushandholdtheRIGHTarrow button for one second to access the ”Oil Life Reset”
screen.
•PushandholdtheDOWNarrow button until the screen shows 100% oil life.
•PushandreleasetheUparrow button to exit the DID screen.
NOTE:
If the indicator message illuminates when you start the vehicle, the oil change indicator
system did not reset. If necessary, repeat this procedure.
WHAT TO DO IN EMERGENCIES
149