Page 428 of 603

premium gasoline is not recommended, as it will not
provide any benefit over regular gasoline in these
engines.
Light spark knock at low engine speeds is not harmful to
your engine. However, continued heavy spark knock at
high speeds can cause damage and immediate service is
required. Poor quality gasoline can cause problems such
as hard starting, stalling, and hesitations. If you experi-
ence these symptoms, try another brand of gasoline
before considering service for the vehicle.
Over 40 auto manufacturers worldwide have issued and
endorsed consistent gasoline specifications (the World
Wide Fuel Charter, WWFC) which define fuel properties
necessary to deliver enhanced emissions, performance,
and durability for your vehicle. The manufacturer recom-
mends the use of gasolines that meet the WWFC speci-
fications, if they are available.
5.7L Engine (With Manual Transmission)
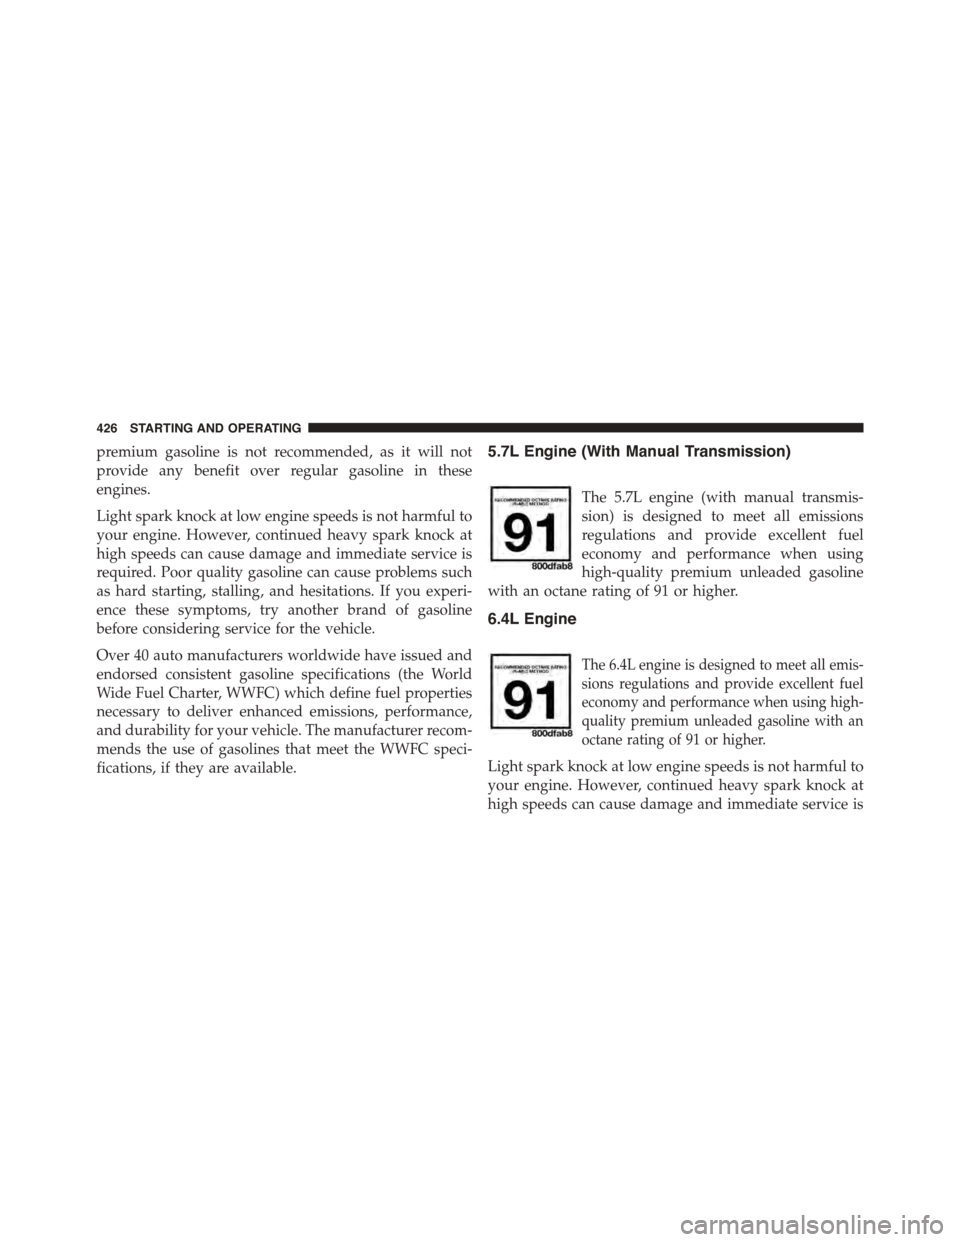
The 5.7L engine (with manual transmis-
sion) is designed to meet all emissions
regulations and provide excellent fuel
economy and performance when using
high-quality premium unleaded gasoline
with an octane rating of 91 or higher.
6.4L Engine
The 6.4L engine is designed to meet all emis-
sions regulations and provide excellent fuel
economy and performance when using high-
quality premium unleaded gasoline with an
octane rating of 91 or higher.
Light spark knock at low engine speeds is not harmful to
your engine. However, continued heavy spark knock at
high speeds can cause damage and immediate service is
426 STARTING AND OPERATING
Page 437 of 603

Figure out the weight on the front and rear of the vehicle
separately. It is important that you distribute the load
evenly over the front and rear axles.
Overloading can cause potential safety hazards and
shorten useful service life. Heavier axles or suspension
components do not necessarily increase the vehicle’s
GVWR.
Loading
To load your vehicle properly, first figure out its empty
weight, axle-by-axle and side-by-side. Store heavier items
down low and be sure you distribute their weight as
evenly as possible. Stow all loose items securely before
driving. If weighing the loaded vehicle shows that you
have exceeded either GAWR, but the total load is within
the specified GVWR, you must redistribute the weight.
Improper weight distribution can have an adverse effect
on the way your vehicle steers and handles and the way
the brakes operate.
NOTE:Refer to the “Vehicle Certification Label” affixed
to the rear of the driver’s door for your vehicle’s GVWR
and GAWRs.
TRAILER TOWING
In this section, you will find safety tips and information
on limits to the type of towing you can reasonably do
with your vehicle. Before towing a trailer, carefully
review this information to tow your load as efficiently
and safely as possible.
To maintain warranty coverage, follow the requirements
and recommendations in this manual concerning ve-
hicles used for trailer towing.
Manual Transmission — If Equipped
Trailer towing with this vehicle is not recommended.
5
STARTING AND OPERATING 435
Page 448 of 603
Towing Tips
Before setting out on a trip, practice turning, stopping,
and backing up the trailer in an area located away from
heavy traffic.
Automatic Transmission — If Equipped
The DRIVE range can be selected when towing. The
transmission controls include a drive strategy to avoid
frequent shifting when towing. However, if frequent
shifting does occur while in DRIVE, you can use the
AutoStick® shift control to manually select a lower gear.
NOTE:Using a lower gear while operating the vehicle
under heavy loading conditions will improve perfor-
mance and extend transmission life by reducing exces-
sive shifting and heat build up. This action will also
provide better engine braking.
Seven-Pin Connector
1—Battery5—Ground2—BackupLamps6—LeftStop/Turn3—RightStop/Turn7—RunningLamps4 — Electric Brakes
446 STARTING AND OPERATING
Page 450 of 603
RECREATIONAL TOWING (BEHIND MOTORHOME, ETC.)
Towing This Vehicle Behind Another Vehicle
Towing ConditionWheels OFF The
GroundManual Transmission Automatic Transmission
Flat Tow None•Transmission in NEU-
TRAL
•65 mph (105 km/h)
maximum speed
NOT ALLOWED
Dolly TowFrontNot Recommended NOT ALLOWED
RearNot Recommended Not Recommended
On TrailerAllOKOK
Automatic Transmission — If Equipped
Recreational towing (with rear wheels on the ground) is
NOT ALLOWED. The only acceptable method for tow-
ing this vehicle (behind another vehicle) is on a vehicle
trailer with all four wheelsOFFthe ground.
Use of a towing dolly (with rear wheels on the ground) is
NOT ALLOWED, as severe transmission damage will
occur. Use of a towing dolly (with front wheels on the
ground) is not recommended, as vehicle damage may
occur.
448 STARTING AND OPERATING
Page 451 of 603
CAUTION!
Towing this vehicle in violation of the above require-
ments can cause severe transmission damage. Dam-
age from improper towing is not covered under the
New Vehicle Limited Warranty.
Manual Transmission — If Equipped
Vehicles with a manual transmission may be flat towed
(with all four wheels on the ground) under the following
conditions:
•The transmission must be in NEUTRAL.
•The towing speed must not exceed 65 mph
(105 km/h).
•There is no limitation on towing distance.
Manual transmission vehicles may also be towed using a
vehicle trailer (with all four wheels off the ground).
Use of a towing dolly is not recommended, as vehicle
damage may occur.
CAUTION!
Towing this vehicle in violation of the above require-
ments can cause severe engine and/or transmission
damage. Damage from improper towing is not cov-
ered under the New Vehicle Limited Warranty.
5
STARTING AND OPERATING 449
Page 454 of 603
!MANUAL PARK RELEASE — 8 SPEED
TRANSMISSION.......................481
!TOWING A DISABLED VEHICLE...........484
▫Automatic Transmission.................485
▫Manual Transmission...................486
452 WHAT TO DO IN EMERGENCIES
Page 461 of 603

WARNING!(Continued)
•Tire Service Kit Sealant solution contains latex. In
case of an allergic reaction or rash, consult a phy-
sician immediately. Keep Tire Service Kit out of
reach of children. If swallowed, rinse mouth imme-
diately with plenty of water and drink plenty of
water. Do not induce vomiting! Consult a physician
immediately.
Sealing A Tire With Tire Service Kit
(A) Whenever You Stop To Use Tire Service Kit:
1. Pull over to a safe location and turn on the vehicle’s
Hazard Warning flashers.
2. Verify that the valve stem (on the wheel with the
deflated tire) is in a position that is near to the ground.
This will allow the Tire Service Kit Hoses (6) and (7) to
reach the valve stem and keep the Tire Service Kit flat
on the ground. This will provide the best positioning
of the kit when injecting the sealant into the deflated
tire and running the air pump. Move the vehicle as
necessary to place the valve stem in this position
before proceeding.
3. Place the transmission in PARK (auto transmission) or
in Gear (manual transmission) and turn Off the igni-
tion.
4. Set the parking brake.
(B) Setting Up To Use Tire Service Kit:
1. Push in the Mode Select Knob (5) and turn to the
Sealant Mode position.
2. Uncoil the Sealant Hose (6) and then remove the cap
from the fitting at the end of the hose.
3. Place the Tire Service Kit flat on the ground next to the
deflated tire.
6
WHAT TO DO IN EMERGENCIES 459
Page 462 of 603

4. Remove the cap from the valve stem and then screw
the fitting at the end of the Sealant Hose (6) onto the
valve stem.
5. Uncoil the Power Plug (8) and insert the plug into the
vehicle’s 12 Volt power outlet.
NOTE:Do not remove foreign objects (e.g., screws or
nails) from the tire.
(C) Injecting Tire Service Kit Sealant Into The
Deflated Tire:
•Always start the engine before turning ON the Tire
Service Kit.
NOTE:Manual transmission vehicles must have the
parking brake engaged and the shift lever in NEUTRAL.
•After pressing the Power Button (4), the sealant (white
fluid) will flow from the Sealant Bottle (1) through the
Sealant Hose (6) and into the tire.
NOTE:Sealant may leak out through the puncture in the
tire.
If the sealant (white fluid) does not flow within0–10
seconds through the Sealant Hose (6):
1. Press the Power Button (4) to turn Off the Tire Service
Kit. Disconnect the Sealant Hose (6) from the valve
stem. Make sure the valve stem is free of debris.
Reconnect the Sealant Hose (6) to the valve stem.
Check that the Mode Select Knob (5) is in the Sealant
Mode position and not Air Mode. Press the Power
Button (4) to turn On the Tire Service Kit.
2. Connect the Power Plug (8) to a different 12 Volt
power outlet in your vehicle or another vehicle, if
available. Make sure the engine is running before
turning ON the Tire Service Kit.
3. The Sealant Bottle (1) may be empty due to previous
use. Call for assistance.
460 WHAT TO DO IN EMERGENCIES