Page 37 of 248

35
2
READY TO GO
Instruments and controls
SERVICE INDICATOR
For a few seconds after the ignition is
switched on, the spanner symbolising the
service indicator comes on: the screen
informs you when the next service is due,
in accordance with the servicing schedule
indicated in the maintenance and warranty
guide. This information is determined in
relation to the distance travelled since the
previous service.
After a few seconds, the display returns to
its usual functions. A long press returns you to the main menu.
Refer to the "Technology on board -
Vehicle configuration" section.
Deterioration of the engine oil
Refer to the list of checks in the
maintenance and warranty guide
which was given to you on handover of
the vehicle.
Reminder of servicing information
At any time, to access the service indicator,
press briefly on the MODE button.
Use the up/down arrows to see
the scheduling and engine oil wear
information.
Pressing the MODE button again allows
you to return to the various display
menus.
Menu... Choose... Allows you
to...
11
Service Service
(miles/
km before
service)
Display the
distance
remaining
before the
next service.
Oil (miles/
km before
oil change) Display
the miles/
kilometres to
the next oil
change.
Resetting to zero
The stopping of the permanent flashing of
the indicator is carried out by a qualified
workshop equipped with a diagnostic tool. This 2 nd warning lamp, coupled
with the 1 st , comes on in the
instrument panel when the oil
has not been changed and the
deterioration of the oil has reached another
threshold. To avoid the risk of damage, have
the oil changed without waiting for this level. The warning lamp flashing and,
if your vehicle has the function,
a message displayed at every
engine start: the system has
detected deterioration of the engine oil.
Have the oil changed as soon as possible.
For 3.0 litre HDi engines, the engine speed
is restricted to 3 000 rpm, then 1 500 rpm
until the oil change is done. Have the engine
oil changed to avoid any risk of damage.
Page 43 of 248

41
2
READY TO GO
Starting and stopping
Going into engine START mode - The "S" warning lamp goes off and the engine restarts.
If following an automatic restart in START
mode, the driver takes no action on the
the vehicle during the next 3 minutes, the
system stops the engine definitively. The
engine can then only be restarted using
the key. Special cases: START invoked
automatically
The START mode is invoked automatically
when:
- the vehicle's is free wheeling on a slope,
- the windscreen wiper is on fast wipe,
- the air conditioning is running,
- the engine has been stopped for around
3 minutes with Stop & Start,
- some special conditions (battery charge, engine temperature, braking assistance,
ambient temperature...) where the
engine is needed to assure control of
a system.
In this case, a message appears
in the instrument panel screen,
accompanied by the "S" warning
lamp, which flashes for a few
seconds, then goes off. Good practice
With a manual gearbox in STOP mode, if a
gear is engaged without fully depressing the
clutch pedal, restarting may not take place.
A warning lamp or message is displayed
in the instrument panel asking you to fully
depress the clutch pedal to allow restarting.
With the engine stopped in STOP mode,
if the driver unfasten's their seat belt and
opens a front door, the engine can only be
restarted using the ignition key. There is an
audible signal, accompanied by flashing of
the "S" warning lamp and, depending on
equipment, a message is displayed.
This operation is perfectly normal.
With the vehicle in gear, automatic engine
restarting is only allowed by fully depressing
the clutch pedal.
Page 89 of 248

87
4
TECHNOLOGY on BOARD
Vehicle configuration
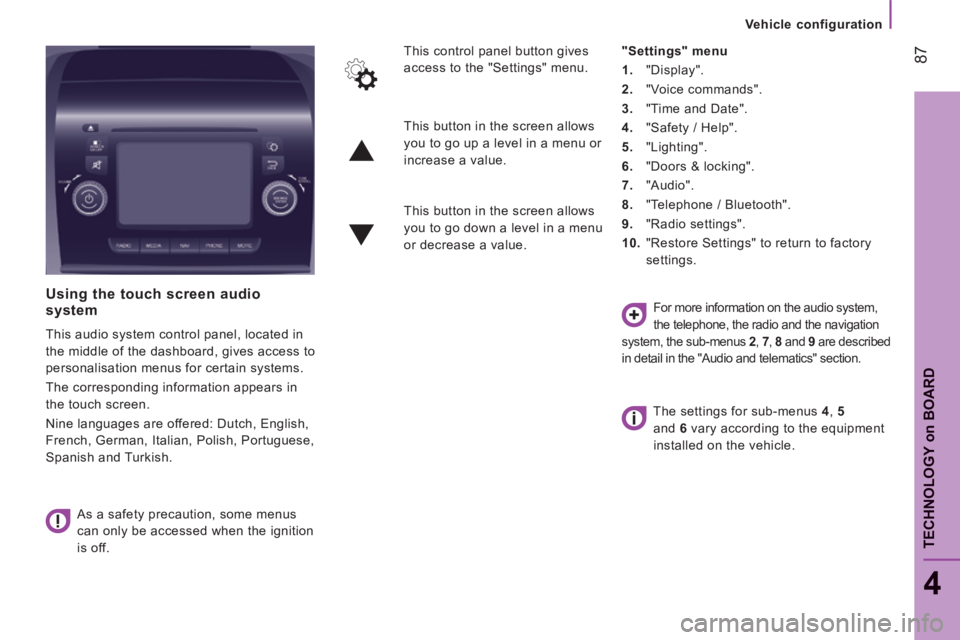
Using the touch screen audio system
This audio system control panel, located in
the middle of the dashboard, gives access to
personalisation menus for certain systems.
The corresponding information appears in
the touch screen.
Nine languages are offered: Dutch, English,
French, German, Italian, Polish, Portuguese,
Spanish and Turkish. As a safety precaution, some menus
can only be accessed when the ignition
is off. This control panel button gives
access to the "Settings" menu.
"Settings" menu
1. "Display".
2. "Voice commands".
3. "Time and Date".
4. "Safety / Help".
5. "Lighting".
6. "Doors & locking".
7. "Audio".
8. "Telephone / Bluetooth".
9. "Radio settings".
10. "Restore Settings" to return to factory
settings.
This button in the screen allows
you to go up a level in a menu or
increase a value.
This button in the screen allows
you to go down a level in a menu
or decrease a value.
For more information on the audio system,
the telephone, the radio and the navigation
system, the sub-menus 2 , 7 , 8 and 9 are described
in detail in the "Audio and telematics" section.
The settings for sub-menus 4 , 5
and 6 vary according to the equipment
installed on the vehicle.
Page 189 of 248

06
10.23
The services available depend on the network, the SIM card and the compatibility of the Bluetooth device used. Check the instructions for your telephone and with your service provider for the services to which you have access.
The profi les compatible with the system are: HFP, OPP, PBAP, A2DP, AVRCP, MAP.
When you return to your vehicle, the last telephone connected reconnects automatically, within around 30 seconds of switching on the ignition (with Bluetooth switched on).
To modify the automatic connection profi le, select the telephone in the list then select the desired setting.
BLUETOOTH
Automatic reconnection
When the ignition is switched on, the telephone connected when the ignition was last switched off reconnects automatically, if this connection mode had been set during the pairing procedure (see previous pages).
Connection is conformed by the display of a message and the name of the telephone.
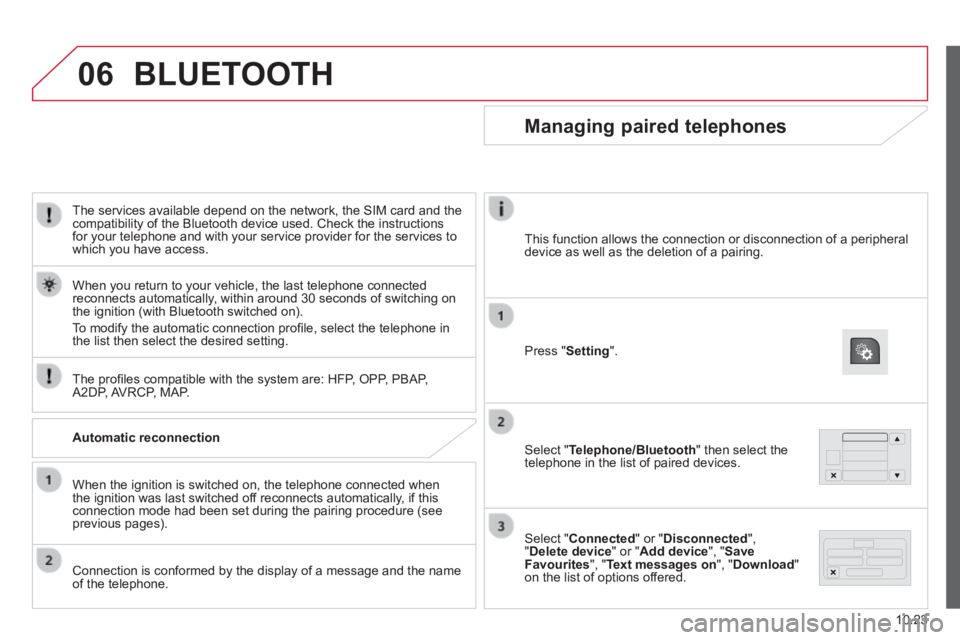
Managing paired telephones
Press " Setting ".
Select " Telephone/Bluetooth " then select the telephone in the list of paired devices.
Select " Connected " or " Disconnected ", " Delete device " or " Add device ", " Save Favourites ", " Text messages on ", " Download " on the list of options offered.
This function allows the connection or disconnection of a peripheral device as well as the deletion of a pairing.