Page 10 of 220
INSTRUMENT CLUSTER
1. Tachometer
2. Electronic Vehicle Information Center (EVIC) / Driver Information Display (DID)
(See page 155 for Instrument Cluster Warning Lights.)
CONTROLS AT A GLANCE
8
Page 11 of 220
3. Fuel Gauge
4. Speedometer
(See page 160 for Instrument Cluster Indicator Lights.)
CONTROLS AT A GLANCE
9
Page 72 of 220

Download The Uconnect® Access App
The Uconnect® Access smartphone app allows you to remotely lock or unlock your doors, start
your engine (if equipped) and activate your horn and lights from virtually anywhere. The
smartphone app also features Via Mobile (if equipped) which uses your smartphone’s data plan
to access your personal Pandora®, iHeartRadio, Slacker Radio and Aha™ by HARMAN accounts
and control them using your vehicle touchscreen.
The Uconnect® Access app is only compatible with select iPhone® and Android smartphones.
Visit UconnectPhone.com or call 1-877-855-8400 to confirm that your smartphone is compatible
with Uconnect®. Once you’ve confirmed your smartphone is compatible, Android and iPhone®
users should visit their respective app store and search for “Uconnect Access” to download the
app.
Set Up Your Via Mobile Profile — If Equipped
Setting up your Via Mobile profile means entering your login information for each App so that
they can work in your vehicle. Complete your Via Mobile Profile online during registration of your
Uconnect® Access system. Access this pageby logging into your Mopar Owner Connect
account (moparownerconnect.com), going to Edit Profile, then Via Mobile Profile.
If you already have an account with these Apps, scroll down and press “Link” to enter your
information. If you do not have an account, you can create a new one.
Aha™ by HARMAN (www.aharadio.com)
• Enter your email address and password for Aha™, or create a new Aha™ account.
• You can link your Facebook, Twitter or Slacker accounts on the Aha™ website.
iHeartRadio (www.iHeartRadio.com)
• Enter your email address and password for iHeartRadio, or create a new iHeartRadio account.
• Select “Activate” to continue,
• Select “Close” to complete activation.
Pandora® (www.pandora.com)
• Enter your Pandora® username/email address and password, then click “Save.”
• Create a new Pandora® account.
Slacker Radio (www.slacker.com)
• Enter your Slacker username/email address and password, then click “Save.”
• Create a new Slacker Radio account.
Invite family and friends to use the Via Mobile Apps in your vehicle by setting up their own Via
Mobile profile.
ELECTRONICS
70
Page 100 of 220
Uconnect® 8.4A
Uconnect® 8.4A — If Equipped
At A Glance
Displaying The Time
• If the time is not currently displayed on the radio or player main page, press the “Controls”button on the touchscreen or the “Apps” button on the touchscreen, then the “Settings”
button on the touchscreen. In the Settings list, press the “Clock” button on the touchscreen.
Uconnect® 8.4A
1 — Status Bar
2 — Menu Bar
3 — Uconnect® Apps Button
4 — Uconnect® Phone Button5 — Climate Button
6 — Controls Button
7 — Media Button
8 — Radio Button
ELECTRONICS
98
Page 124 of 220
Uconnect® Access — If Equipped (8.4A/8.4AN)
An included trial and/or subscription is required to take advantage of the Uconnect® Access
services in the next section of this guide. To register with Uconnect® Access, press the “Apps”
button on the 8.4-inch touchscreen to get started. Detailed registration instructions can be found
on the next page.
*Uconnect® Access is available only on equipped vehicles purchased within the continental
United States, Alaska and Hawaii. Services can only be used where coverage is available; see
coverage map for details.
CALL9119-1-1 CallTheft Alarm Notification
Remote Door Lock/UnlockStolen Vehicle Assistance
Remote Vehicle Start**Yelp® Search
Remote Horn and Lights
Text
Voice Texting
Roadside Assistance CallWi-Fi Hotspot***
**If vehicle is equipped.
***Extra charges apply.
ELECTRONICS
122
Page 126 of 220
Mobile App (8.4A/8.4AN)
Securely link your mobile device to your vehicle withthe Uconnect® Access App. Once you have
downloaded the App, you may start your vehicle or lock it from virtually any distance. (Vehicle
must be properly equipped with factory-installed Remote Start.)
Download the Uconnect® Access App to compatible Apple® or Android® mobile devices. All you
need to do is:
1. After registering with Uconnect® Access, log on to your Mopar® Owner Connect account at moparownerconnect.com
2. On the Dashboard page, enter your mobile phone number to receive a link to download the App on your mobile device. Or, go to iTunes® or Google Play and search for the Uconnect®
Access App.
3. To activate the App, enter your Mopar Owner Connect user name and password and log in. Your vehicle is then connected to your mobile device.
Mobile App
ELECTRONICS
124
Page 132 of 220

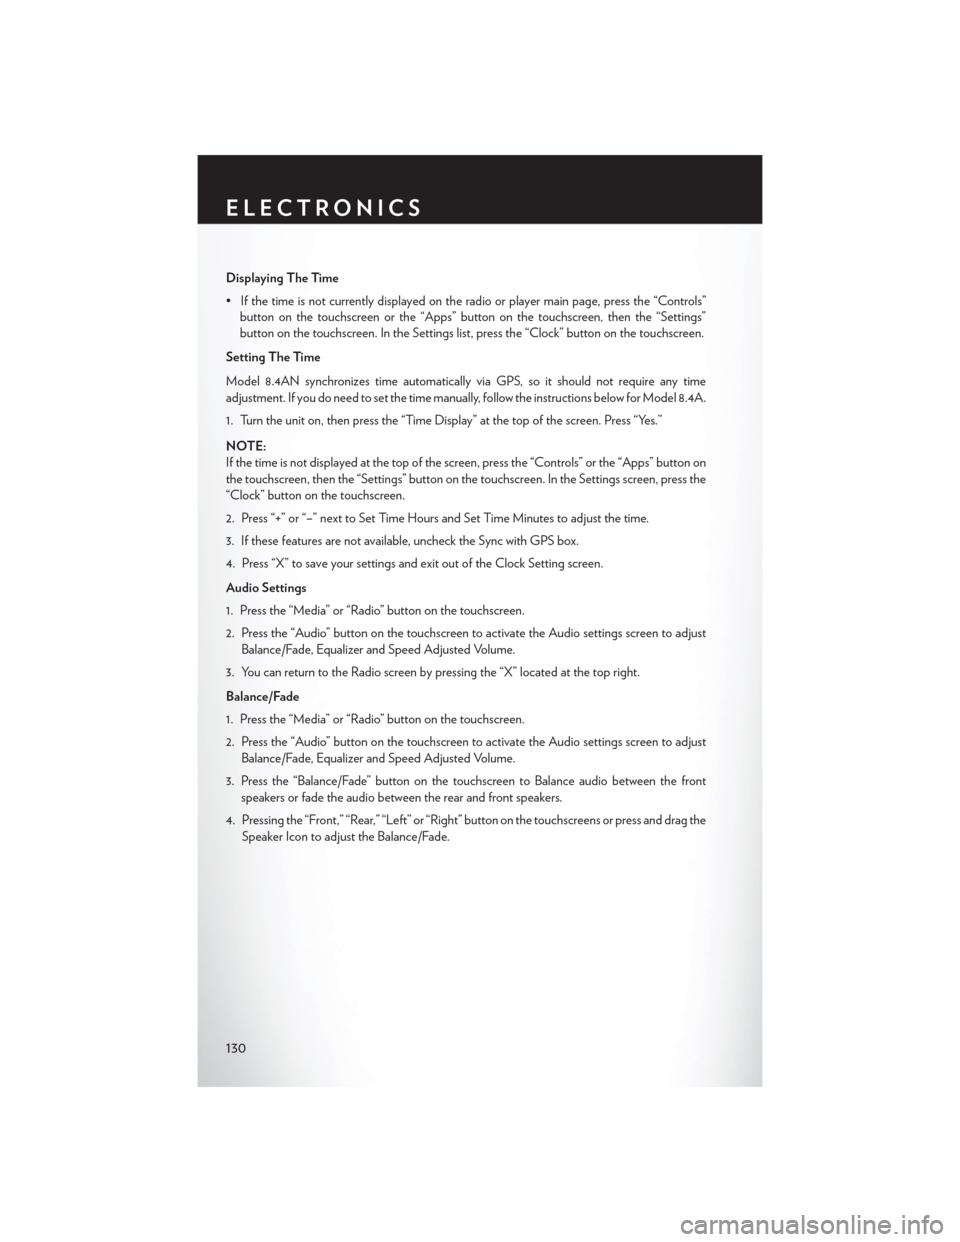
Displaying The Time
• If the time is not currently displayed on the radio or player main page, press the “Controls”button on the touchscreen or the “Apps” button on the touchscreen, then the “Settings”
button on the touchscreen. In the Settings list, press the “Clock” button on the touchscreen.
Setting The Time
Model 8.4AN synchronizes time automatically via GPS, so it should not require any time
adjustment. If you do need to set the time manually, follow the instructions below for Model 8.4A.
1. Turn the unit on, then press the “Time Display” at the top of the screen. Press “Yes.”
NOTE:
If the time is not displayed at the top of the screen, press the “Controls” or the “Apps” button on
the touchscreen, then the “Settings” button on the touchscreen. In the Settings screen, press the
“Clock” button on the touchscreen.
2. Press “+” or “–” next to Set Time Hours and Set Time Minutes to adjust the time.
3. If these features are not available, uncheck the Sync with GPS box.
4. Press “X” to save your settings and exit out of the Clock Setting screen.
Audio Settings
1. Press the “Media” or “Radio” button on the touchscreen.
2. Press the “Audio” button on the touchscreen to activate the Audio settings screen to adjust Balance/Fade, Equalizer and Speed Adjusted Volume.
3. You can return to the Radio screen by pressing the “X” located at the top right.
Balance/Fade
1. Press the “Media” or “Radio” button on the touchscreen.
2. Press the “Audio” button on the touchscreen to activate the Audio settings screen to adjust Balance/Fade, Equalizer and Speed Adjusted Volume.
3. Press the “Balance/Fade” button on the touchscreen to Balance audio between the front speakers or fade the audio between the rear and front speakers.
4. Pressing the “Front,” “Rear,” “Left” or “Right” button on the touchscreens or press and drag the Speaker Icon to adjust the Balance/Fade.
ELECTRONICS
130
Page 192 of 220

MAINTENANCE SCHEDULE
Your vehicle is equipped with an automatic oil change indicator system. The oil change indicator
system will remind you that it is time to take your vehicle in for scheduled maintenance.
Based on engine operation conditions, the oil change indicator message will illuminate. This
means that service is required for your vehicle. Operating conditions such as frequent short-trips,
trailer tow, extremely hot or cold ambient temperatures will influence when the “Oil Change
Required” message is displayed. Severe Operating Conditions can cause the change oil message
to illuminate as early as 3,500 miles (5,600 km) since last reset. Have your vehicle serviced as soon
as possible, within the next 500 miles (805 km).
Your authorized dealer will reset the oil change indicator message after completing the scheduled oil
change. If a scheduled oil change is performed by someone other than your authorized dealer, the
message can be reset by referring to the steps described under “Oil Change Reset” in “Electronic
Vehicle Information Center (EVIC)” or "Driver Information Display (DID)” in “Understanding Your
Instrument Panel” in your Owners Manual on the DVD for further information.
NOTE:
Under no circumstances should oil change intervals exceed 10,000 miles (16,000 km) or twelve
months, whichever comes first.
Severe Duty All Models
Change Engine Oil at 4000 miles (6,500 km) if the vehicle is operated in a dusty and off road
environment. This type of vehicle use is considered Severe Duty.
Once A Month Or Before A Long Trip:
• Check engine oil level.
• Check windshield washer fluid level.
• Check tire pressure and look for unusual wear or damage. Rotate tires at the first sign ofirregular wear, even if it occurs before the oil indicator system turns on.
• Check the fluid levels of the coolant reservoir and brake master cylinder, fill as needed.
• Check function of all interior and exterior lights.
Required Maintenance Intervals.
Refer to the maintenance schedules on the following page for the required maintenance intervals.
At Every Oil Change Interval As Indicated By Oil Change Indicator System:
• Change oil and filter
• Rotate the tires. Rotate at the first sign of irregular wear, even if it occurs before the oil
indicator system turns on.
• Inspect battery and clean and tighten terminals as required
• Inspect brake pads, shoes, rotors, drums, hoses and park brake
• Inspect engine cooling system protection and hoses
• Inspect exhaust system
• Inspect engine air cleaner if using in dusty or off-road conditions
MAINTAINING YOUR VEHICLE
190