2015 CHRYSLER 200 reset
[x] Cancel search: resetPage 147 of 220

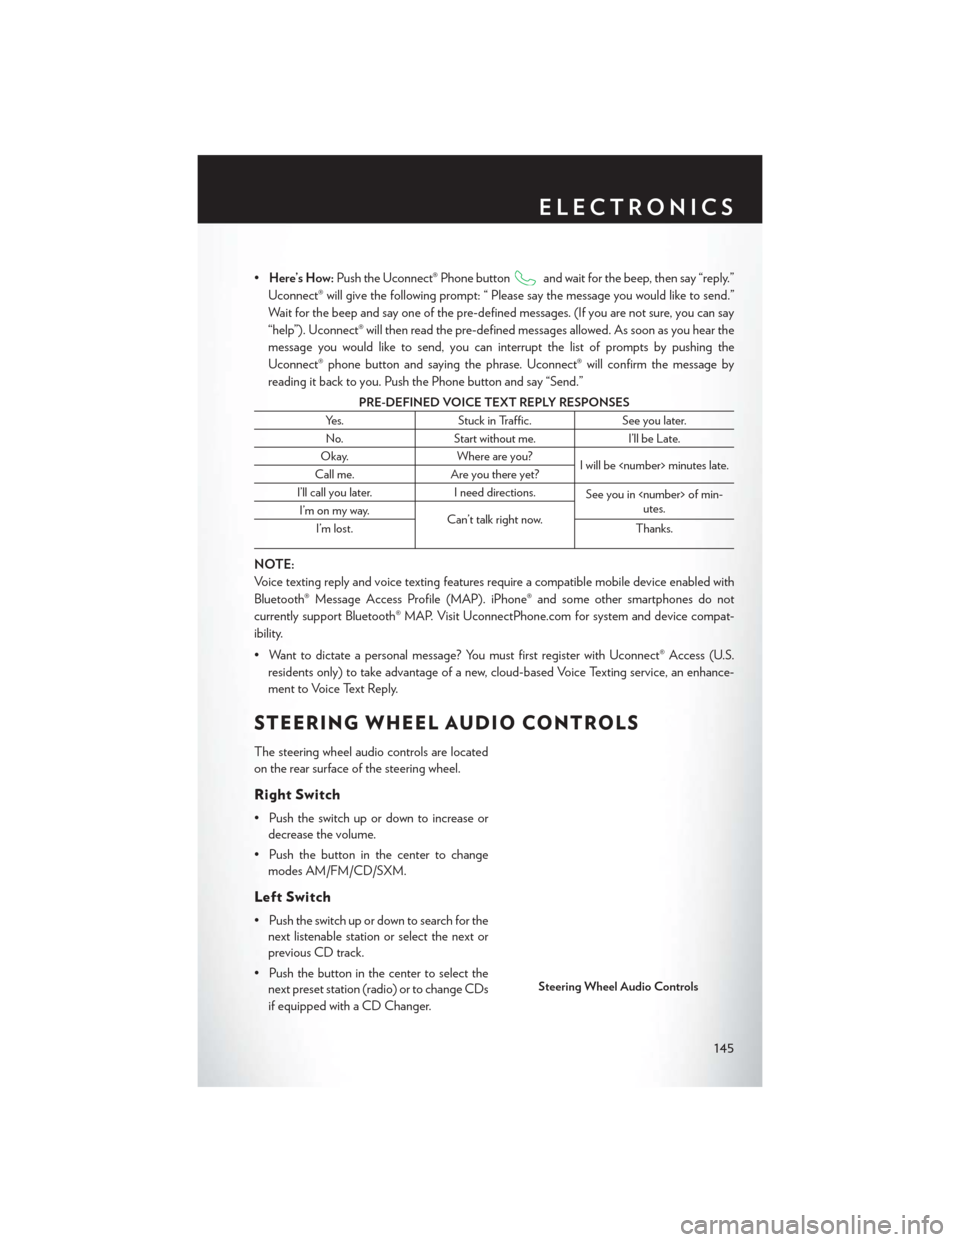
•Here’s How: Push the Uconnect® Phone buttonand wait for the beep, then say “reply.”
Uconnect® will give the following prompt: “ Please say the message you would like to send.”
Wait for the beep and say one of the pre-defined messages. (If you are not sure, you can say
“help”). Uconnect® will then read the pre-defined messages allowed. As soon as you hear the
message you would like to send, you can interrupt the list of prompts by pushing the
Uconnect® phone button and saying the phrase. Uconnect® will confirm the message by
reading it back to you. Push the Phone button and say “Send.”
PRE-DEFINED VOICE TEXT REPLY RESPONSES
Yes. Stuck in Traffic. See you later.
No. Start without me. I’ll be Late.
Okay. Where are you?
I will be
Call me. Are you there yet?
I’ll call you later. I need directions.
See you in
utes.
I’m on my way.
Can’t talk right now.
I’m lost. Thanks.
NOTE:
Voice texting reply and voice texting features require a compatible mobile device enabled with
Bluetooth® Message Access Profile (MAP). iPhone® and some other smartphones do not
currently support Bluetooth® MAP. Visit UconnectPhone.com for system and device compat-
ibility.
• Want to dictate a personal message? You must first register with Uconnect® Access (U.S.
residents only) to take advantage of a new, cloud-based Voice Texting service, an enhance-
ment to Voice Text Reply.
STEERING WHEEL AUDIO CONTROLS
The steering wheel audio controls are located
on the rear surface of the steering wheel.
Right Switch
• Push the switch up or down to increase ordecrease the volume.
• Push the button in the center to change modes AM/FM/CD/SXM.
Left Switch
• Push the switch up or down to search for thenext listenable station or select the next or
previous CD track.
• Push the button in the center to select the next preset station (radio) or to change CDs
if equipped with a CD Changer.
Steering Wheel Audio Controls
ELECTRONICS
145
Page 148 of 220

ELECTRONIC VEHICLE INFORMATION
CENTER (EVIC) AND DRIVER INFORMATION
DISPLAY (DID)
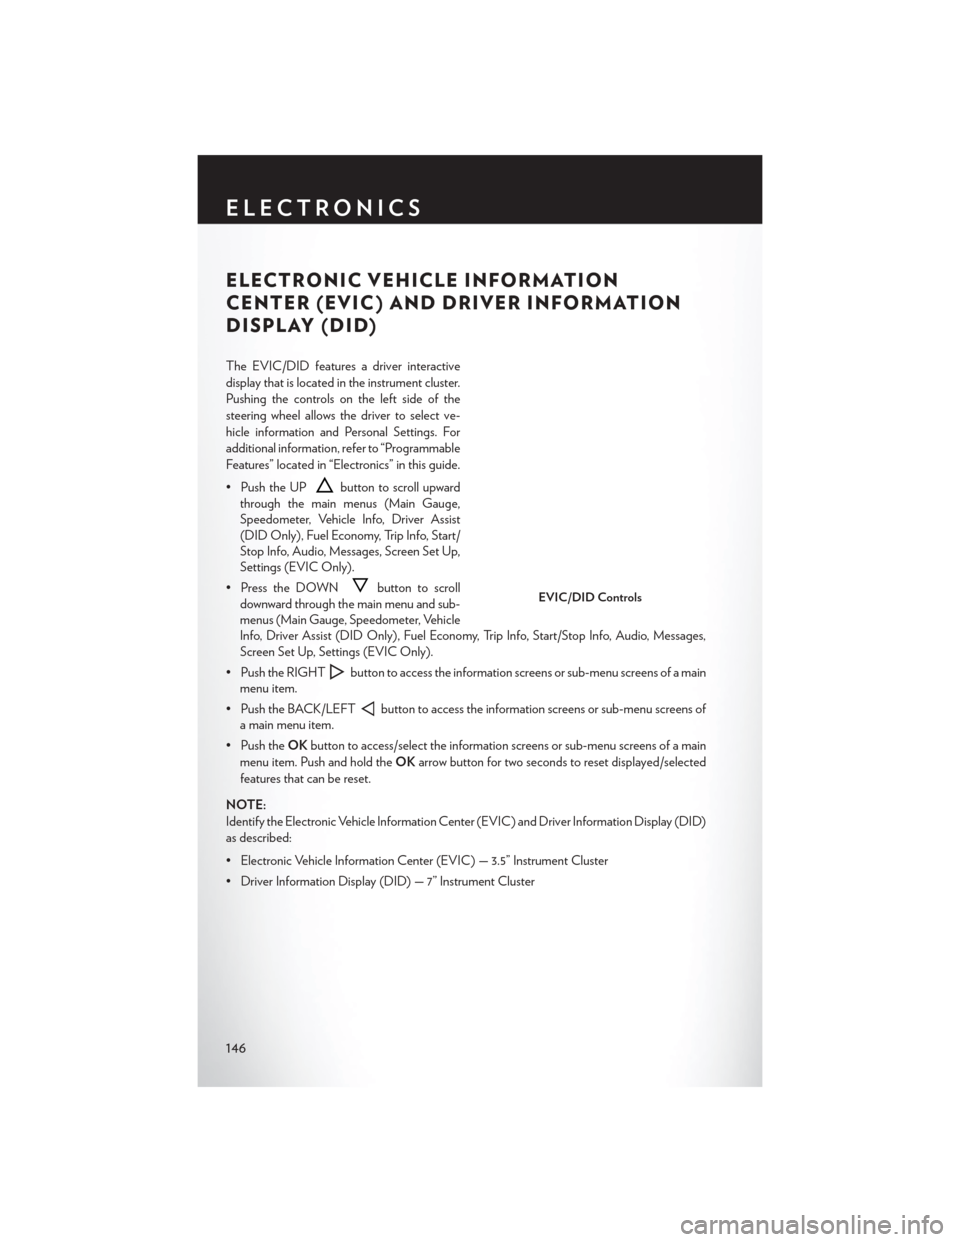
The EVIC/DID features a driver interactive
display that is located in the instrument cluster.
Pushing the controls on the left side of the
steering wheel allows the driver to select ve-
hicle information and Personal Settings. For
additional information, refer to “Programmable
Features” located in “Electronics” in this guide.
• Push the UP
button to scroll upward
through the main menus (Main Gauge,
Speedometer, Vehicle Info, Driver Assist
(DID Only), Fuel Economy, Trip Info, Start/
Stop Info, Audio, Messages, Screen Set Up,
Settings (EVIC Only).
• Press the DOWN
button to scroll
downward through the main menu and sub-
menus (Main Gauge, Speedometer, Vehicle
Info, Driver Assist (DID Only), Fuel Economy, Trip Info, Start/Stop Info, Audio, Messages,
Screen Set Up, Settings (EVIC Only).
• Push the RIGHT
button to access the information screens or sub-menu screens of a main
menu item.
• Push the BACK/LEFT
button to access the information screens or sub-menu screens of
a main menu item.
• Push the OKbutton to access/select the information screens or sub-menu screens of a main
menu item. Push and hold the OKarrow button for two seconds to reset displayed/selected
features that can be reset.
NOTE:
Identify the Electronic Vehicle Information Center (EVIC) and Driver Information Display (DID)
as described:
• Electronic Vehicle Information Center (EVIC) — 3.5” Instrument Cluster
• Driver Information Display (DID) — 7” Instrument Cluster
EVIC/DID Controls
ELECTRONICS
146
Page 153 of 220

POWER INVERTER
There is a 115 Volt, 150 Watt power inverter
outlet located on the back of the center con-
sole. This outlet can power cellular phones,
electronics and other low power devices requir-
ing power up to 150 Watts.
NOTE:
The power inverter is designed with built-in
overload protection. If the power rating of
150 Watts is exceeded, the power inverter will
automatically shut down. Once the electrical
device has been removed from the outlet, the inverter should automatically reset. If the power
rating exceeds approximately 170 Watts, the power inverter may have to be reset manually. To
reset the inverter manually, unplug the device and plug it in again. To avoid overloading the
circuit, check the power ratings on electrical devices prior to using the inverter.
WARNING!
To Avoid Serious Injury or Death DO NOT:
• insert any objects into the receptacles
• touch with wet hands
Close the lid when not in use. If this outlet is mishandled, it may cause an electric shock and
failure.
Power Inverter
ELECTRONICS
151
Page 162 of 220

INSTRUMENT CLUSTER INDICATOR LIGHTS
- Turn Signal Indicator
The arrows will flash with the exterior turn signals when the turn signal lever is operated. A tone
will chime, and a EVIC/DID message will appear if either turn signal is left on for more than 1 mile
(1.6 km).
NOTE:
If either indicator flashes at a rapid rate, check for a defective outside light bulb.
- High Beam Indicator
Indicates that headlights are on high beam.
- Front Fog Light Indicator
This indicator will illuminate when the front fog lights are on.
- Vehicle Security Light
This light will flash rapidly for approximately 15 seconds when the vehicle theft alarm is arming.
The light will flash at a slower speed continuously after the alarm is set. The security light will also
come on for about three seconds when the ignition is first turned on.
- Electronic Stability Control (ESC) OFF Indicator Light
This light indicates the Electronic Stability Control (ESC) is off.
- Electronic Speed Control SET Indicator
This indicator will illuminate when the cruising speed has been set.
- Electronic Speed Control ON Indicator
This indicator will illuminate when the electronic speed control has been activated to the “ON”
position.
- Park/Headlight ON Indicator
This indicator will illuminate when the park lights or headlights are turned on.
- Electronic Park Brake Failure Indicator
This light indicates the Electronic Parking Brake system requires service.
- Fuel Cap/Loose Gas Cap EVIC Message
If a “gas cap” message appears, tighten the gas cap until a “clicking” sound is heard.
Press the odometer reset button to turn the message off.
If the message continues to appear for more than three days after tightening the gas cap, see your
authorized service center.
WHAT TO DO IN EMERGENCIES
160
Page 182 of 220

2. Using a small screwdriver or similar tool, remove the Manual Park Release access cover, whichis underneath the rubber storage bin liner in the center console pass-through.
3. Unsnap the tether from the Manual Park Release lever.
4. Pull the tether upwards and rearward, until it locks vertically in place. Verify that the Manual Park Release lever is locked in the released position.
5. The vehicle is now out of PARK and can be moved. Release the parking brake only
when the vehicle is securely connected to a
tow vehicle.
Follow these steps to reset the Manual Park
Release:
1. Pull the tether upwards to unlock the lever.
2. Rotate the Manual Park Release lever for- ward and down to its original position.
3. Re-install the access cover and the rubber storage bin liner.
Manual Park Release Cover
Manual Park Release Tether
Locked Position
WHAT TO DO IN EMERGENCIES
180
Page 192 of 220

MAINTENANCE SCHEDULE
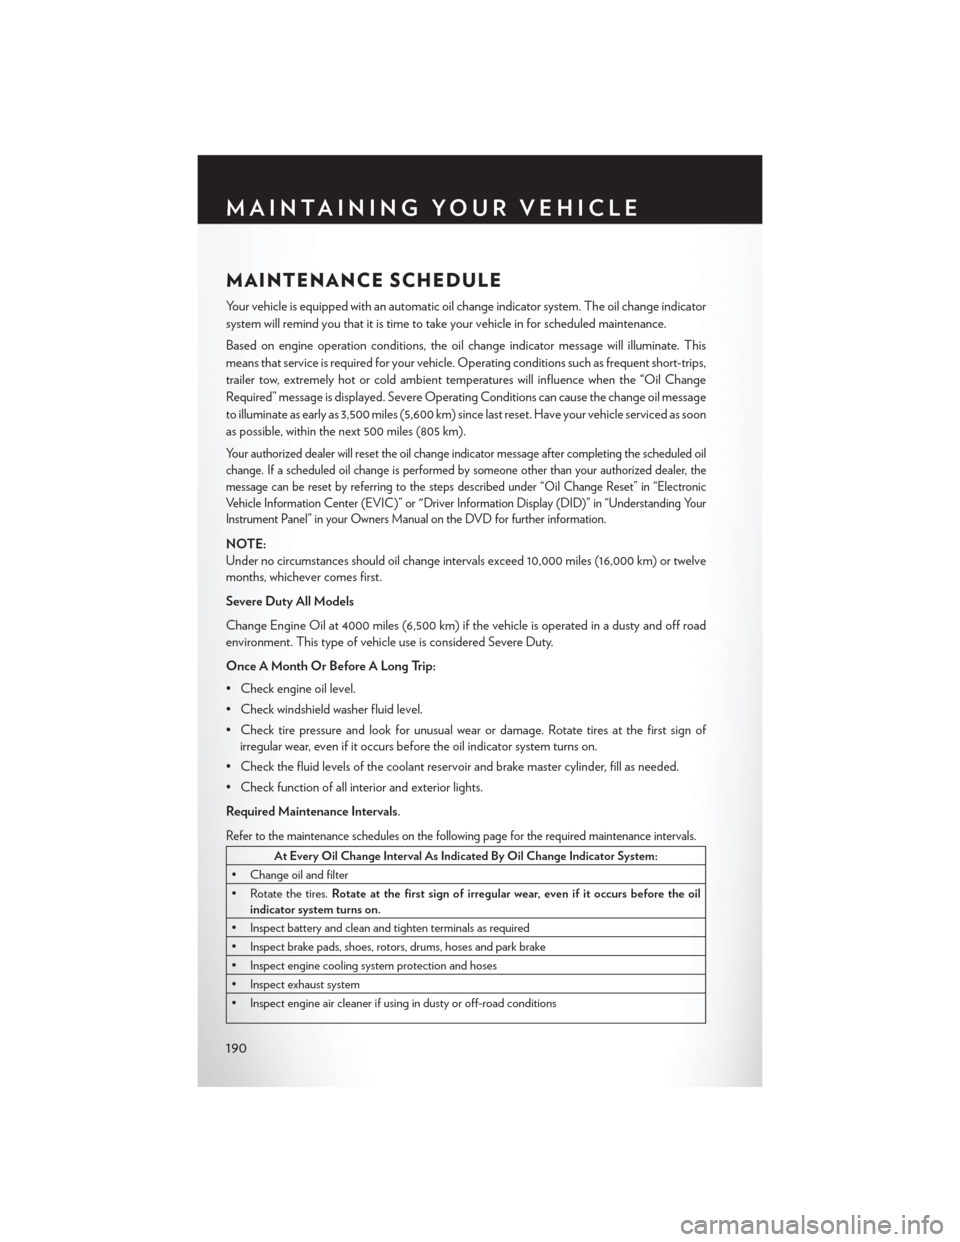
Your vehicle is equipped with an automatic oil change indicator system. The oil change indicator
system will remind you that it is time to take your vehicle in for scheduled maintenance.
Based on engine operation conditions, the oil change indicator message will illuminate. This
means that service is required for your vehicle. Operating conditions such as frequent short-trips,
trailer tow, extremely hot or cold ambient temperatures will influence when the “Oil Change
Required” message is displayed. Severe Operating Conditions can cause the change oil message
to illuminate as early as 3,500 miles (5,600 km) since last reset. Have your vehicle serviced as soon
as possible, within the next 500 miles (805 km).
Your authorized dealer will reset the oil change indicator message after completing the scheduled oil
change. If a scheduled oil change is performed by someone other than your authorized dealer, the
message can be reset by referring to the steps described under “Oil Change Reset” in “Electronic
Vehicle Information Center (EVIC)” or "Driver Information Display (DID)” in “Understanding Your
Instrument Panel” in your Owners Manual on the DVD for further information.
NOTE:
Under no circumstances should oil change intervals exceed 10,000 miles (16,000 km) or twelve
months, whichever comes first.
Severe Duty All Models
Change Engine Oil at 4000 miles (6,500 km) if the vehicle is operated in a dusty and off road
environment. This type of vehicle use is considered Severe Duty.
Once A Month Or Before A Long Trip:
• Check engine oil level.
• Check windshield washer fluid level.
• Check tire pressure and look for unusual wear or damage. Rotate tires at the first sign ofirregular wear, even if it occurs before the oil indicator system turns on.
• Check the fluid levels of the coolant reservoir and brake master cylinder, fill as needed.
• Check function of all interior and exterior lights.
Required Maintenance Intervals.
Refer to the maintenance schedules on the following page for the required maintenance intervals.
At Every Oil Change Interval As Indicated By Oil Change Indicator System:
• Change oil and filter
• Rotate the tires. Rotate at the first sign of irregular wear, even if it occurs before the oil
indicator system turns on.
• Inspect battery and clean and tighten terminals as required
• Inspect brake pads, shoes, rotors, drums, hoses and park brake
• Inspect engine cooling system protection and hoses
• Inspect exhaust system
• Inspect engine air cleaner if using in dusty or off-road conditions
MAINTAINING YOUR VEHICLE
190