2015 BMW Z4 SDRIVE28I service
[x] Cancel search: servicePage 98 of 289

If an identification is not possible, please
contact the service center.2.Rectify the flat tire.
Run-flat tires
You can continue driving with a damaged tire
at speeds up to 50 mph/80 km/h.
Continued driving with a flat tire
If continuing to drive with a damaged tire:
1.Avoid sudden braking and steering maneu‐
vers.2.Do not exceed a speed of 50 mph/80 km/h.3.Check the air pressure in all four tires at
the next opportunity.
If the tire inflation pressure in all four tires
is correct, the Flat Tire Monitor may not
have been initialized. In this case, initialize
the system.
Possible driving distance with complete loss of
tire inflation pressure:
The possible driving distance after a loss of tire
inflation pressure depends on the cargo load
and the driving style and conditions.
For a vehicle containing an average load, the
possible driving distance is approx.
50 miles/80 km.
When the vehicle is driven with a damaged tire,
its handling characteristics change, e.g., re‐
duced lane stability during braking, a longer
braking distance, and altered self-steering
properties. Adjust your driving style accord‐
ingly. Avoid abrupt steering maneuvers or driv‐
ing over obstacles, e. g., curbs, potholes, etc.
Because the possible driving distance de‐
pends on how the vehicle is used during the
trip, the actual distance may be smaller or
greater depending on the driving speed, road
conditions, external temperature, cargo load,
etc.
Continued driving with a flat tire
Drive moderately and do not exceed a
speed of 50 mph/80 km/h.
A loss of tire inflation pressure results in a
change in the handling characteristics, e.g., re‐
duced lane stability during braking, a longer
braking distance and altered self-steering
properties.◀
Final tire failure
Vibrations or loud noises while driving
can indicate the final failure of the tire. Reduce
speed and stop; otherwise, pieces of the tire
could come loose and cause an accident. Do
not continue driving, and contact your service
center.◀
Tire Pressure Monitor TPMThe concept
The system monitors the tire pressure in the four mounted tires. The system issues a warn‐
ing if there is a significant loss of pressure in
one or more tires. Sensors in the tire valves
measure the tire pressure.
Notes Tire damage caused by external influen‐
ces
Sudden tire damage caused by external influ‐
ences cannot be indicated in advance.◀
To operate the system, also note the additional
information and instructions contained under
Tire inflation pressure, refer to page 228.
Functional requirement The system must have been reset while the in‐
flation pressure was correct; otherwise, reliable
signaling of pressure loss is not ensured.
Reset the system after adjusting the tire infla‐
tion pressure and after changing a tire or
wheel.Seite 96ControlsSafety96
Online Edition for Part no. 01 40 2 954 104 - II/15
Page 100 of 289
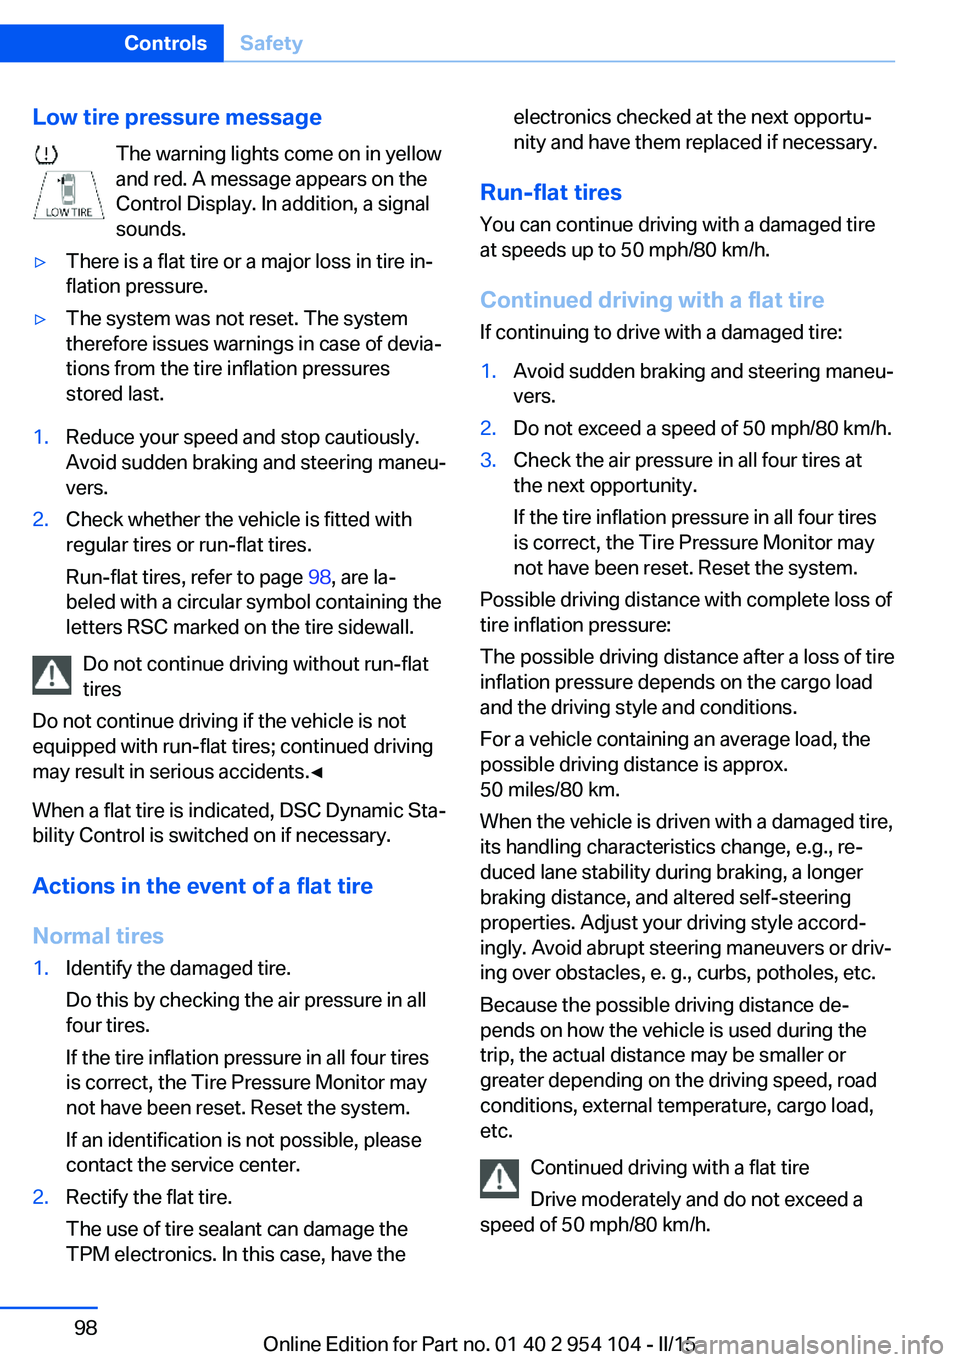
Low tire pressure messageThe warning lights come on in yellow
and red. A message appears on the
Control Display. In addition, a signal
sounds.▷There is a flat tire or a major loss in tire in‐
flation pressure.▷The system was not reset. The system
therefore issues warnings in case of devia‐
tions from the tire inflation pressures
stored last.1.Reduce your speed and stop cautiously.
Avoid sudden braking and steering maneu‐
vers.2.Check whether the vehicle is fitted with
regular tires or run-flat tires.
Run-flat tires, refer to page 98, are la‐
beled with a circular symbol containing the
letters RSC marked on the tire sidewall.
Do not continue driving without run-flat
tires
Do not continue driving if the vehicle is not
equipped with run-flat tires; continued driving
may result in serious accidents.◀
When a flat tire is indicated, DSC Dynamic Sta‐
bility Control is switched on if necessary.
Actions in the event of a flat tire Normal tires
1.Identify the damaged tire.
Do this by checking the air pressure in all
four tires.
If the tire inflation pressure in all four tires
is correct, the Tire Pressure Monitor may
not have been reset. Reset the system.
If an identification is not possible, please
contact the service center.2.Rectify the flat tire.
The use of tire sealant can damage the
TPM electronics. In this case, have theelectronics checked at the next opportu‐
nity and have them replaced if necessary.
Run-flat tires
You can continue driving with a damaged tire
at speeds up to 50 mph/80 km/h.
Continued driving with a flat tire If continuing to drive with a damaged tire:
1.Avoid sudden braking and steering maneu‐
vers.2.Do not exceed a speed of 50 mph/80 km/h.3.Check the air pressure in all four tires at
the next opportunity.
If the tire inflation pressure in all four tires
is correct, the Tire Pressure Monitor may
not have been reset. Reset the system.
Possible driving distance with complete loss of
tire inflation pressure:
The possible driving distance after a loss of tire
inflation pressure depends on the cargo load
and the driving style and conditions.
For a vehicle containing an average load, the
possible driving distance is approx.
50 miles/80 km.
When the vehicle is driven with a damaged tire,
its handling characteristics change, e.g., re‐
duced lane stability during braking, a longer
braking distance, and altered self-steering
properties. Adjust your driving style accord‐
ingly. Avoid abrupt steering maneuvers or driv‐
ing over obstacles, e. g., curbs, potholes, etc.
Because the possible driving distance de‐
pends on how the vehicle is used during the
trip, the actual distance may be smaller or
greater depending on the driving speed, road
conditions, external temperature, cargo load,
etc.
Continued driving with a flat tire
Drive moderately and do not exceed a
speed of 50 mph/80 km/h.
Seite 98ControlsSafety98
Online Edition for Part no. 01 40 2 954 104 - II/15
Page 101 of 289
A loss of tire inflation pressure results in a
change in the handling characteristics, e.g., re‐
duced lane stability during braking, a longer
braking distance and altered self-steering
properties.◀
Final tire failure
Vibrations or loud noises while driving
can indicate the final failure of the tire. Reduce
speed and stop; otherwise, pieces of the tire
could come loose and cause an accident. Do
not continue driving, and contact your service
center.◀
Message when not reset The warning light lights up yellow. A
Check Control message is displayed.
The system may not have been reset
although a wheel was changed.
Check the tire inflation pressure and reset the
system, refer to page 97.
System limits
The system does not function properly if it has
not been reset, e.g., it may identify a tire as flat
in spite of the fact that the tire is filled to the
correct inflation pressure.
The tire pressure depends on the temperature
of the tire. An increase in the tire temperature,
e.g., while driving or due to sunlight, increases
the tire inflation pressure. The tire pressure
decreases when the tire temperature drops. In
case of severe temperature drops, this behav‐
ior may lead to a warning on account of the de‐
fined warning limits.
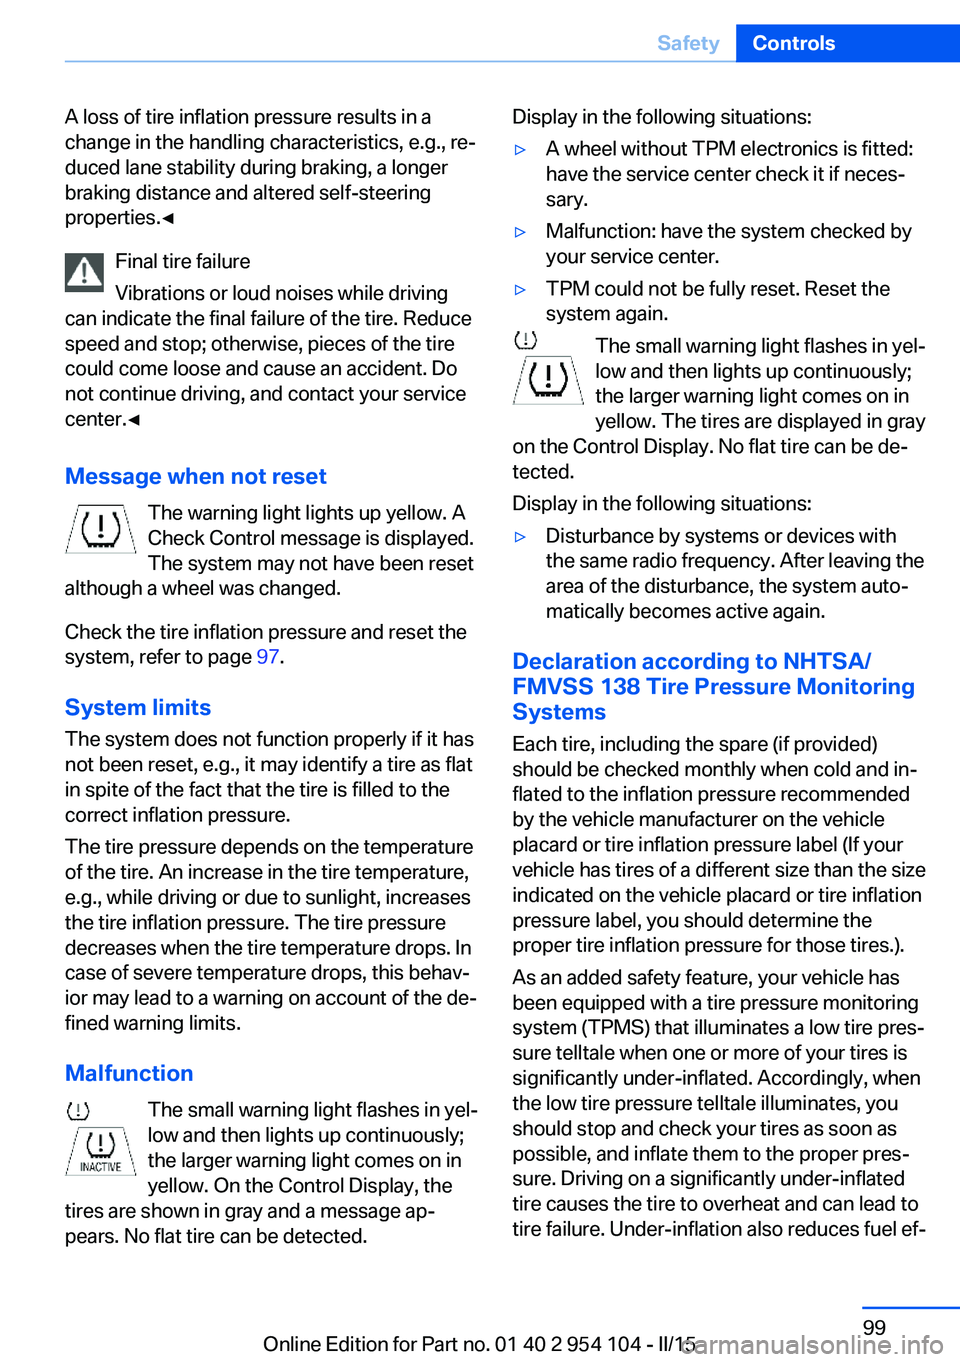
Malfunction The small warning light flashes in yel‐
low and then lights up continuously;
the larger warning light comes on in
yellow. On the Control Display, the
tires are shown in gray and a message ap‐
pears. No flat tire can be detected.Display in the following situations:▷A wheel without TPM electronics is fitted:
have the service center check it if neces‐
sary.▷Malfunction: have the system checked by
your service center.▷TPM could not be fully reset. Reset the
system again.
The small warning light flashes in yel‐
low and then lights up continuously;
the larger warning light comes on in
yellow. The tires are displayed in gray
on the Control Display. No flat tire can be de‐
tected.
Display in the following situations:
▷Disturbance by systems or devices with
the same radio frequency. After leaving the
area of the disturbance, the system auto‐
matically becomes active again.
Declaration according to NHTSA/
FMVSS 138 Tire Pressure Monitoring
Systems
Each tire, including the spare (if provided)
should be checked monthly when cold and in‐
flated to the inflation pressure recommended
by the vehicle manufacturer on the vehicle
placard or tire inflation pressure label (If your
vehicle has tires of a different size than the size
indicated on the vehicle placard or tire inflation
pressure label, you should determine the
proper tire inflation pressure for those tires.).
As an added safety feature, your vehicle has
been equipped with a tire pressure monitoring
system (TPMS) that illuminates a low tire pres‐
sure telltale when one or more of your tires is
significantly under-inflated. Accordingly, when
the low tire pressure telltale illuminates, you
should stop and check your tires as soon as
possible, and inflate them to the proper pres‐
sure. Driving on a significantly under-inflated
tire causes the tire to overheat and can lead to
tire failure. Under-inflation also reduces fuel ef‐
Seite 99SafetyControls99
Online Edition for Part no. 01 40 2 954 104 - II/15
Page 113 of 289

tants, shut off the supply to the interior of the
car temporarily. The system then recirculates
the air currently within the vehicle.
The recirculated air mode can also be acti‐
vated/deactivated, refer to page 14, via a but‐
ton on the steering wheel.
Air volume Press the corresponding button.
The higher the rate, the more ef‐
fective the heating or cooling will
be.
The air flow rate may be reduced or the blower
may be switched off entirely to save on battery
power.
Vent settings Direct the flow of air to the win‐
dows
, to the upper body area
, or to the knee area and foot‐
well
. Intermediate positions
are possible. In the 6 o'clock posi‐
tion, a small amount of air is also directed to‐
ward the windows to keep them from fogging
over.
Defrosting windows and removing
condensation
1Air distribution 1 in position .2Deactivate recirculated air mode 2.3Switch on cooling function 3.4Temperature 4 to the right, red.5Set the air flow rate 5 to the maximum
level.6Switch on the rear window defroster 6 to
defrost the rear window
.
Rear window defroster
The defroster switches off auto‐
matically after a certain time or
when the hardtop is opened.
Microfilter
The microfilter removes dust and pollen from
the incoming air. The microfilter is changed by
your service center during routine mainte‐
nance work.
Ventilation
1Use the lever to change the direction of the
air flow2Use the thumbwheels to smoothly open
and close the air vents
Ventilation for cooling
Adjust the vents to direct the flow of cool air in
your direction, for instance if the interior has
become too warm.
Draft-free ventilation
Adjust the vents to let the air flow past you.
Seite 111ClimateControls111
Online Edition for Part no. 01 40 2 954 104 - II/15
Page 116 of 289

▷Left LED on, automatic recirculated air
control: a sensor detects pollutants in the
outside air. If necessary, the system blocks
the supply of outside air and recirculates
the inside air. As soon as the concentration
of pollutants in the outside air has de‐
creased sufficiently, the system automati‐
cally switches back to outside air supply.▷Right LED on, recirculated air mode: the
supply of outside air into the vehicle is per‐
manently blocked. The system then recir‐
culates the air currently within the vehicle.
Adjusting air flow rate manually
Press the left side of the button to
reduce air flow. Press the right
side of the button to increase it.
The air volume may be reduced automatically
to save battery power. The display remains the
same.
Air distribution, manual
Depending on the selected setting, the air is
directed to the windshield, to the upper body
area, to the knee area and into the footwell.
Adjusting air distribution manually Press the button repeatedly until
the air distribution is set as re‐
quired. The corresponding LED lights up.
The manual air distribution is also switched on
when the AUTO program is deactivated.
Residual heat
The heat stored in the engine is used to heat
the interior.
This function can be switched on
using the right-hand button under
the following conditions:
▷Up to 15 minutes after switching off the
engine.▷When the engine is warm.▷With sufficient battery voltage.▷At an external temperature under
77 ℉/25 ℃.
The middle LED is lit when the function is on.
Defrosting and defogging windows Quickly removes ice and conden‐
sation from the windshield and
front side windows.
For this purpose, also switch on the cooling
function.
Rear window defroster The defroster switches off auto‐
matically after a certain time or
when the hardtop is opened.
Microfilter/activated-charcoal filter
The microfilter traps dust and pollen in the in‐
coming air. The activated-charcoal filter pro‐
vides additional protection by filtering gaseous
pollutants from the outside air. Your service
center replaces this combined filter during rou‐
tine maintenance.
Seite 114ControlsClimate114
Online Edition for Part no. 01 40 2 954 104 - II/15
Page 118 of 289
Interior equipmentVehicle equipmentThis chapter describes all series equipment as
well as country-specific and special equipment
offered for this model series. Therefore, it also
describes equipment that may not be found in
your vehicle, for instance due to the selected
special equipment or the country version. This
also applies to safety-related functions and
systems.
When using the features and systems descri‐
bed here, adhere to local regulations.
Universal garage door
opener
The concept The universal garage door opener can be used
to operate up to 3 functions in remote-control‐
led systems, such as garage door drives or
lighting systems. The universal garage door
opener replaces up to 3 different hand-held transmitters. To operate it, the buttons on the
interior rearview mirror must be programmed
for the desired functions. The hand-held trans‐
mitter for the system is needed for the pro‐
gramming procedure.
During programming
During programming and before activat‐
ing a device using the Universal Garage Door Opener, ensure that there are no people, ani‐
mals, or objects in the range of movement of
the remote-controlled device; otherwise, there
is a risk of injury or damage.
Also follow the safety instructions of the hand-
held transmitter.◀
Before selling the vehicle, delete the stored
functions for security reasons.Compatibility
If this symbol is printed on the packag‐
ing or in the operating instructions of
the system being operated, the system
is generally compatible with the universal ga‐
rage door opener.
If you have any questions, please contact:▷Your service center.▷www.homelink.com on the Internet.
HomeLink is a registered trademark of the
Gentex Corporation.
Controls on the interior rearview
mirror
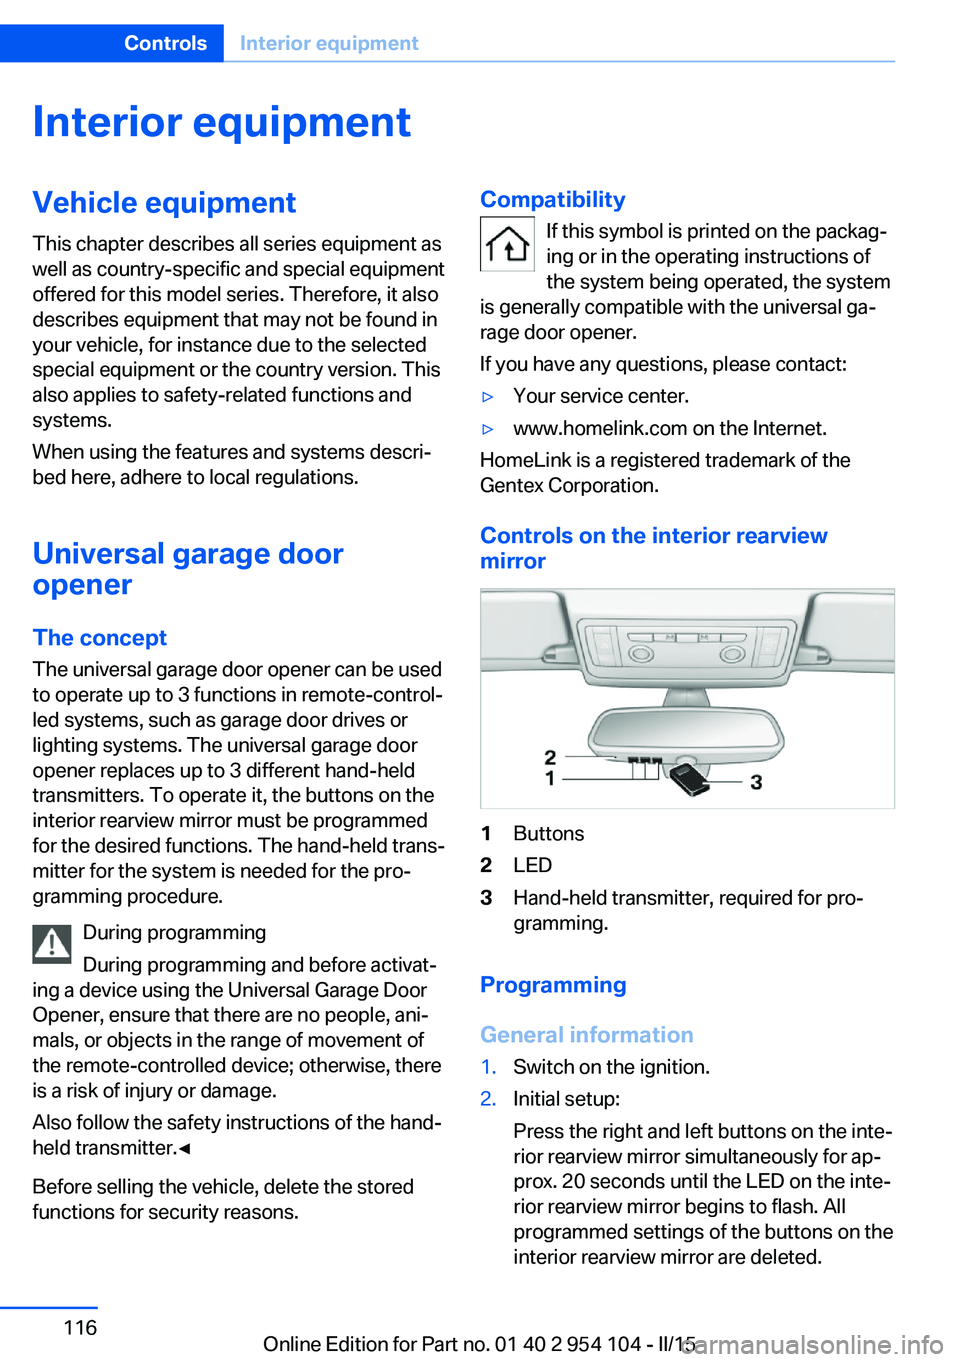
1Buttons2LED3Hand-held transmitter, required for pro‐
gramming.
Programming
General information
1.Switch on the ignition.2.Initial setup:
Press the right and left buttons on the inte‐
rior rearview mirror simultaneously for ap‐
prox. 20 seconds until the LED on the inte‐
rior rearview mirror begins to flash. All
programmed settings of the buttons on the
interior rearview mirror are deleted.Seite 116ControlsInterior equipment116
Online Edition for Part no. 01 40 2 954 104 - II/15
Page 125 of 289
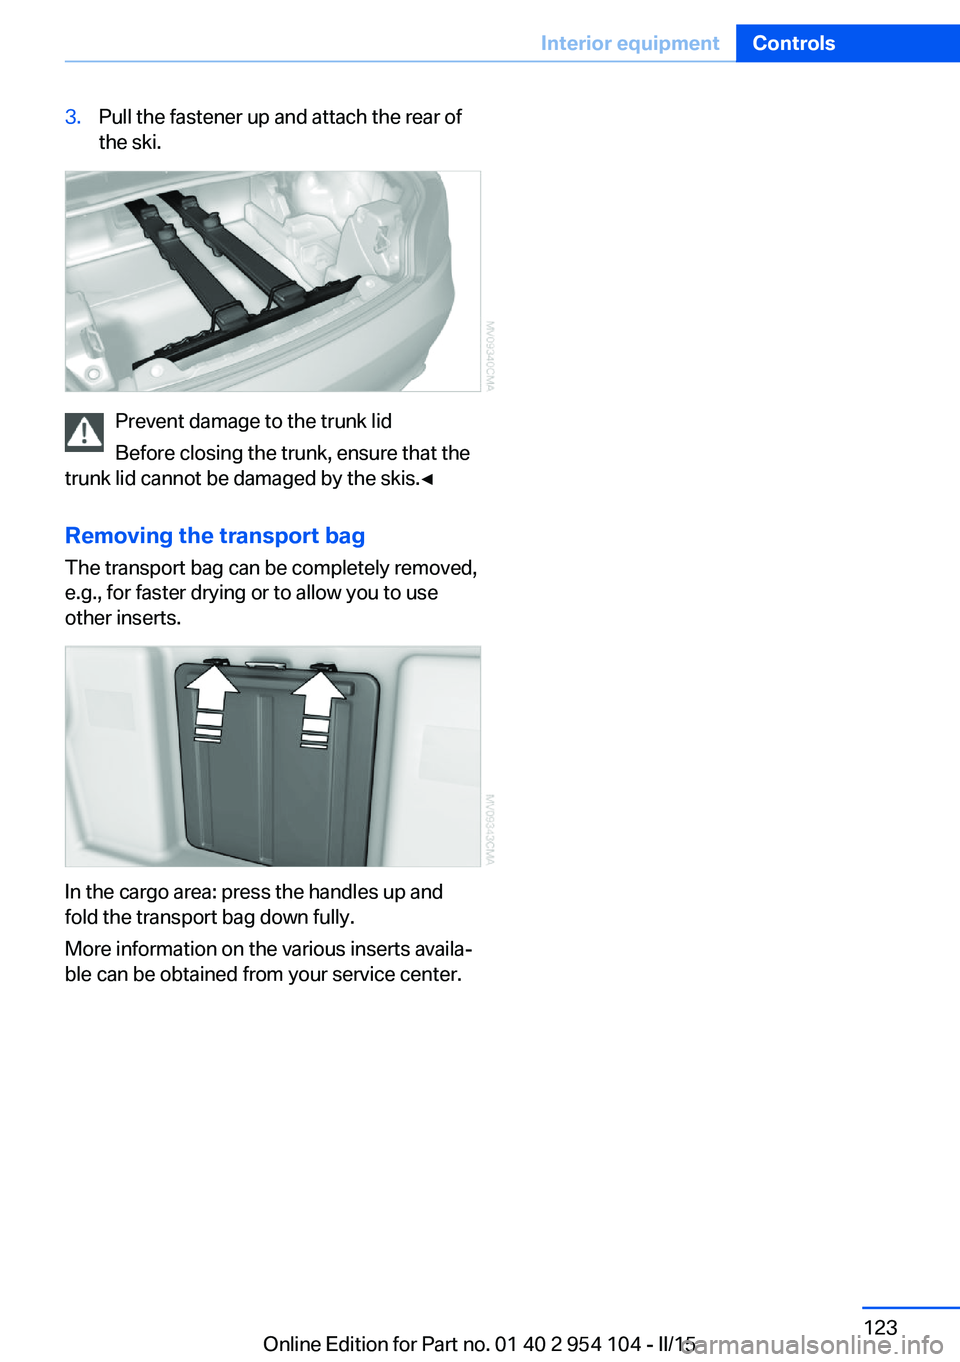
3.Pull the fastener up and attach the rear of
the ski.
Prevent damage to the trunk lid
Before closing the trunk, ensure that the
trunk lid cannot be damaged by the skis.◀
Removing the transport bag
The transport bag can be completely removed,
e.g., for faster drying or to allow you to use
other inserts.
In the cargo area: press the handles up and
fold the transport bag down fully.
More information on the various inserts availa‐
ble can be obtained from your service center.
Seite 123Interior equipmentControls123
Online Edition for Part no. 01 40 2 954 104 - II/15
Page 128 of 289
In the cargo area:
Press the handles up and fold the storage
compartment completely down.
More information on the various inserts availa‐
ble can be obtained from your service center.
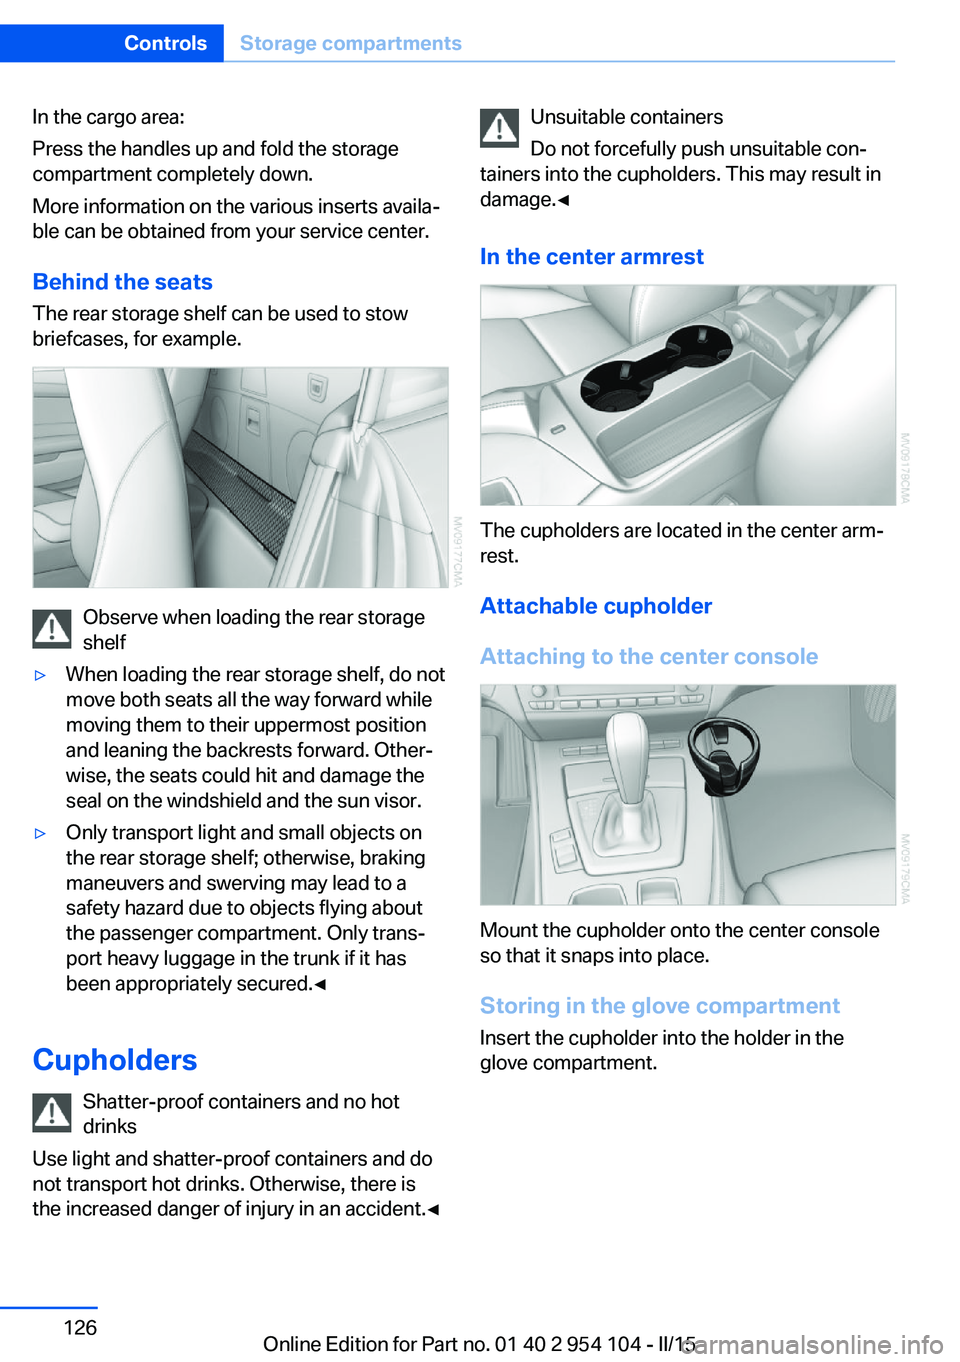
Behind the seats The rear storage shelf can be used to stow
briefcases, for example.
Observe when loading the rear storage
shelf
▷When loading the rear storage shelf, do not
move both seats all the way forward while
moving them to their uppermost position
and leaning the backrests forward. Other‐
wise, the seats could hit and damage the
seal on the windshield and the sun visor.▷Only transport light and small objects on
the rear storage shelf; otherwise, braking
maneuvers and swerving may lead to a
safety hazard due to objects flying about
the passenger compartment. Only trans‐
port heavy luggage in the trunk if it has
been appropriately secured.◀
Cupholders
Shatter-proof containers and no hot
drinks
Use light and shatter-proof containers and do
not transport hot drinks. Otherwise, there is
the increased danger of injury in an accident.◀
Unsuitable containers
Do not forcefully push unsuitable con‐
tainers into the cupholders. This may result in
damage.◀
In the center armrest
The cupholders are located in the center arm‐
rest.
Attachable cupholder
Attaching to the center console
Mount the cupholder onto the center console
so that it snaps into place.
Storing in the glove compartment Insert the cupholder into the holder in the
glove compartment.
Seite 126ControlsStorage compartments126
Online Edition for Part no. 01 40 2 954 104 - II/15