2015 BMW I8 Folding
[x] Cancel search: FoldingPage 60 of 224
From the inside
Unlocking and locking
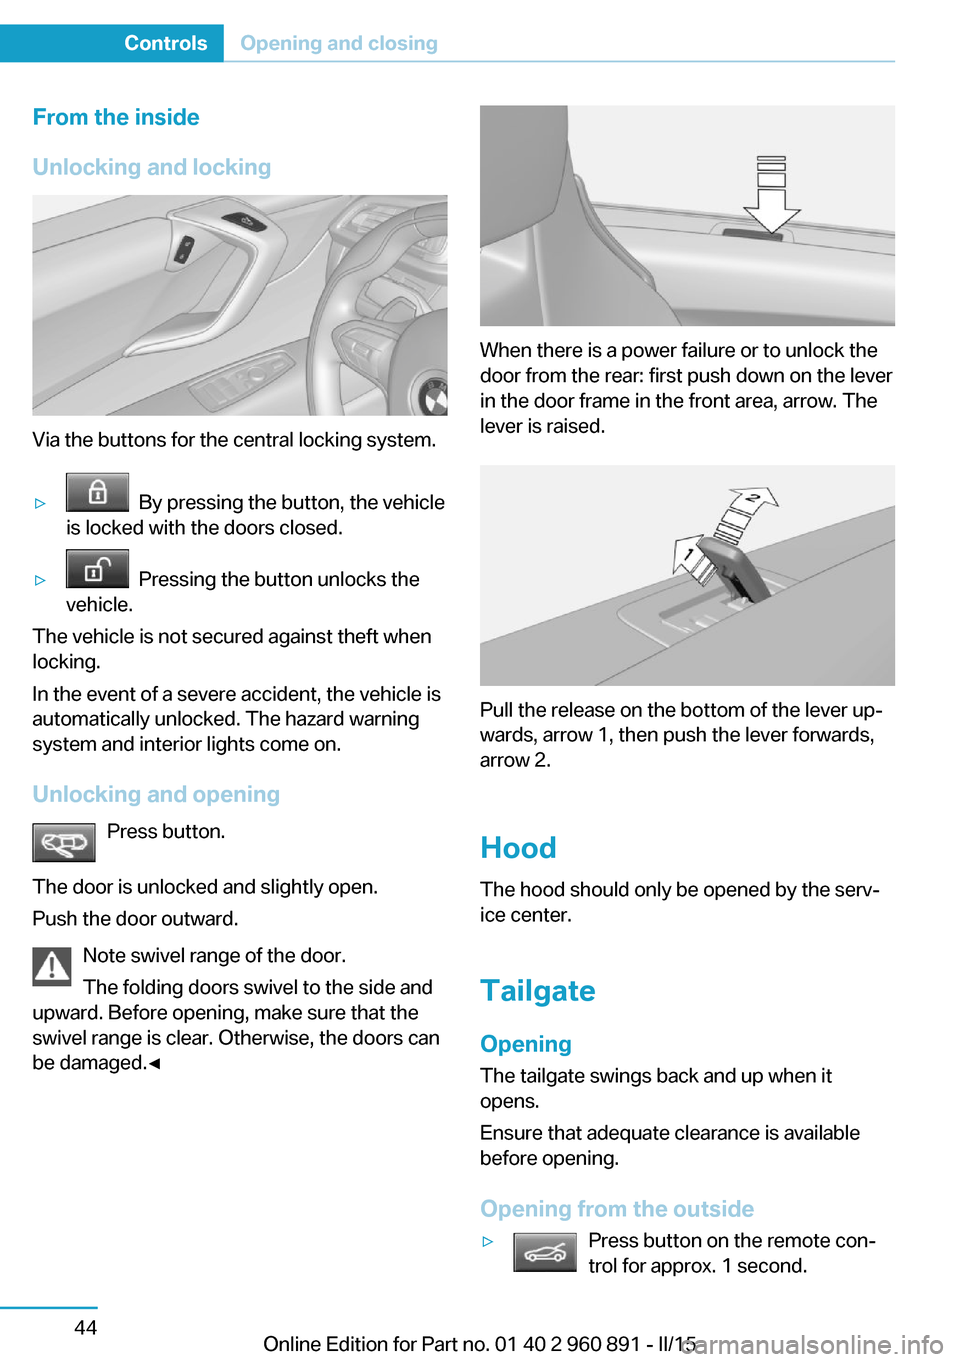
Via the buttons for the central locking system.
▷ By pressing the button, the vehicle
is locked with the doors closed.▷ Pressing the button unlocks the
vehicle.
The vehicle is not secured against theft when
locking.
In the event of a severe accident, the vehicle is
automatically unlocked. The hazard warning
system and interior lights come on.
Unlocking and opening Press button.
The door is unlocked and slightly open.
Push the door outward.
Note swivel range of the door.
The folding doors swivel to the side and
upward. Before opening, make sure that the
swivel range is clear. Otherwise, the doors can
be damaged.◀
When there is a power failure or to unlock the
door from the rear: first push down on the lever
in the door frame in the front area, arrow. The
lever is raised.
Pull the release on the bottom of the lever up‐
wards, arrow 1, then push the lever forwards,
arrow 2.
Hood
The hood should only be opened by the serv‐
ice center.
Tailgate Opening
The tailgate swings back and up when it
opens.
Ensure that adequate clearance is available
before opening.
Opening from the outside
▷Press button on the remote con‐
trol for approx. 1 second.Seite 44ControlsOpening and closing44
Online Edition for Part no. 01 40 2 960 891 - II/15
Page 68 of 224
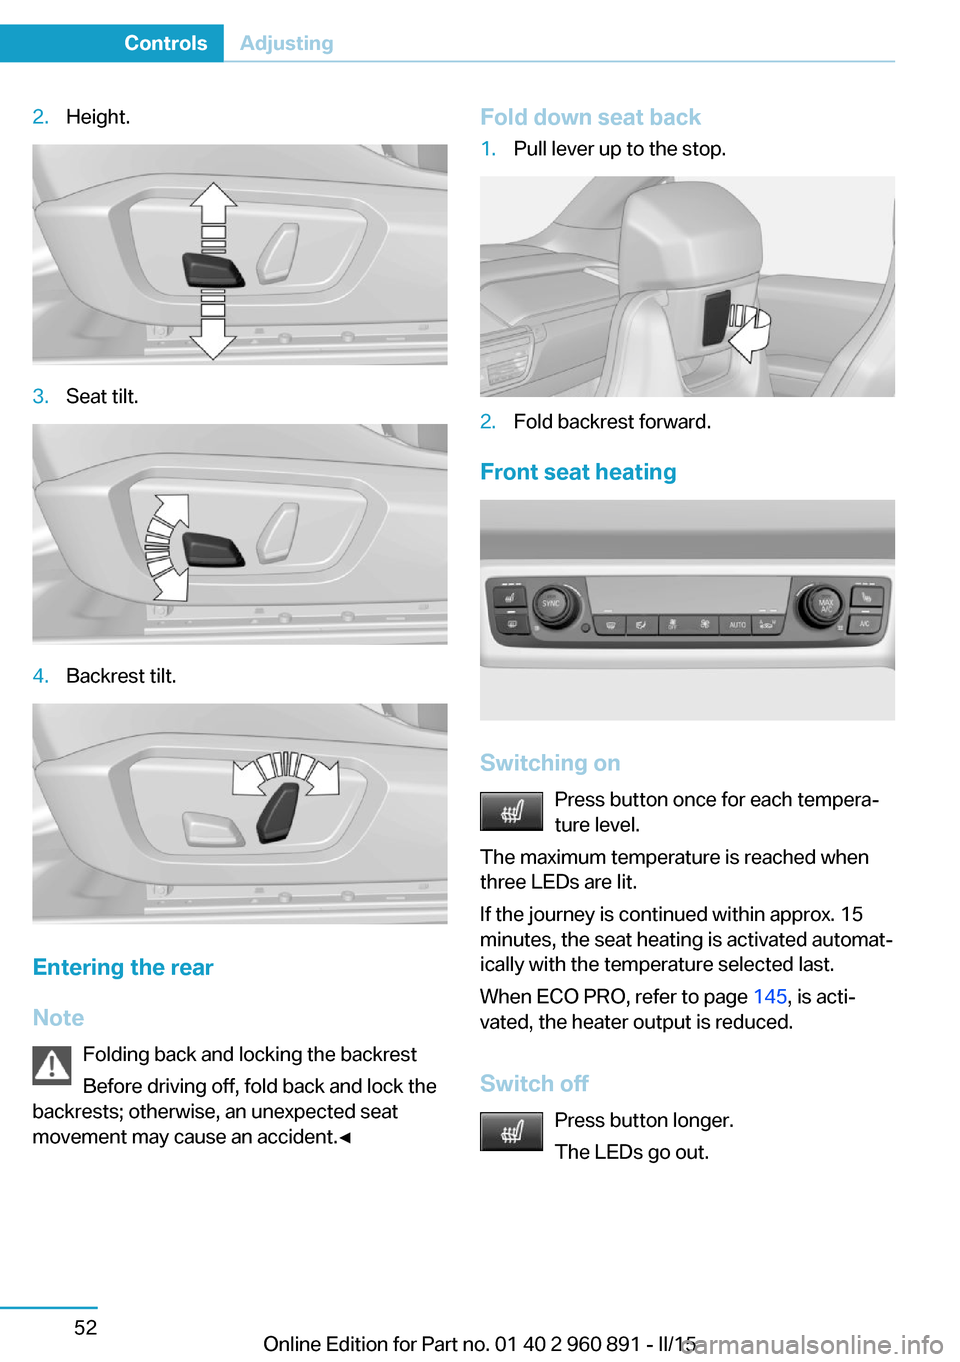
2.Height.3.Seat tilt.4.Backrest tilt.
Entering the rear
Note Folding back and locking the backrest
Before driving off, fold back and lock the
backrests; otherwise, an unexpected seat
movement may cause an accident.◀
Fold down seat back1.Pull lever up to the stop.2.Fold backrest forward.
Front seat heating
Switching on
Press button once for each tempera‐
ture level.
The maximum temperature is reached when
three LEDs are lit.
If the journey is continued within approx. 15
minutes, the seat heating is activated automat‐
ically with the temperature selected last.
When ECO PRO, refer to page 145, is acti‐
vated, the heater output is reduced.
Switch off Press button longer.
The LEDs go out.
Seite 52ControlsAdjusting52
Online Edition for Part no. 01 40 2 960 891 - II/15
Page 71 of 224
Deactivating
Slide the switch to the passenger side mirror
position.
Fold in and out Press button.
Possible at speeds up to approx.
15 mph/20 km/h.
E. g. this is advantageous▷In car washes.▷In narrow streets.▷For folding mirrors back out that were
folded away manually.
Mirrors that were folded in are folded out auto‐
matically at a speed of approx.
25 mph/40 km/h.
Fold in the mirror in a car wash
Before washing the car in an automatic
car wash, fold in the exterior mirrors by hand or
with the button; otherwise, the mirrors could
be damaged, depending on the width of the
vehicle.◀
Automatic heating
Both exterior mirrors are automatically heated
whenever drive readiness is switched on.
Automatic dimming featureBoth exterior mirrors are automatically dim‐
med. Photocells are used to control the Interior
rearview mirror, refer to page 55.
Interior rearview mirror, manually
dimmable
Flip lever
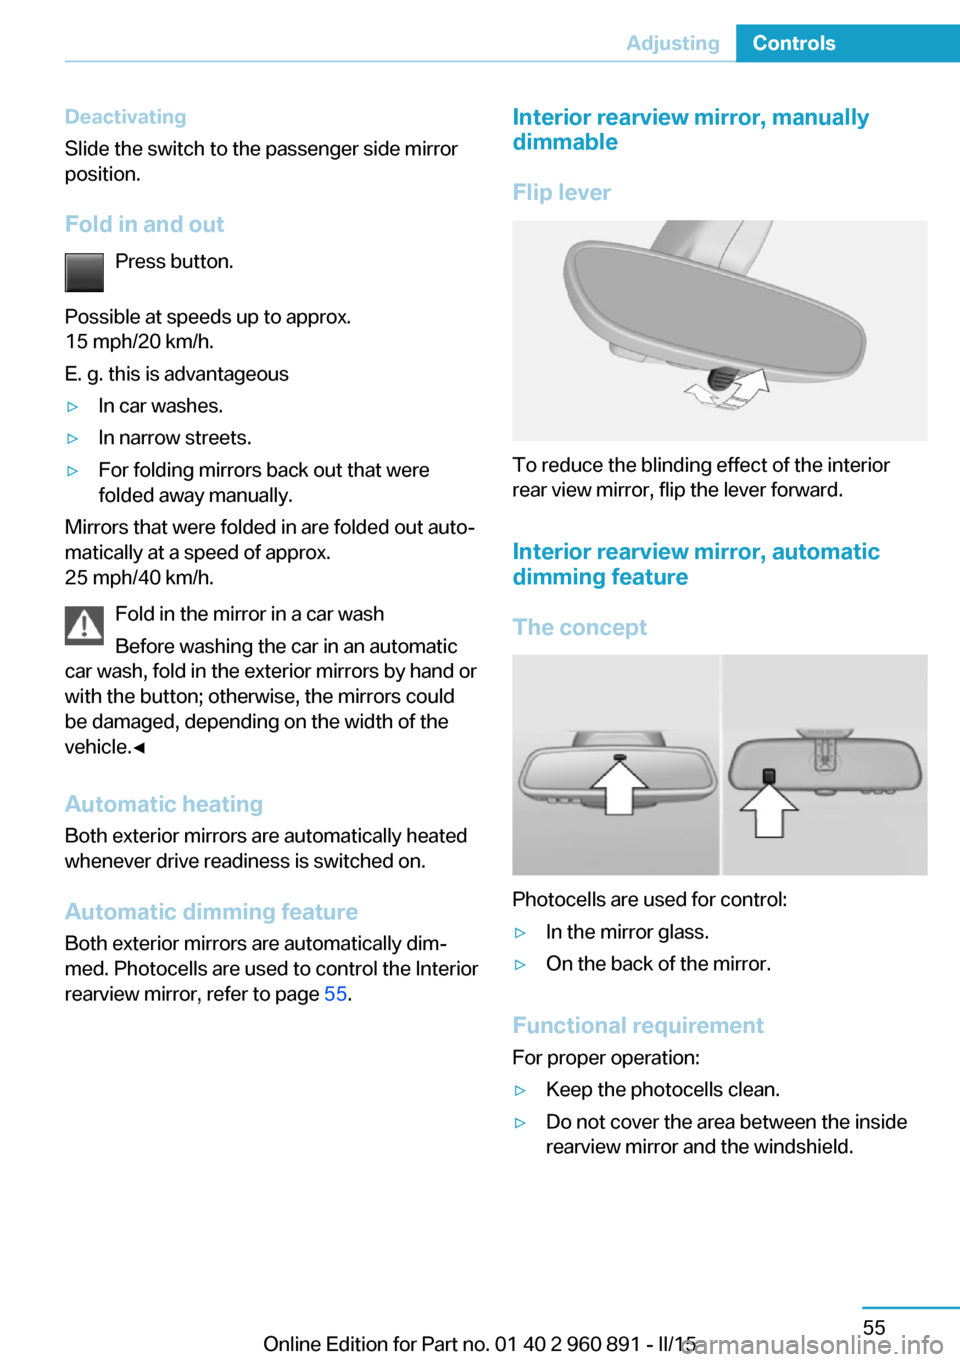
To reduce the blinding effect of the interior
rear view mirror, flip the lever forward.
Interior rearview mirror, automatic dimming feature
The concept
Photocells are used for control:
▷In the mirror glass.▷On the back of the mirror.
Functional requirement For proper operation:
▷Keep the photocells clean.▷Do not cover the area between the inside
rearview mirror and the windshield.Seite 55AdjustingControls55
Online Edition for Part no. 01 40 2 960 891 - II/15
Page 86 of 224

Fold-out position of the wipersFold wipers back when you want to change the
blades or with pending low temperatures.1.Switch the ignition on and off again.2.With icy conditions make sure that blades
are not frozen to the windshield.3.Press the wiper lever up beyond the point
of resistance and hold it for approx. 3 sec‐
onds, until the wiper remains in a nearly
vertical position.
After the wipers are folded back down, the
wiper system must be reactivated.
Folding wipers back down
Before switching the ignition on, fold the
wipers back down to the windshield; other‐
wise, the wipers may become damaged when
they are activated.◀
1.Switch on the ignition.2.Push wiper lever down. Wipers move to
their resting position and are ready again
for operation.
Washer fluid
Hints Antifreeze for washer fluid
Antifreeze is flammable and can cause
injury if it is used incorrectly.
Therefore, keep it away from possible sources of ignition.
Only keep it in the closed original container and inaccessible to children.
Follow the notes and instructions on the con‐
tainer.
United States: The washer fluid mixture ratio is
regulated by the U.S. EPA and many individual
states; do not exceed the allowable washer
fluid dilution ratios limits that apply. Follow the
usage instructions on the washer fluid con‐
tainer. Use BMW’s Windshield Washer Con‐
centrate or the equivalent.◀
Washer fluid reservoir
Open the cover.
All washer nozzles are supplied from one res‐
ervoir.
Fill with a mixture of windshield washer con‐
centrate and tap water and – if required – with a
washer antifreeze, according to the manufac‐
turer's recommendations.
Mix the washer fluid before adding to find the
right mixture.
Do not add windshield washer concentrate and
antifreeze undiluted and do not fill with pure
water; this could damage the wiper system.
Do not mix window washer concentrates of dif‐
ferent manufacturers because they can clog
the windshield washer nozzles.
Recommended minimum fill quantity:
0.2 US gal/1 liter.
Steptronic Sport
transmission
Selector lever positions
D Drive
Position for normal vehicle operation. All gears
for forward travel are activated automatically.
Seite 70ControlsDriving70
Online Edition for Part no. 01 40 2 960 891 - II/15
Page 200 of 224
When the emergency request is received
at the BMW Response Center, the BMW
Response Center contacts you and takes
further steps to help you.
Even if you are unable to respond, the
BMW Response Center can take further
steps to help you under certain circum‐
stances.
For this, data are transmitted to the BMW
Response Center which serve to deter‐
mine the necessary rescue measures. E. g.
the current position of the vehicle, if it can
be established.▷If the LED is flashing green, but the BMW
Response Center can no longer be heard
via the speaker, you can nevertheless still
be heard at the BMW Response Center.
Initiating an Emergency Request
automatically
Under certain conditions, an Emergency Re‐
quest is automatically initiated immediately af‐
ter a severe accident. Automatic Collision Noti‐
fication is not affected by pressing the SOS
button.
Warning triangle
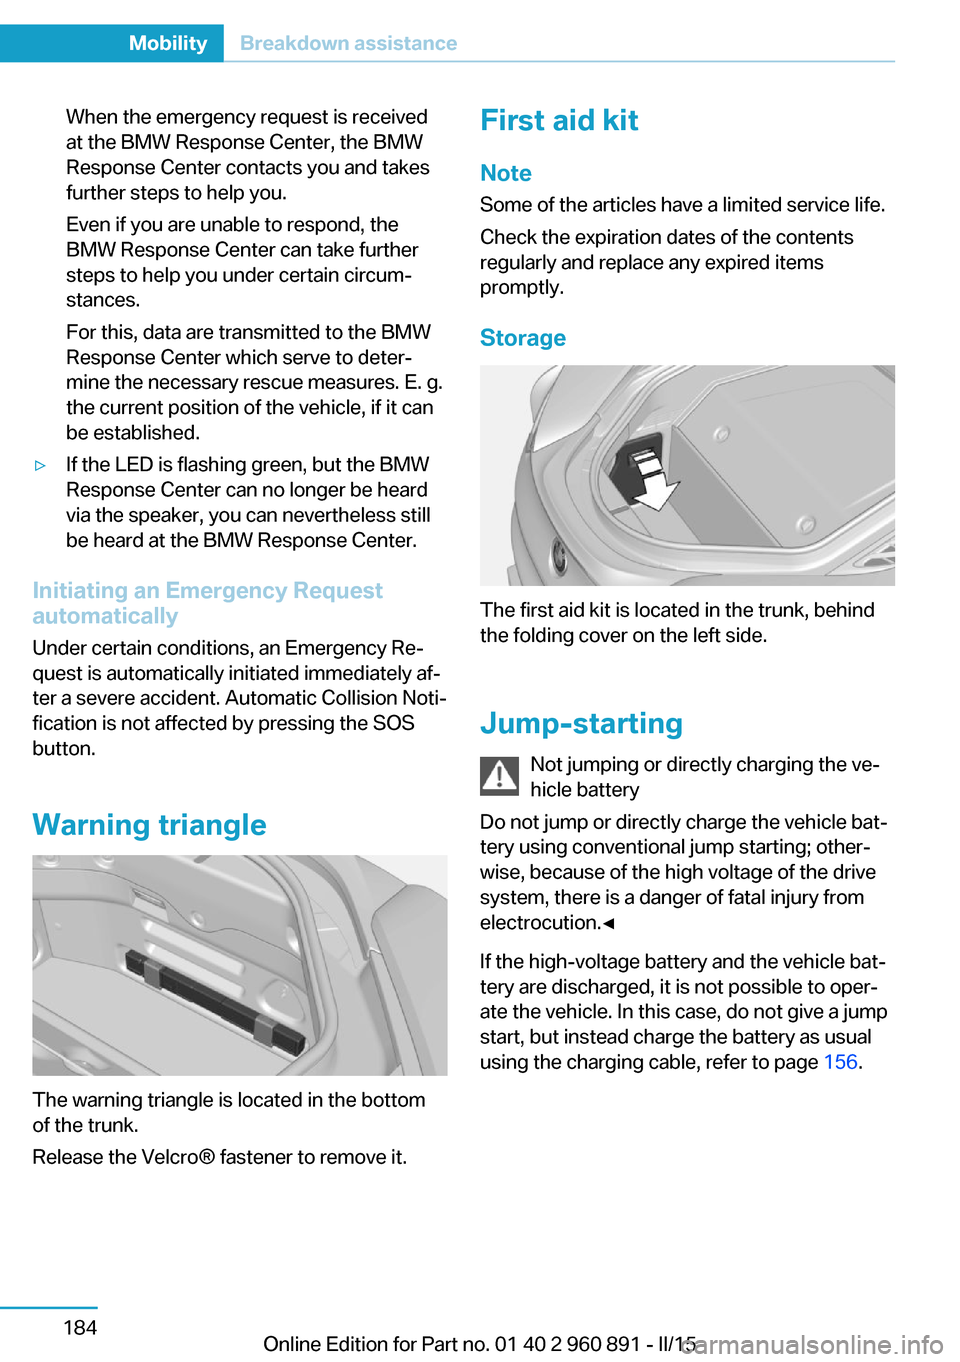
The warning triangle is located in the bottom
of the trunk.
Release the Velcro® fastener to remove it.
First aid kit
Note
Some of the articles have a limited service life.
Check the expiration dates of the contents
regularly and replace any expired items
promptly.
Storage
The first aid kit is located in the trunk, behind
the folding cover on the left side.
Jump-starting Not jumping or directly charging the ve‐
hicle battery
Do not jump or directly charge the vehicle bat‐
tery using conventional jump starting; other‐
wise, because of the high voltage of the drive
system, there is a danger of fatal injury from
electrocution.◀
If the high-voltage battery and the vehicle bat‐
tery are discharged, it is not possible to oper‐
ate the vehicle. In this case, do not give a jump
start, but instead charge the battery as usual
using the charging cable, refer to page 156.
Seite 184MobilityBreakdown assistance184
Online Edition for Part no. 01 40 2 960 891 - II/15
Page 201 of 224
Tow-starting and towingTransporting your vehicle
Note
Your vehicle is not permitted to be towed.
Therefore, contact a service center in the
event of a breakdown.
Do not have the vehicle towed
Have your vehicle transported on a load‐
ing platform only; otherwise, damage may oc‐
cur.◀
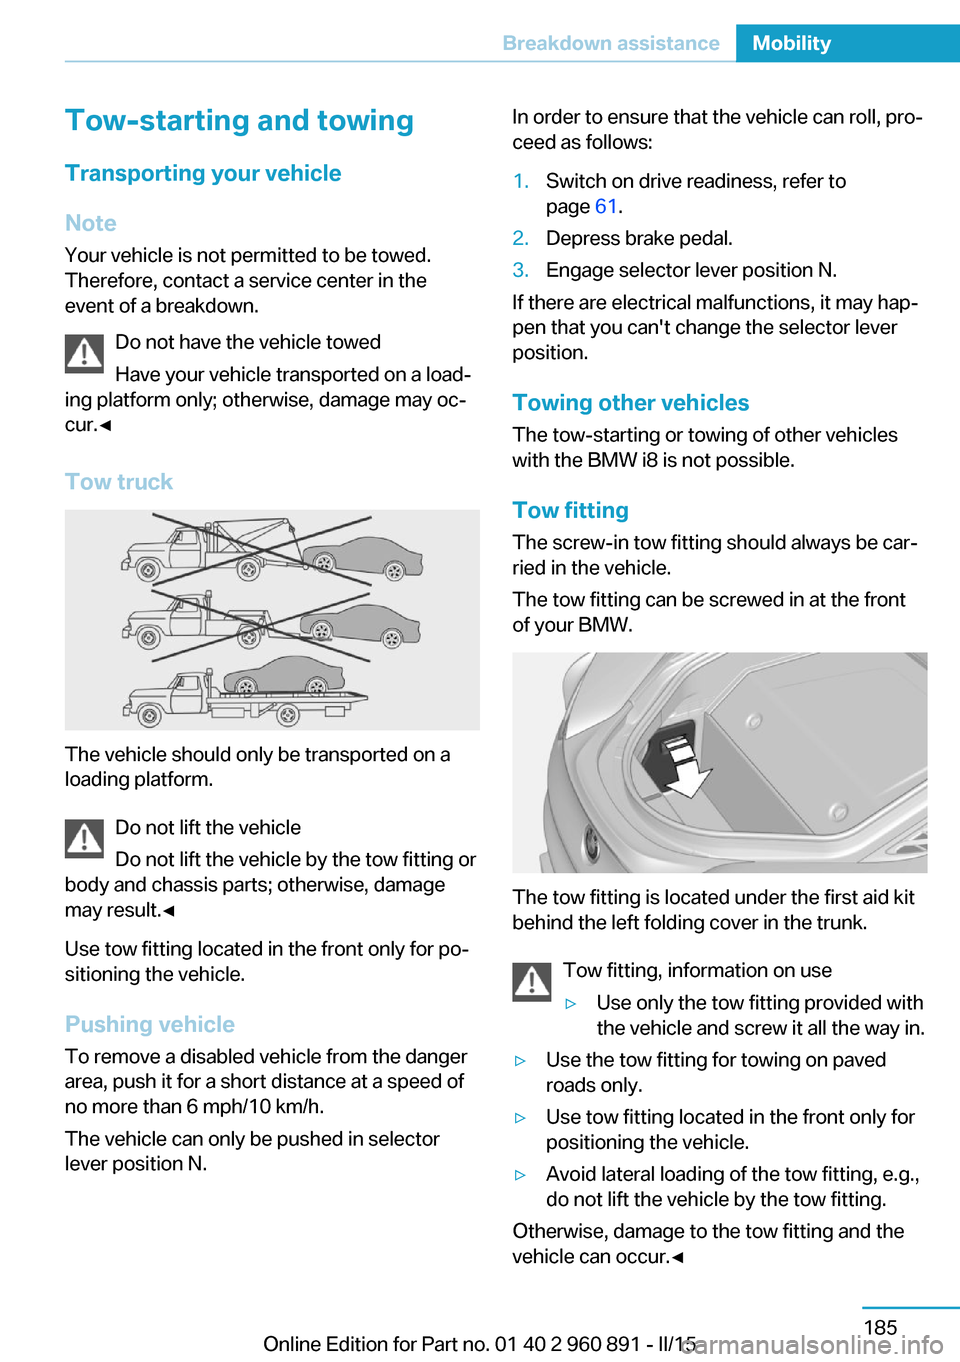
Tow truck
The vehicle should only be transported on a
loading platform.
Do not lift the vehicle
Do not lift the vehicle by the tow fitting or
body and chassis parts; otherwise, damage
may result.◀
Use tow fitting located in the front only for po‐
sitioning the vehicle.
Pushing vehicle To remove a disabled vehicle from the danger
area, push it for a short distance at a speed of
no more than 6 mph/10 km/h.
The vehicle can only be pushed in selector
lever position N.
In order to ensure that the vehicle can roll, pro‐
ceed as follows:1.Switch on drive readiness, refer to
page 61.2.Depress brake pedal.3.Engage selector lever position N.
If there are electrical malfunctions, it may hap‐
pen that you can't change the selector lever
position.
Towing other vehicles The tow-starting or towing of other vehicles
with the BMW i8 is not possible.
Tow fitting The screw-in tow fitting should always be car‐
ried in the vehicle.
The tow fitting can be screwed in at the front
of your BMW.
The tow fitting is located under the first aid kit
behind the left folding cover in the trunk.
Tow fitting, information on use
▷Use only the tow fitting provided with
the vehicle and screw it all the way in.▷Use the tow fitting for towing on paved
roads only.▷Use tow fitting located in the front only for
positioning the vehicle.▷Avoid lateral loading of the tow fitting, e.g.,
do not lift the vehicle by the tow fitting.
Otherwise, damage to the tow fitting and the
vehicle can occur.◀
Seite 185Breakdown assistanceMobility185
Online Edition for Part no. 01 40 2 960 891 - II/15