2015 BMW I8 Door lights
[x] Cancel search: Door lightsPage 30 of 224

CockpitVehicle features and options
This chapter describes all standard, country-
specific and optional features offered with the
series. It also describes features that are not
necessarily available in your car, e. g., due tothe selected options or country versions. This
also applies to safety-related functions and
systems. The respectively applicable country
provisions must be observed when using the
respective features and systems.
All around the steering wheel
1Open the tailgate 442Power windows 493Exterior mirror operation 544Open fuel filler flap,
Tank vent 1585Lock, unlock vehicle 446Opening the door 447LightsParking lights 92Low beams 92Automatic headlight con‐
trol 93
Daytime running lights 93
High-beam Assistant 94Instrument lighting 958Left steering column stalkSeite 14At a glanceCockpit14
Online Edition for Part no. 01 40 2 960 891 - II/15
Page 57 of 224
3."Export profile"4.BMW Online: "BMW Online"
USB interface: "USB device"
Alternatively, the settings and contacts can be
exported via an app to a suitable smartphone.
Importing profiles Profiles exported via BMW Online can also be
imported via BMW Online.
Profiles stored on a USB device can be im‐
ported via the USB interface.
Existing settings are overwritten with the im‐
ported profile.
1."Settings"2."Profiles"3."Import profile"4.BMW Online: "BMW Online"
USB interface: "USB device"
Alternatively, the settings and contacts can be
imported via an app from a suitable smart‐
phone.
Using the guest profile The guest profile is for individual settings that
are saved in none of the three personal pro‐
files.
This can be useful for drivers who are using
the vehicle temporarily and do not have their
own profile.
1."Settings"2."Profiles"3."Guest"
The guest profile cannot be renamed. It is not
assigned to the current remote control.
Display profile list during start
The profile list can be displayed during each
start to select the desired profile.
1."Settings"2."Profiles"3."Options"4."Display user list at startup"
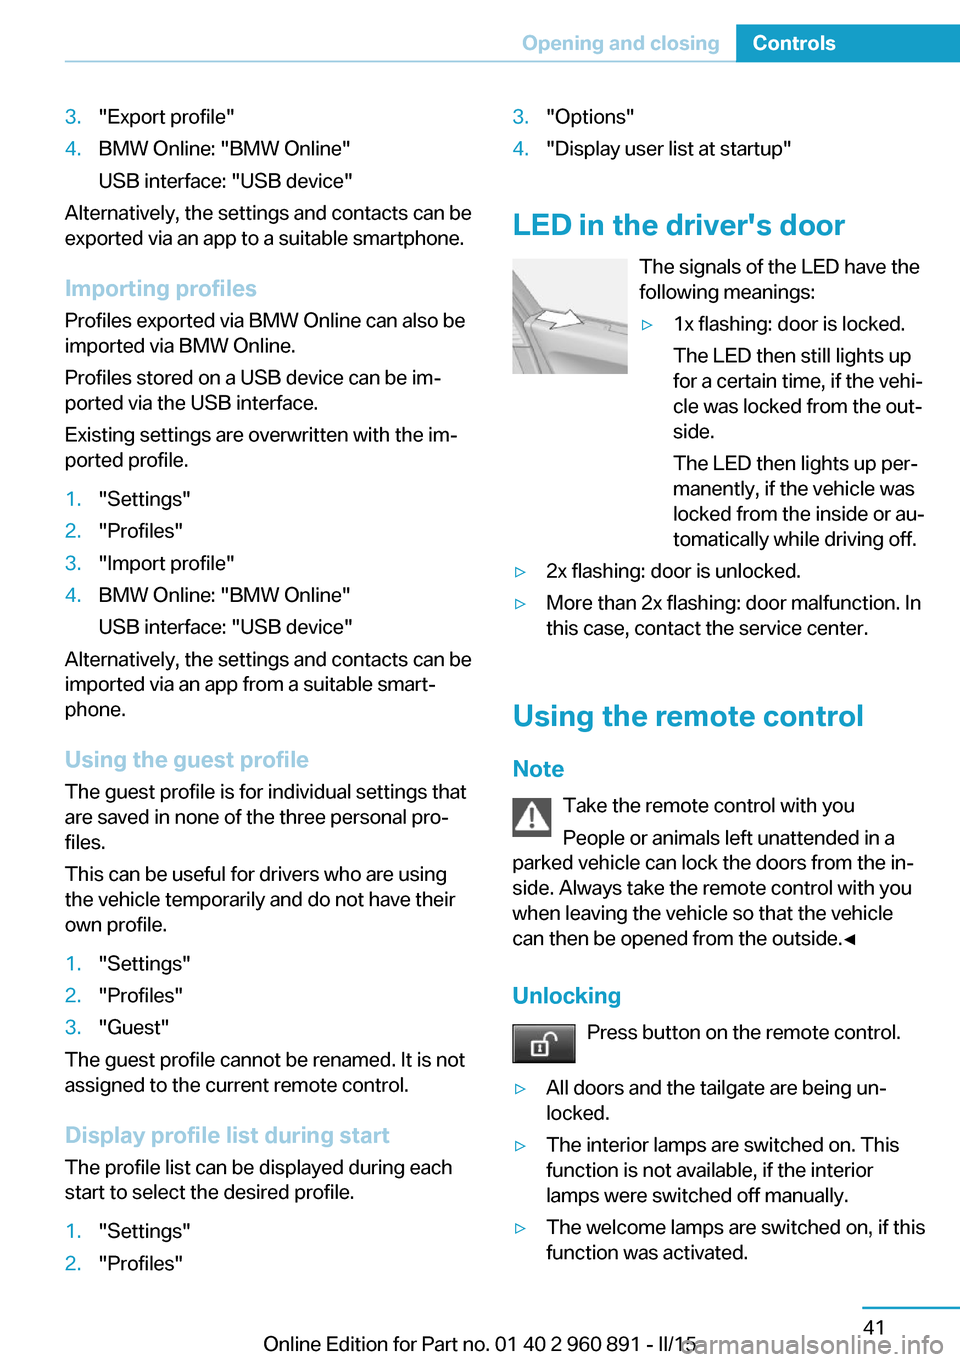
LED in the driver's door
The signals of the LED have the
following meanings:
▷1x flashing: door is locked.
The LED then still lights up
for a certain time, if the vehi‐
cle was locked from the out‐
side.
The LED then lights up per‐
manently, if the vehicle was
locked from the inside or au‐
tomatically while driving off.▷2x flashing: door is unlocked.▷More than 2x flashing: door malfunction. In
this case, contact the service center.
Using the remote control
Note Take the remote control with youPeople or animals left unattended in a
parked vehicle can lock the doors from the in‐
side. Always take the remote control with you
when leaving the vehicle so that the vehicle
can then be opened from the outside.◀
Unlocking Press button on the remote control.
▷All doors and the tailgate are being un‐
locked.▷The interior lamps are switched on. This
function is not available, if the interior
lamps were switched off manually.▷The welcome lamps are switched on, if this
function was activated.Seite 41Opening and closingControls41
Online Edition for Part no. 01 40 2 960 891 - II/15
Page 58 of 224

▷Exterior mirrors folded through convenient
closing are folded open.
You can set how the vehicle is to be unlocked.
For Settings, refer to page 46.
Anti-theft protection is switched off.
The alarm system, refer to page 47, is dis‐
armed.
Convenient opening Press and hold this button on the re‐mote control after unlocking.
The windows are opened, as long as the but‐
ton on the remote control is pressed.
Locking Locking from the outside
Do not lock the vehicle from the outside
with people inside the car, as the vehicle can‐
not be unlocked from inside without special
knowledge.◀
The driver's door must be closed. Press button on the remote control.
All doors and the tailgate are being locked.
Anti-theft protection is switched on. It pre‐
vents the doors from being unlocked using the
door openers.
The alarm system, refer to page 47, is armed.
Switching on interior lights Press button on the remote control with
the vehicle locked.
This function is not available, if the interior
lamps were switched off manually.
If the button is pressed again within 10 sec‐
onds after vehicle was locked, the interior mo‐
tion sensor and tilt alarm sensor of the anti-
theft warning system, refer to page 48, are
turned off. After locking, wait 10 seconds be‐
fore pressing the button again.
Unlocking the tailgate
Press button on the remote control for
approx. 1 second.
The tailgate opens slightly, regardless of
whether the vehicle was previously locked or
unlocked.
Depending on the features and the country
version, it is also possible to have door un‐ locked. Create the settings, refer to page 46.
If the doors were not unlocked, the tailgate is
locked again as soon as it closes.
Do not place the remote control in the
cargo area
Take the remote control with you and do not
leave it in the cargo area; otherwise, the re‐
mote control is locked inside the vehicle when
the tailgate is closed.◀
Provide edge protection
Sharp objects or those with edges can
hit the rear window while driving and damage the heat conductors of the rear window. Pro‐
vide edge protection.◀
Without alarm system: switching the
headlamp courtesy delay feature on
The headlight courtesy delay feature function
must be set for the remote control button. For
Settings, refer to page 46.
Briefly press the button on the remote
control.
The duration can be set in the Control Display.
With alarm system: panic mode You can trigger the alarm system if you find
yourself in a dangerous situation.
Press button on the remote control for
at least 3 seconds.
To reel off the alarm: press any button.Seite 42ControlsOpening and closing42
Online Edition for Part no. 01 40 2 960 891 - II/15
Page 60 of 224
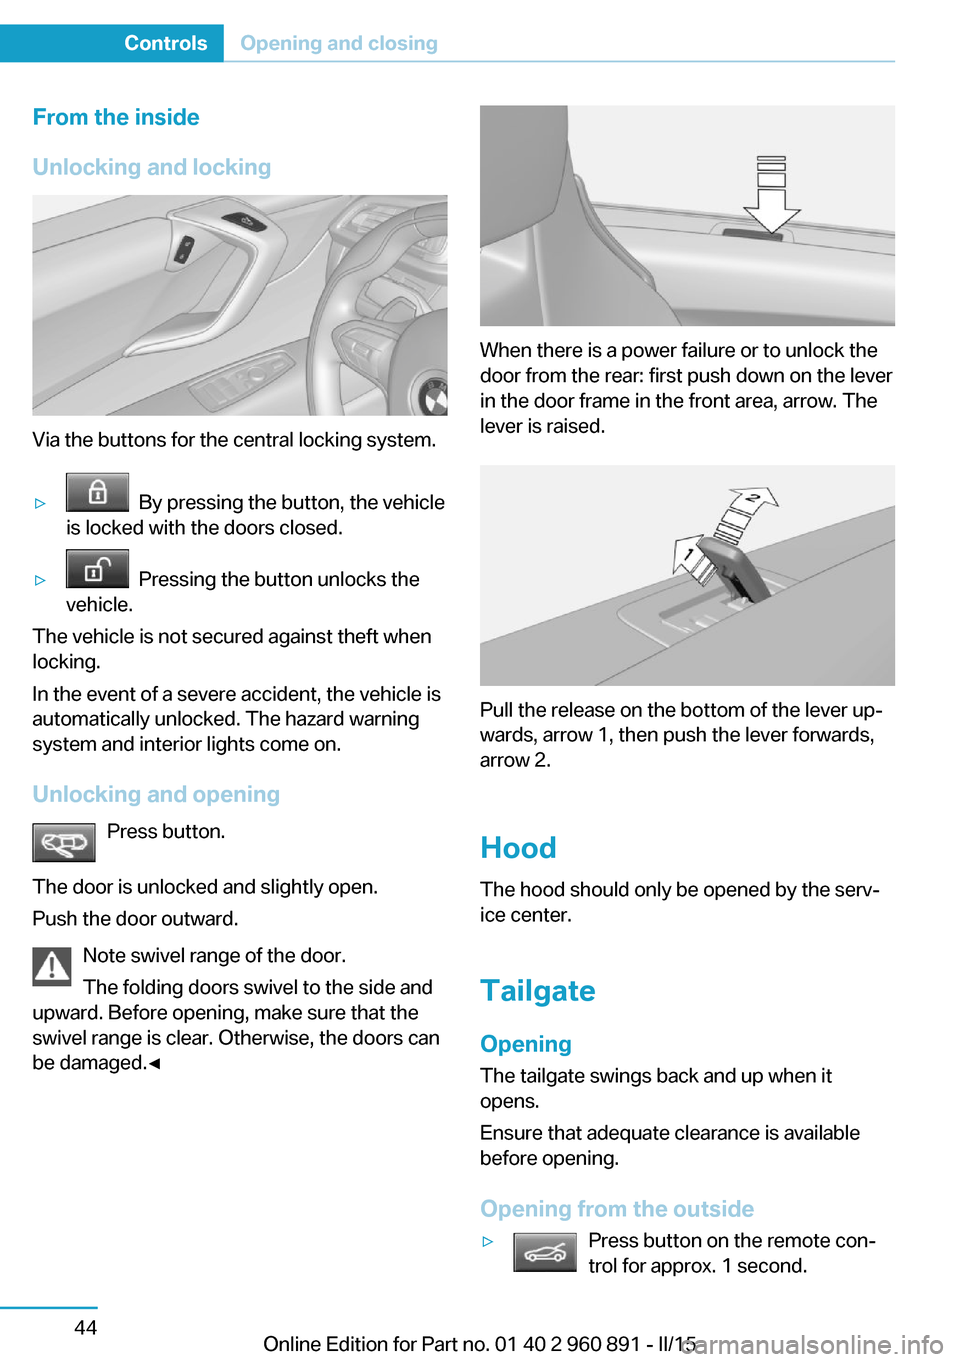
From the inside
Unlocking and locking
Via the buttons for the central locking system.
▷ By pressing the button, the vehicle
is locked with the doors closed.▷ Pressing the button unlocks the
vehicle.
The vehicle is not secured against theft when
locking.
In the event of a severe accident, the vehicle is
automatically unlocked. The hazard warning
system and interior lights come on.
Unlocking and opening Press button.
The door is unlocked and slightly open.
Push the door outward.
Note swivel range of the door.
The folding doors swivel to the side and
upward. Before opening, make sure that the
swivel range is clear. Otherwise, the doors can
be damaged.◀
When there is a power failure or to unlock the
door from the rear: first push down on the lever
in the door frame in the front area, arrow. The
lever is raised.
Pull the release on the bottom of the lever up‐
wards, arrow 1, then push the lever forwards,
arrow 2.
Hood
The hood should only be opened by the serv‐
ice center.
Tailgate Opening
The tailgate swings back and up when it
opens.
Ensure that adequate clearance is available
before opening.
Opening from the outside
▷Press button on the remote con‐
trol for approx. 1 second.Seite 44ControlsOpening and closing44
Online Edition for Part no. 01 40 2 960 891 - II/15
Page 64 of 224

Door lock and armed alarm systemThe alarm system is triggered when the door is
opened, when the vehicle is unlocked via the
door lock.
Tailgate and armed alarm system
The tailgate can be opened even when the alarm system is armed.
After the tailgate is closed, it is locked and
monitored again when the doors are locked.
The hazard warning system flashes once.
Panic mode
You can trigger the alarm system if you find
yourself in a dangerous situation.
Press button on the remote control for
at least 3 seconds.
To switch off the alarm: press any button.
Indicator lamp on the interior rearview
mirror▷The indicator lamp flashes briefly every
2 seconds:
The system is armed.▷The indicator lamp flashes after locking:
The doors, hood or tailgate is not closed
properly, but the rest of the vehicle is se‐
cured.
After 10 seconds, the indicator lamp
flashes continuously. Interior motion sen‐
sor and tilt alarm sensor are not active.When the still open access is closed, inte‐
rior motion sensor and tilt alarm sensor will
be switched on.▷The indicator lamp goes out after unlock‐
ing:
The vehicle has not been tampered with.▷The indicator lamp flashes after unlocking
until the radio-ready state is switched on,
but no longer than approx. 5 minutes:
An alarm has been triggered.
Tilt alarm sensor The tilt of the vehicle is monitored.
The alarm system responds in situations such
as attempts to steal a wheel.
Interior motion sensor The windows must be closed for the system to
function properly.
Avoiding unintentional alarms
The tilt alarm sensor and interior motion sen‐
sor can be switched off together, such as in
the following situations:
▷In automatic car washes.▷In duplex garages.▷During transport on trains carrying vehi‐
cles, at sea or on a trailer.▷With animals in the vehicle.
Switching off the tilt alarm sensor and
interior motion sensor
Press the remote control button again
within 10 seconds as soon as the vehicle
is locked.
The indicator lamp lights up for approx. 2 sec‐
onds and then continues to flash.
The tilt alarm sensor and interior motion sen‐
sor are turned off, until the vehicle is locked again.
Seite 48ControlsOpening and closing48
Online Edition for Part no. 01 40 2 960 891 - II/15
Page 77 of 224
DrivingVehicle features and options
This chapter describes all standard, country-
specific and optional features offered with the
series. It also describes features that are not
necessarily available in your car, e. g., due to
the selected options or country versions. This
also applies to safety-related functions and
systems. The respectively applicable country
provisions must be observed when using the
respective features and systems.
Start/Stop button, drive readiness
The concept The following ready states can
be attained by pressing the
Start/Stop button:▷Radio ready state on/off.▷Operating readiness on/off.▷Activating/deactivating drive readiness.
To activate drive readiness, press the brake
pedal.
Switching radio-ready state on/off
The radio-ready state is activated by pressing
the Start/Stop button in the following situa‐
tions:
▷When the engine is running.▷When drive readiness is activated.
Some electronic systems/power consumers
remain ready for operation.
The radio-ready state is switched off automati‐
cally:
▷After approx. 8 minutes.▷When the vehicle is locked using the cen‐
tral locking system.▷Shortly before the battery is discharged
completely, so that drive readiness is
maintained.
The radio-ready state remains active if, e.g.,
the operating readiness is automatically
switched off for the following reasons:
▷Opening or closing the driver's door.▷Unfastening of the driver's safety belt.▷When automatically switching from low
beams to parking lights.
Operating readiness on
The switched on operating readiness corre‐
sponds to the switched on ignition for conven‐
tional vehicles.
Press the Start/Stop button, and do not press
on the brake pedal at the same time.
All vehicle systems are ready for operation.
Most of the indicator and warning lights in the
instrument cluster light up for a varied length
of time.
To save battery power when the engine is off,
switch off operating readiness and any unnec‐
essary electronic systems/power consumers.
Operating readiness is switched off automati‐
cally in the following situations:
▷When locking the vehicle, even if the low
beams are activated.▷Shortly before the battery is discharged
completely, so that drive readiness is
maintained.
Note
If the engine is switched off and operating
readiness is switched on, the system automati‐
cally switches to the radio-ready state when
the door is opened if the lights are turned off
or, if correspondingly equipped, the daytime
running lights are activated.
Seite 61DrivingControls61
Online Edition for Part no. 01 40 2 960 891 - II/15
Page 78 of 224
Operating readiness offPress the Start/Stop button again without
stepping on the brake.
All indicator lights in the instrument cluster go
out.
To save battery power when the engine is off,
switch off operating readiness and any unnec‐
essary electronic systems/power consumers.
Operating readiness is switched off automati‐
cally in the following situations while the vehi‐
cle is stationary and the engine is off:▷When locking the vehicle, and when the
low beams are activated.▷Shortly before the battery is discharged
completely, so that drive readiness is
maintained. This function is only available
when the low beams are turned off.▷When opening or closing the driver door, if
the driver's safety belt is unbuckled and
the low beams are turned off.▷While the driver's safety belt is unbuckled
with driver's door open and low beams off.
The low beams switch to parking lights after
approx. 15 minutes of no use.
Selector lever position P is automatically en‐
gaged when operating readiness is switched
off. In order for the vehicle to be able to roll,
e.g. into a car wash, heed the information re‐
garding washing in automatic car washes, refer
to page 187.
Drive readiness
When drive readiness is activated, the vehicle
is operational. Activated drive readiness is the
equivalent of a running engine in conventional
vehicles. Deactivated engine readiness is
equivalent to switching the ignition off.
Selector lever position P is automatically en‐
gaged when drive readiness is switched off. In
order for the vehicle to be able to roll, e.g. into
a car wash, heed the information regarding
washing in automatic car washes, refer to
page 187.
Drive readiness in detail
The concept The following are the different drive readiness
variants:▷Electric drive readiness, Silent Start, refer
to page 63.
The vehicle is powered by the electric mo‐
tor.▷Starting the combustion engine, refer to
page 63.
The vehicle is powered by the combustion
engine.
Hints
Do not leave the vehicle unattended
Do not leave the vehicle unattended with
drive readiness active; otherwise, it may pose a
risk.◀
Awareness of vehicle reduced when
driven in electric mode
When driving in electric mode, note that due to
the lack of engine noise pedestrians and other traffic might pay less attention to the vehicle
due to missing engine noises. Please take spe‐
cial care when parking or leaving a parking
space.◀
Display on the Start/Stop buttonGeneral information Drive readiness is also displayed
through light indicators on the
Start/Stop button.
Lighting pulses orange
▷After unlocking and opening the door.▷After switching off drive readiness.
When the brake pedal is depressed, the light‐
ing becomes more intense.
Seite 62ControlsDriving62
Online Edition for Part no. 01 40 2 960 891 - II/15
Page 79 of 224
Lighting lights up steady blue
After drive readiness is switched on, light turns
blue. The vehicle is ready to drive. The READY
indicator lights up in the instrument cluster. In
addition, a signal sounds.
Lighting off
Drive readiness, operating readiness and
radio-ready state are turned off. The vehicle is
in the idle state. The charging cable may be
connected.
Activating drive readiness1.Close the driver's door.2.Depress the brake pedal.3.Press the Start/Stop button.
Drive readiness is active, electric driving, Silent
Start or Start of the combustion engine.
Electric drive readiness, Silent Start
The vehicle is ready for driving without starting
the combustion engine.
Silent Start is possible if the requirements for
Electric driving, refer to page 64, are met.
Display READY indicates drive readi‐
ness.
Starting the combustion engine Enclosed areas
Do not let the engine run in enclosed
areas, since breathing in exhaust fumes may
lead to loss of consciousness and death. The
exhaust gases contain carbon monoxide, an
odorless and colorless but highly toxic gas.◀
Unattended vehicle
Do not leave the vehicle unattended with
engine running or drive readiness switched on;
otherwise, it may pose a risk.
Before leaving the vehicle, engage lever in po‐
sition P P, and set the parking brake; other‐
wise, the vehicle is not secured against rolling
away.◀
Repeated starting in quick succession
Avoid trying to start the vehicle repeat‐
edly and in quick succession. Otherwise, the
fuel is not burned or is inadequately burned,
posing a risk of overheating and damage to the
catalytic converter.◀
The combustion engine is started with Acti‐
vate drive, refer to page 63, readiness under
the following conditions:▷The temperature of the hybrid system is
too high.▷The charge level or temperature of the
high-voltage battery is too low.
Driving away
1.Activate drive readiness.2.Apply the brake and engage lever in posi‐
tion P D, SPORT or R.3.Release the parking brake.4.Drive away.
Deactivating drive readiness
After parking the vehicle, you may hear noises due to operation of the hybrid system, such as
for cooling of the high-voltage battery.
After stopping the vehicle:
1.Depress the brake pedal.2.Set the parking brake.3.Press the Start/Stop button.
The READY indicator goes out and a signal
sounds. In case of longer idle times, follow the
instructions in the Care chapter, refer to
page 190.
Seite 63DrivingControls63
Online Edition for Part no. 01 40 2 960 891 - II/15