Page 94 of 215
92Lighting
For three flashes, e.g. when changing
lanes, move lever part way to first stop. When released, lever will spring
back.
If the lever is moved past the first stop, the indicator is switched on
constantly. Switch the indicator off
manually by moving the lever to its
original position.
Front fog lights
Turn inner switch to position > and
release.
Front fog lights will only operate when
the ignition and headlights are
switched on.
Rear fog lights
Turn inner switch to position r and
release.
Rear fog lights will only operate when the ignition and headlights are
switched on.
The vehicle rear fog lights are
deactivated when towing a trailer.
Reversing lights
The reversing lights come on when
the ignition is on and reverse gear is
selected.
Misted light covers
The inside of the light covers may mist up briefly in poor, wet and cold
weather conditions, in heavy rain or
after washing.The mist disappears
quickly by itself; to help, switch on the headlights.
Page 95 of 215

Lighting93Interior lighting
Interior lights
With the switch in its central position,
the light functions as a courtesy light
and illuminates when the vehicle is
unlocked with the remote control or
the front doors are opened.
Front courtesy light
Operated with the c button:
■ On constantly
■ On when the doors are opened
■ Off constantly
When the doors are closed, the
courtesy light extinguishes after a
delay or immediately after the ignition
is switched on.
Rear courtesy lights
Bus
Low level and overhead courtesy
lights are located in the rear
passenger compartment.
Operate rocker switch on the
instrument panel:
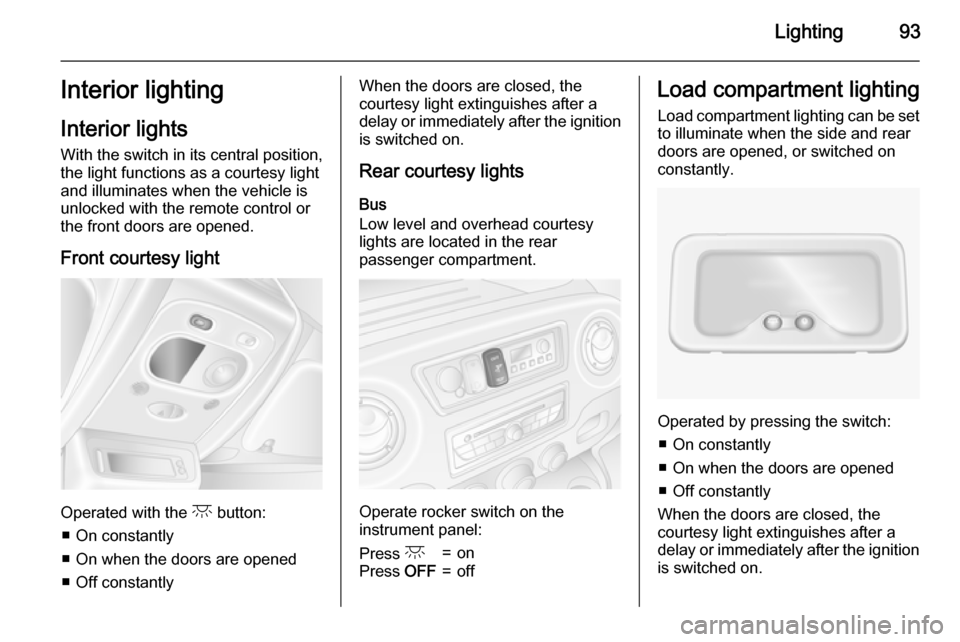
Press c=onPress OFF=offLoad compartment lighting
Load compartment lighting can be setto illuminate when the side and rear
doors are opened, or switched on
constantly.
Operated by pressing the switch:
■ On constantly
■ On when the doors are opened ■ Off constantly
When the doors are closed, the
courtesy light extinguishes after a
delay or immediately after the ignition
is switched on.
Page 96 of 215
94LightingReading lights
Front reading light
Operated with the l button.
The reading light can be directed as
required.
Rear reading lights
Bus
Operate rocker switch on the
instrument panel:
press l=on.press OFF=off.
Each reading light can then be
operated individually and directed as
required.
Page 97 of 215
Lighting95Lighting featuresExit lighting
Headlights come on for approx.
1 minute after the vehicle is parked
and the system is activated.
Activating 1. Switch off ignition.
2. Remove ignition key.
3. Pull turn signal lever towards steering wheel.
This action can be repeated up to
four times.
The headlights are turned off
immediately by turning the light switch
to any position and returning to 7.
Battery discharge
protection To prevent discharge of the vehiclebattery when the ignition is switched off, some interior lights may be
switched off automatically after some
time.
Page 149 of 215
Vehicle care147
Lift wiper arm, press retaining clip
towards wiper arm and detach wiper
blade.
Attach the wiper blade slightly angled
to the wiper arm and push until it
engages.
Lower wiper arm carefully.Bulb replacement
Switch off the ignition and turn off the
relevant switch or close the doors.
Only hold a new bulb at the base. Do not touch the bulb glass with bare
hands.
Use only the same bulb type for
replacement.
Bulb check
After a bulb replacement, switch on
the ignition, operate and check the
lights.Headlights
Headlights have separate systems for high beam 1 and low beam 2.
Page 151 of 215
Vehicle care149
5. Detach bulb from bulb holder andrenew the bulb.
6. Insert the bulb holder, engaging the two lugs in the reflectorhousing and rotate clockwise to
secure.
7. Reattach wiring connector to bulb.
8. Replace headlamp protective cover.
Sidelights
1. Remove protective cover.
2. Detach wiring connector from bulb.
3. Rotate bulb holder anti-clockwise to disengage.
4. Withdraw bulb holder from reflector housing.
5. Detach bulb from bulb holder andrenew the bulb.
6. Insert the bulb holder, engaging the two lugs in the reflectorhousing and rotate clockwise to
secure.
7. Reattach wiring connector to bulb.
8. Replace protective cover.
Page 152 of 215
150Vehicle careAdaptive forward lightingCornering light
Headlights have separate systems forhigh beam 1 and low beam 2. The
cornering light 3 is located between
the headlights.
1. Remove protective cover.
2. Detach wiring connector from bulb.
3. Rotate bulb holder anti-clockwise to disengage.
4. Withdraw bulb holder from reflector housing.
5. Detach bulb from bulb holder andrenew the bulb.
6. Insert the bulb holder, engaging the two lugs in the reflectorhousing and rotate clockwise to
secure.
7. Reattach wiring connector to bulb.
8. Replace protective cover.
Fog lights
Have bulbs replaced by a workshop.
Front turn signal lights
1. Remove protective cover.
2. Detach wiring connector from bulb.
3. Rotate bulb holder anti-clockwise to disengage.
4. Withdraw bulb holder from reflector housing.
Page 153 of 215
Vehicle care151
5. Detach bulb from bulb holder andrenew the bulb.
6. Insert the bulb holder, engaging the two lugs in the reflectorhousing and rotate clockwise to
secure.
7. Reattach wiring connector to bulb.
8. Replace protective cover.
Tail lights
Rear brake, tail, turn signal,
reverse and fog tail lights
1. Remove the upper and lower trim panels from the rear pillar.
2. Unscrew the two nuts from the locating pins on the rear of the
lamp assembly.
3. Withdraw the lamp assembly rearwards from the outer side.
4. Detach wiring connector from lamp assembly.
5. Remove the three screws from the rear of the lamp assembly.
6. Remove bulb holder from the lamp assembly.