2014 VAUXHALL MOVANO_B change time
[x] Cancel search: change timePage 73 of 201

Instruments and controls719Warning
The road surface may already be
icy even though the display
indicates a few degrees above 0
°C.
Clock
Depending on vehicle, the current
time and/or date may appear in the
information display 3 83 or the
Driver Information Centre 3 83.
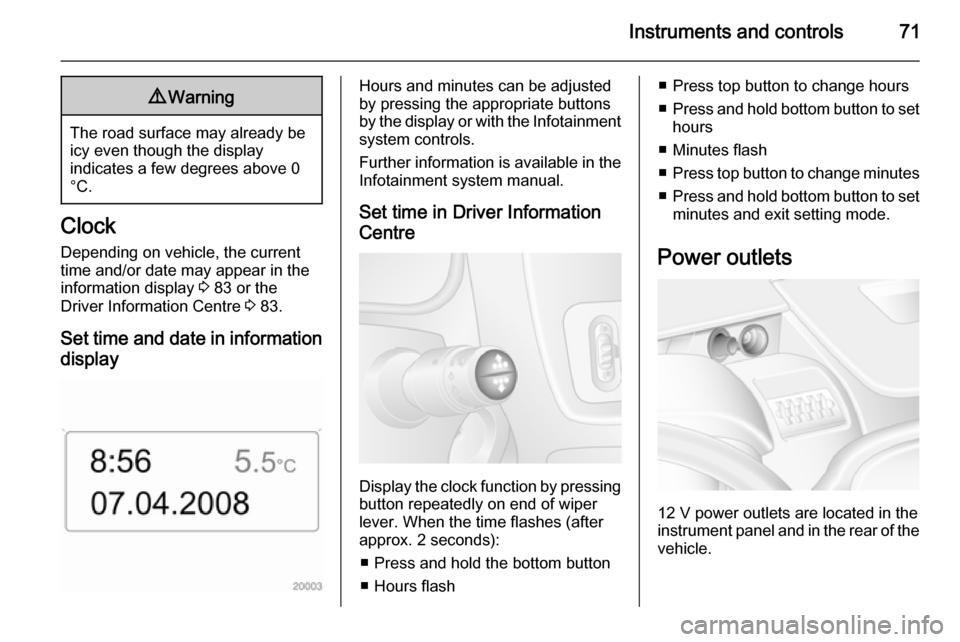
Set time and date in information display
Hours and minutes can be adjusted
by pressing the appropriate buttons
by the display or with the Infotainment
system controls.
Further information is available in the
Infotainment system manual.
Set time in Driver Information
Centre
Display the clock function by pressing button repeatedly on end of wiper
lever. When the time flashes (after
approx. 2 seconds):
■ Press and hold the bottom button
■ Hours flash
■ Press top button to change hours
■ Press and hold bottom button to set
hours
■ Minutes flash
■ Press top button to change minutes
■ Press and hold bottom button to set
minutes and exit setting mode.
Power outlets
12 V power outlets are located in the instrument panel and in the rear of the
vehicle.
Page 90 of 201

88LightingHigh beam
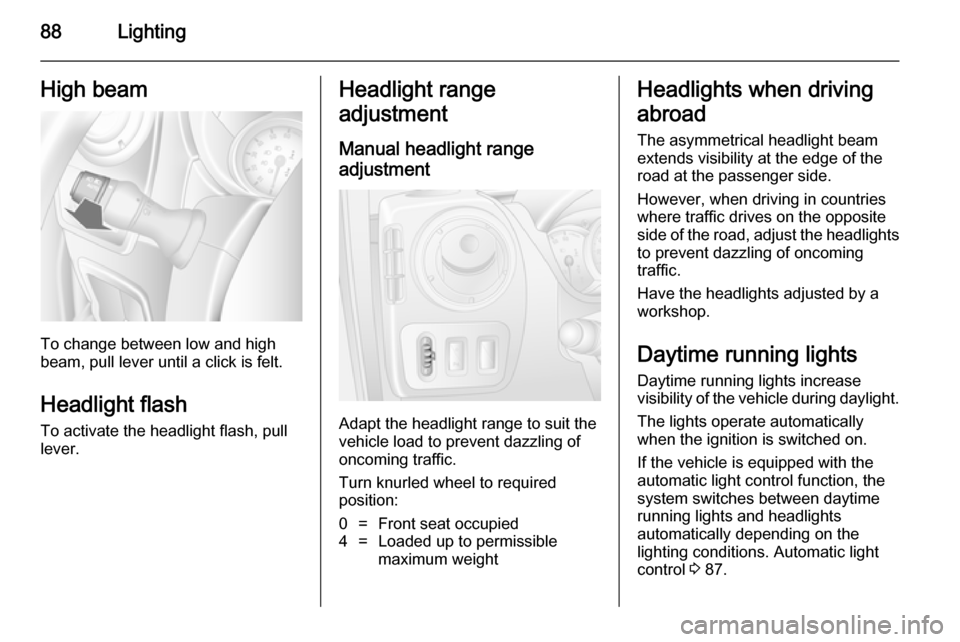
To change between low and high
beam, pull lever until a click is felt.
Headlight flash To activate the headlight flash, pull
lever.
Headlight range
adjustment
Manual headlight range
adjustment
Adapt the headlight range to suit the
vehicle load to prevent dazzling of
oncoming traffic.
Turn knurled wheel to required position:
0=Front seat occupied4=Loaded up to permissible
maximum weightHeadlights when driving
abroad
The asymmetrical headlight beam
extends visibility at the edge of the
road at the passenger side.
However, when driving in countries
where traffic drives on the opposite
side of the road, adjust the headlights to prevent dazzling of oncoming
traffic.
Have the headlights adjusted by a
workshop.
Daytime running lights
Daytime running lights increase
visibility of the vehicle during daylight.
The lights operate automatically
when the ignition is switched on.
If the vehicle is equipped with the automatic light control function, the
system switches between daytime
running lights and headlights
automatically depending on the
lighting conditions. Automatic light
control 3 87.
Page 99 of 201

Climate control97
red=warmblue=cold
Heating will not be fully effective until
the engine has reached normal
operating temperature.
If the minimum temperature of 15 ℃
is set, the electronic climate control
system runs at maximum cooling.
If the maximum temperature of 27 ℃
is set, the electronic climate control
system runs at maximum heating.
Fan speed
The selected fan speed is indicated
with x in the display.
If the fan is switched off the air
conditioning is also deactivated.
To return to automatic mode: Press
AUTO button.
Demisting and defrosting the
windows
Press the V button.
Temperature and air distribution are
set automatically and the fan runs at
a high speed.
To return to automatic mode: press
button V or AUTO .
Air distribution
Press s or K repeatedly.
Arrows shown in the display indicate
the distribution settings.
Cooling
The air conditioning system cools and
dehumidifies (dries) when outside
temperature is above a specific level.
Therefore condensation may form
and drip from under the vehicle.
If no cooling or drying is required
press AC OFF to switch the cooling
system off, thus saving fuel.
Manual air recirculation mode
Operated with the u button.9 Warning
The exchange of fresh air is
reduced in air recirculation mode.
In operation without cooling the air humidity increases, so the
windows may mist up. The quality
of the passenger compartment air
deteriorates, which may cause the vehicle occupants to feel drowsy.
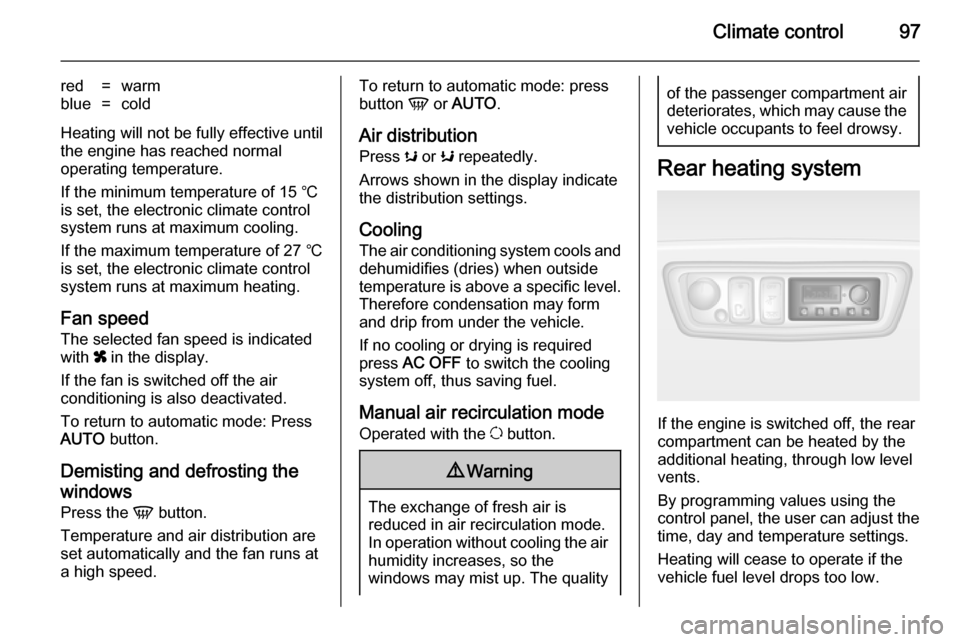
Rear heating system
If the engine is switched off, the rear
compartment can be heated by the
additional heating, through low level
vents.
By programming values using the
control panel, the user can adjust the
time, day and temperature settings.
Heating will cease to operate if the
vehicle fuel level drops too low.
Page 102 of 201

100Climate control
With the front passenger
compartment air conditioning system
switched on, adjust the air flow to
select the desired speed.
Ensure the air vents are open when in use, to prevent ice forming in the
system due to lack of air movement.
Auxiliary heater
Coolant heater The Eberspächer engine-
independent, fuel-powered coolant heater provides rapid heating of the
engine coolant to enable heating of
the vehicle interior without the engine
running.9 Warning
Do not operate the system when
refuelling, when dust or
combustible vapours are present
or in enclosed spaces (e.g.
garage).
Before starting or programming the
system to start, turn the vehicle's climate control system to heat and the
air distribution to V.
Switch off when not required. Heating stops automatically after the
programmed runtime. It will also
cease to operate if the vehicle fuel
level drops too low.
During operation, power from the
vehicle battery is used. The driving
time should therefore be at least as
long as the heating time. For short
journey times, check the vehicle
battery regularly and recharge if
necessary.
To ensure efficient performance,
briefly operate the auxiliary heater
once a month.
Control units
The timer or remote control unit turns the system on and off, and is used to
programme specific departure times.Timer1 X
Activation
button=Switches the control
unit on/off and
changes displayed
information2 q Back
button=Selects functions in
the menu bar and
adjusts values3 Menu bar=Displays the
selectable functions
Y , x , P , Ö and Y4 r Next
button=Selects functions in
the menu bar and
adjusts values5 OK button=Confirms selection
Page 104 of 201

102Climate control
Batteries do not belong in household
waste. They must be disposed of at
an appropriate recycling collection
point.
Remote control fault displayscobA=Poor signal –
adjust positionconP=No signal – move closerbALo=Battery low –
change batteryErr=System error –
consult workshopAdd,
AddE=System in learning
mode
Teach remote control
If the vehicle battery is reconnected, the LED in the instrument panel
button illuminates and the system
configures the remote control menu
automatically. If the LED flashes,
press OK button on remote control,
select Add or AddE and confirm.
Additional remote control units may
also be configured. Press the button
until LED flashes, switch on the
remote control, select Add and
confirm.
AddE teaches the current remote
control unit exclusively and blocks all
previously configured units. Add
teaches up to 4 remote control units,
but only one unit can operate the
system at any one time.
Operation
Heating Y
Select Y in the menu bar and confirm.
The predetermined heating duration,
e.g. L 30, flashes in the display. The
factory setting is 30 minutes.
To temporarily adjust the heating
duration, adjust with the q or r
button and confirm. The value can be
set from 10 to 120 minutes. Due to the power consumption, note the heatingduration.
To switch off, select Y in the menu bar
again and confirm.
Ventilation x
Select x in the menu bar and confirm.
The ventilation duration can be
accepted or adjusted. The duration
shown is accepted without
confirmation.To switch off, select x in the menu bar
again and confirm.
Programming P
Up to 3 preset departure times can be
programmed, either during one day or over one week.
■ Select P in the menu bar and
confirm
■ Select desired preset memory number 1, 2 or 3 and confirm
■ Select day and confirm
■ Select hour and confirm
■ Select minutes and confirm
■ Select Y or x and confirm
■ If necessary, adjust the runtime duration prior to departure andconfirm
The next preset memory number to
be activated is underlined and the
weekday is displayed. Repeat the
procedure to programme the other
preset memory numbers.
Pressing button X during the
procedure will exit without storing programme adjustments.
Page 105 of 201

Climate control103
To delete a preset departure time,
follow the steps for programming until
heating symbol Y flashes. Press
button q or r until oFF appears in
the display and confirm.
Heating stops automatically
5 minutes after the programmed departure time.
Notice
The remote control system features
a temperature sensor which
calculates the runtime according to
the ambient temperature and the
desired heating level (ECO or
HIGH). The system starts
automatically between 5 and
60 minutes prior to the programmed
departure time.
Set weekday, time and heating
duration Ö
If the vehicle battery is disconnected
or its voltage is too low, the unit will
need to be reset.
■ Select Ö and confirm
■ Select weekday and confirm
■ Change hours and confirm■ Change minutes and confirm
■ Change the default heating duration and confirm
Heating level Y
The preferred heating level for
programmed departure times can be set to either ECO or HIGH.
Select Y and confirm. ECO or HIGH
flashes in the display. Adjust using the q or r button and confirm.Air vents
Adjustable air vents
At least one air vent must be open
while cooling is on in order to prevent
the evaporator from icing up due to lack of air movement.
Centre air vents
Press the vent to open.
Direct the flow of air by swivelling the vent.
Push vent to close.
Page 134 of 201

132Vehicle careVehicle careGeneral Information...................132
Vehicle checks ........................... 133
Bulb replacement .......................140
Electrical system ........................148
Vehicle tools .............................. 150
Wheels and tyres .......................151
Jump starting ............................. 160
Towing ....................................... 162
Appearance care .......................164General Information
Accessories and vehicle
modifications
We recommend the use of genuine parts and accessories and factory
approved parts specific for your
vehicle type. We cannot assess or
guarantee reliability of other products
- even if they have a regulatory or
otherwise granted approval.
Do not make any modifications to the electrical system, e.g. changes of
electronic control units (chip tuning).
Vehicle storage Storage for a long period of time
The following tasks must be carried
out if the vehicle is to be stored for several months:
■ Wash and wax the vehicle.
■ Have the wax in the engine compartment and underbody
checked.
■ Clean and preserve rubber seals.■ Change engine oil.
■ Drain washer fluid reservoir.
■ Check coolant antifreeze.
■ Adjust tyre pressure to the value specified for full load.
■ Park vehicle in a dry, well ventilated
place.Engage first or reverse
gear.Prevent the vehicle from
rolling.
■ Do not apply parking brake.
■ Open bonnet, close all doors and lock the vehicle.
■ Disconnect the clamp from the negative terminal of the vehicle
battery.Beware that all systems are
not functional, e.g. anti-theft alarm
system.
Putting back into operation
The following tasks must be carried
out if the vehicle is being put back into operation:
■ Connect the clamp to the negative terminal of the vehicle
battery.Activate the electronics of
the power windows.
■ Check tyre pressure.
Page 159 of 201

Vehicle care157
not be driven. Seek theassistance of a workshop.
20. Stow tyre repair kit under the front
seat.
Notice
The driving characteristics of the repaired tyre are severely affected, therefore have this tyre replaced.
If unusual noise is heard or the
compressor becomes hot, turn
compressor off for at least
30 minutes.
The built-in safety valve opens at a
pressure of 7 bar (102 psi).
Note the expiry date of the kit. After
this date its sealing capability is no
longer guaranteed. Pay attention to
storage information on sealant
bottle.
Replace the used sealant bottle. Dispose of the bottle as prescribed
by applicable laws.
The compressor and sealant can be used from approx. -30 °C.
The adapters supplied can be used
to pump up other items e.g.
footballs, air mattresses, inflatabledinghies etc. They are located on the underside of the compressor. To
remove, screw on compressor air hose and withdraw adapter.
Wheel changing Some vehicles are equipped with a
tyre repair kit instead of a spare wheel 3 154.
Make the following preparations and
observe the following information:
■ Park the vehicle on a level, firm and
non-slippery surface. The frontwheels must be in the straight-ahead position.
■ Apply the parking brake and engage first gear or reverse gear.
■ Switch off the air suspension system 3 110.
■ Remove the spare wheel 3 159.
■ Never change more than one wheel
at a time.
■ Use the jack only to change wheels
in case of puncture, not for
seasonal winter or summer tyre
change.■ If the ground on which the vehicle is standing is soft, a solid board
(max. 1 cm thick) should be placed
under the jack.
■ No people or animals may be in the
vehicle when it is jacked-up.
■ Never crawl under a jacked-up vehicle.
■ Do not start the engine when the vehicle is raised on the jack.
■ Clean wheel bolts/nuts and their threads before mounting the wheel.9 Warning
Do not grease wheel bolt, wheel
nut and wheel nut cone.
1. Remove the wheel cover using the hook supplied. Vehicle tools
3 150.
2. Install the wheel wrench ensuring that it locates securely and loosen
each wheel bolt/nut by half a turn.