Page 39 of 217
Seats, restraints37
Lumbar support
Adjust lumbar support using the
four-way switch to suit personal
requirements.
Moving support up and down: push
switch up or down.
Increasing and decreasing support:
push switch forwards or backwards.
Adjustable thigh support
Pull the lever and slide the thigh
support.
Heating
Adjust heating to the desired setting
by pressing the ß button for the
respective seat one or more times.
The control indicator in the button
indicates the setting.
Prolonged use of the highest setting
for people with sensitive skin is not
recommended.
Seat heating is operational when engine is running and during an
Autostop.
Stop-start system 3 122.
Page 79 of 217

Instruments and controls77
■Display digital clock : Switches on/
off indication of time on the display.
■ RDS clock synchronization : The
RDS signal of most VHF
transmitters automatically sets the time. RDS time synchronisation
can take a few minutes. Some
transmitters do not send a correct
time signal. In such cases, it is
recommended to switch off
automatic time synchronisation.
Vehicle personalisation 3 98.
Time and date settings
CD 600/Navi 950
Press the CONFIG button and then
select the Time and Date menu item
to display the respective submenu.
Notice
If RDS Auto Time Adjust is activated,
time and date are automatically set
by the system.
See Infotainment system manual for further information.
Set time
To adjust the time settings, select the
Set Time menu item. Turn the
multifunction knob to adjust the first
setting.
Press the multifunction knob to
confirm the input. The coloured
background moves to the next
setting.
Adjust all settings.
Set date
To adjust the time settings, select the Set Date menu item. Turn the
multifunction knob to adjust the first
setting.
Press the multifunction knob to
confirm the input. The coloured
background moves to the next
setting.
Adjust all settings.
Time format
To choose the desired time format, select 12 hr / 24 hr Format . Activate
12 Hour or 24 Hour .
Vehicle personalisation 3 98.
Page 81 of 217
Instruments and controls79Warning lights, gauges
and indicators
Speedometer
Indicates vehicle speed.
Odometer
The bottom line displays the recorded distance.
Trip odometer The top line displays the recorded
distance since the last reset.
To reset, press the SET/CLR button
on the turn signal lever for a few
seconds 3 88.
Trip odometer counts up to a distance
of 2000 miles then resets to 0.
Tachometer
Displays the engine speed.
Drive in a low engine speed range for each gear as much as possible.
Caution
If the needle is in the red warning
zone, the maximum permitted
engine speed is exceeded. Engine at risk.
Page 91 of 217
Instruments and controls89
■ trip/fuel information
■ vehicle messages, displayed as code numbers 3 93.
In the Uplevel-Combi-Display, menu
pages can be selected by pushing the
MENU button, Menu symbols are
indicated in the top line of the display:
■ X Vehicle Information Menu
■ W Trip/Fuel Information Menu
■ s ECO Information Menu
Some of the displayed functions differ
when the vehicle is being driven or at
a standstill. Some functions are only
available when the vehicle is being
driven.
Vehicle personalisation 3 98.
Memorised settings 3 21.
Selecting menus and functions
The menus and functions can be
selected via the buttons on the turn
signal lever.
Press the MENU button to switch
between the menus or to return from
a submenu to the next higher menu
level.
Turn the adjuster wheel to highlight a
menu option or to set a numeric value.
Press the SET/CLR button to select a
function or to confirm a message.
Page 92 of 217

90Instruments and controls
Vehicle Information Menu
Press the MENU button to select the
Vehicle Information Menu , or on
Uplevel-Combi-Display select X.
Turn the adjuster wheel to select a
submenu. Press the SET/CLR button
to confirm.
Follow the instructions given in the submenus.
Possible submenus can be,
depending on the version:
■ Unit : displayed units can be
changed
■ Tyre Pressure : checks tyre
pressure of all wheels during
driving 3 173
■ Remaining Oil Life : indicates when
to change the engine oil and filter
3 80
■ Traffic Sign Assistant : displays
detected traffic signs for the current
route section 3 143
■ Speed Warning : if exceeding the
preset speed, a warning chime will
be activatedSelection and indication can be
different between Midlevel- and
Uplevel-Combi-Display.
Trip/Fuel Information Menu
Press the MENU button to select the
Trip/Fuel Information Menu , or select
W on Uplevel-Combi-Display.
Turn the adjuster wheel to select a
submenu. Press the SET/CLR button
to confirm.
■ Trip odometer 1
■ Trip odometer 2
■ Digital speed
Trip odometer 2 and digital speed are
only available on vehicles with
Uplevel-Combi-Display.
On vehicles with trip computer more
submenus are available.
Selection and indication can be
different between Midlevel- and
Uplevel-Combi-Display.
Trip/Fuel Information Menu, Trip
Computer 3 96.ECO Information Menu
Press the MENU button to select
s in the top line of the Uplevel-
Combi-Display.
Turn the adjuster wheel to select a
submenu. Press the SET/CLR button
to confirm.
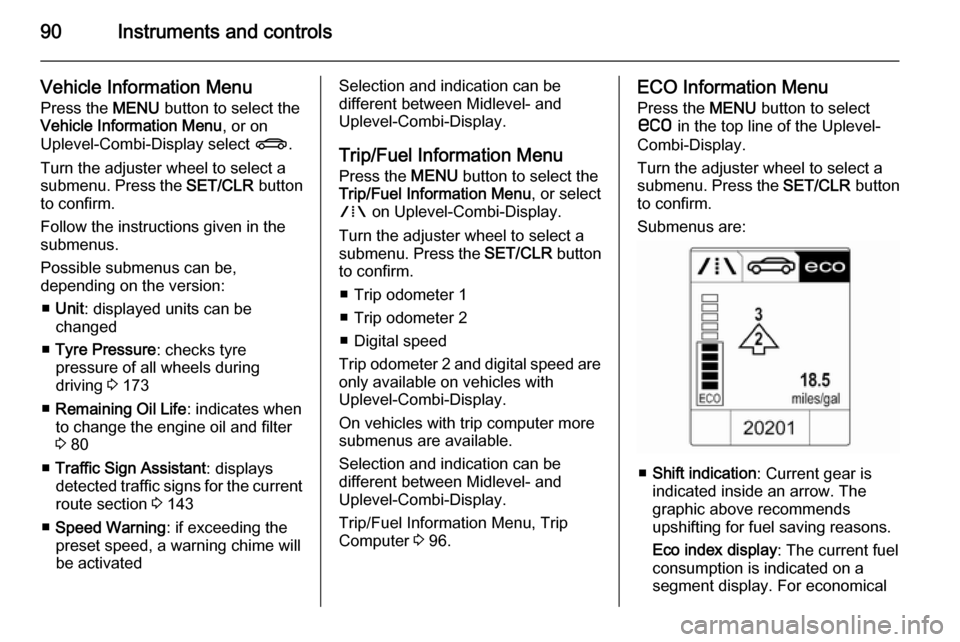
Submenus are:
■ Shift indication : Current gear is
indicated inside an arrow. The
graphic above recommends
upshifting for fuel saving reasons.
Eco index display : The current fuel
consumption is indicated on a segment display. For economical
Page 95 of 217

Instruments and controls93
Selecting with the Infotainment
system
Select a function via the Infotainment
system buttons. The menu of the
selected function is displayed.
The multifunction knob is used to
select an item and to confirm.
Multifunction knob
The multifunction knob is the central control element for the menus:
Turn
■ To mark a menu option
■ To set a numeric value or to display
a menu option
Press (the outer ring)
■ To select or activate the marked option
■ To confirm a set value
■ To switch a system function on/off
BACK button
Press button to: ■ exit a menu without changing settings
■ return from a submenu to a higher menu level
■ delete the last character in a character sequence
Press and hold the button for a few
seconds to delete the entire entry.
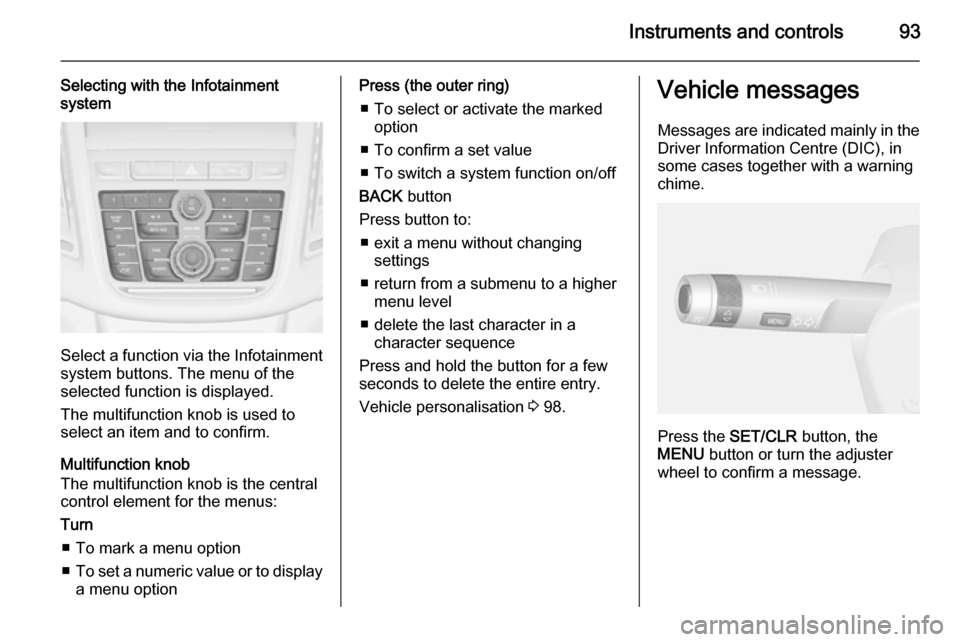
Vehicle personalisation 3 98.Vehicle messages
Messages are indicated mainly in the
Driver Information Centre (DIC), in
some cases together with a warning
chime.
Press the SET/CLR button, the
MENU button or turn the adjuster
wheel to confirm a message.
Page 99 of 217

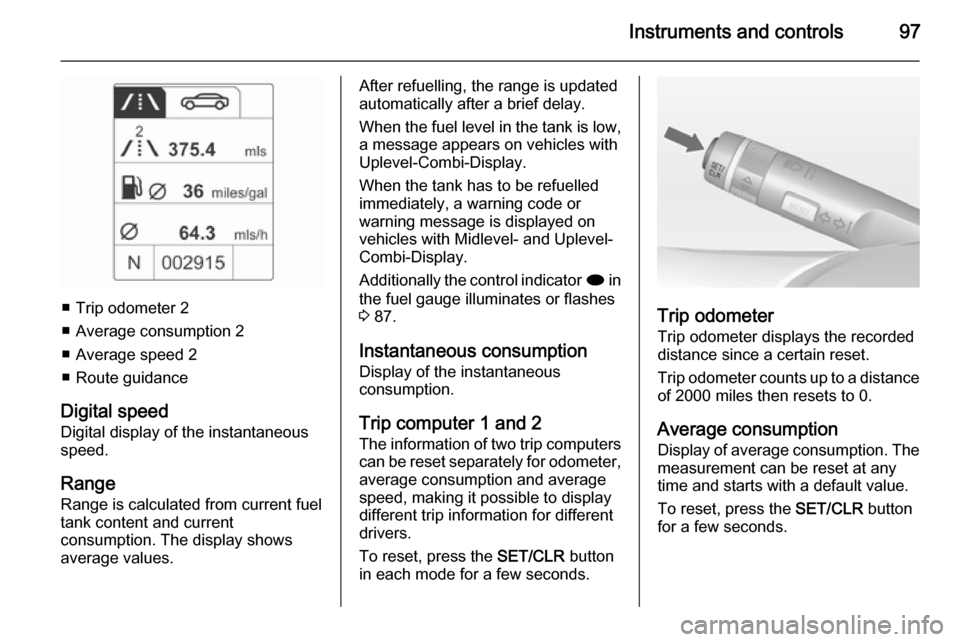
Instruments and controls97
■ Trip odometer 2
■ Average consumption 2
■ Average speed 2
■ Route guidance
Digital speed
Digital display of the instantaneous
speed.
Range
Range is calculated from current fuel
tank content and current
consumption. The display shows
average values.
After refuelling, the range is updated
automatically after a brief delay.
When the fuel level in the tank is low,
a message appears on vehicles with
Uplevel-Combi-Display.
When the tank has to be refuelled
immediately, a warning code or
warning message is displayed on
vehicles with Midlevel- and Uplevel-
Combi-Display.
Additionally the control indicator i in
the fuel gauge illuminates or flashes
3 87.
Instantaneous consumption
Display of the instantaneous
consumption.
Trip computer 1 and 2The information of two trip computers
can be reset separately for odometer, average consumption and average
speed, making it possible to display
different trip information for different
drivers.
To reset, press the SET/CLR button
in each mode for a few seconds.
Trip odometer
Trip odometer displays the recorded
distance since a certain reset.
Trip odometer counts up to a distance
of 2000 miles then resets to 0.
Average consumption
Display of average consumption. The measurement can be reset at any
time and starts with a default value.
To reset, press the SET/CLR button
for a few seconds.
Page 100 of 217

98Instruments and controls
Average speed
Display of average speed. The
measurement can be reset at any
time.
To reset, press the SET/CLR button
for a few seconds.
Route guidance Additionally to the navigation
information in the Colour-Info-
Display, route guidance is displayed
in the Driver Information Centre.Vehicle personalisation
The vehicle can be personalised by
changing the settings in the
Infotainment system.
Depending on vehicle equipment
some of the functions described
below may not be available.
Settings in the
Graphic-Info-Display
CD 400
Press the CONFIG button for the
Settings menu.Press the CONFIG button, when
ignition is on and Infotainment system is activated.
Setting menus is displayed.
To switch the setting menus turn the
MENU knob.
To select the setting menus, press the
MENU button.
To close or back to previous, press
the BACK button.
The following settings can be
selected:
■ Languages
■ Time Date
■ Radio settings
■ Bluetooth settings
■ Vehicle settings
In the corresponding submenus the
following settings can be changed:
Languages
Selection of the desired language.
Time Date
See Clock 3 76.