2014 VAUXHALL MOKKA USB
[x] Cancel search: USBPage 119 of 221

Navigation119
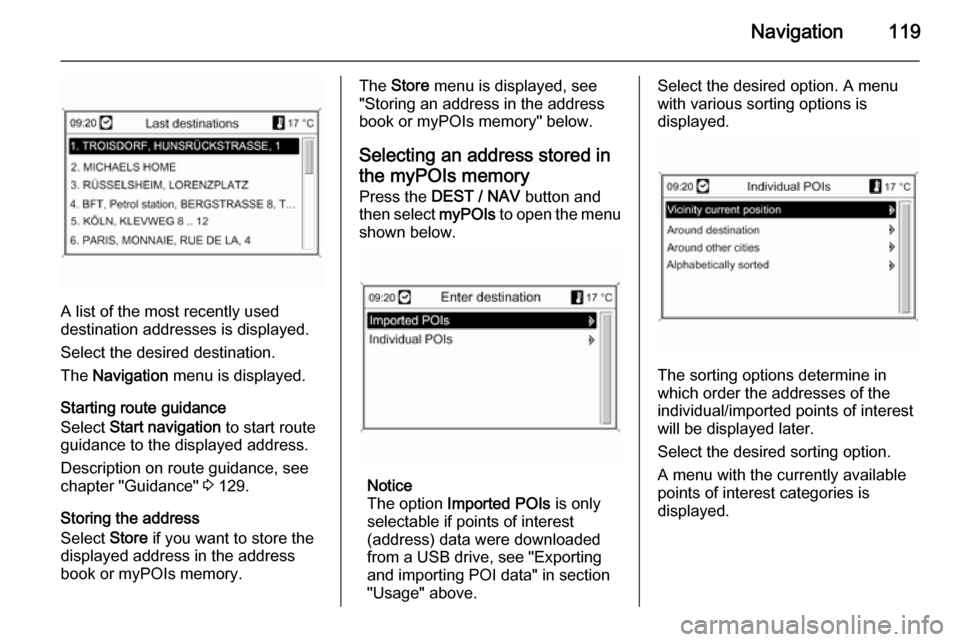
A list of the most recently used
destination addresses is displayed.
Select the desired destination.
The Navigation menu is displayed.
Starting route guidance
Select Start navigation to start route
guidance to the displayed address.
Description on route guidance, see
chapter "Guidance" 3 129.
Storing the address
Select Store if you want to store the
displayed address in the address
book or myPOIs memory.
The Store menu is displayed, see
"Storing an address in the address
book or myPOIs memory" below.
Selecting an address stored inthe myPOIs memory
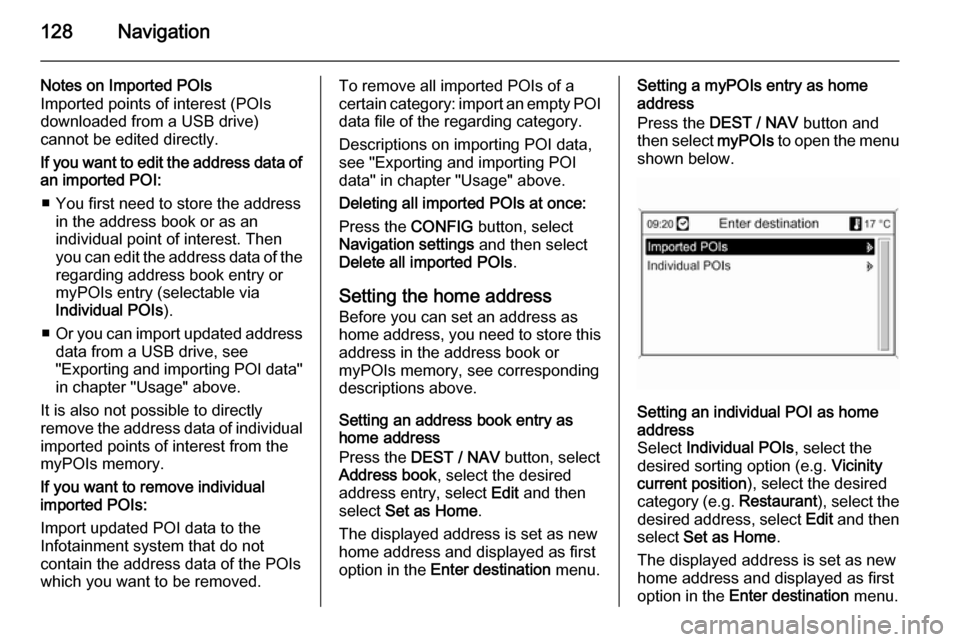
Press the DEST / NAV button and
then select myPOIs to open the menu
shown below.
Notice
The option Imported POIs is only
selectable if points of interest
(address) data were downloaded
from a USB drive, see "Exporting
and importing POI data" in section
"Usage" above.
Select the desired option. A menu
with various sorting options is
displayed.
The sorting options determine in
which order the addresses of the
individual/imported points of interest will be displayed later.
Select the desired sorting option.
A menu with the currently available
points of interest categories is
displayed.
Page 128 of 221

128Navigation
Notes on Imported POIs
Imported points of interest (POIs
downloaded from a USB drive)
cannot be edited directly.
If you want to edit the address data of an imported POI:
■ You first need to store the address in the address book or as an
individual point of interest. Then
you can edit the address data of the regarding address book entry ormyPOIs entry (selectable via
Individual POIs ).
■ Or you can import updated address
data from a USB drive, see
"Exporting and importing POI data"
in chapter "Usage" above.
It is also not possible to directly
remove the address data of individual
imported points of interest from the
myPOIs memory.
If you want to remove individual
imported POIs:
Import updated POI data to the
Infotainment system that do not
contain the address data of the POIs
which you want to be removed.To remove all imported POIs of a
certain category: import an empty POI
data file of the regarding category.
Descriptions on importing POI data,
see "Exporting and importing POI
data" in chapter "Usage" above.
Deleting all imported POIs at once:
Press the CONFIG button, select
Navigation settings and then select
Delete all imported POIs .
Setting the home address Before you can set an address as
home address, you need to store this
address in the address book or
myPOIs memory, see corresponding
descriptions above.
Setting an address book entry as
home address
Press the DEST / NAV button, select
Address book , select the desired
address entry, select Edit and then
select Set as Home .
The displayed address is set as new
home address and displayed as first
option in the Enter destination menu.Setting a myPOIs entry as home
address
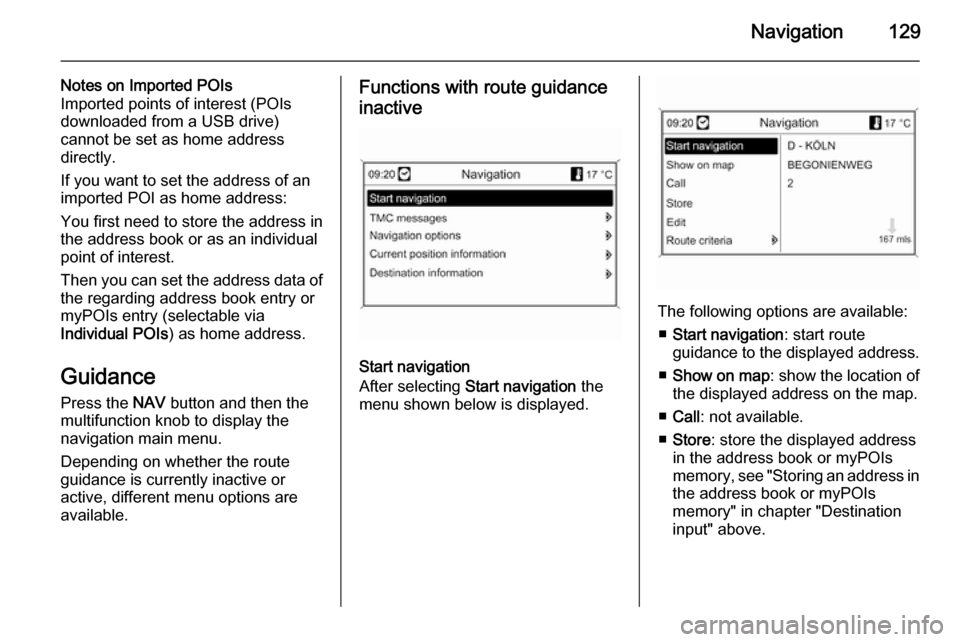
Press the DEST / NAV button and
then select myPOIs to open the menu
shown below.Setting an individual POI as home
address
Select Individual POIs , select the
desired sorting option (e.g. Vicinity
current position ), select the desired
category (e.g. Restaurant), select the
desired address, select Edit and then
select Set as Home .
The displayed address is set as new
home address and displayed as first
option in the Enter destination menu.
Page 129 of 221

Navigation129
Notes on Imported POIs
Imported points of interest (POIs
downloaded from a USB drive)
cannot be set as home address
directly.
If you want to set the address of an imported POI as home address:
You first need to store the address in
the address book or as an individual
point of interest.
Then you can set the address data of the regarding address book entry or
myPOIs entry (selectable via
Individual POIs ) as home address.
Guidance Press the NAV button and then the
multifunction knob to display the navigation main menu.
Depending on whether the route guidance is currently inactive or
active, different menu options are
available.Functions with route guidance
inactive
Start navigation
After selecting Start navigation the
menu shown below is displayed.
The following options are available:
■ Start navigation : start route
guidance to the displayed address.
■ Show on map : show the location of
the displayed address on the map.
■ Call : not available.
■ Store : store the displayed address
in the address book or myPOIs
memory, see "Storing an address in
the address book or myPOIs
memory" in chapter "Destination
input" above.
Page 162 of 221

162
SSAP mode .................................. 149
SD card....................................... 136
Selecting the waveband ...............87
Setting the navigation volume ....106
Setting the volume ........................81
SIM Access Profile (SAP) ...........149
Speech recognition .............143, 144
activating ................................. 144
phone control .......................... 144
usage ...................................... 144
volume for voice output ...........144
Speed compensated volume ........81
Speller function ........................... 115
Starting CD replay ........................97
Station search............................... 87
Storing stations ............................. 88
Switching the Infotainment system on or off......................... 81
Switching the radio on ..................87
Symbols overview ...................... 139
T
Theft-deterrent feature ................. 77
Tone settings ................................ 84
Traffic announcements .................86
U Updating station lists ....................89
Usage .........81, 87, 97, 99, 102, 106User defined POIs ......................115
Using the AUX input .....................99
Using the CD player .....................97
Using the digital picture frame ....102
Using the Infotainment system .....81
Using the navigation system ......106
Using the radio ............................. 87
Using the USB port .....................100
V Voice recognition ........................143
Volume for voice output ..............144
Volume settings ............................ 86
W Waveband menus......................... 89
Page 164 of 221

164IntroductionIntroductionGeneral information...................164
Theft-deterrent feature ...............165
Control elements overview ........166
Operation ................................... 169
Personalisation .......................... 173General information
The Infotainment system provides
infotainment in your vehicle, using the
latest technology.
The radio can easily be used by
registering up to 36 FM, AM and DAB (Digital Audio Broadcasting) radio
stations with the 1 ~ 6 preset buttons
per every six pages. DAB is only available for Type A and Type D
models.
The integrated CD player can play
audio CD and MP3 (WMA) discs, and
the USB player can play connected
USB storage devices or iPod
products. The USB player is only
available for Type A and Type B
models.
The Bluetooth phone connection function allows for the use of wireless handsfree phone calls, as well as a
phone music player. The Bluetooth
phone connection function is only
available for Type A and Type B models.Connect a portable music player to
the exterior sound input and enjoy the rich sound of the Infotainment
system. The AUX function is only
available for Type A and Type B
models.
The digital sound processor provides
a number of preset equaliser modes
for sound optimisation.
The system can be easily adjusted
with the carefully designed adjusting
device, smart displayer, and
multifunctional menu dial regulator.
■ The "Overview" section provides a simple overview of the Infotainment
system's functions and a summary
of all regulatory devices.
■ The "Operation" section explains the basic controls of the
Infotainment system.
Notice
This manual describes all options
and features available for the
various Infotainment systems.
Certain descriptions, including those for display and menu functions, may
not apply to your vehicle due to
Page 167 of 221

Introduction167
Type A: Radio/DAB + CD/MP3 + AUX
+ USB/iPod + Bluetooth
Type B: Radio + CD/MP3 + AUX +
USB/iPod + Bluetooth
Type C: Radio + CD/MP3
Type D: Radio/DAB + CD/MP3
1. 1 ~ 6 preset buttons
◆ Hold down any of these buttons
to add the current radio station
to the current favourites page.
◆ Press any of these buttons to select the channel linked to that
button.
2. m button with VOL control knob
◆ Press this button to turn the power on and off.
◆ Turn the control knob to adjust the overall volume.
3. RADIO/BAND button
Select the FM, AM band radio or
DAB function.
4. CD button
Press this button to select the CD/
MP3 disc play function.5. AUX button
Press this button to select the
AUX/USB/iPod/Bluetooth audio
function.
6. O button
◆ Press this button to activate the
Bluetooth mode.
◆ Hold down this button to turn the
mute/pause function for CD andUSB/iPod on and off.
7. Disc slot This is the slot in which compactdiscs are inserted or taken out.
8. TONE button
Press this button to adjust/select
the sound setup mode.
9. P BACK button
Cancel the input content or return
to the previous menu.
10. Multifunction knob ◆ Press the button to display thecurrently functioning menu or
select the setup content and
setup values.◆ Turn the control knob to move/ change the setup content and
setup values.
◆ In the Bluetooth handsfree mode, take a call by pressing
the button. You can turn the control knob to answer or reject the call, and then press the
button to confirm.
11. CONFIG button
Press this button to enter the
system setup menu.
12. INFO button
◆ Press this button to view the file
information when using the CD/
MP3 and USB/iPod play
modes.
◆ View information about a radio station and the currently playingsong when using the radio
function.
13. R button
Press this button and take out the
disc.
Page 168 of 221

168Introduction
14.TP button
While using the FM RDS function,
turn the TP (Traffic Programme)
function on or off.
15. AS 1-2 button
◆ Hold down this button to automatically store the radio
stations to the AS station page
1 or 2.
◆ Press this button to select the AS station pages 1 or 2.
16. FAV 1-2-3 button
Press this button to select the
page of saved favourite files.
17. 1 / 8 buttons
◆ Press these buttons when using
radio or DAB to automatically
seek stations with clear
reception. You can manually
set the broadcasting frequency
by holding down these buttons.◆ Press these buttons while using
the CD/MP3 and USB/iPod playmodes to instantly play the
previous or next track.
◆ You can hold down these buttons to quickly rewind/fast
forward through the currently
playing songs.
Steering wheel audio controls Steering wheel audio control Type 1:option
1. xn button
Press this button in any music
play mode to turn the mute
function on and off. In engaged
mode you can press this button to
reject calls or to finish the call.
2. q button
◆ Press this button to answer the call or enter the redial mode.
◆ Hold down this button to enter the dialled call log or to move
back and forth from hands-free
mode and private call mode
during a call.
3. d SRC c button
◆ Press this button to select a sound play mode.
◆ Turn the control to change the registered radio station or
change the music being played.
4. + buttons
◆ Press the + button to increase the volume.
◆ Press the - button to decrease the volume.
Page 172 of 221

172Introduction
CD/MP3 disk player
(1) Audio CD
(2) Audio CD with text
(3) MP3/WMA CD
Insert an audio CD or MP3 (WMA)
disc to be played with the printed
surface facing upwards in the disk
slot. When a disc is already inserted,
press the CD button to select the CD/
MP3 player.
From the steering wheel remote
control, press d SRC c to select the
CD/MP3 player.
(1) Audio CD
(2) MP3/WMA CD
Press the multifunction knob to open
the menu with options for the relevant
function or the menu of the relevant
device.
USB/iPod audio play or AUX input
Connect the USB/iPod with music
files to be played to the USB
connecting terminal or connect the
audio output of the external audio
equipment to be listened to to the
AUX input terminal.
When the USB, iPod or AUX device is already inserted, repeatedly press the
AUX button to select the desired
function ( AUX → USB → Bluetooth
audio → AUX → ...)
From the steering wheel remote
control, press d SRC c to select the
desired mode.