Page 335 of 724

Interior features3
335
LC200_OM_OM60L09U_(U)
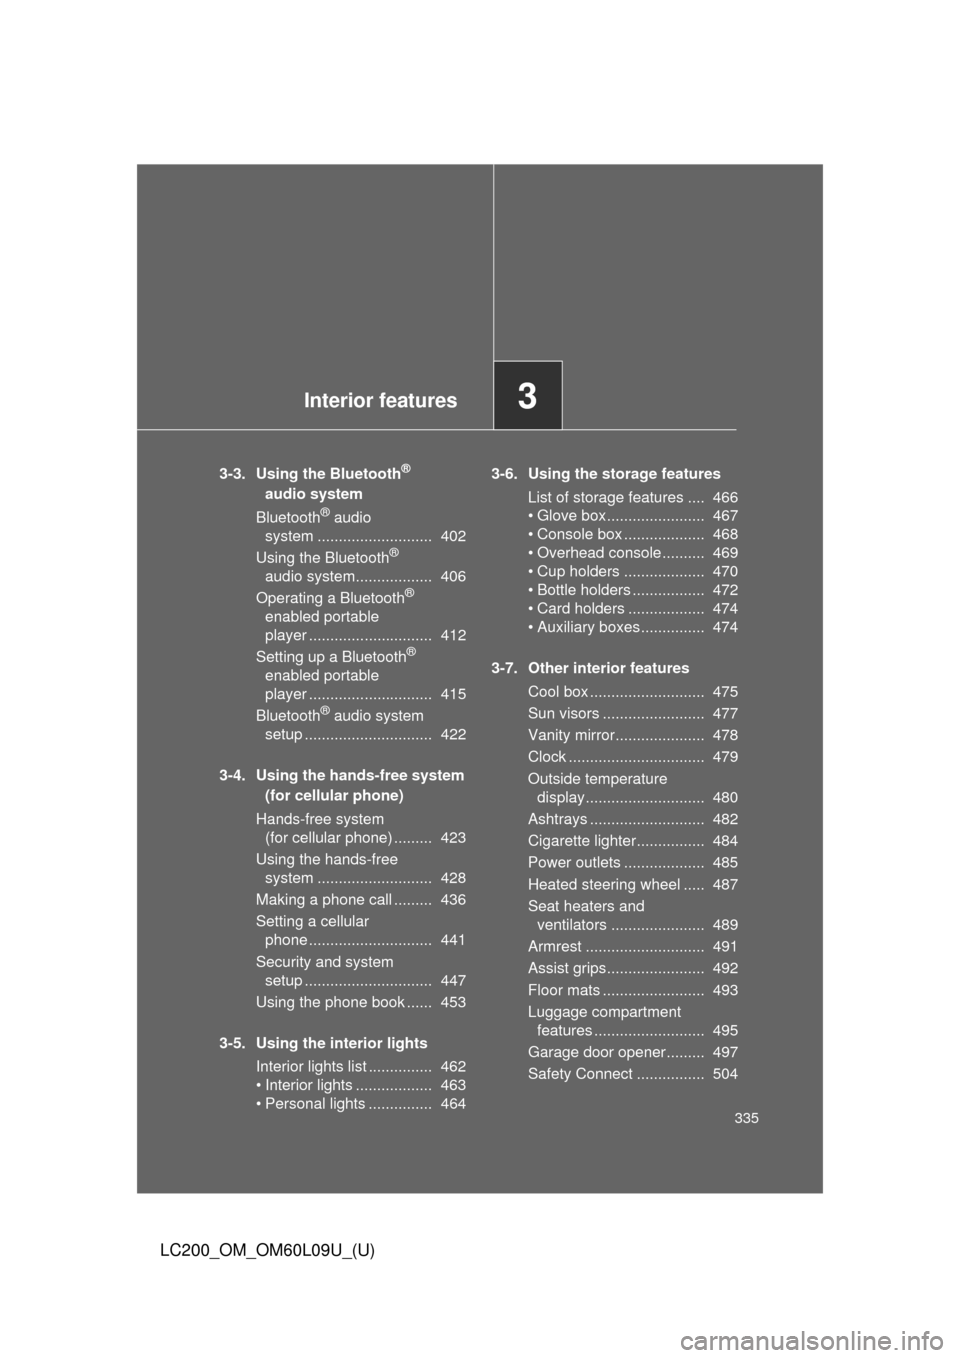
3-3. Using the Bluetooth®
audio system
Bluetooth
® audio
system ........................... 402
Using the Bluetooth
®
audio system.................. 406
Operating a Bluetooth
®
enabled portable
player ............................. 412
Setting up a Bluetooth
®
enabled portable
player ............................. 415
Bluetooth
® audio system
setup .............................. 422
3-4. Using the hands-free system (for cellular phone)
Hands-free system (for cellular phone) ......... 423
Using the hands-free system ........................... 428
Making a phone call ......... 436
Setting a cellular phone ............................. 441
Security and system setup .............................. 447
Using the phone book ...... 453
3-5. Using the interior lights Interior lights list ............... 462
• Interior lights .................. 463
• Personal lights ............... 464 3-6. Using the storage features
List of storage features .... 466
• Glove box....................... 467
• Console box ................... 468
• Overhead console .......... 469
• Cup holders ................... 470
• Bottle holders ................. 472
• Card holders .................. 474
• Auxiliary boxes ............... 474
3-7. Other interior features Cool box ........................... 475
Sun visors ........................ 477
Vanity mirror..................... 478
Clock ................................ 479
Outside temperature display............................ 480
Ashtrays ........................... 482
Cigarette lighter................ 484
Power outlets ................... 485
Heated steering wheel ..... 487
Seat heaters and ventilators ...................... 489
Armrest ............................ 491
Assist grips....................... 492
Floor mats ........................ 493
Luggage compartment features .......................... 495
Garage door opener......... 497
Safety Connect ................ 504
Page 363 of 724

363
3-2. Using the audio system
3
Interior features
LC200_OM_OM60L09U_(U)
■
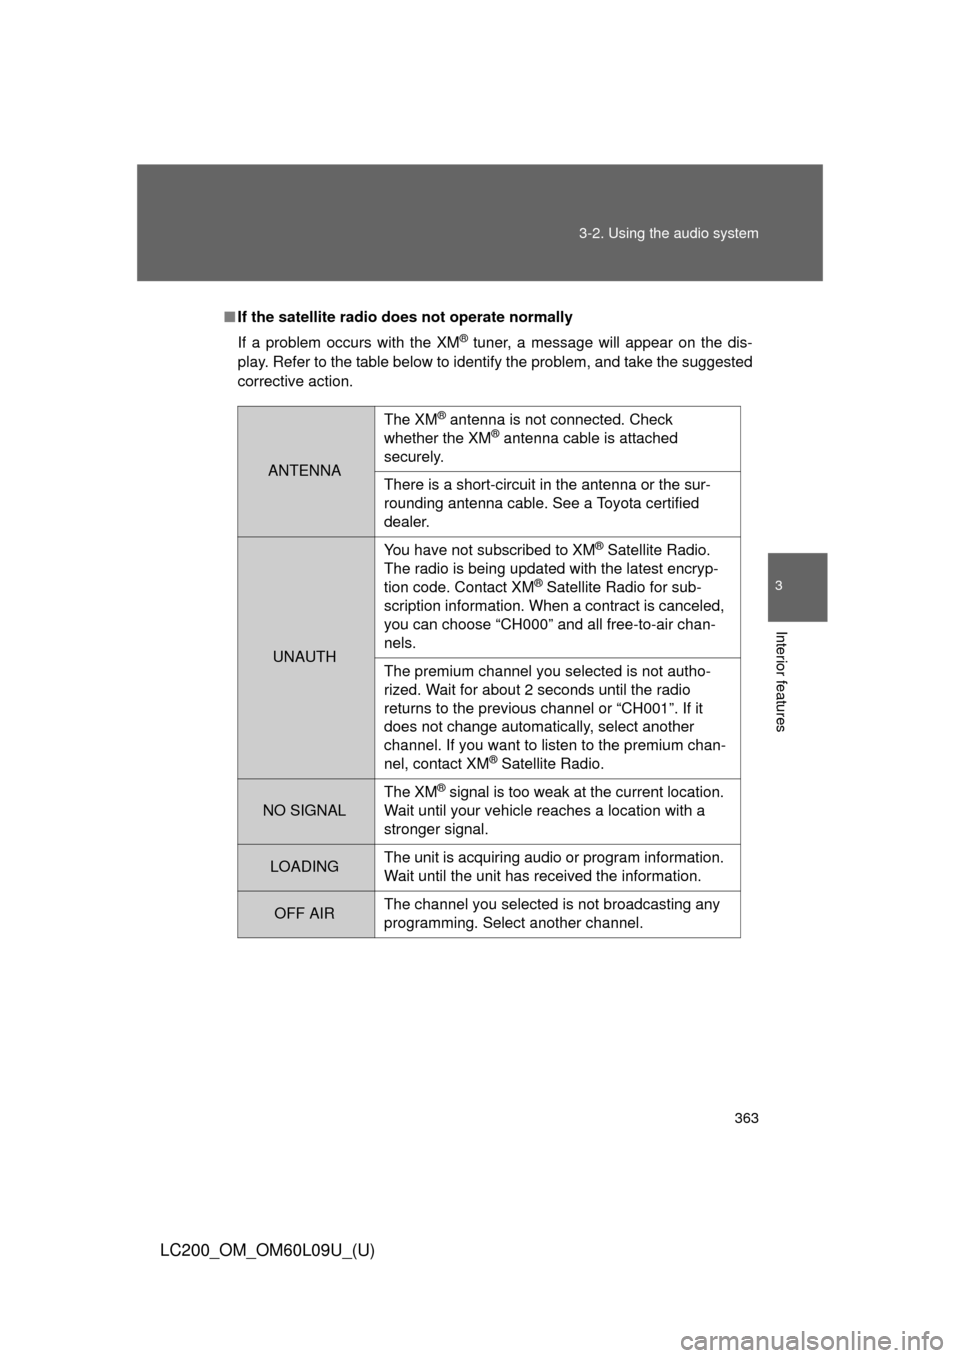
If the satellite radio does not operate normally
If a problem occurs with the XM
® tuner, a message will appear on the dis-
play. Refer to the table below to identify the problem, and take the suggested
corrective action.
ANTENNA
The XM® antenna is not connected. Check
whether the XM® antenna cable is attached
securely.
There is a short-circuit in the antenna or the sur-
rounding antenna cable. See a Toyota certified
dealer.
UNAUTH You have not subscribed to XM
® Satellite Radio.
The radio is being updated with the latest encryp-
tion code. Contact XM
® Satellite Radio for sub-
scription information. When a contract is canceled,
you can choose “CH000” and all free-to-air chan-
nels.
The premium channel you selected is not autho-
rized. Wait for about 2 seconds until the radio
returns to the previous channel or “CH001”. If it
does not change automatically, select another
channel. If you want to listen to the premium chan-
nel, contact XM
® Satellite Radio.
NO SIGNAL The XM
® signal is too weak at the current location.
Wait until your vehicle reaches a location with a
stronger signal.
LOADING The unit is acquiring audio or program information.
Wait until the unit has received the information.
OFF AIRThe channel you selected is not broadcasting any
programming. Select another channel.
Page 423 of 724
423
3
Interior features
LC200_OM_OM60L09U_(U)
3-4. Using the hands-free system (for cellular phone)
Hands-free system (for cellular phone)
The hands-free system is a function that allows you to use your cel-
lular phone without touching it.
This system supports Bluetooth
®, which allows you to make or
receive calls without using cables to connect a cellular phone and
the system, and without oper ating the cellular phone.
With navigation system
Refer to the “Navigation System Owner’s Manual”.
Without navigation system
TitlePage
Using the hands-free systemP. 428
Making a phone callP. 436
Setting a cellular phoneP. 441
Security and system setupP. 447
Using the phone bookP. 453
Page 433 of 724
433
3-4. Using the hands-free
system (for cellular phone)
3
Interior features
LC200_OM_OM60L09U_(U)
First menuSecond
menuThird menuOperation detail
Setup Security
Set PIN Setting a PIN code
Phbk Lock Locking the phone book
Phbk Unlock Unlocking the phone book
Phone
Setup Pair Phone
Registering a cellular phone
to be used
Connect Selecting a cellular phone to
be used
Change Name Changing a registered name
of a cellular phone
List phones Listing the registered cellular
phones
Set Passkey Changing the passkey
Delete Deleting a registered cellular
phone
System
Setup Guidance
Vo l u m e
(Guidance Vol)
Setting voice guidance
volume
Device Name Displaying the Bluetooth
®
device address and name
Initialize Initialization
Page 447 of 724
447
3-4. Using the hands-free system (for cellular phone)
3
Interior features
LC200_OM_OM60L09U_(U)
Security and system setup
■Security setting items and operation procedure
To enter the menu for each function, follow the steps below.
Press the off-hook switch and select “Setup” using voice
command or .
Select “Security” using voice command or .
Select one of the following items using voice command or
.
● Setting or changing t he PIN (Personal Identification Number)
“Set PIN”
● Locking the phone book
“Phonebook Lock (Phbk Lock)”
● Unlocking the phone book
“Phonebook Unlock (Phbk Unlock)”
STEP1
STEP2
STEP3
Page 452 of 724
452 3-4. Using the hands-free system (for cellular phone)
LC200_OM_OM60L09U_(U)
■Initialization
●The following data in the system can be initialized:
• Phone book
• Outgoing and incoming call history
• Speed dials
• Registered cellular phone data
• Security code
• Registered Bluetooth
® enabled portable player data
• Passkey for the cellular phone
• Passkey for the Bluetooth
® audio players
• Guidance volume
• Receiver volume
• Ring tone volume
● Once the initialization has been completed, the data cannot be restored
to its original state.
■ When the phone book is locked
The following functions cannot be used:
●Dialing by inputting a name
● Speed dialing
● Dialing a number stored in the call history memory
● Using the phone book
Page 493 of 724
493
3-7. Other interior features
3
Interior features
LC200_OM_OM60L09U_(U)
Floor mats
Use only floor mats designed specifically for vehicles of the same
model and model year as your vehicle. Fix them securely in place
onto the carpet.
Insert the retaining hooks
(clips) into the floor mat eye-
lets.
Turn the upper knob of each
retaining hook (clip) to secure
the floor mats in place.
*: Always align the marks.
The shape of the retaining hooks (clip s) may differ from that shown
in the illustration.
STEP1
STEP2
*
Page 494 of 724

494 3-7. Other interior features
LC200_OM_OM60L09U_(U)
CAUTION
Observe the following precautions.
Failure to do so may cause the driver’s floor mat to slip, possibly interfering
with the pedals while driving. An unexpectedly high speed may result or it may
become difficult to stop the vehicle, leading to a serious accident.
■When installing the driver’s floor mat
●Do not use floor mats designed for other models or different model year
vehicles, even if they are Toyota Genuine floor mats.
● Only use floor mats designed for the driver’s seat.
● Always install the floor mat securely using the retaining hooks (clips) pro-
vided.
● Do not use two or more floor mats on top of each other.
● Do not place the floor mat bottom-side up or upside-down.
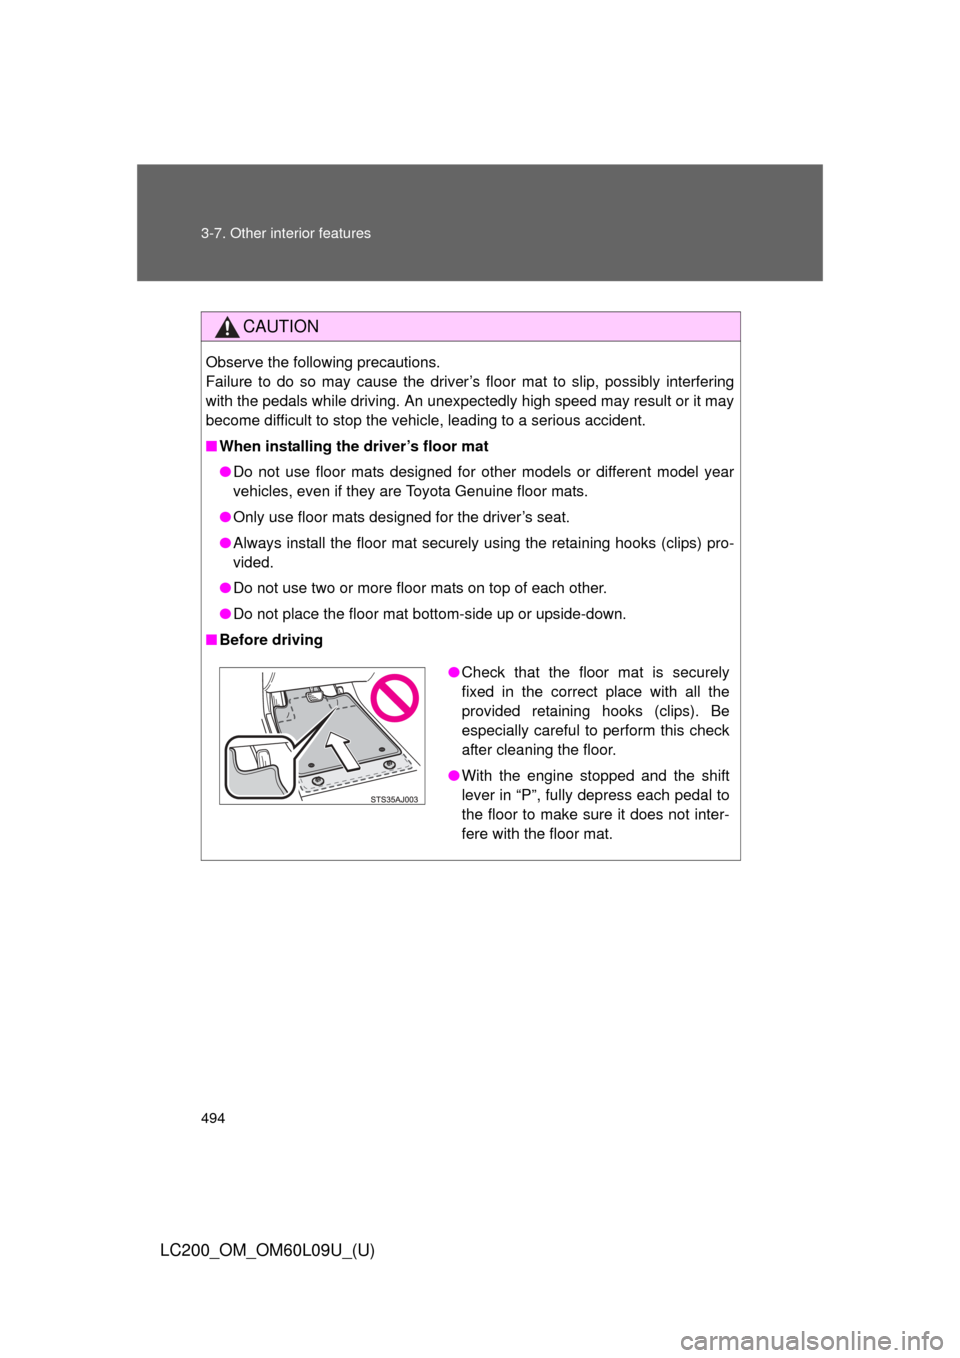
■ Before driving
●Check that the floor mat is securely
fixed in the correct place with all the
provided retaining hooks (clips). Be
especially careful to perform this check
after cleaning the floor.
● With the engine stopped and the shift
lever in “P”, fully depress each pedal to
the floor to make sure it does not inter-
fere with the floor mat.