Page 48 of 356

48
2. Bluetooth® SETTINGS
Canada (With navigation function)Mexico
IC: 216J-YEAP01A473W
This device complies with Industry
Canada license-exempt RSS stan-
dard(s). Operation is subject to the fol-
lowing two conditions: (1) this device
may not cause interference, and (2)this
device must accept any interference,
including interference that may cause
undesired operation of the device.
Le présent appareil est conforme aux
CNR d'Industrie Canada applicables
aux appareils radio exempts de licence.
L'exploitation est autorisée aux deux
conditions suivantes: (1)l'appareil ne
doit pas produire de brouillage, et (2)
l'utilisateur de l'appareil doit accepter
tout brouillage radioélectrique subi,
même si le brouillage est susceptible
d'en compromettre le fonctionnement.
CAUTION:
This radio transmitter (identify the
device by certification number, or model
number if Category II) has been
approved by Industry Canada to oper-
ate with the antenna types listed below
with the maximum permissible gain and
required antenna impedance for each
antenna type indicated. Antenna types
not included in this list, having a gain
greater than the maximum gain indi-
cated for that type, are strictly prohibited
for use with this device.
Le présent émetteur radio (identifier le dis-
positif par son numéro de certification ou
son numéro de modèle s'il fait partie du
matériel de catégorie I) a été approuvé par
Industrie Canada pour fonctionner avec
les types d'antenne énumérés ci-dessous
et ayant un gain
admissible maximal et
l'impédance requise pour chaque type
d'antenne. Les types d'antenne non inclus
dans cette liste, ou dont le gain est
supérieur au gain maximal indiqué, sont
strictement interdits pour l'exploitation de
l'émetteur.
La operación de este equipo esta sujeta
a las siguientes des condiciones:
(1) es posible que este equipo o dispos-
itivo no cause interferencia peljudicial y
(2) este equipo o dispositive debe
aceptar cualquier interferencia, incluy-
endo Ia que pueda causar su operaclón
no deseada.
Page 52 of 356

52
2. Bluetooth® SETTINGS
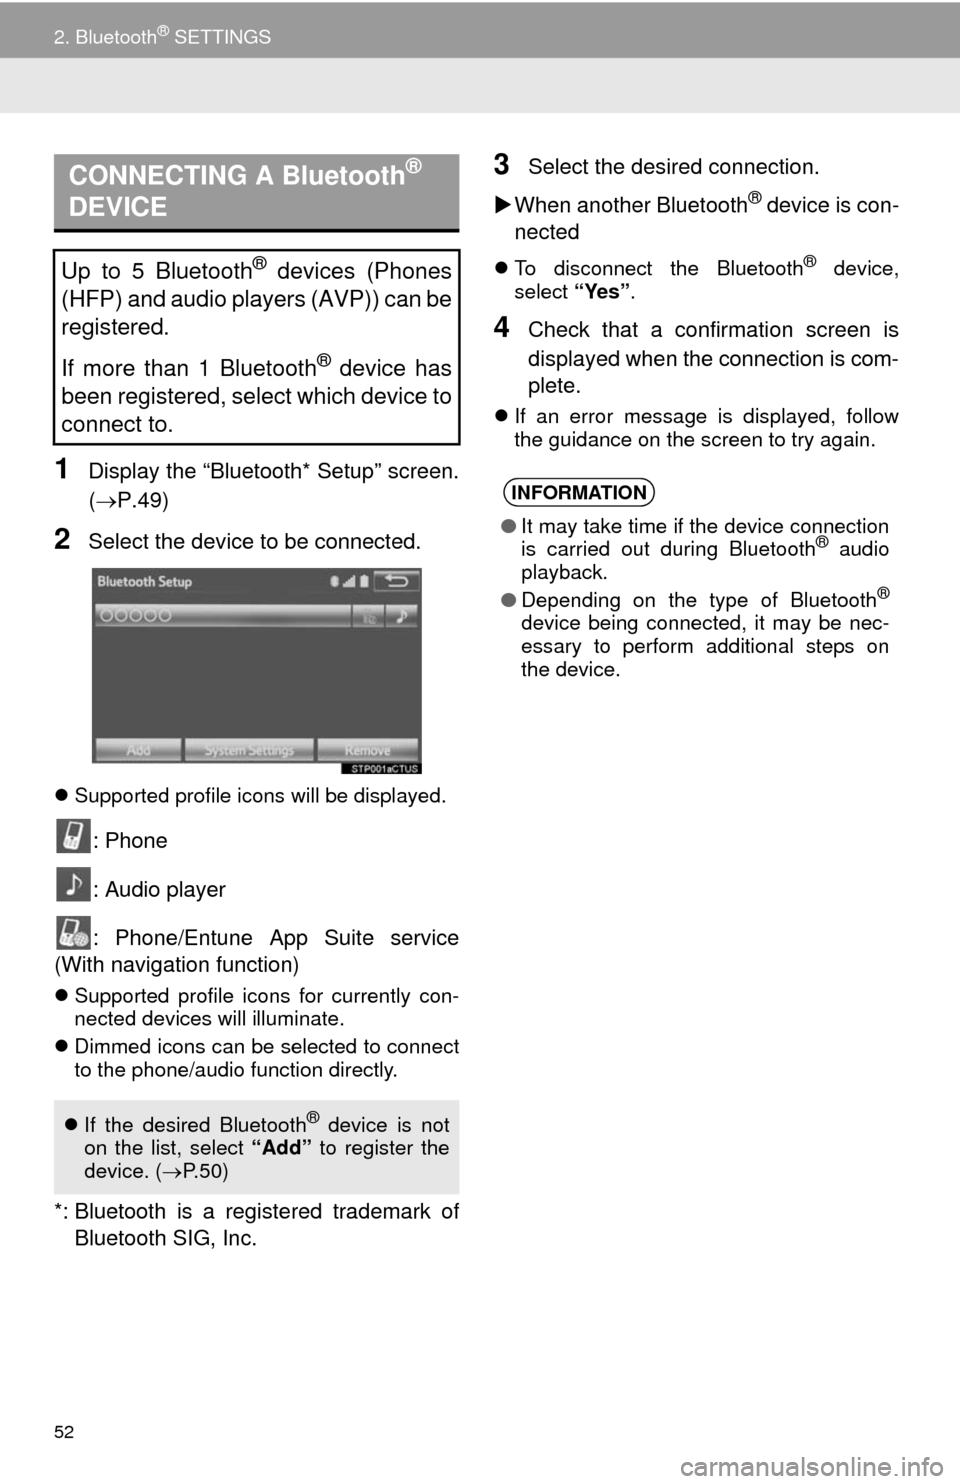
1Display the “Bluetooth* Setup” screen.
(P.49)
2Select the device to be connected.
Supported profile icons will be displayed.
: Phone
: Audio player
: Phone/Entune App Suite service
(With navigation function)
Supported profile icons for currently con-
nected devices will illuminate.
Dimmed icons can be selected to connect
to the phone/audio function directly.
*: Bluetooth is a registered trademark of
Bluetooth SIG, Inc.
3Select the desired connection.
When another Bluetooth
® device is con-
nected
To disconnect the Bluetooth® device,
select “Yes”.
4Check that a confirmation screen is
displayed when the connection is com-
plete.
If an error message is displayed, follow
the guidance on the screen to try again.
CONNECTING A Bluetooth®
DEVICE
Up to 5 Bluetooth® devices (Phones
(HFP) and audio players (AVP)) can be
registered.
If more than 1 Bluetooth
® device has
been registered, select which device to
connect to.
If the desired Bluetooth® device is not
on the list, select “Add” to register the
device. (P. 5 0 )
INFORMATION
●It may take time if the device connection
is carried out during Bluetooth® audio
playback.
●Depending on the type of Bluetooth
®
device being connected, it may be nec-
essary to perform additional steps on
the device.
Page 58 of 356

58
3. OTHER SETTINGS
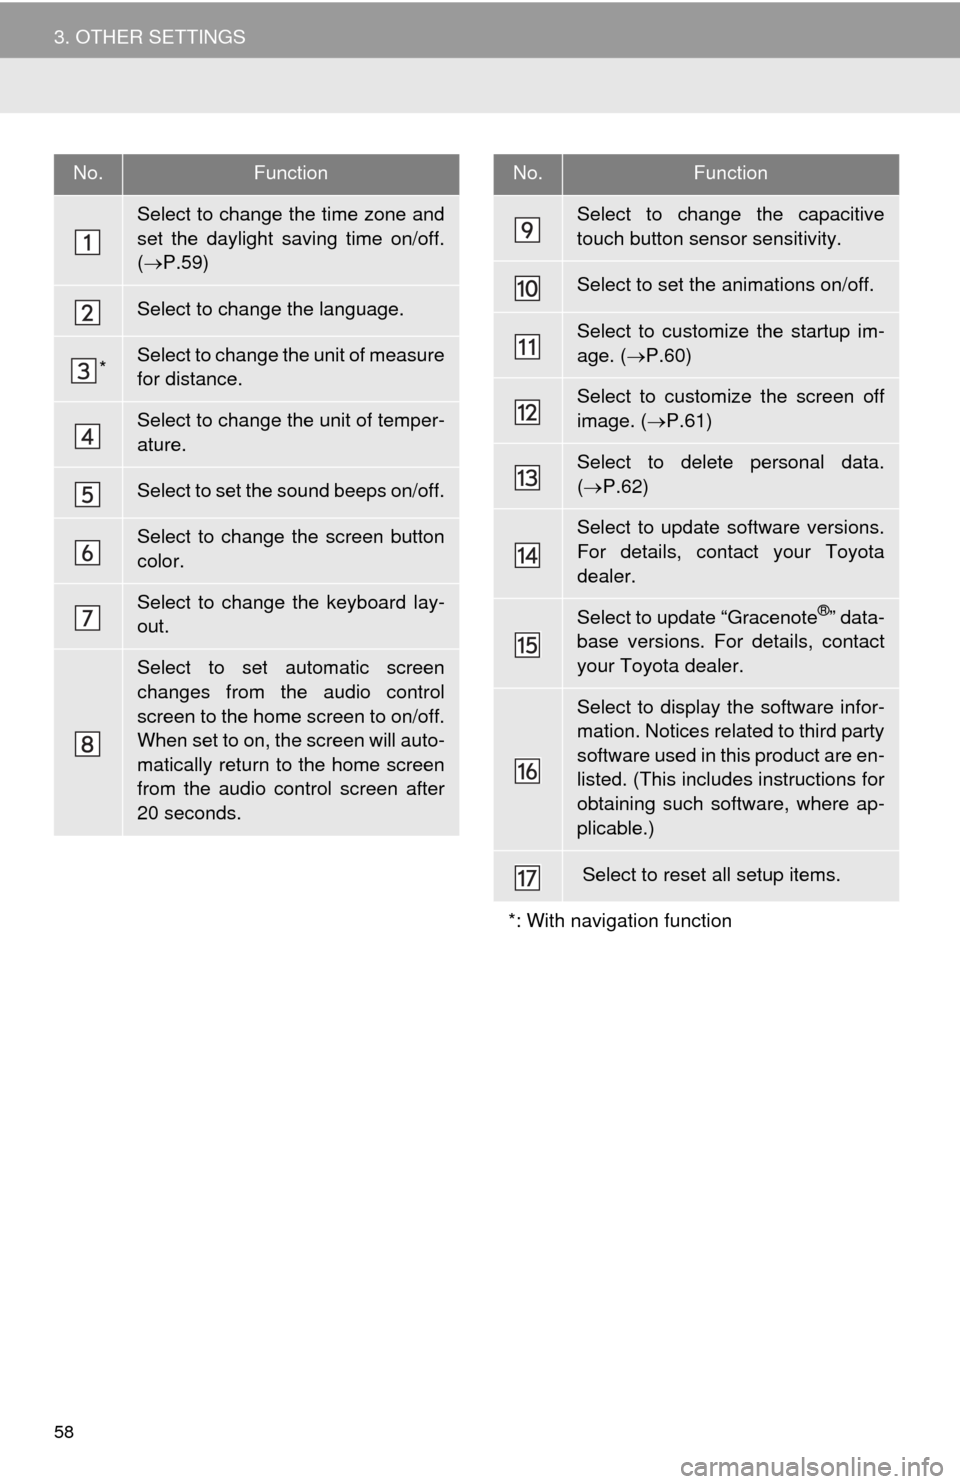
No.Function
Select to change the time zone and
set the daylight saving time on/off.
(P.59)
Select to change the language.
*Select to change the unit of measure
for distance.
Select to change the unit of temper-
ature.
Select to set the sound beeps on/off.
Select to change the screen button
color.
Select to change the keyboard lay-
out.
Select to set automatic screen
changes from the audio control
screen to the home screen to on/off.
When set to on, the screen will auto-
matically return to the home screen
from the audio control screen after
20 seconds.
Select to change the capacitive
touch button sensor sensitivity.
Select to set the animations on/off.
Select to customize the startup im-
age. (P.60)
Select to customize the screen off
image. (P.61)
Select to delete personal data.
(P.62)
Select to update software versions.
For details, contact your Toyota
dealer.
Select to update “Gracenote®” data-
base versions. For details, contact
your Toyota dealer.
Select to display the software infor-
mation. Notices related to third party
software used in this product are en-
listed. (This includes instructions for
obtaining such software, where ap-
plicable.)
Select to reset all setup items.
*: With navigation function
No.Function
Page 62 of 356

62
3. OTHER SETTINGS
■DELETING TRANSFERRED IMAG-
ES
1Display the “General Settings” screen.
(P.57)
2Select “Customize Startup Image” or
“Customize Screen Off Image”.
3Select “Delete All”.
4Select “Yes”.
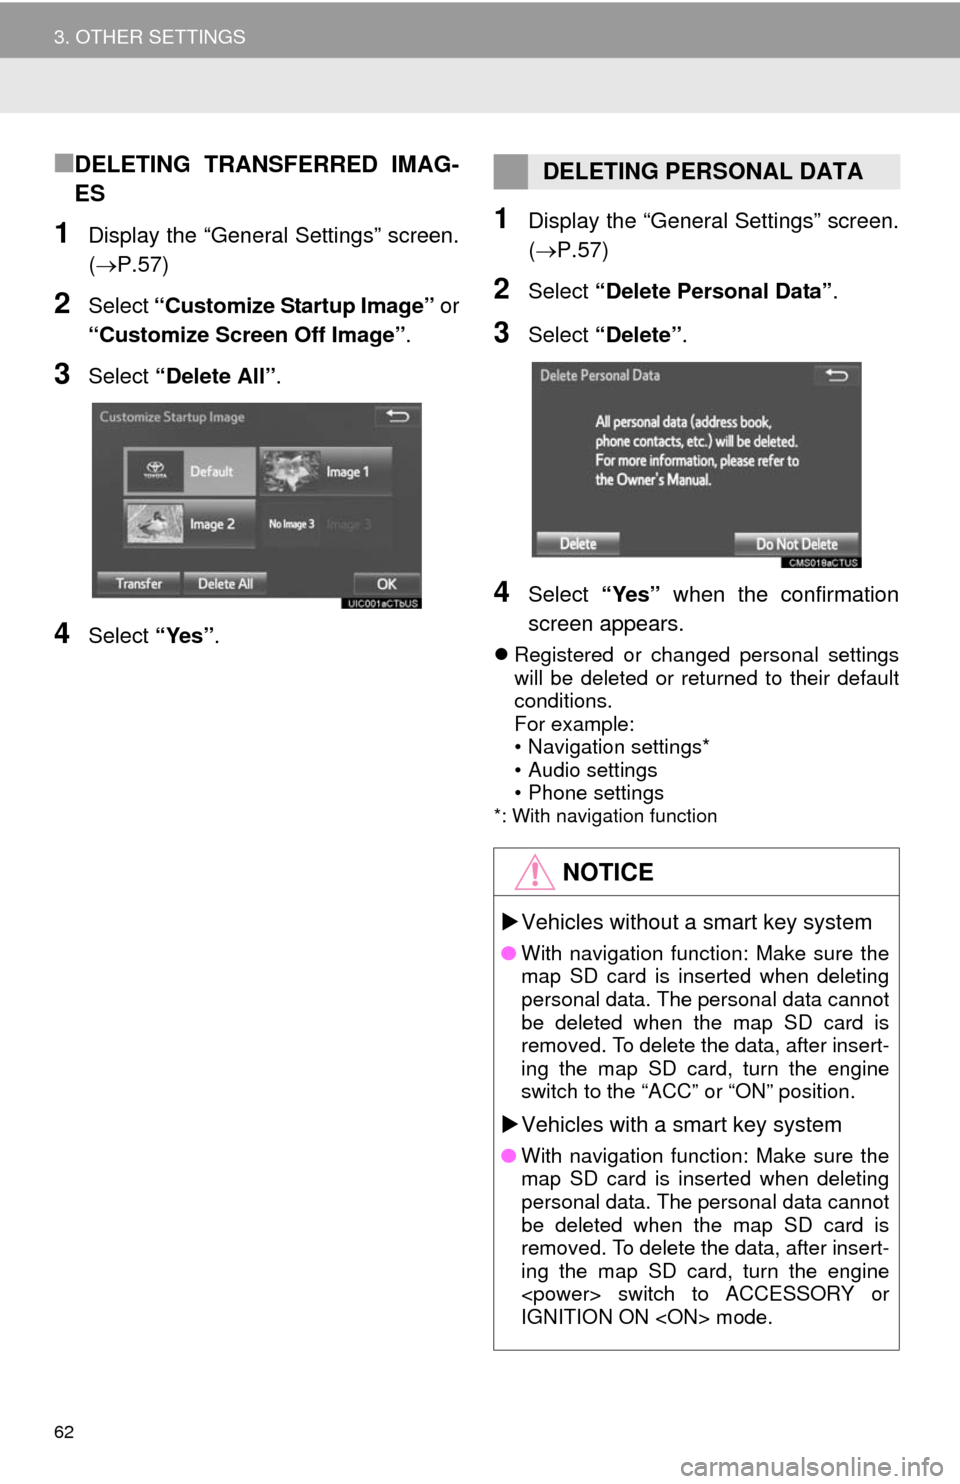
1Display the “General Settings” screen.
(P.57)
2Select “Delete Personal Data”.
3Select “Delete”.
4Select “Yes” when the confirmation
screen appears.
Registered or changed personal settings
will be deleted or returned to their default
conditions.
For example:
• Navigation settings*
• Audio settings
• Phone settings
*: With navigation function
DELETING PERSONAL DATA
NOTICE
Vehicles without a smart key system
●With navigation function: Make sure the
map SD card is inserted when deleting
personal data. The personal data cannot
be deleted when the map SD card is
removed. To delete the data, after insert-
ing the map SD card, turn the engine
switch to the “ACC” or “ON” position.
Vehicles with a smart key system
●With navigation function: Make sure the
map SD card is inserted when deleting
personal data. The personal data cannot
be deleted when the map SD card is
removed. To delete the data, after insert-
ing the map SD card, turn the engine
switch to ACCESSORY or
IGNITION ON mode.
Page 63 of 356
63
3. OTHER SETTINGS
2
BASIC FUNCTION
2. VOICE SETTINGS
1Press the “APPS” button.
2Select “Setup”.
3Select “Voice”.
4Select the items to be set.
Voice volume, etc. can be set.
INFORMATION
●“Voice Settings” screen can also be dis-
played from the voice recognition top
screen. (P.172)
VOICE SETTINGS SCREEN
No.Function
Select to adjust the volume of voice
guidance.
*Select to set the voice guidance dur-
ing route guidance on/off.
Select to set the voice recognition
prompts.
Select to train voice recognition.
The voice command system adapt
the user accent.
Select to set the voice prompt inter-
rupt on/off.
*
Select to set the web search engine.
The search engines are Entune App
Suite applications. (P.333)
Select to start the voice recognition
tutorial.
Select to reset all setup items.
*: With navigation function
Page 65 of 356
65
3. OTHER SETTINGS
2
BASIC FUNCTION
4. MAINTENANCE*
1Press the “APPS” button.
2Select “Maintenance”.
3Select the desired item.
When this system is turned on, the
“Maintenance Reminder” screen dis-
plays when it is time to replace a part
or certain components. (P.32)
*: With navigation function
No.Function
Select to set the condition of parts or
components.
Select to add new information items
separately from provided ones.
Select to cancel all conditions which
have been entered.
Select to reset the item which have
expired conditions.
Select to call the registered dealer.
Select to register/edit dealer infor-
mation. (P.66)
When set to on, the indicator will illu-
minate. The system is set to give
maintenance information with the
“Maintenance Reminder” screen.
(P.32)
INFORMATION
●When the vehicle needs to be serviced,
the screen button color will change to
orange.
Page 74 of 356

74
1. BASIC OPERATION
2. SOME BASICS
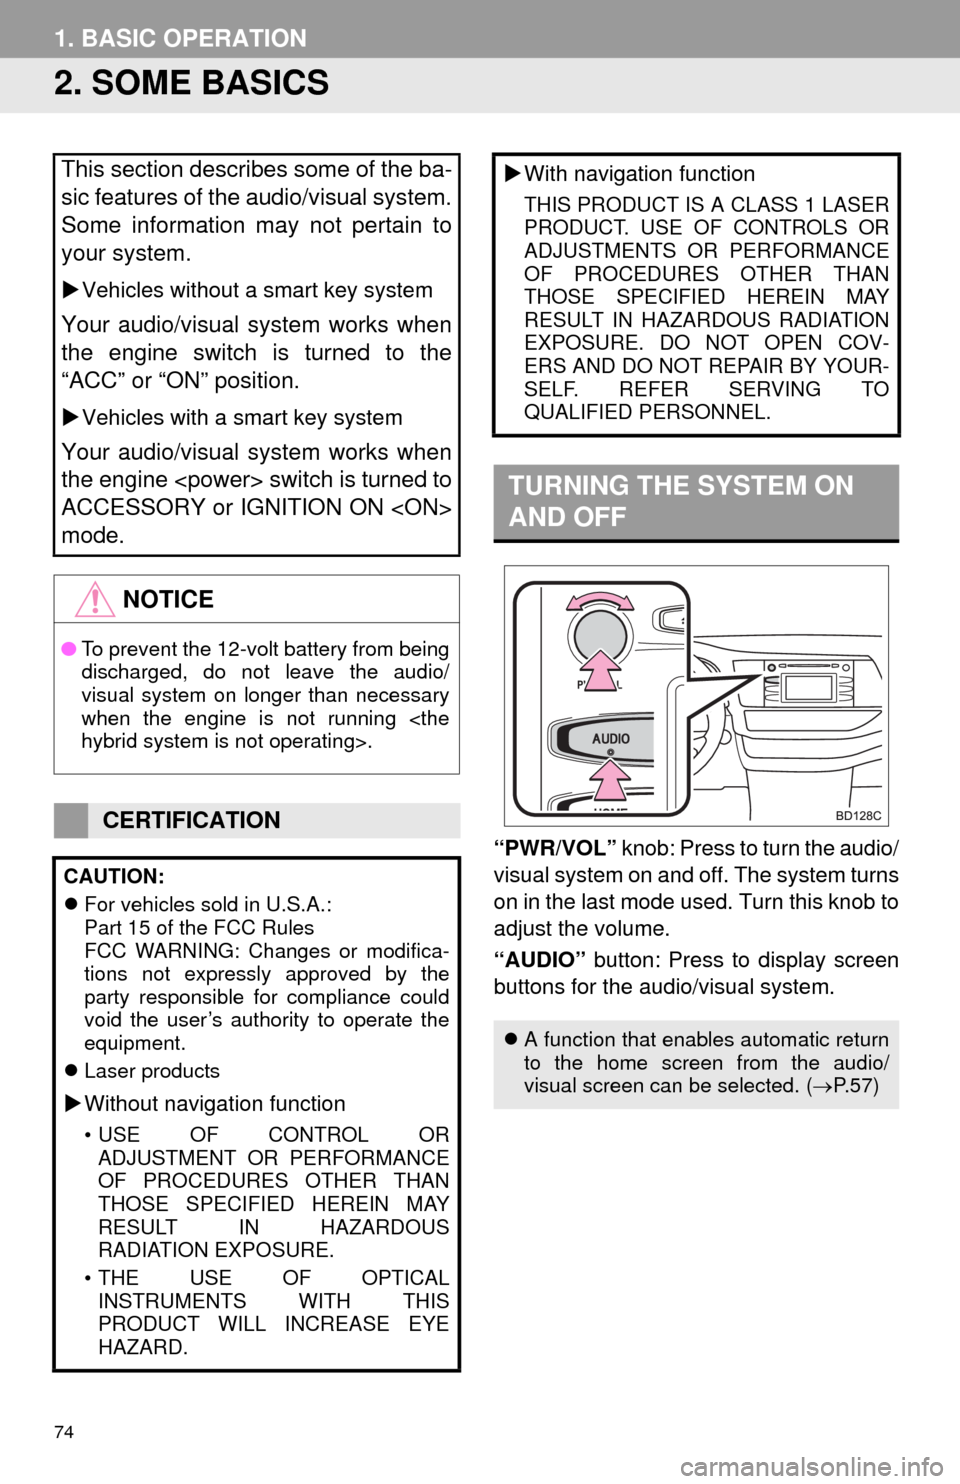
“PWR/VOL” knob: Press to turn the audio/
visual system on and off. The system turns
on in the last mode used. Turn this knob to
adjust the volume.
“AUDIO” button: Press to display screen
buttons for the audio/visual system.
This section describes some of the ba-
sic features of the audio/visual system.
Some information may not pertain to
your system.
Vehicles without a smart key system
Your audio/visual system works when
the engine switch is turned to the
“ACC” or “ON” position.
Vehicles with a smart key system
Your audio/visual system works when
the engine switch is turned to
ACCESSORY or IGNITION ON
mode.
NOTICE
●To prevent the 12-volt battery from being
discharged, do not leave the audio/
visual system on longer than necessary
when the engine is not running
hybrid system is not operating>.
CERTIFICATION
CAUTION:
For vehicles sold in U.S.A.:
Part 15 of the FCC Rules
FCC WARNING: Changes or modifica-
tions not expressly approved by the
party responsible for compliance could
void the user’s authority to operate the
equipment.
Laser products
Without navigation function
• USE OF CONTROL OR
ADJUSTMENT OR PERFORMANCE
OF PROCEDURES OTHER THAN
THOSE SPECIFIED HEREIN MAY
RESULT IN HAZARDOUS
RADIATION EXPOSURE.
• THE USE OF OPTICAL
INSTRUMENTS WITH THIS
PRODUCT WILL INCREASE EYE
HAZARD.
With navigation function
THIS PRODUCT IS A CLASS 1 LASER
PRODUCT. USE OF CONTROLS OR
ADJUSTMENTS OR PERFORMANCE
OF PROCEDURES OTHER THAN
THOSE SPECIFIED HEREIN MAY
RESULT IN HAZARDOUS RADIATION
EXPOSURE. DO NOT OPEN COV-
ERS AND DO NOT REPAIR BY YOUR-
SELF. REFER SERVING TO
QUALIFIED PERSONNEL.
TURNING THE SYSTEM ON
AND OFF
A function that enables automatic return
to the home screen from the audio/
visual screen can be selected. (P.57)
Page 81 of 356
81
3
AUDIO/VISUAL SYSTEM
2. RADIO OPERATION
1. AM/FM RADIO
■CONTROL SCREEN
Without navigation function
OVERVIEW
Select “AM” or “FM” on the “Select Audio Source” screen. (P.75)
Top screen
Option screen