Page 87 of 292

87
2. RADIO OPERATION
3
AUDIO SYSTEM
INFORMATION
●XM Radio ServicesDescriptions
• Radio and Entertainment
XM offers more than 170 satellite radio
channels of commercial-free music
and premier sports, news, talk, and
entertainment. XM is broadcast via sat-
ellites to millions of listeners across the
continental United States. XM sub-
scribers listen to XM on satellite radio
receivers for the car, home, and porta-
ble use. More information about XM is
available online at www.siriusxm.com
(U.S.A.) or www.xmradio.ca (Canada).
●XM Radio ServicesSubscription
Instructions
• For XM Services requiring a subscrip-
tion (such as XM Radio, and some
Infotainment & data services), the fol-
lowing paragraph shall be included.
Required XM Radio and some Infotain-
ment & data services monthly sub-
scriptions sold separately after trial
period. Subscription fee is consumer
only. All fees and programming subject
to change. Subscriptions are subject to
the Customer Agreement available at
www.siriusxm.com. XM service only
available in the 48 contiguous United
States. 2011 Sirius XM Radio Inc.
Sirius, XM and all related marks and
logos are trademarks of Sirius XM
Radio Inc. All other marks, channel
names and logos are the property of
their respective owners.
For more information, program sched-
ules, and to subscribe or extend sub-
scription after complimentary trial
period; more information is available
at:
USA Customers:
Visit www.siriusxm.com or call
1-866-635-2349
INFORMATION
●XM Satellite Radio is solely responsible
for the quality, availability and content of
the satellite radio services provided,
which are subject to the terms and con-
ditions of the XM Satellite Radio cus-
tomer service agreement.
●Customers should have their radio ID
ready; the radio ID can be found by tun-
ing to “Ch 000” on the radio. For details,
see “DISPLAYING THE RADIO ID”
below.
●All fees and programming are the
responsibility of XM Satellite Radio and
are subject to change.
SATELLITE TUNER
TECHNOLOGY NOTICE
Toyota’s satellite radio tuners are
awarded Type Approval Certificates
from XM Satellite Radio Inc. as proof of
compatibility with the services offered
by XM Satellite Radio.
INFORMATION
●Satellite tuner
The tuner supports only Audio Services
(Music and Talk) and the accompanying
Text Information of XM
® Satellite Radio.
Page 88 of 292
88
2. RADIO OPERATION
If “Ch 000” is selected using the “TUNE/
SCROLL” knob, the ID code, which is 8
alphanumeric characters, will be dis-
played. If another channel is selected, the
ID code will no longer be displayed. The
channel (000) alternates between display-
ing the radio ID and the specific radio
code.
1Tune in the desired channel.
2Select “(add new)”.
To change the preset channel to a differ-
ent one, select and hold the preset station/
channel.
3Select “Yes” on the confirmation
screen.
4Select “OK” after setting the new pre-
set channel.
1Select “Channel List”.
2Select the desired program genre.
3Select the desired channel and select
“OK”.
DISPLAYING THE RADIO ID
Each XM tuner is identified with a
unique radio ID. The radio ID is re-
quired when activating an XM service
or when reporting a problem.
PRESETTING A CHANNEL
SELECTING A CHANNEL
FROM THE LIST
Page 90 of 292

90
2. RADIO OPERATION
3. INTERNET RADIO
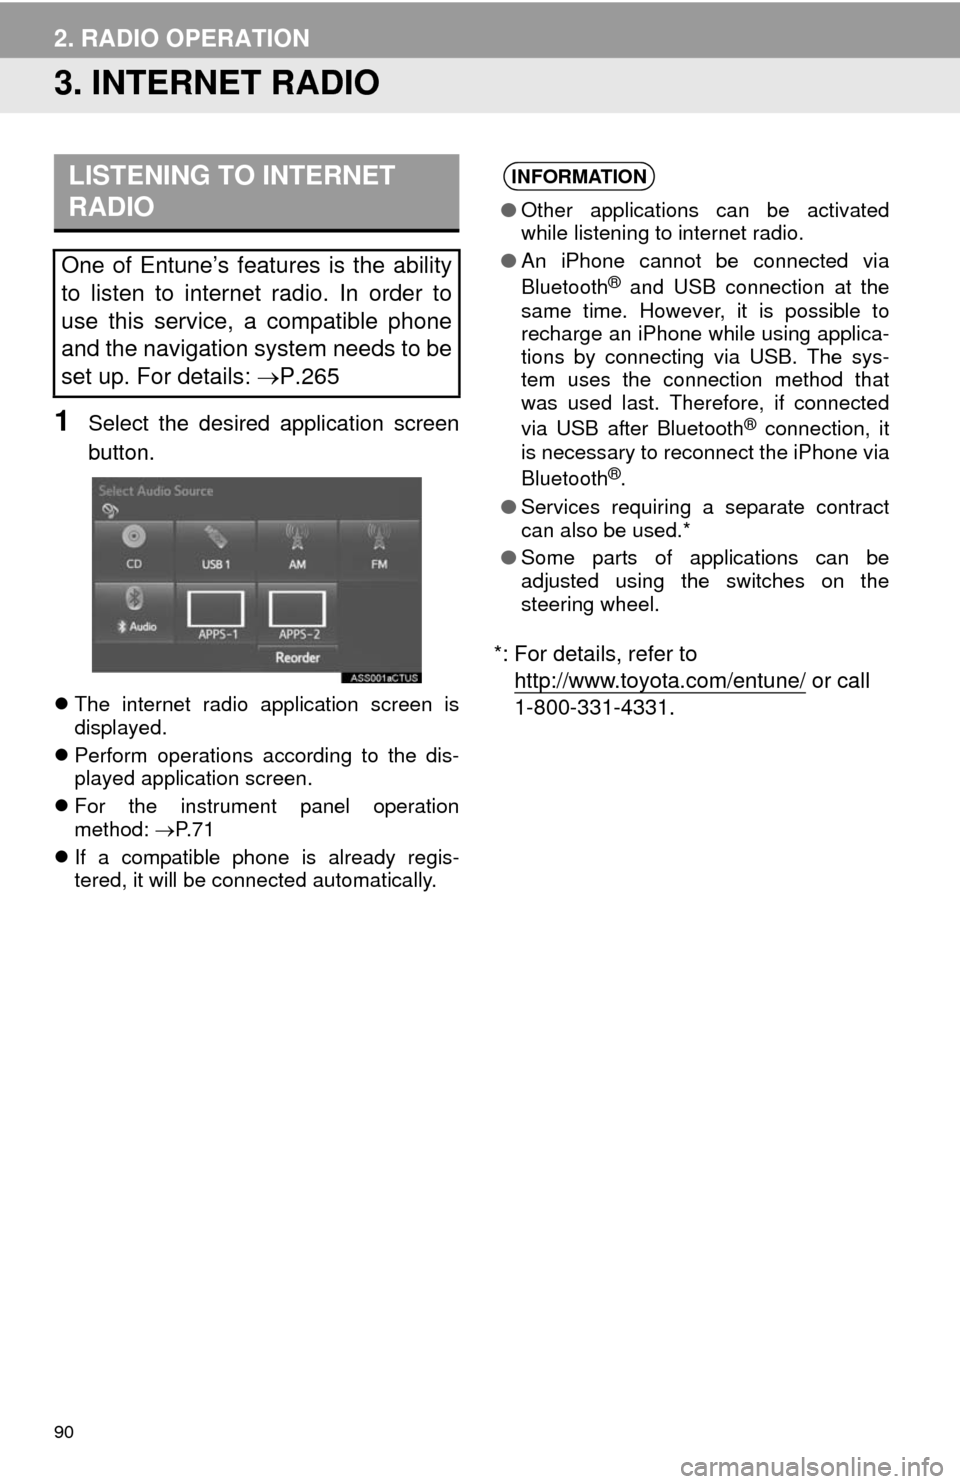
1Select the desired application screen
button.
The internet radio application screen is
displayed.
Perform operations according to the dis-
played application screen.
For the instrument panel operation
method: P. 7 1
If a compatible phone is already regis-
tered, it will be connected automatically.
*: For details, refer to
http://www.toyota.com/entune/
or call
1-800-331-4331.
LISTENING TO INTERNET
RADIO
One of Entune’s features is the ability
to listen to internet radio. In order to
use this service, a compatible phone
and the navigation system needs to be
set up. For details: P.265
INFORMATION
●Other applications can be activated
while listening to internet radio.
●An iPhone cannot be connected via
Bluetooth
® and USB connection at the
same time. However, it is possible to
recharge an iPhone while using applica-
tions by connecting via USB. The sys-
tem uses the connection method that
was used last. Therefore, if connected
via USB after Bluetooth
® connection, it
is necessary to reconnect the iPhone via
Bluetooth
®.
●Services requiring a separate contract
can also be used.*
●Some parts of applications can be
adjusted using the switches on the
steering wheel.
Page 91 of 292
91
3
AUDIO SYSTEM
3. MEDIA OPERATION
1. CD
■CONTROL SCREEN
■CONTROL PANEL
OVERVIEW
Select “CD” to display the audio control screen.
Audio CD
MP3/WMA/AAC disc
Page 92 of 292

92
3. MEDIA OPERATION
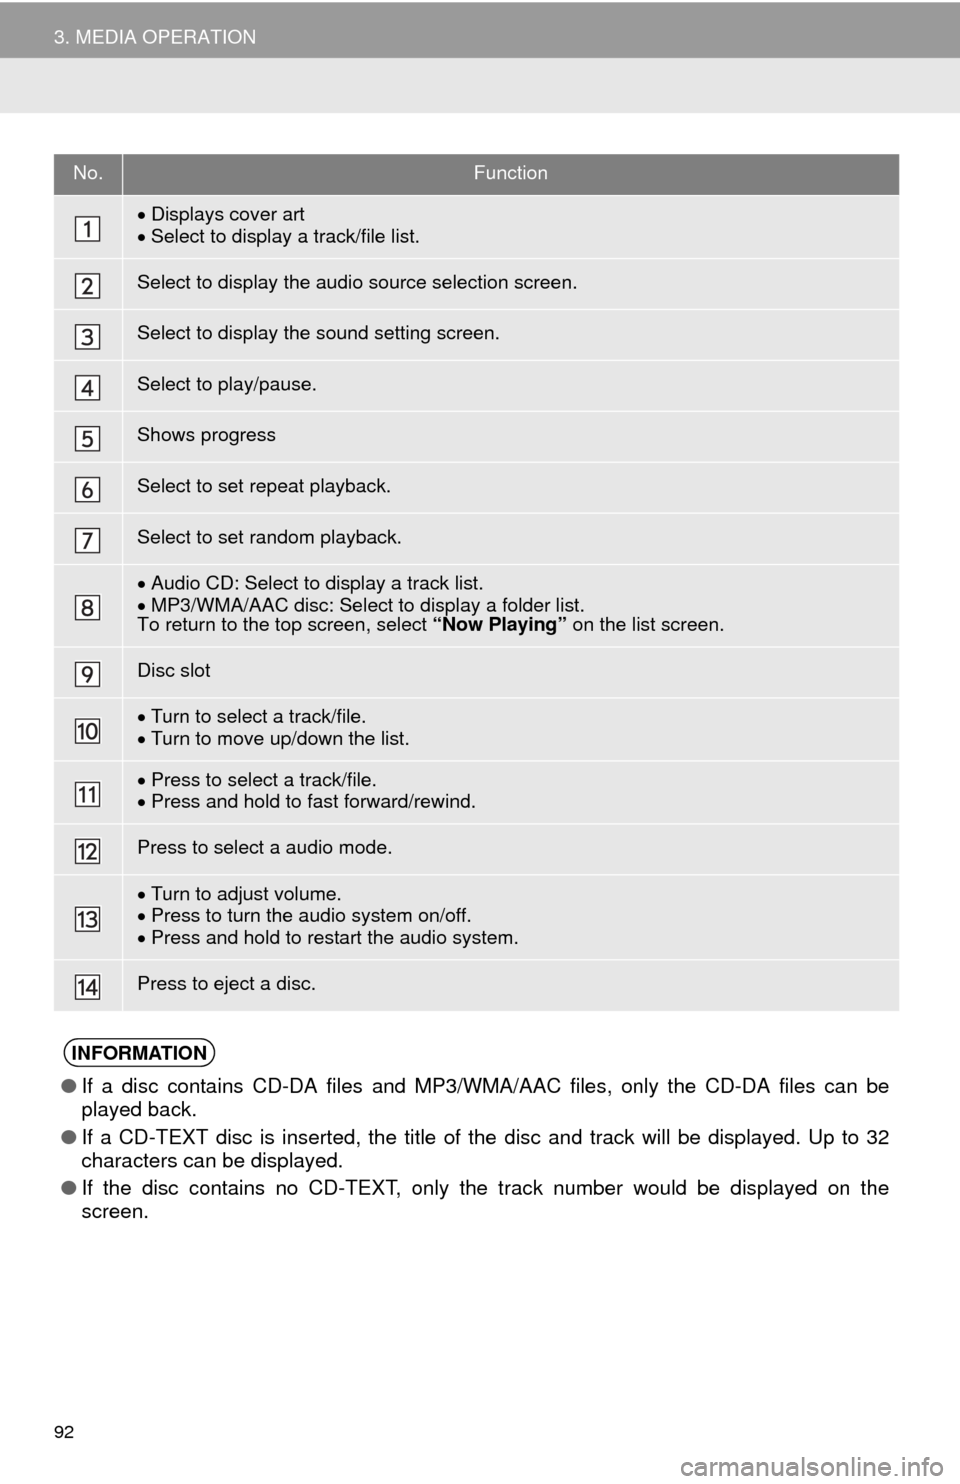
No.Function
Displays cover art
Select to display a track/file list.
Select to display the audio source selection screen.
Select to display the sound setting screen.
Select to play/pause.
Shows progress
Select to set repeat playback.
Select to set random playback.
Audio CD: Select to display a track list.
MP3/WMA/AAC disc: Select to display a folder list.
To return to the top screen, select “Now Playing” on the list screen.
Disc slot
Turn to select a track/file.
Turn to move up/down the list.
Press to select a track/file.
Press and hold to fast forward/rewind.
Press to select a audio mode.
Turn to adjust volume.
Press to turn the audio system on/off.
Press and hold to restart the audio system.
Press to eject a disc.
INFORMATION
●If a disc contains CD-DA files and MP3/WMA/AAC files, only the CD-DA files can be
played back.
●If a CD-TEXT disc is inserted, the title of the disc and track will be displayed. Up to 32
characters can be displayed.
●If the disc contains no CD-TEXT, only the track number would be displayed on the
screen.
Page 94 of 292
94
3. MEDIA OPERATION
2. USB MEMORY
■CONTROL SCREEN
■CONTROL PANEL
OVERVIEW
Select “USB” to display the audio control screen.
Page 95 of 292
95
3. MEDIA OPERATION
3
AUDIO SYSTEM
No.Function
Select to display the audio source selection screen.
Select to display the sound setting screen.
Select to play/pause.
Shows progress
Select to set repeat playback.
Select to set random playback.
Select to display the play mode selection screen.
To return to the top screen, select “Now Playing” on the list screen.
Turn to select a track/file.
Turn to move up/down the list.
Press to select a track/file.
Press and hold to fast forward/rewind.
Press to select a audio mode.
Turn to adjust volume.
Press to turn the audio system on/off.
Press and hold to restart the audio system.
Page 98 of 292
98
3. MEDIA OPERATION
3. iPod
■CONTROL SCREEN
OVERVIEW
Select “iPod” to display the audio control screen.
When the iPod connected to the system includes iPod video, the system can only
output the sound by selecting the browse screen. (P.102)