Page 338 of 620

338 3-2. Using the audio system
Select to delete contacts from
the contact list.* (P. 342)
Select to reset all setup
items.*
*: For PBAP compatible Bluetooth®
phones only, this function is avail-
able when “Automatic Contact/
History Transfer” is set to off.
( P. 337)
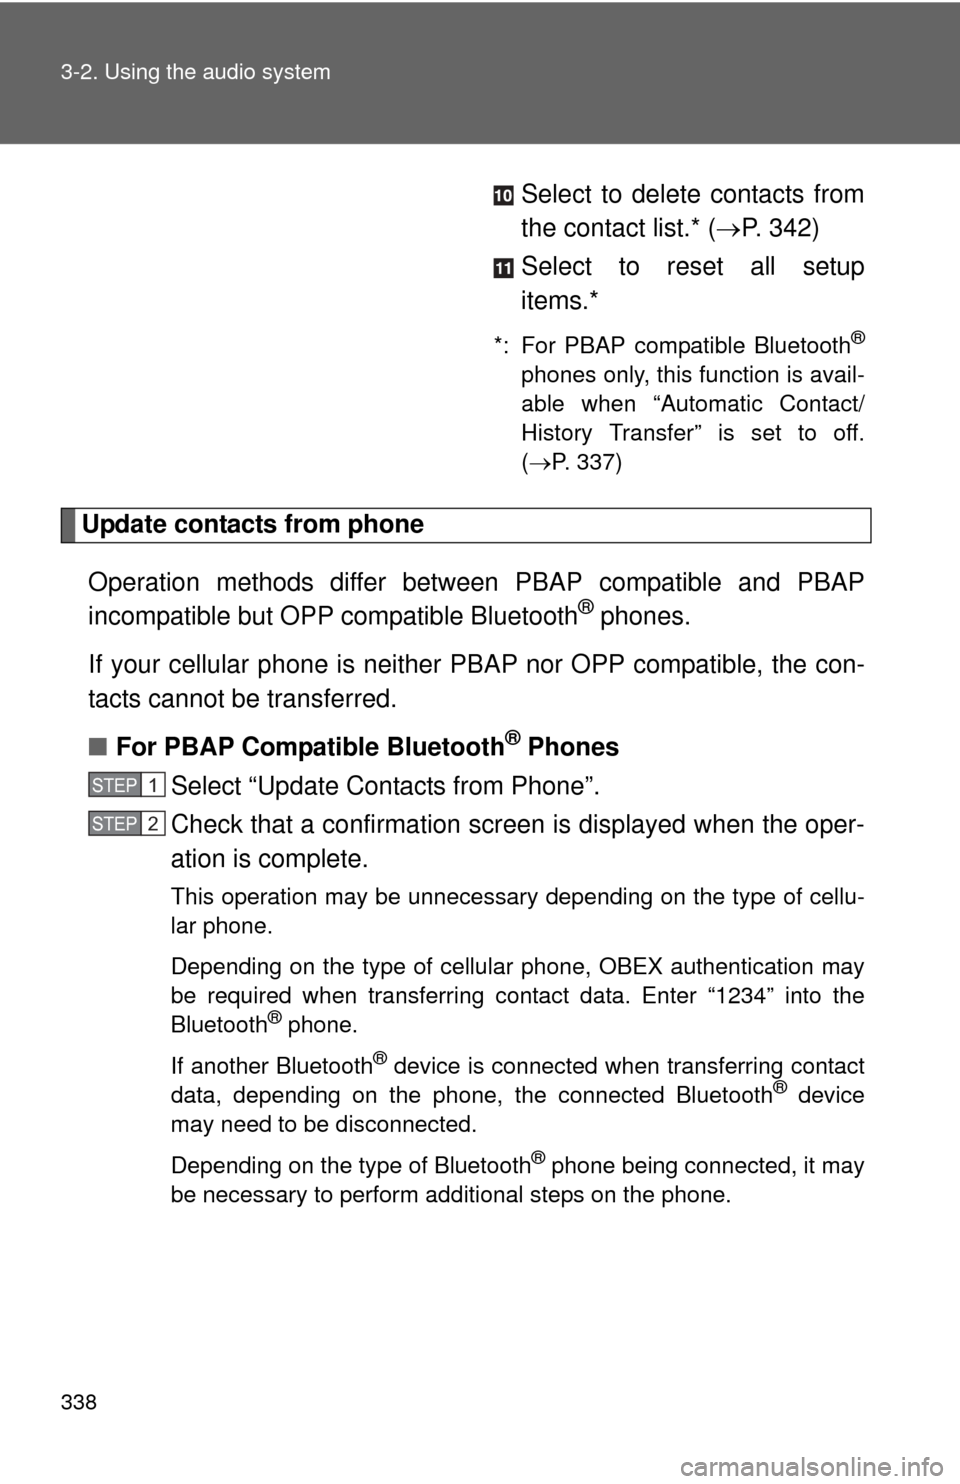
Update contacts from phone
Operation methods differ between PBAP compatible and PBAP
incompatible but OPP compatible Bluetooth
® phones.
If your cellular phone is neither PBAP nor OPP compatible, the con-
tacts cannot be transferred.
■ For PBAP Compatible Bluetooth
® Phones
Select “Update Contacts from Phone”.
Check that a confirmation screen is displayed when the oper-
ation is complete.
This operation may be unnecessary depending on the type of cellu-
lar phone.
Depending on the type of cellular phone, OBEX authentication may
be required when transferring contact data. Enter “1234” into the
Bluetooth
® phone.
If another Bluetooth
® device is connected when transferring contact
data, depending on the phone, the connected Bluetooth® device
may need to be disconnected.
Depending on the type of Bluetooth
® phone being connected, it may
be necessary to perform additional steps on the phone.
STEP1
STEP2
Page 339 of 620

339
3-2. Using the audio system
3
Interior features
■
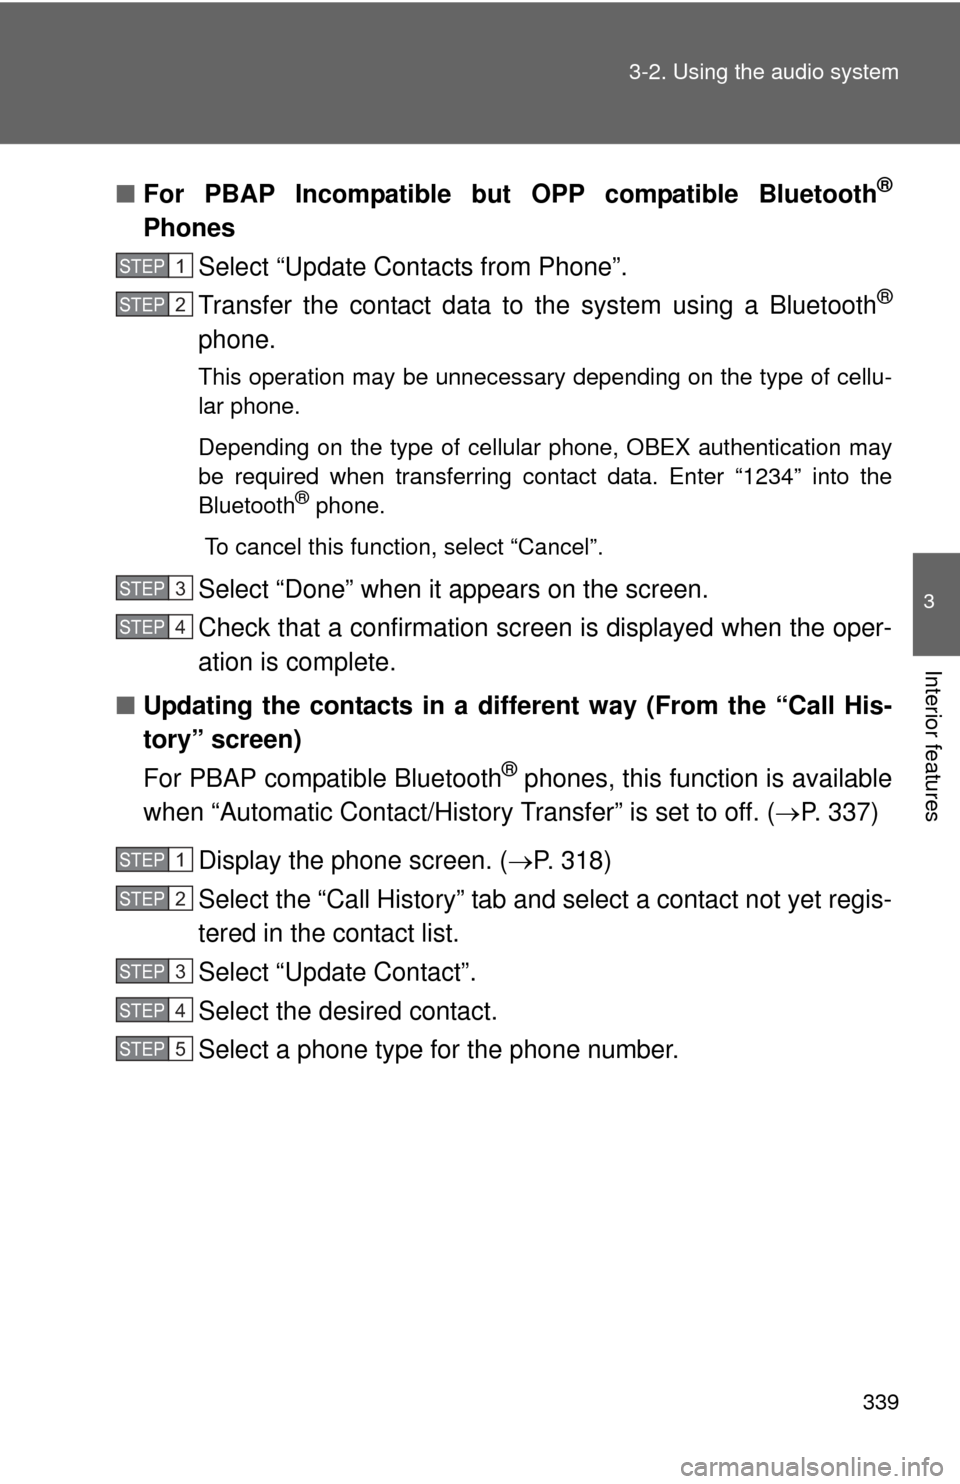
For PBAP Incompatible but OPP compatible Bluetooth®
Phones
Select “Update Contacts from Phone”.
Transfer the contact data to the system using a Bluetooth
®
phone.
This operation may be unnecessary depending on the type of cellu-
lar phone.
Depending on the type of cellular phone, OBEX authentication may
be required when transferring contact data. Enter “1234” into the
Bluetooth
® phone.
To cancel this function, select “Cancel”.
Select “Done” when it appears on the screen.
Check that a confirmation screen is displayed when the oper-
ation is complete.
■ Updating the contacts in a different way (From the “Call His-
tory” screen)
For PBAP compatible Bluetooth
® phones, this function is available
when “Automatic Contact/History Transfer” is set to off. ( P. 337)
Display the phone screen. ( P. 318)
Select the “Call History” tab and select a contact not yet regis-
tered in the contact list.
Select “Update Contact”.
Select the desired contact.
Select a phone type for the phone number.
STEP1
STEP2
STEP3
STEP4
STEP1
STEP2
STEP3
STEP4
STEP5
Page 340 of 620
340 3-2. Using the audio system
Registering a new contact to the contact listNew contact data can be registered. Up to 4 numbers per person can
be registered. For PBAP compatible Bluetooth
® phones, this function
is available when “Automatic Cont act/History Transfer” is set to off.
( P. 337)
Select “New Contact”.
Enter the name and select “OK”.
Enter the phone number and select “OK”.
Select the phone type for the phone number.
To add another number to this contact, select “Yes”.
■ Registering a new contact in a different way (From the “Call
History” screen)
Display the phone screen. ( P. 318)
Select the “Call History” tab and select a contact not yet regis-
tered in the contact list.
Select “Add to Contacts”.
Follow the steps in “Registering a new contact to the contact
list” from “STEP 3”. ( P. 340)
STEP1
STEP2
STEP3
STEP4
STEP5
STEP1
STEP2
STEP3
STEP4
Page 341 of 620
341
3-2. Using the audio system
3
Interior features
Editing the contact data
For PBAP compatible Bluetooth
® phones, this function is available
when “Automatic Contact/History Transfer” is set to off. ( P. 337)
Select “Edit Contact”.
Select the desired contact.
Select corresponding to the desired name or number.
Follow the steps in “Registering a new contact to the contact
list” from “STEP 4”. ( P. 340)
■ Editing the contacts in a different way (From the “Contact
Details” screen)
Display the phone screen. ( P. 318)
Select the “Contacts”, “Call Hist ory” tab or the “Favorites” tab
and select the desired contact.
Select “Edit Contact”.
“E-mail Addresses”: Select to di splay all registered e-mail addresses
for the contact.
Follow the steps in “Registering a new contact to the contact
list” from “STEP 4”. ( P. 340)
STEP1
STEP2
STEP3
STEP4
STEP1
STEP2
STEP3
STEP4
Page 342 of 620

342 3-2. Using the audio system
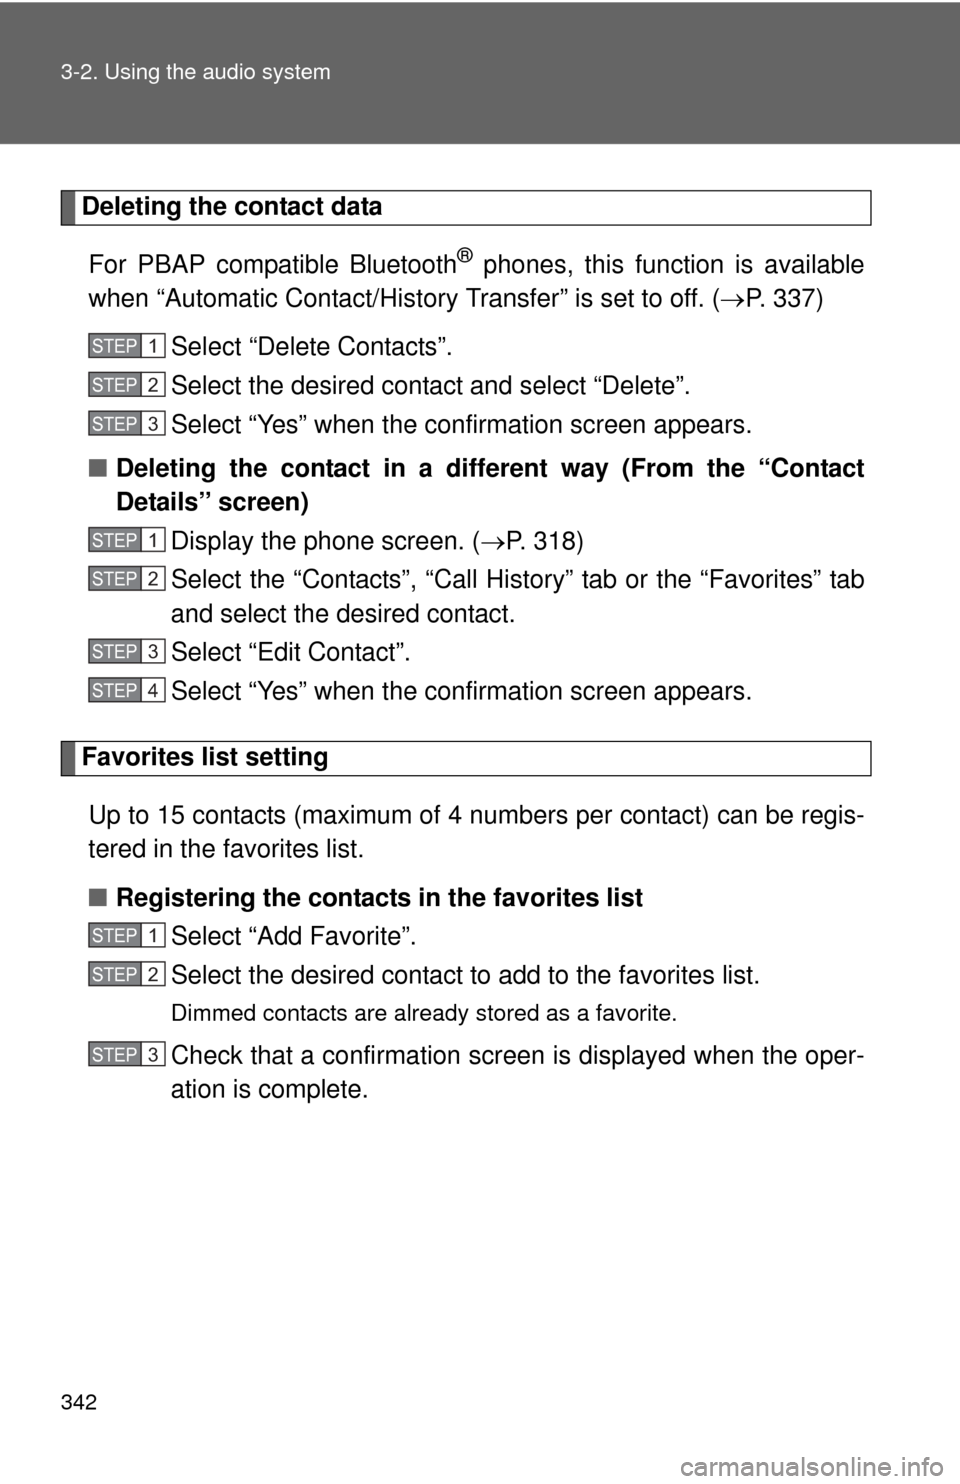
Deleting the contact dataFor PBAP compatible Bluetooth
® phones, this function is available
when “Automatic Contact/History Transfer” is set to off. ( P. 337)
Select “Delete Contacts”.
Select the desired contact and select “Delete”.
Select “Yes” when the confirmation screen appears.
■ Deleting the contact in a different way (From the “Contact
Details” screen)
Display the phone screen. ( P. 318)
Select the “Contacts”, “Call History” tab or the “Favorites” tab
and select the desired contact.
Select “Edit Contact”.
Select “Yes” when the confirmation screen appears.
Favorites list setting
Up to 15 contacts (maximum of 4 numbers per contact) can be regis-
tered in the favorites list.
■ Registering the contacts in the favorites list
Select “Add Favorite”.
Select the desired contact to add to the favorites list.
Dimmed contacts are already stored as a favorite.
Check that a confirmation screen is displayed when the oper-
ation is complete.
STEP1
STEP2
STEP3
STEP1
STEP2
STEP3
STEP4
STEP1
STEP2
STEP3
Page 345 of 620
345
3-2. Using the audio system
3
Interior features
Message settings
Display the “Phone/Message Settings” screen. ( P. 335)
Select “Messaging Settings”.
Select the desired item to be set.
Set automatic message trans-
fer on/off.
Set automatic message read-
out on/off.
Set the SMS/MMS notification
popup on/off.
Set the e-mail notification
popup on/off.
Set adding the vehicle signa-
ture to outgoing messages on/
off.
Set updating message read
status on phone on/off.
Change the incoming SMS/
MMS display.
“Full Screen”: When an SMS/
MMS message is received, the
incoming SMS/MMS display
screen is displayed and can be
operated on the screen.
“Drop-Down”: When an SMS/
MMS message is received, a
message is displayed on the
upper side of the screen.
STEP1
STEP2
STEP3
Page 347 of 620
347
3-2. Using the audio system
3
Interior features
Phone display settings
Display the “Phone/Message Settings” screen. ( P. 335)
Select “Phone Display Settings”.
Select the desired item to be set.
Change the incoming call dis-
play.
“Full Screen”: When a call is
received, the hands-free screen
is displayed and can be operated
on the screen.
“Drop-Down”: A message is dis-
played on the upper side of the
screen.
Set display of the contact/his-
tory transfer completion mes-
sage on/off.
STEP1
STEP2
STEP3
Page 350 of 620

350 3-2. Using the audio system
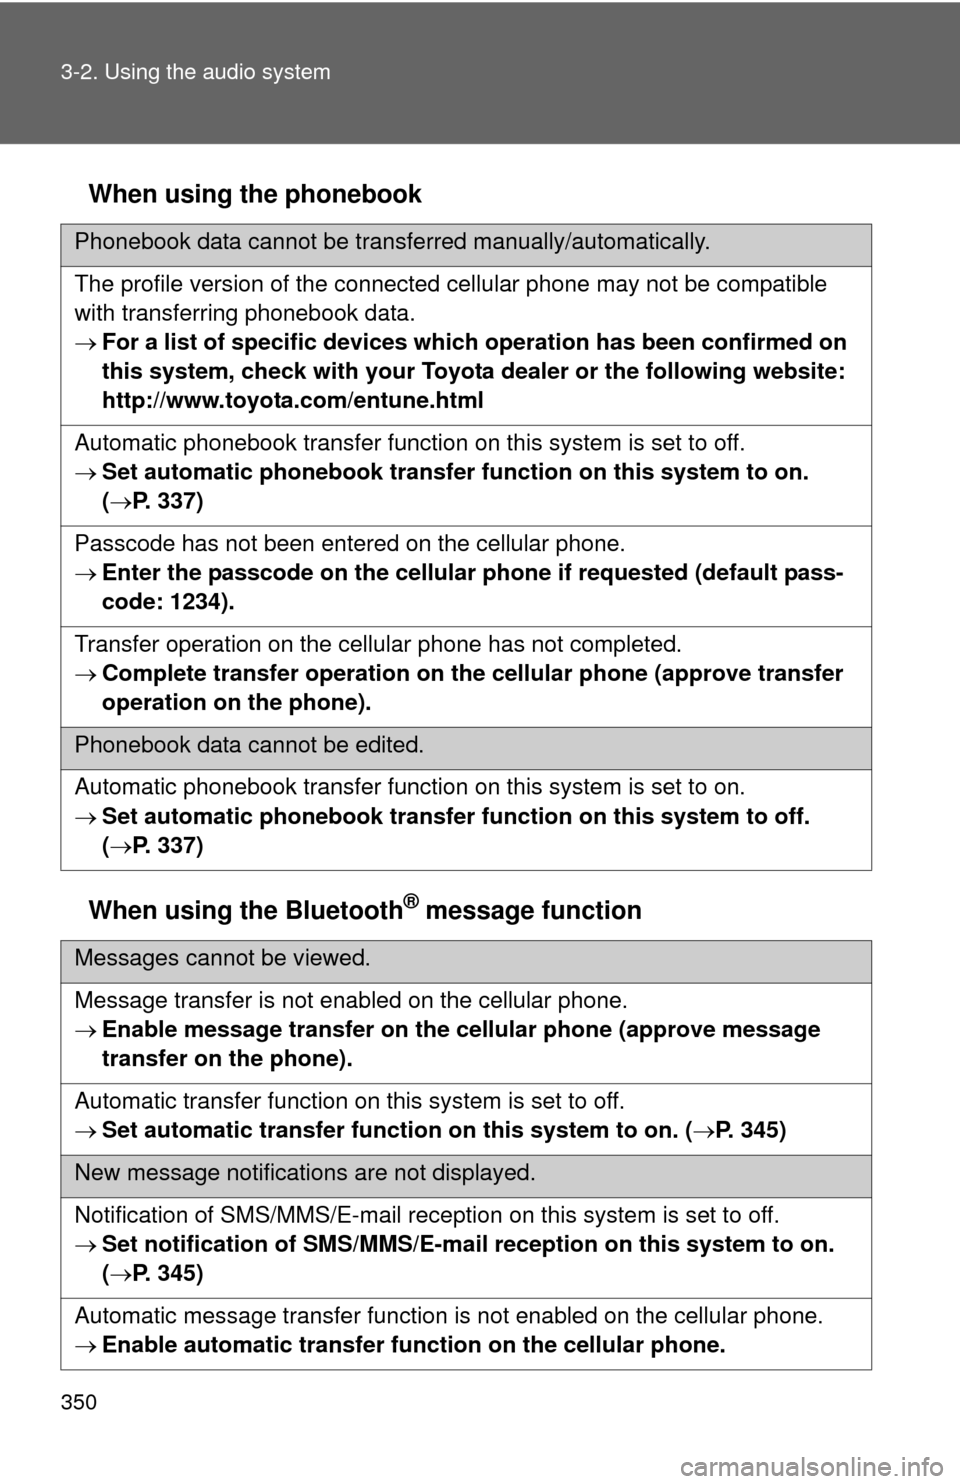
When using the phonebook
When using the Bluetooth
® message function
Phonebook data cannot be transferred manually/automatically.
The profile version of the connected cellular phone may not be compatible
with transferring phonebook data.
For a list of specific devices which operation has been confirmed on
this system, check with your Toyota d ealer or the following website:
http://www.toyota.com/entune.html
Automatic phonebook transfer function on this system is set to off.
Set automatic phon ebook transfer function on this system to on.
( P. 337)
Passcode has not been entered on the cellular phone.
Enter the passcode on the cellular p hone if requested (default pass-
code: 1234).
Transfer operation on the cellular phone has not completed.
Complete transfer oper ation on the cellular phone (approve transfer
operation on the phone).
Phonebook data cannot be edited.
Automatic phonebook transfer function on this system is set to on.
Set automatic phon ebook transfer function on this system to off.
( P. 337)
Messages cannot be viewed.
Message transfer is not enabled on the cellular phone.
Enable message transfer on th e cellular phone (approve message
transfer on the phone).
Automatic transfer function on this system is set to off.
Set automatic transfer functi on on this system to on. (P. 345)
New message notifications are not displayed.
Notification of SMS/MMS/E-mail reception on this system is set to off.
Set notification of SMS/MMS/E-mail reception on this system to on.
( P. 345)
Automatic message transfer function is not enabled on the cellular phone.
Enable automatic transfer fu nction on the cellular phone.