Page 91 of 620
91
1
Before driving
1-5. Refueling
Opening the fuel tank cap
Perform the following steps to open the fuel tank cap:
■Before refueling the vehicle
Vehicles without a smart key system
Turn the engine switch off and ensure that all the doors and win-
dows are closed.
Vehicles with a smart key system
Turn the “ENGINE START STOP” switch off and ensure that all
the doors and windows are closed.
■ Opening the fuel tank cap
Pull up the opener to open the
fuel filler door.
Turn the fuel tank cap slowly
to open.
STEP1
STEP2
Page 92 of 620
92 1-5. Refueling
Closing the fuel tank capAfter refueling, turn the fuel tank
cap until you hear a click. Once
the cap is released, it will turn
slightly in the opposite direction.
Hang the fuel tank cap on the
back of the fuel filler door.STEP3
Page 93 of 620
93
1-5. Refueling
1
Before driving
■
Fuel types
Use unleaded gasoline. (Octane rating 87 [Research Octane Number 91] or
higher)
■ Fuel tank capacity
Approximately 17.0 gal. (64.35 L, 14.2 Imp. gal.)
Page 94 of 620

94 1-5. Refueling
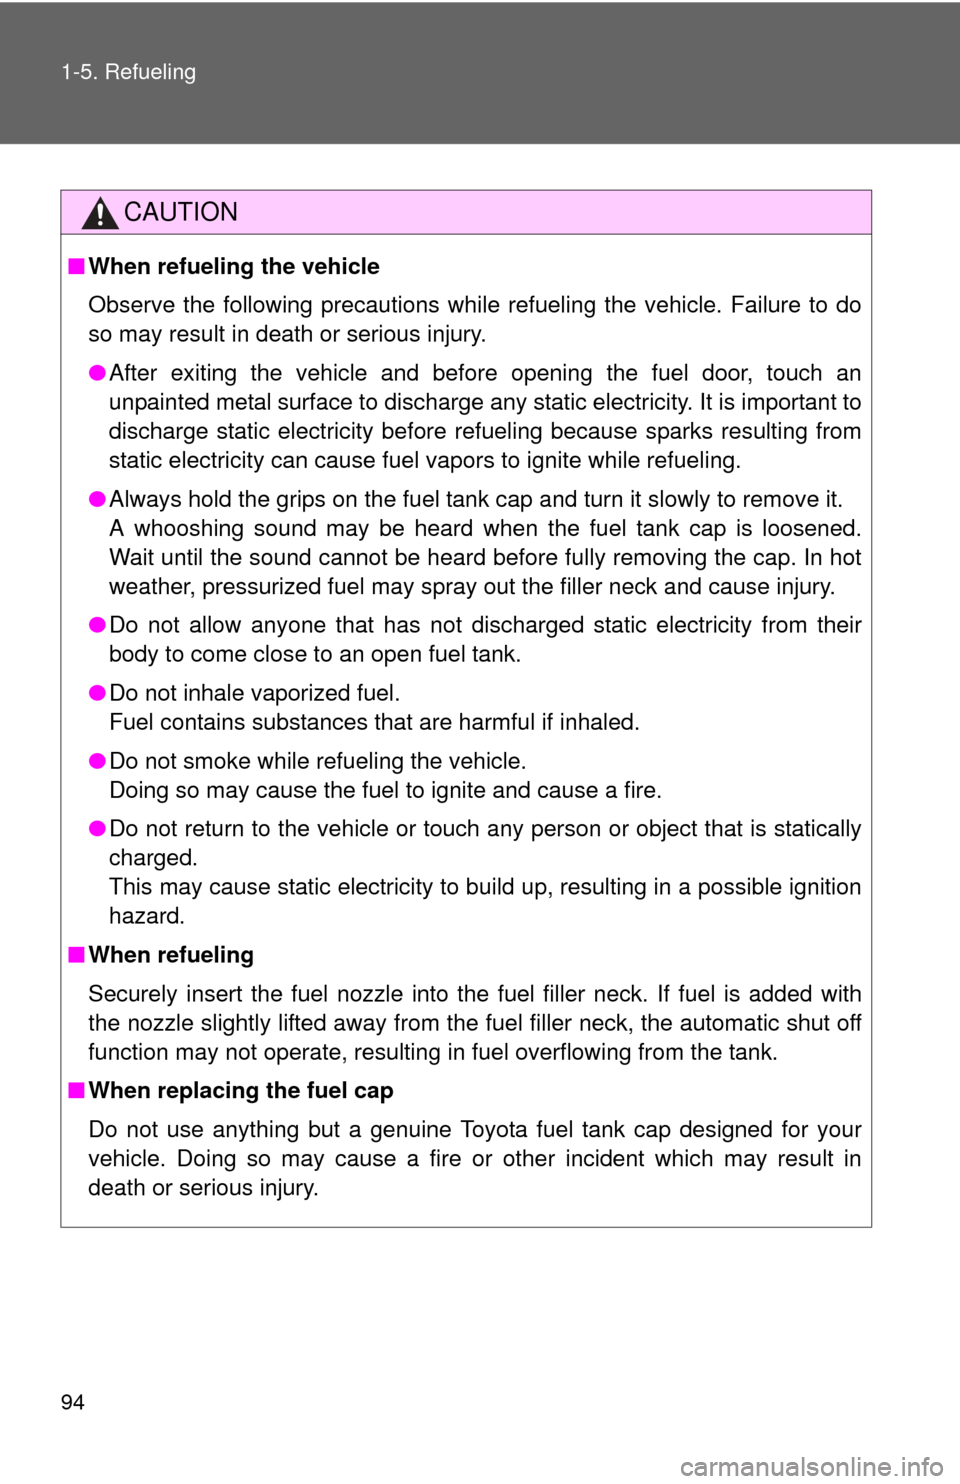
CAUTION
■When refueling the vehicle
Observe the following precautions while refueling the vehicle. Failure to do
so may result in death or serious injury.
●After exiting the vehicle and before opening the fuel door, touch an
unpainted metal surface to discharge any static electricity. It is important to
discharge static electricity before refueling because sparks resulting from
static electricity can cause fuel vapors to ignite while refueling.
● Always hold the grips on the fuel tank cap and turn it slowly to remove it.
A whooshing sound may be heard when the fuel tank cap is loosened.
Wait until the sound cannot be heard before fully removing the cap. In hot
weather, pressurized fuel may spray out the filler neck and cause injury.
● Do not allow anyone that has not discharged static electricity from their
body to come close to an open fuel tank.
● Do not inhale vaporized fuel.
Fuel contains substances that are harmful if inhaled.
● Do not smoke while refueling the vehicle.
Doing so may cause the fuel to ignite and cause a fire.
● Do not return to the vehicle or touch any person or object that is statically
charged.
This may cause static electricity to build up, resulting in a possible ignition
hazard.
■ When refueling
Securely insert the fuel nozzle into the fuel filler neck. If fuel is added with
the nozzle slightly lifted away from the fuel filler neck, the automatic shut off
function may not operate, resulting in fuel overflowing from the tank.
■ When replacing the fuel cap
Do not use anything but a genuine Toyota fuel tank cap designed for your
vehicle. Doing so may cause a fire or other incident which may result in
death or serious injury.
Page 95 of 620
95
1-5. Refueling
1
Before driving
NOTICE
■
Refueling
Do not spill fuel during refueling.
Doing so may damage the vehicle, such as causing the exhaust systems to
operate abnormally or damaging fuel system components or the vehicle's
painted surface.
Page 138 of 620

138 2-1. Driving procedures
■Drum-in-disc type parking brake system
Your vehicle has a drum-in-disc type parking brake system. This type of
brake system needs bedding-down of the brake shoes periodically or when-
ever the parking brake shoes and/or drum are replaced. Have your Toyota
dealer perform the bedding down operation.
■ Operating your vehicle in a foreign country
Comply with the relevant vehicle registration laws and confirm the availability
of the correct fuel. ( P. 555)
■ Eco-friendly driving
During Eco-friendly acceleration (Eco
driving), Eco Driving Indicator Light will
turn on. If the acceleration exceeds the
Zone of Eco driving, and when the vehicle
is stopped, the light turns off.
Eco Driving Indicator Light will not oper-
ate in the following conditions:
●The shift lever is in anything other than
D.
● The paddle shift switch is used. (If
equipped)
● The vehicle speed is approximately 80
mph (130 km/h) or higher.
Eco Driving Indicator Light can be acti-
vated or deactivated. ( P. 182)
Page 158 of 620
158 2-1. Driving procedures
Changing shift ranges in S modeWhen the shift lever is in the S position, the shift lever can be oper-
ated as follows:
Ty p e A Upshifting
Downshifting
■Shift position purpose
*1: To improve fuel efficiency and reduce noises, set the shift lever in the
D position for normal driving.
*2: Selecting shift ranges using S mode restricts the upper limit of thepossible gear ranges, controls engine braking force, and prevents
unnecessary upshifting.
Shift positionFunction
PParking the vehicle/starting the engine
RReversing
NNeutral
DNormal driving*1
SS mode driving*2 (P. 158)
Page 162 of 620
162 2-1. Driving procedures
■Shift position purpose
*1: To improve fuel efficiency and reduce noises, set the shift lever in the
D position for normal driving.
*2: Selecting shift ranges using S mode restricts the upper limit of thepossible gear ranges, controls engine braking force, and prevents
unnecessary upshifting.
Shift positionFunction
PParking the vehicle/starting the engine
RReversing
NNeutral
DNormal driving*1
SS mode driving*2 (P. 164)