Page 379 of 612
379
3-5. Other interior features
3
Interior features
Outside temperature display
■The outside temperatur e is displayed when
The “POWER” switch is in ON mode.
■ Display
In the following situations, the correct outside temperature may not be dis-
played, or the display may take longer than normal to change:
●When the vehicle is stopped, or moving at low speeds (less than 16 mph
[25 km/h])
● When the outside temperature has changed suddenly (at the entrance/
exit of a garage, tunnel, etc.)
■ When “E” is displayed
The system may be malfunctioning. Take your vehicle to your Toyota dealer.
The temperature display shows te mperatures within the range of
-40°F (-40°C) and 122°F (50°C).
Page 382 of 612
382 3-5. Other interior features
■The power outlet can be used when
The “POWER” switch is in ACCESSORY or ON mode.
NOTICE
■To avoid damaging the power outlet
Close the power outlet lid when the power outlet is not in use.
Foreign objects or liquids that enter the power outlet may cause a short cir-
cuit.
■ To prevent blown fuse
Do not use an accessory that uses more than 12 V 10 A.
■ To prevent 12-volt battery discharge
Do not use the power outlet longer than necessary when the hybrid system
is off.
Center consol e (if equipped)
Page 384 of 612
384 3-5. Other interior features
CAUTION
■Burns
●Use caution when seating the following persons in a seat with the seat
heater on to avoid the possibility of burns:
• Babies, small children, the elderly, the sick and the physically chal-
lenged
• Persons with sensitive skin
• Persons who are fatigued
• Persons who have taken alcohol or drugs that induce sleep (sleeping drugs, cold remedies, etc.)
● Do not cover the seat with anything when using the seat heater.
Using the seat heater with a blanket or cushion increases the temperature
of the seat and may lead to overheating.
● Do not use the seat heater more than necessary. Doing so may cause
minor burns or overheating.
NOTICE
■To prevent seat heater damage
Do not put heavy objects that have an uneven surface on the seat and do
not stick sharp objects (needles, nails, etc.) into the seat.
■ To prevent 12-volt battery discharge
Turn the seat heaters off when the hybrid system is off.
Page 389 of 612

389
3-5. Other interior features
3
Interior features
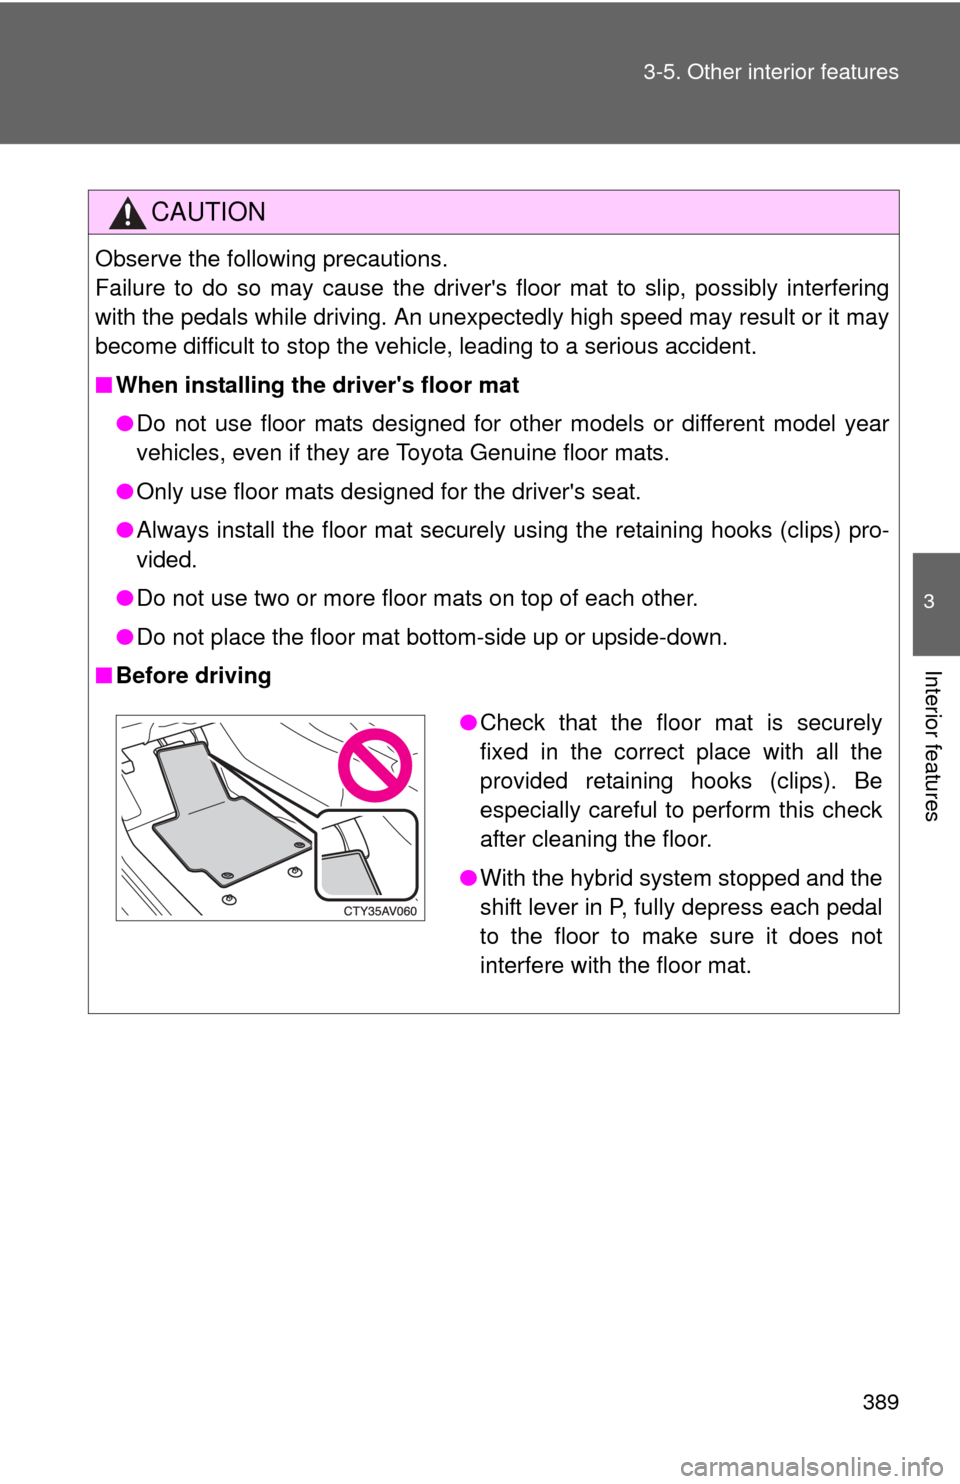
CAUTION
Observe the following precautions.
Failure to do so may cause the driver's floor mat to slip, possibly interfering
with the pedals while driving. An unexpectedly high speed may result or it may
become difficult to stop the vehicle, leading to a serious accident.
■
When installing the driver's floor mat
●Do not use floor mats designed for other models or different model year
vehicles, even if they are Toyota Genuine floor mats.
● Only use floor mats designed for the driver's seat.
● Always install the floor mat securely using the retaining hooks (clips) pro-
vided.
● Do not use two or more floor mats on top of each other.
● Do not place the floor mat bottom-side up or upside-down.
■ Before driving
●Check that the floor mat is securely
fixed in the correct place with all the
provided retaining hooks (clips). Be
especially careful to perform this check
after cleaning the floor.
● With the hybrid system stopped and the
shift lever in P, fully depress each pedal
to the floor to make sure it does not
interfere with the floor mat.
Page 391 of 612
391
3-5. Other interior features
3
Interior features
Garage door opener
The garage door opener (HomeLink Universal Transceiver) is manufac-
tured under license from HomeLink.
Programming HomeLink (for U.S. owners)
The HomeLink
compatible transceiver in your vehicle has 3 buttons
which can be programmed to operate 3 different devices. Refer to the
programming method below appropriate for the device.
Buttons
Indicator
The garage door opener can be programmed to operate garage
doors, gates, entry doors, door locks, home lighting systems, secu-
rity systems, and other devices.
: If equipped
Page 393 of 612

393
3-5. Other interior features
3
Interior features
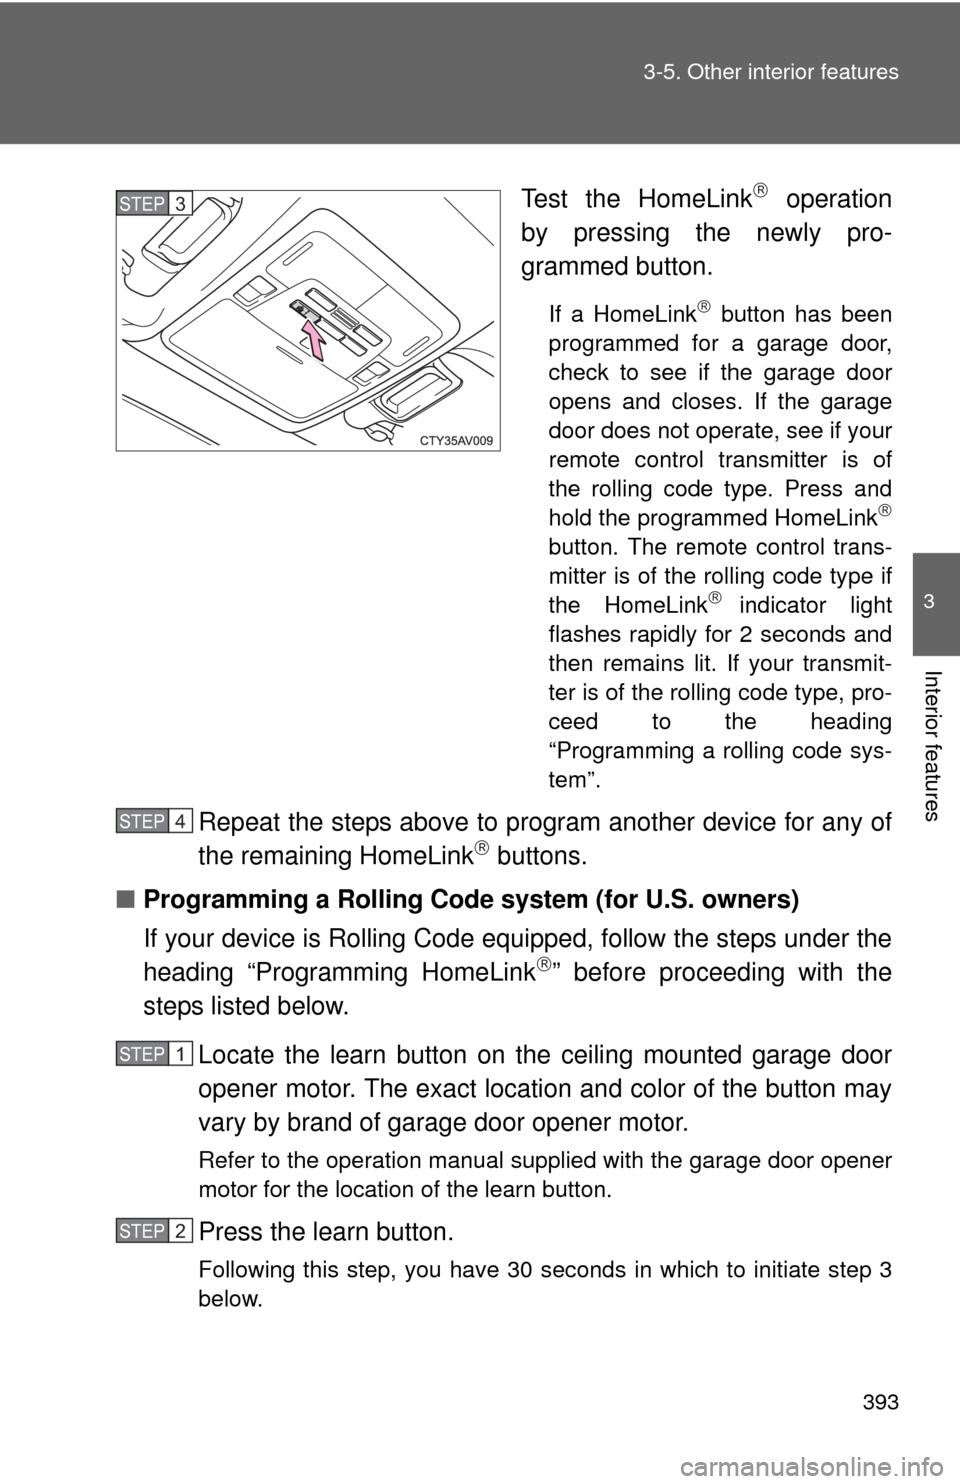
Test the HomeLink operation
by pressing the newly pro-
grammed button.
If a HomeLink button has been
programmed for a garage door,
check to see if the garage door
opens and closes. If the garage
door does not operate, see if your
remote control transmitter is of
the rolling code type. Press and
hold the programmed HomeLink
button. The remote control trans-
mitter is of the rolling code type if
the HomeLink
indicator light
flashes rapidly for 2 seconds and
then remains lit. If your transmit-
ter is of the rolling code type, pro-
ceed to the heading
“Programming a rolling code sys-
tem”.
Repeat the steps above to program another device for any of
the remaining HomeLink buttons.
■ Programming a Rolling Code system (for U.S. owners)
If your device is Rolling Code equipped, follow the steps under the
heading “Programming HomeLink
” before proceeding with the
steps listed below.
Locate the learn button on t he ceiling mounted garage door
opener motor. The exact location and color of the button may
vary by brand of garage door opener motor.
Refer to the operation manual supplied with the garage door opener
motor for the location of the learn button.
Press the learn button.
Following this step, you have 30 seconds in which to initiate step 3
below.
STEP3
STEP4
STEP1
STEP2
Page 394 of 612

394 3-5. Other interior features
Press and hold the vehicle’s programmed HomeLink button
for 2 seconds and then releas e it. Repeat this step once
again. The garage door may open.
If the garage door opens, the programming process is complete. If
the door does not open, press and release the button a third time.
This third press and release will complete the programming process
by opening the garage door.
The ceiling mounted garage door opener motor should now recog-
nize the HomeLink
signal and operate the garage door.
Repeat the steps above to prog ram another rolling code sys-
tem for any of the remaining HomeLink buttons.
■ Programming an entry gate (for U.S. owners)/Programming a
device in the Canadian market
Place the remote control transmitter 1 to 3 in. (25 to 75 mm)
away from the HomeLink
buttons.
Keep the HomeLink indicator light in view while programming.
Press and hold the selected HomeLink button.
Repeatedly press and release (cycle) the remote control
transmitter for 2 seconds each until step 4 is completed.
When the HomeLink
indicator light starts to flash rapidly,
release the buttons.
Test the HomeLink
operation by pressing the newly pro-
grammed button. Check to see if the gate/device operates
correctly.
Repeat the steps above to program another device for any of
the remaining HomeLink
buttons.
■ Programming other devices
To program other devices such as home security systems, home
door locks or lighting, contact y our Toyota dealer for assistance.
■ Reprogramming a button
The individual HomeLink
buttons cannot be erased but can be
reprogrammed. To reprogram a button, follow the “Reprogramming
a HomeLink
button” instructions.
STEP3
STEP4
STEP1
STEP2
STEP3
STEP4
STEP5
STEP6
Page 401 of 612
401
3-5. Other interior features
3
Interior features
CAUTION
■
While driving the vehicle
Do not adjust the display. Adjust the display only when the vehicle is
stopped.
■ When doing the circling calibration
Secure a wide space, and watch out for people and vehicles in the vicinity.
Do not violate any local traffic rules while performing circling calibration.
NOTICE
■To avoid compass malfunctions
Do not place magnets or any metal objects near the inside rear view mirror.
Doing this may cause the compass sensor to malfunction.
■ To ensure normal operation of the compass
●Do not perform a circling calibration of the compass in a place where the
earth's magnetic field is subject to interference by artificial magnetic fields.
● During calibration, do not operate electric systems (moon roof, power win-
dows, etc.) as they may interfere with the calibration.