2014 SUBARU IMPREZA WRX buttons
[x] Cancel search: buttonsPage 183 of 414
AudioDisplay selection ................................................ 5-30
Folder selection (only when connecting USB storage device) ................................................ 5-30
When “CHECK DEVICE ”is displayed .................. 5-30
Audio control buttons ........................................ 5-31
MODE button ..................................................... 5-31
“
” and “”buttons ......................................... 5-31
Volume control buttons ...................................... 5-32
MUTE button (models without Hands-free system) ............................................................ 5-33 Bluetooth
®audio (type B audio)
....................... 5-33
Media format ..................................................... 5-33
Setting Bluetooth
®audio .................................... 5-33
Bluetooth®audio operation ................................ 5-34
Hands-free system (if equipped) ...................... 5-35
Tips for the Hands-free system .......................... 5-35
Certification for the Hands-free system ............... 5-36
Safety precautions ............................................. 5-37
Using the Hands-free system ............................. 5-38
Bluetooth
®setting ............................................. 5-46
Page 193 of 414
5-12Audio/FM/AM radio operation
Type B audio:Seek up
Seek down
In the PTY selection mode, when the
desired PTY group has been selected,
pressing the “SEEK ”button “
”or “”
seeks within that PTY group.
The control function returns to the normal
mode after approximately 10 seconds.
& Displaying radio PS (Pro-
gram Service Name) and RT
(Radio Text)
Type A audio
Type B audio
If the PS (Program Service Name) and/or
RT (Radio Text) are available, pressing the “TEXT ”button changes the display
among PS, RT and frequency. The initial setting is
“PS ”.
NOTE . The maximum number of characters
that can be displayed for PS is 8. . The maximum number of characters
that can be displayed for RT is 64.. If RT is 13 characters or longer,
press and hold the “TEXT ”button in
order to change the page. & Station preset
! How to preset stations
1. Select the preferred reception mode.
2. Select the preferred station.
3. Press and hold one of the preset
buttons (from
to) to store the
frequency. If the button is pressed briefly,
the preceding selection will remain in the
memory.
NOTE . Up to six stations for each reception
mode may be preset. . If the connection between the radio
and battery is broken for any reason
such as vehicle maintenance or radio
removal, all stations stored in the
preset buttons are cleared. If this
occurs, it is necessary to reset the preset buttons..
If a cell phone is placed near the
radio, it may cause the radio to emit
noise when a phone call is received.
This noise does not indicate a radiomalfunction. ! Selecting preset stations
1. Select the preferred reception mode.
2. Press the preferred preset button (from
to) briefly.
Page 196 of 414
&Band selection
Type A audio
Type B audio
Push the “SAT ”button when the radio is
off to turn on the radio.
Push the “SAT ”button when the radio is
on to select SAT1, SAT2 or SAT3 recep- tion.
& Channel and category selec- tion
! Channel selection
Type A audio
Type B audio
Turn the “TUNE/TRACK/CH ”dial clock-
wise to select the next channel and turn the “TUNE/TRACK/CH ”dial counterclock-
wise to select the previous channel. !
Skip channel selection
When in the SAT mode, press and hold
the following buttons to change to the
channel selection mode.
Type A audio:
Channel up by 10 steps
Channel down by 10 steps
Type B audio:
Channel up by 10 steps
Channel down by 10 steps
! Category selection
Type A audio
Type B audio
To activate the category search mode,
press the “PTY/CAT ”button. To deactivate
the category search mode, press the“ PTY/CAT ”button again.
When in the category search mode, press
the following buttons to change the cate-
gory up or down.
Type A audio:
Category up by one step
Category down by
one step
Type B audio:
Category up by one step
Category down by
one step
When a category is selected, turning the “ TUNE/TRACK/CH ”dial selects channels
only within the selected category.
The control function returns to the normal
mode after approximately 10 seconds.
Audio/Satellite radio operation5-15
– CONTINUED –
Page 197 of 414
5-16Audio/CD player operation
!Channel scan
Type A audio
Type B audio
Press the “SCAN ”button briefly to change
the radio to the SCAN mode. In this mode,
under the selected category, the radio
scans through the channel until a station
is found. The radio will stop at the station
for 5 seconds while displaying the channel
number, after which scanning will continue
until the entire channel has been scanned
from the low end to the high end.
Press the “SCAN ”button again to cancel
the SCAN mode and to stop on any
displayed channel.
& Channel preset
! How to preset channels
1. Press the “SAT ”button to select SAT1,
SAT2 and SAT3 reception.
2. Select the desired channel.
3. Press and hold one of the preset
buttons (from
to) to store the
channel. If the button is pressed briefly,
the preceding selection will remain in
memory. NOTE .
Up to six SAT1, SAT2 and SAT3
channels each may be preset. . If the connection between the radio
and battery is broken for any reason
such as vehicle maintenance or radio
removal, all channels stored in the
preset buttons are cleared. If this
occurs, it is necessary to reset the
preset buttons. ! Selecting preset channels
1. Press the “SAT ”button to select SAT1,
SAT2 or SAT3 reception.
2. Press the preferred preset button
briefly. & Display selection
Type A audio
Type B audio
Press the “TEXT ”button while receiving
the satellite radio to change the display as follows.
CD player operation NOTE . Make sure to always insert a disc
with the label side up. If a disc is
inserted with the label side down, the
player displays “CHECK DISC ”. Refer
to “When the following messages are
displayed ”F 5-22.
. If a disc is inserted during a radio
broadcast, the disc will interrupt thebroadcast.. After the last song finishes, the disc
will automatically return to track 1 (the
first track on the disc) and will auto-
matically play back.. The player is designed to be able to
play music CD-Rs and music CD-RWs,
but it may not be able to play certainones.. Mini CDs (i.e., 8 cm/3 inch CDs) are
not supported, and if inserted, they will
be immediately ejected.. CDs that can be played back are
accompanied by the following restric-tions.
–Maximum number of folders: 255
– Maximum number of files in a
folder: 255 – Maximum number of files on a
CD: 510
Page 202 of 414
resumed. To cancel the scan mode, press the“SCAN ”button again.
NOTE
The scan mode will be cancelled if you
perform any of the following steps. . Press the “RPT/RDM ”button
. Turn the “TUNE/TRACK/CH ”dial
. Press the “
”or “”side of the
“ FOLDER/PTY/CAT ”button
. Press the “
”button
. Press the disc select button (type A
audio) . Select the radio or AUX mode
. Press the “LOAD ”button when
there is free space in the CD magazine
(type A audio). Press the “PTY/CAT ”button
. Turn off the power of the audio
equipment. Turn the ignition switch to the
“ LOCK ”position
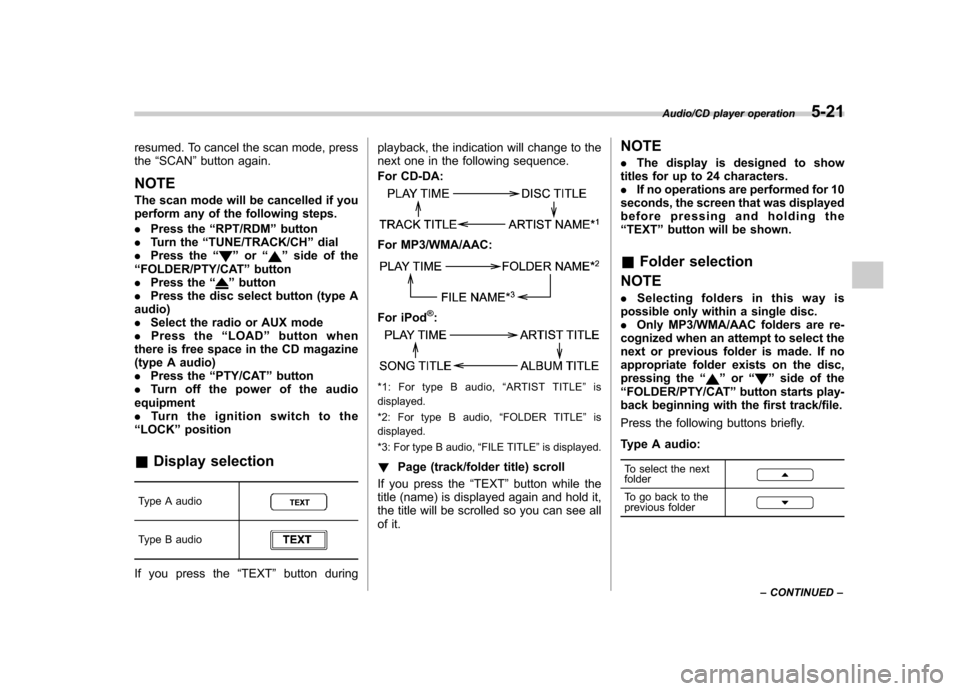
& Display selection
Type A audio
Type B audio
If you press the “TEXT ”button during playback, the indication will change to the
next one in the following sequence.
For CD-DA:
For MP3/WMA/AAC:
For iPod®:
*1: For type B audio,
“ARTIST TITLE ”is
displayed.
*2: For type B audio, “FOLDER TITLE ”is
displayed.
*3: For type B audio, “FILE TITLE ”is displayed.
! Page (track/folder title) scroll
If you press the “TEXT ”button while the
title (name) is displayed again and hold it,
the title will be scrolled so you can see all
of it. NOTE .
The display is designed to show
titles for up to 24 characters. . If no operations are performed for 10
seconds, the screen that was displayed
before pressing and holding the“ TEXT ”button will be shown.
& Folder selection
NOTE . Selecting folders in this way is
possible only within a single disc. . Only MP3/WMA/AAC folders are re-
cognized when an attempt to select the
next or previous folder is made. If no
appropriate folder exists on the disc,
pressing the “”or “”side of the
“ FOLDER/PTY/CAT ”button starts play-
back beginning with the first track/file.
Press the following buttons briefly.
Type A audio:
To select the next folder
To go back to the
previous folder
Audio/CD player operation5-21
– CONTINUED –
Page 212 of 414
Audio control buttons
These buttons are located on the spokes
of the steering wheel. They allow the
driver to control audio functions without
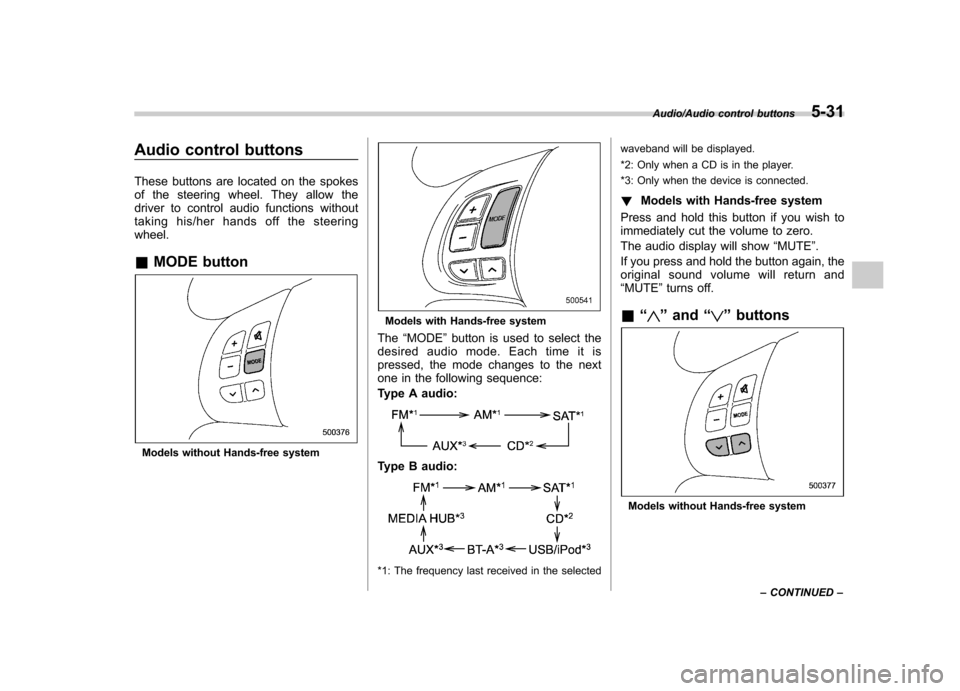
taking his/her hands off the steeringwheel. &MODE button
Models without Hands-free system
Models with Hands-free system
The “MODE ”button is used to select the
desired audio mode. Each time it is
pressed, the mode changes to the next
one in the following sequence:
Type A audio:
Type B audio:
*1: The frequency last received in the selected waveband will be displayed.
*2: Only when a CD is in the player.
*3: Only when the device is connected.
! Models with Hands-free system
Press and hold this button if you wish to
immediately cut the volume to zero.
The audio display will show “MUTE ”.
If you press and hold the button again, the
original sound volume will return and “ MUTE ”turns off.
& “
”and “”buttons
Models without Hands-free system
Audio/Audio control buttons5-31
– CONTINUED –
Page 213 of 414
5-32Audio/Audio control buttons
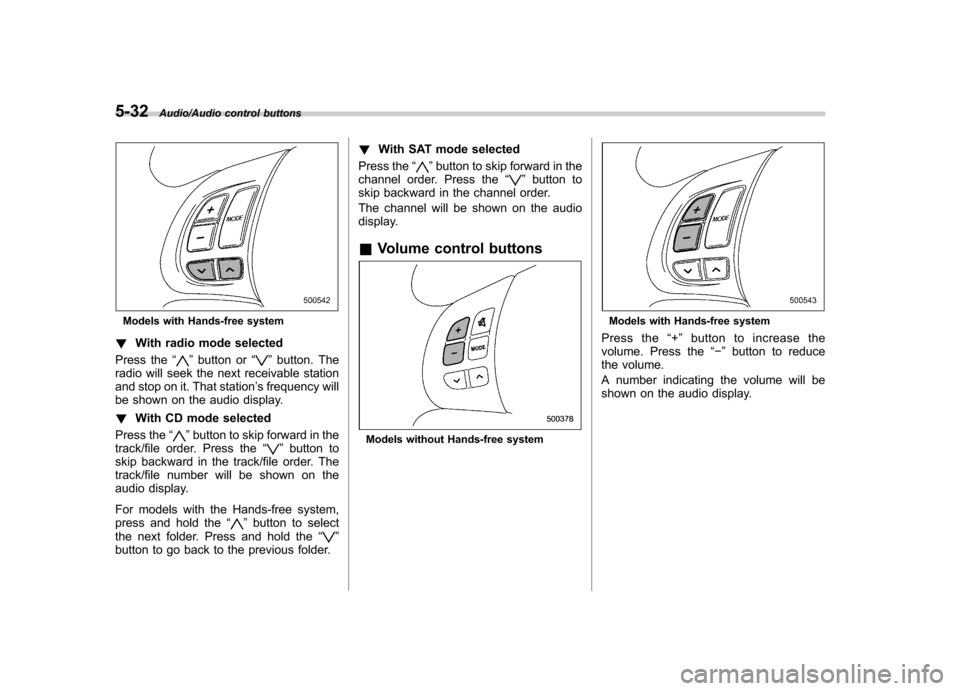
Models with Hands-free system
! With radio mode selected
Press the “
”button or “”button. The
radio will seek the next receivable station
and stop on it. That station ’s frequency will
be shown on the audio display. ! With CD mode selected
Press the “
”button to skip forward in the
track/file order. Press the “”button to
skip backward in the track/file order. The
track/file number will be shown on the
audio display.
For models with the Hands-free system,
press and hold the “
”button to select
the next folder. Press and hold the “”
button to go back to the previous folder. !
With SAT mode selected
Press the “
”button to skip forward in the
channel order. Press the “”button to
skip backward in the channel order.
The channel will be shown on the audio
display.
& Volume control buttons
Models without Hands-free system
Models with Hands-free system
Press the “+ ” button to increase the
volume. Press the “� ” button to reduce
the volume.
A number indicating the volume will be
shown on the audio display.
Page 227 of 414
5-46Audio/Hands–free system
hold the ON hook switch.
! Ending a call
Press the ON hook switch
.
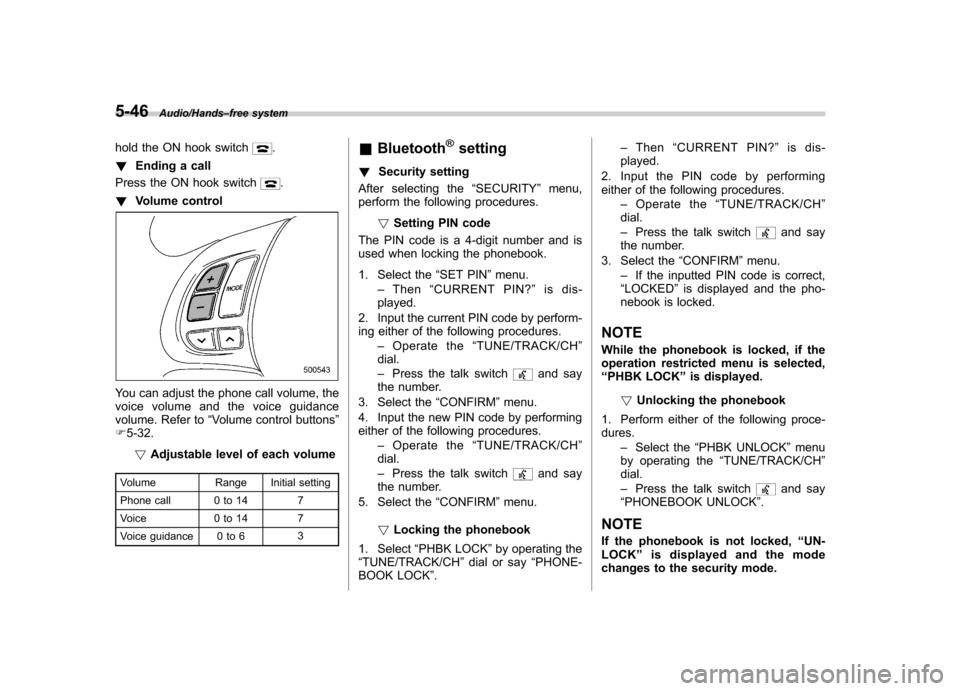
! Volume control
You can adjust the phone call volume, the
voice volume and the voice guidance
volume. Refer to “Volume control buttons ”
F 5-32.
! Adjustable level of each volume
Volume Range Initial setting
Phone call 0 to 14 7
Voice 0 to 14 7
Voice guidance 0 to 6 3&
Bluetooth
®setting
! Security setting
After selecting the “SECURITY ”menu,
perform the following procedures.
!Setting PIN code
The PIN code is a 4-digit number and is
used when locking the phonebook.
1. Select the “SET PIN ”menu.
– Then “CURRENT PIN? ”is dis-
played.
2. Input the current PIN code by perform-
ing either of the following procedures. –Operate the “TUNE/TRACK/CH ”
dial. – Press the talk switch
and say
the number.
3. Select the “CONFIRM ”menu.
4. Input the new PIN code by performing
either of the following procedures. –Operate the “TUNE/TRACK/CH ”
dial. – Press the talk switch
and say
the number.
5. Select the “CONFIRM ”menu.
! Locking the phonebook
1. Select “PHBK LOCK ”by operating the
“ TUNE/TRACK/CH ”dial or say “PHONE-
BOOK LOCK ”. –
Then “CURRENT PIN? ”is dis-
played.
2. Input the PIN code by performing
either of the following procedures. –Operate the “TUNE/TRACK/CH ”
dial. – Press the talk switch
and say
the number.
3. Select the “CONFIRM ”menu.
– If the inputted PIN code is correct,
“ LOCKED ”is displayed and the pho-
nebook is locked.
NOTE
While the phonebook is locked, if the
operation restricted menu is selected,“ PHBK LOCK ”is displayed.
! Unlocking the phonebook
1. Perform either of the following proce-dures. –Select the “PHBK UNLOCK ”menu
by operating the “TUNE/TRACK/CH ”
dial. – Press the talk switch
and say
“ PHONEBOOK UNLOCK ”.
NOTE
If the phonebook is not locked, “UN-
LOCK ”is displayed and the mode
changes to the security mode.