Page 18 of 106
92 Navigation
Read First
■Items displayed during route navigation
The route is displayed using the following methods.
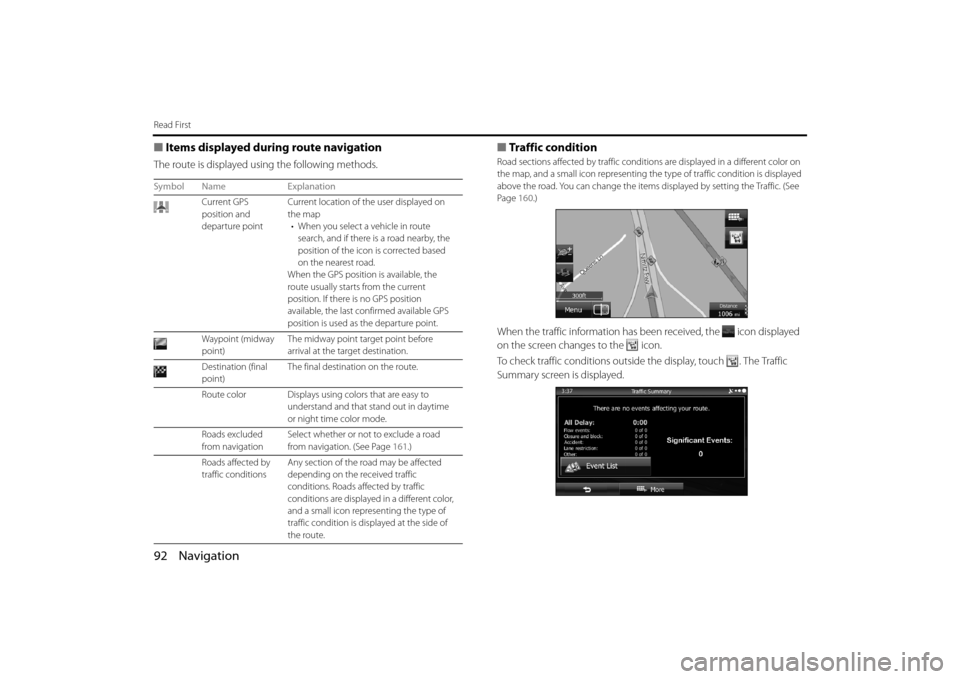
■Traffic condition
Road sections affected by traffic conditions are displa yed in a different color on
the map, and a small icon re presenting the type of traffic condition is displayed
above the road. You can change the items displayed by setting the Traffic. (See
Page 160.)
When the traffic information has be en received, the icon displayed
on the screen changes to the icon.
To check traffic conditions outside the display, touch . The Traffic
Summary screen is displayed.
Symbol Name Explanation
Current GPS
position and
departure point Current location of th
e user displayed on
the map • When you select a vehicle in route search, and if there is a road nearby, the
position of the icon is corrected based
on the nearest road.
When the GPS position is available, the
route usually starts from the current
position. If there is no GPS position
available, the last confirmed available GPS
position is used as the departure point.
Waypoint (midway
point) The midway point target point before
arrival at the target destination.
Destination (final
point) The final destination on the route.
Route color Displays using colors that are easy to understand and that stand out in daytime
or night time color mode.
Roads excluded
from navigation Select whether or not to exclude a road
from navigation. (See Page
161.)
Roads affected by
traffic conditions Any section of the road may be affected
depending on the received traffic
conditions. Roads af
fected by traffic
conditions are displayed in a different color,
and a small icon repres enting the type of
traffic condition is disp layed at the side of
the route.
Page 19 of 106
Navigation 93
Read First
Touch (Event List) to open the following Event List screen.
On this screen, you can select one entry from the list to view list of the
traffic conditions for that section of the road. On this screen, you can select one entr
y from the list to view full details
of the traffic conditions for that section of the road.
Touch to open another screen displaying information on the
selected map position. Event List
Page 20 of 106
94 Navigation
Read First
■Highway Services
When driving on the expressway, this displays information on the next
three highway service areas. By default , gas station, restaurant, rest area,
and car service are displayed. You can change the items displayed by
setting the Visual Guidance. (See Page 164.)
When information is available for the highway service area, is
displayed.
Touch to display the highway service area information (distance,
time needed, and services provided).
When you touch highway service in formation, a list is displayed. Select one from the list to display mo
re details. You can check it on the
map and set it as a waypoi nt or as a destination.
Highway service area information
Page 21 of 106
Navigation 95
Read First
■Smart zoom display
When the navigation screen is set to auto zoom, this function is turned
on.
Touch to display the control button.
Touch to enlarge the display, and touch to reduce the display.
When expanding or reducing, the smart zoom function is switched off,
and is displayed. Touch to turn on the smart zoom function.
If no operations are made for about six seconds, the previous screen is
displayed.
Page 22 of 106
96 Navigation
Read First
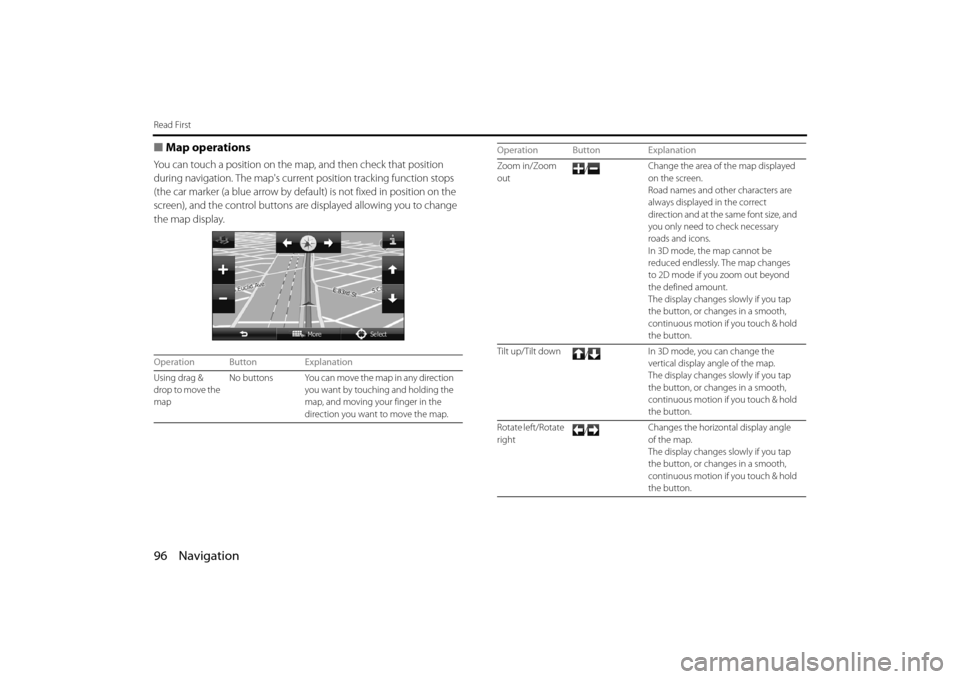
■Map operations
You can touch a position on the ma p, and then check that position
during navigation. The map's current position tracking function stops
(the car marker (a blue arrow by defa ult) is not fixed in position on the
screen), and the control buttons are displayed allowing you to change
the map display.
Operation Button Explanation
Using drag &
drop to move the
map No buttons You can move the map in any direction
you want by touching and holding the
map, and moving yo ur finger in the
direction you want to move the map.
Zoom in/Zoom
out /
Change the area of
the map displayed
on the screen.
Road names and other characters are
always displayed in the correct
direction and at the same font size, and
you only need to check necessary
roads and icons.
In 3D mode, the map cannot be
reduced endlessly. The map changes
to 2D mode if you zoom out beyond
the defined amount.
The display changes slowly if you tap
the button, or changes in a smooth,
continuous motion if you touch & hold
the button.
Tilt up/Tilt down /In 3D mode, you can change the
vertical display angle of the map.
The display changes slowly if you tap
the button, or changes in a smooth,
continuous motion if you touch & hold
the button.
Rotate left/Rotate
right /
Changes the horizontal display angle
of the map.
The display changes slowly if you tap
the button, or changes in a smooth,
continuous motion if you touch & hold
the button.
Operation Button Explanation
Page 23 of 106
Navigation 97
Read First
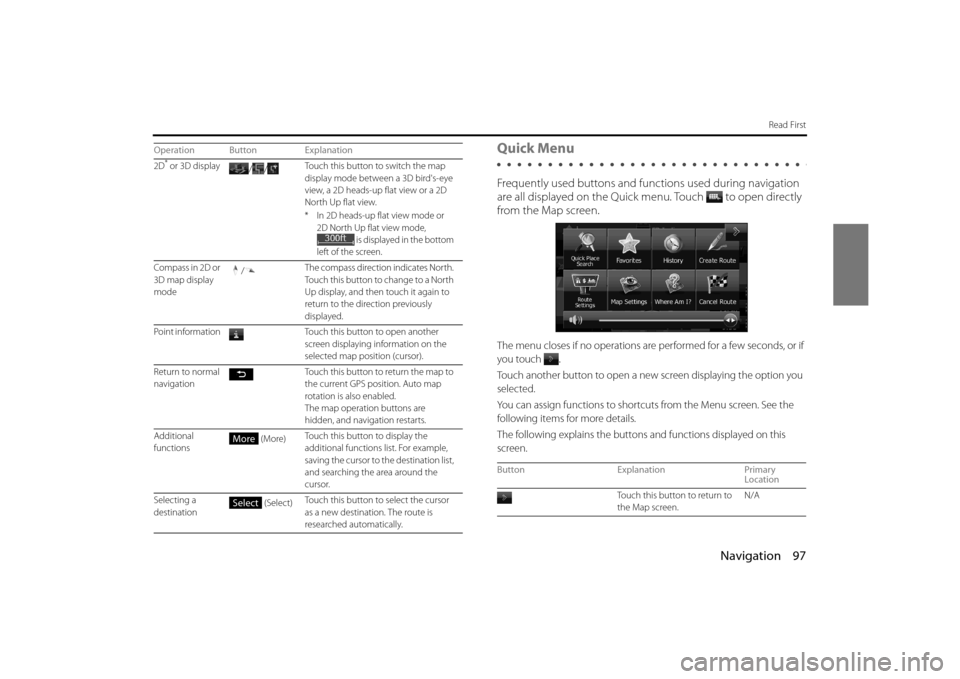
Quick Menu
Frequently used buttons and functions used during navigation
are all displayed on the Quick menu.
Touch to open directly
from the Map screen.
The menu closes if no operations are performed for a few seconds, or if
you touch
.
Touch another button to open a new screen displaying the option you
selected.
You can assign functions to shortcu ts from the Menu screen. See the
following items for more details.
The following explains the buttons and functions displayed on this
screen.
2D* or 3D display //Touch this button to switch the map
display mode between a 3D bird's-eye
view, a 2D heads-up flat view or a 2D
North Up flat view.
* In 2D heads-up flat view mode or
2D North Up flat view mode, is displayed in the bottom
left of the screen.
Compass in 2D or
3D map display
mode /
The compass direction indicates North.
Touch this button to change to a Nor th
Up display, and then touch it again to
return to the direction previously
displayed.
Point information Touch this button to open another
screen displaying information on the
selected map position (cursor).
Return to normal
navigation Touch this button to return the map to
the current GPS position. Auto map
rotation is also enabled.
The map operation buttons are
hidden, and navigation restarts.
Additional
functions (More)
Touch this button to display the
additional functions list. For example,
saving the cursor to the destination list,
and searching the area around the
cursor.
Selecting a
destination (Select)
Touch this button to select the cursor
as a new destination. The route is
researched automatically.
Operation Button Explanation
More
Select
Button
Explanation Primary
Location
Touch this button to return to
the Map screen. N/A
Page 24 of 106
98 Navigation
Read First
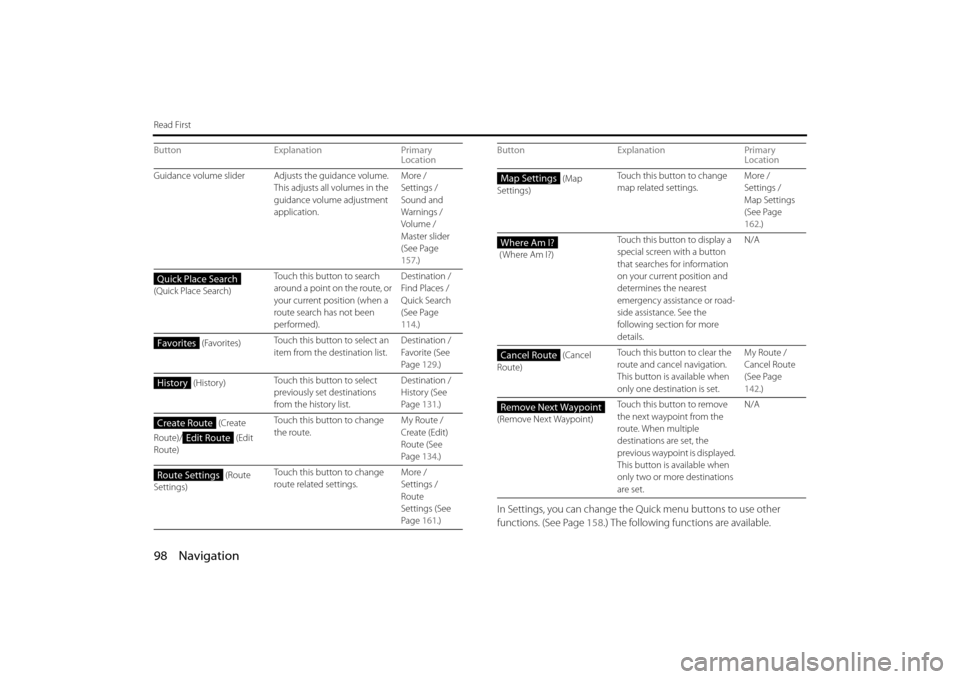
In Settings, you can change the Quick menu buttons to use other
functions. (See Page 158.) The following functions are available.
Guidance volume slider Adjusts the guidance volume.
This adjusts all volumes in the
guidance volume adjustment
application. More /
Settings /
Sound and
Warnings /
Volume /
Master slider
(See Page
157
.)
(Quick Place Search) Touch this button to search
around a point on the route, or
your current position (when a
route search has not been
performed). Destination /
Find Places /
Quick Search
(See Page
114
.)
(Favorites) Touch this button to select an
item from the destination list. Destination /
Favorite (See
Page
129.)
(History) Touch this button to select
previously set destinations
from the history list. Destination /
History (See
Page
131.)
(Create
Route)/ (Edit
Route) Touch this button to change
the route.
My Route /
Create (Edit)
Route (See
Page
134.)
(Route
Settings) Touch this button to change
route related settings.
More /
Settings /
Route
Settings (See
Page
161.)
Button
Explanation Primary
Location
Quick Place Search
Favorites
History
Create Route
Edit Route
Route Settings
(Map
Settings) Touch this button to change
map related settings.
More /
Settings /
Map Settings
(See Page
162
.)
( Where Am I?) Touch this button to display a
special screen with a button
that searches for information
on your current position and
determines the nearest
emergency assistance or road-
side assistance. See the
following section for more
details. N/A
(Cancel
Route) Touch this button to clear the
route and cancel navigation.
This button is available when
only one destination is set. My Route /
Cancel Route
(See Page
142
.)
(Remove Next Waypoint) Touch this button to remove
the next waypoint from the
route. When multiple
destinations are set, the
previous waypoint is displayed.
This button is available when
only two or more destinations
are set. N/A
Button Explanation Primary
LocationMap Settings
Where Am I?
Cancel Route
Remove Next Waypoint
Page 25 of 106
Navigation 99
Read First
* You can save routes of up to 100 items.
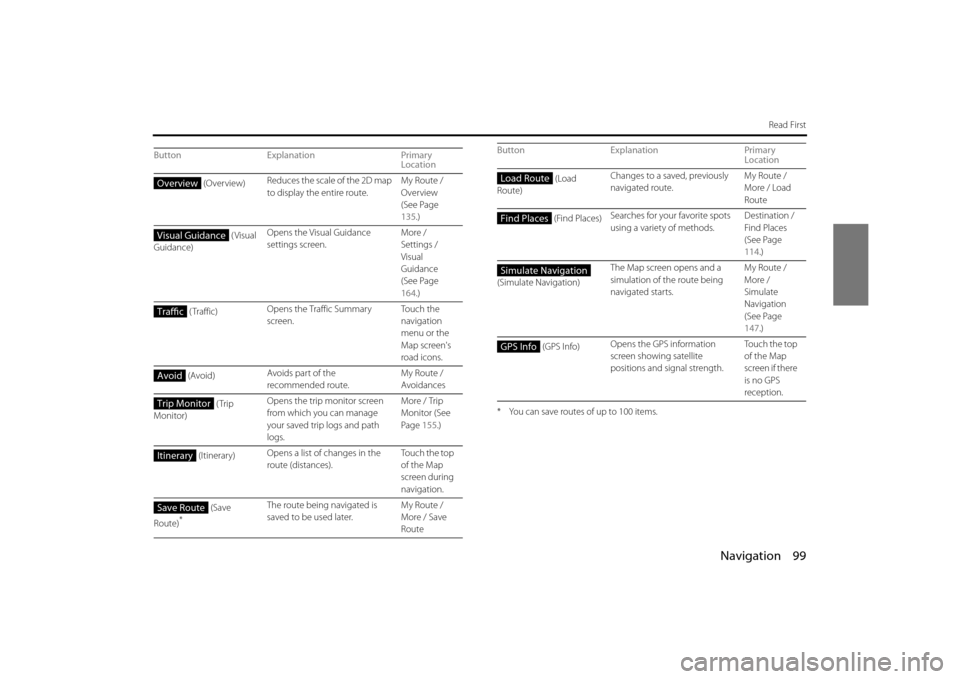
ButtonExplanation Primary
Location
(Overview) Reduces the scale of the 2D map
to display the entire route. My Route /
Overview
(See Page
135
.)
(Visual
Guidance) Opens the Visual Guidance
settings screen.
More /
Settings /
Visual
Guidance
(See Page
164
.)
( Traffic) Opens the Traffic Summary
screen. To u c h t h e
navigation
menu or the
Map screen's
road icons.
(Avoid) Avoids part of the
recommended route. My Route /
Avoidances
(Trip
Monitor) Opens the trip monitor screen
from which you can manage
your saved trip logs and path
logs. More / Trip
Monitor (See
Page
155.)
(Itinerary) Opens a list of changes in the
route (distances). To u c h t h e t o p
of the Map
screen during
navigation.
(Save
Route)
*
The route being navigated is
saved to be used later. My Route /
More / Save
Route
Overview
Visual Guidance
Traffic
Avoid
Trip Monitor
Itinerary
Save Route
(Load
Route) Changes to a saved, previously
navigated route.
My Route /
More / Load
Route
(Find Places) Searches for your favorite spots
using a variety of methods. Destination /
Find Places
(See Page
114
.)
(Simulate Navigation) The Map screen opens and a
simulation of the route being
navigated starts. My Route /
More /
Simulate
Navigation
(See Page
147
.)
(GPS Info) Opens the GPS information
screen showing satellite
positions and signal strength. Touch the top
of the Map
screen if there
is no GPS
reception.
Button Explanation Primary
LocationLoad Route
Find Places
Simulate Navigation
GPS Info