2014 Seat Leon 5D light
[x] Cancel search: lightPage 8 of 64

Introduction
– TRAFFIC : displays traffic messages
››› page 35 .
T ouc
hscreen
.
Setting knob
: Its function depends on
the mode that is active at that time.
– In all radio modes , turn
to manually set
a station or channel and press to start
or stop the SCAN function ››› page 15.
– In media mode,
turn to change track
manually, and press to start or stop the
SCAN function.
– Turn to mark a menu option in the long
lis
ts, and press to activate the marked
option (for example, selecting a station
from a list).
– Turn to modify some settings (for exam-
pl
e, the scale of the map).
Proximity sensor: the proximity sensor
system is activated and deactivated in
the Screen settings ››› page 53 menu.
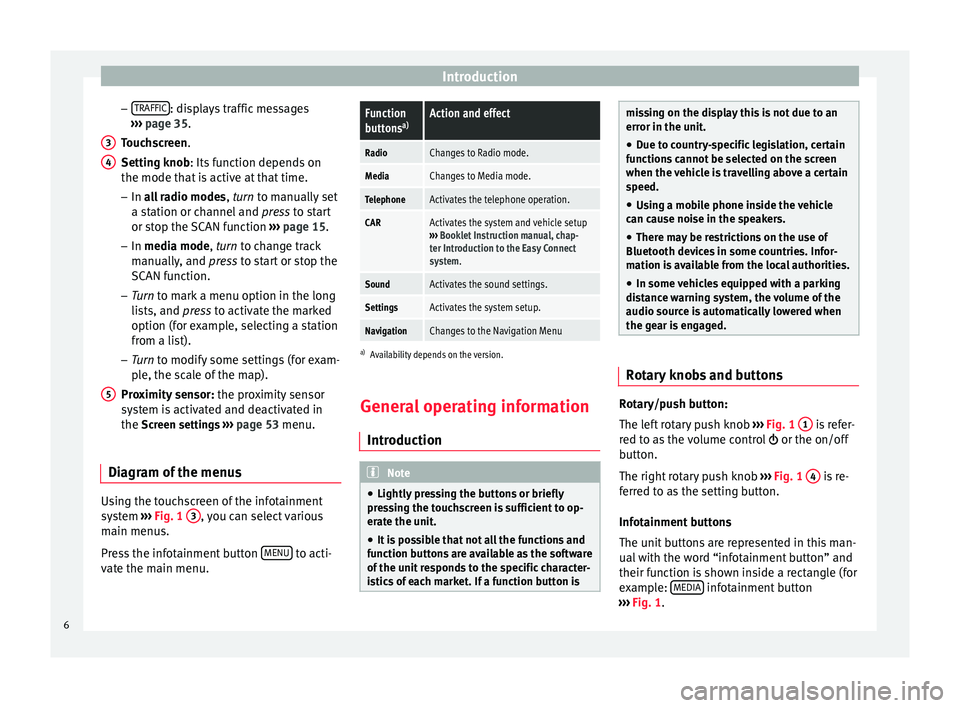
Diagram of the menus Using the touchscreen of the infotainment
system
›››
Fig. 1 3 , you can select various
main menus.
Press the infotainment button MENU to acti-
vate the main menu. 3 4
5
Function
buttons
a)Action and effect
RadioChanges to Radio mode.
MediaChanges to Media mode.
TelephoneActivates the telephone operation.
CARActivates the system and vehicle setup
››› Booklet Instruction manual, chap-
ter Introduction to the Easy Connect
system.
SoundActivates the sound settings.
SettingsActivates the system setup.
NavigationChanges to the Navigation Menu
a) Availability depends on the version.
General operating information
Introduction Note
● Lightly pressing the buttons or briefly
pressing the touchscreen is sufficient to op-
erate the unit.
● It is possible that not all the functions and
function buttons are available as the software
of the unit responds to the specific character-
istics of each market. If a function button is missing on the display this is not due to an
error in the unit.
● Due to country-specific legislation, certain
functions cannot be selected on the screen
when the vehicle is travelling above a certain
speed.
● Using a mobile phone inside the vehicle
can cause noise in the speakers.
● There may be restrictions on the use of
Bluetooth devices in some countries. Infor-
mation is available from the local authorities.
● In some vehicles equipped with a parking
distance warning system, the volume of the
audio source is automatically lowered when
the gear is engaged. Rotary knobs and buttons
Rotary/push button:
The left rotary push knob
››› Fig. 1 1 is refer-
red to as the volume control or the on/off
button.
The right rotary push knob ››› Fig. 1 4 is re-
ferred to as the setting button.
Infotainment buttons
The unit buttons are represented in this man-
ual with the word “infotainment button” and
their function is shown inside a rectangle (for
example: MEDIA infotainment button
››› Fig. 1 .
6
Page 10 of 64

Introduction
The active areas of the screen that represent
a function are called “function buttons” and
are used by pressing them briefly on the dis-
p l
ay or holding them down . The function but-
tons are represented in the instructions with
the word “function buttons” and the button
symbol - - - .
The function buttons activate functions or
open submenus.
The function buttons that appear deactivated
(in grey) may not be selected at that time.
Summary of the indications and function
buttons
Action and effect
A››› Fig. 2
The title line shows the menu selected at
that time and, if applicable, other function
buttons.
B››› Fig. 4Press to open an additional menu.
C››› Fig. 3
Move the little cross around the screen
pressing lightly, without resting your finger
on it.
Or: Press the desired destination on the
screen; the cross will move to this position.
D››› Fig. 2
Move the control around the screen by
pressing lightly, without removing your fin-
ger.
Briefly press to change progressively to
lists at the next level up.
Action and effect
BACK Briefly press to return progressively to the
main menu from a sub-menu, or to undo
the changes made.
/
Activated/deactivated function.
Some functions or instructions are marked
with a checkbox, and are activated or deac-
tivated by touching them briefly.
OKBriefly press to confirm the data entered or
to select.
×
Briefly press to close a pop-up window or a
data entry screen.
/ Briefly press to modify the setup progres-
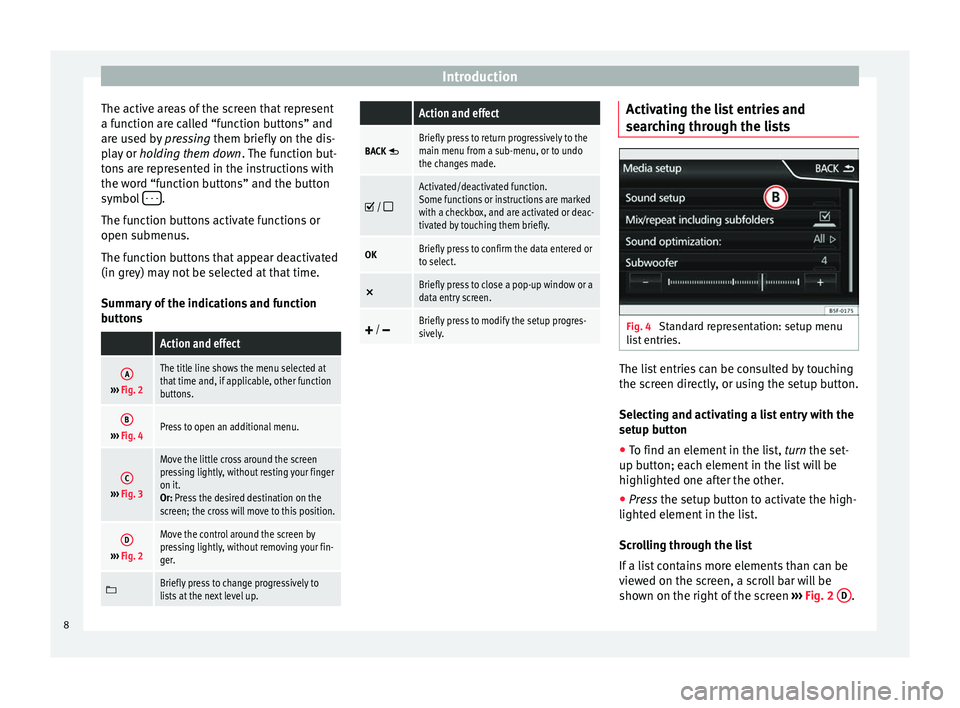
sively. Activating the list entries and
searching through the lists
Fig. 4
Standard representation: setup menu
list entries. The list entries can be consulted by touching
the screen directly, or using the setup button.
Selecting and activating a list entry with the
setup button
● To find an element in the list, turn the set-
up b utt
on; each element in the list will be
highlighted one after the other.
● Press
the setup button to activate the high-
lighted element in the list.
Scrolling through the list
If a list contains more elements than can be
viewed on the screen, a scroll bar will be
shown on the right of the screen ›››
Fig. 2 D .
8
Page 15 of 64

Audio modeFunction button
View: effect
Station info: The radio text and slide show are displayed
instead of the stored station buttons in the lower half of
the screen.
Radio text: The Radio text is displayed instead of the stor-
ed station buttons in the lower half of the screen.
Presentation: The slide show is displayed instead of the
station buttons in the lower half of the screen. Function
called Slideshow; the icon ››› Fig. 13 will appear in the
list of DAB stations. Note
The radio stations are responsible for the
content broadcast. Stored station buttons
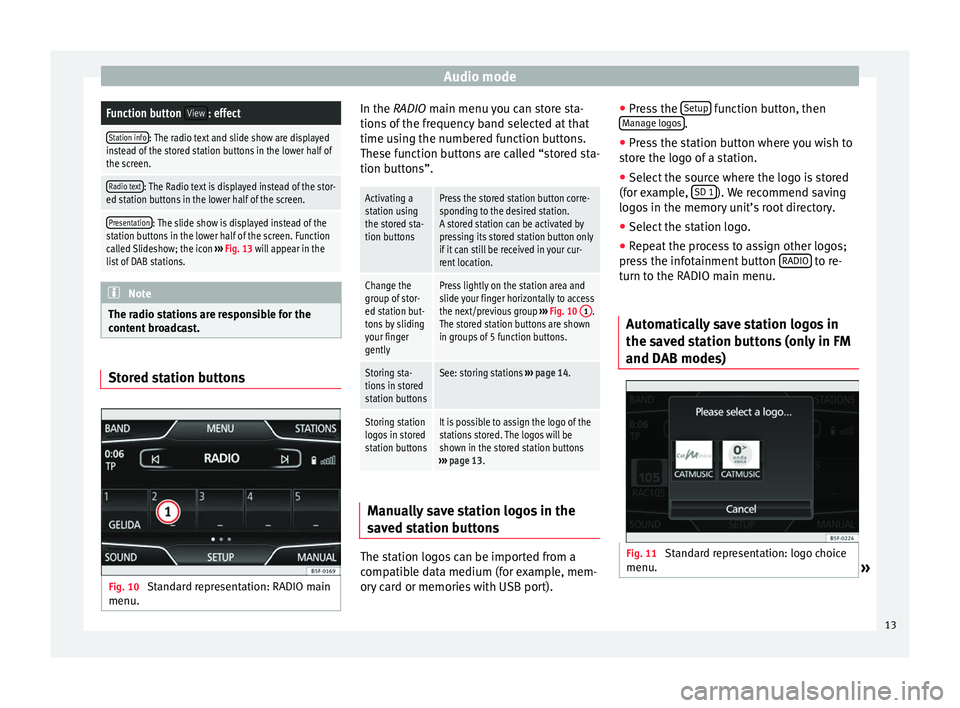
Fig. 10
Standard representation: RADIO main
menu. In the RADIO main menu you can store sta-
tions of the frequency band selected at that
time using the numbered function buttons.
These function buttons are called “stored sta-
tion buttons”.
Activating a
station using
the stored sta-
tion buttonsPress the stored station button corre-
sponding to the desired station.
A stored station can be activated by
pressing its stored station button only
if it can still be received in your cur-
rent location.
Change the
group of stor-
ed station but-
tons by sliding
your finger
gentlyPress lightly on the station area and
slide your finger horizontally to access
the next/previous group
››› Fig. 10 1
.
The stored station buttons are shown
in groups of 5 function buttons.
Storing sta-
tions in stored
station buttonsSee: storing stations ››› page 14.
Storing station
logos in stored
station buttonsIt is possible to assign the logo of the
stations stored. The logos will be
shown in the stored station buttons
››› page 13. Manually save station logos in the
saved station buttons
The station logos can be imported from a
compatible data medium (for example, mem-
ory card or memories with USB port).●
Press the Setup function button, then
Manage logos .
● Press the station button where you wish to
store the logo of a station.
● Select the source where the logo is stored
(for example, SD 1 ). We recommend saving
logos in the memory unit’s root directory.
● Select the station logo.
● Repeat the process to assign other logos;
press the infotainment button RADIO to re-
turn to the RADIO main menu.
Automatically save station logos in
the saved station buttons (only in FM
and DAB modes) Fig. 11
Standard representation: logo choice
menu. » 13
Page 55 of 64

Setup
Setup
Menu and system setting
(SETUP) Introduction Depending on the country, the device and
the features of the vehicle, some settings
may be different.
Activating the main menu.
● Press the infotainment button MENU to
open the main menu System setup (SETUP).
● Press the function button SETUP to access
the system setup.
Menu and system setup (SETUP) Activating the main menu.
● Press the infotainment button MENU to
open the main menu System setup (SETUP)
.
● Press the function button SETUP to access
the system setup.Function button: effect
Sound setup: adjust volume and sound setup
››› page 54.
Screen: complete the touch screen setting ››› page 53.
Function button: effect
Date and time: ››› Booklet Instruction Manual, chap-
ter System setup (CAR)
Idioma/Language: set the desired language for the texts
and announcements.
Keyboard: select the desired keyboard (ABC or QWERTY).
Additional keyboard languages: select an additional lan-
guage for the keyboard.
Units: ››› Booklet Instruction Manual, chapter System
setup (CAR)
Voice control: adjust the voice control setup ››› page 54.
Safely remove SD card 1, Safely remove SD card 2: eject the de-
sired memory card from the system. After ejecting the
memory card, the function button will be shown in grey.
Safely remove the USB data medium: eject the USB data medi-
um from the system.
Factory settings: ››› page 54.
Bluetooth: adjust the Bluetooth setup ››› page 51.
System information: indication of the system information
(device number, hardware and software version).
Copyright Note
For all the infotainment systems to work
properly, it is important to set the correct
time and date in the vehicle. Screen settings
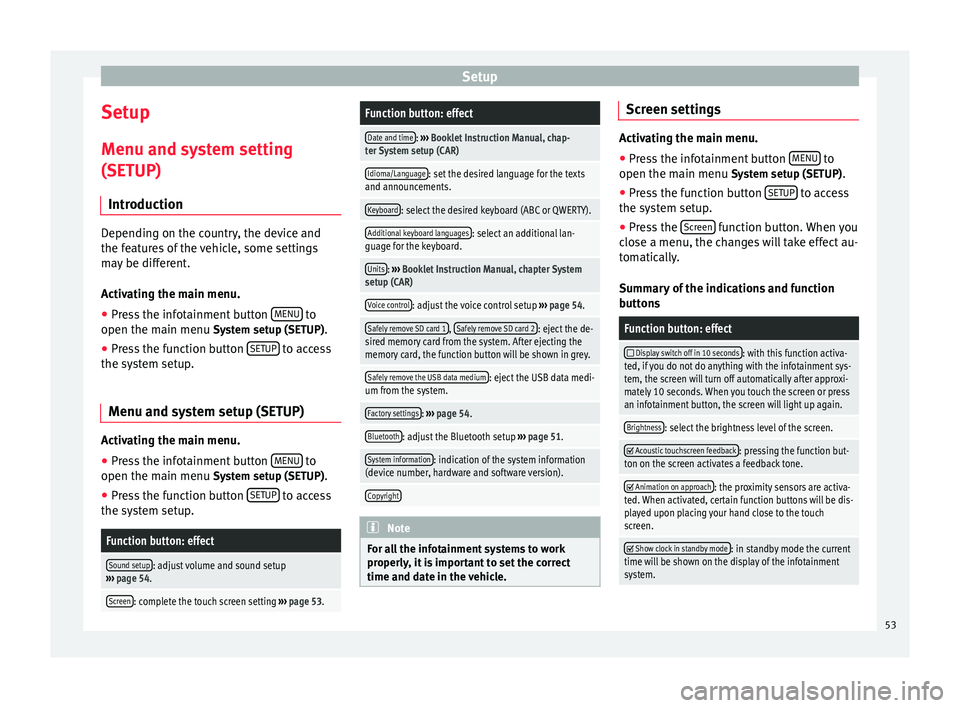
Activating the main menu.
●
Press the infotainment button MENU to
open the main menu System setup (SETUP).
● Pr e
ss the function button SETUP to access
the system setup.
● Press the Screen function button. When you
close a menu, the changes will take effect au-
tomatically.
Summary of the indications and function
buttons
Function button: effect
Display switch off in 10 seconds: with this function activa-
ted, if you do not do anything with the infotainment sys-
tem, the screen will turn off automatically after approxi-
mately 10 seconds. When you touch the screen or press
an infotainment button, the screen will light up again.
Brightness: select the brightness level of the screen.
Acoustic touchscreen feedback: pressing the function but-
ton on the screen activates a feedback tone.
Animation on approach: the proximity sensors are activa-
ted. When activated, certain function buttons will be dis-
played upon placing your hand close to the touch
screen.
Show clock in standby mode: in standby mode the current
time will be shown on the display of the infotainment
system. 53
Page 58 of 64

AbbreviationsFMFrequency modulation (ultra-short wave,
UKW)
GPSGlobal Positioning System.
GSMGlobal System for Mobile Communications
HDDMedia centre (Hard Disc Drive unit).
HFPWireless phone (Hands-Free-Profile)
IMEISerial number for univocally identifying GSM
devices (International Mobile Station Equip-
ment Identity).
LEDLight Emitting Diode
MDIExternal data medium, for example, an iPod
(Media Device Interface)
MP3Audio file compression format.
PDCPark-Distance-Control
PIN codePersonal identification number.
RDSRadio data system.
rSAPProfile for SIM access via Bluetooth (remote
SIM-Access-Profile).
SIMSubscriber Identity Module.
SMSShort Message Service.
TMCTraffic reports for dynamic navigation (Traffic
Message Channel)
TPTraffic reports function in Radio mode (Traf-
fic Program).
VBRVariable bit rate.
WMAAudio file compression format.
56