Page 12 of 410

▫Transmitter Battery Replacement ...........20
▫ General Information ....................21
� POWER DOOR LOCKS ...................21
▫ Automatic Door Locks — If Equipped .......23
▫ Auto Unlock Doors — If Equipped ..........23
� WINDOWS ...........................23
▫ Power Windows — If Equipped ...........23
▫ Wind Buffeting .......................25
� OCCUPANT RESTRAINTS ................25
▫ Lap/Shoulder Belts ....................28
▫ Lap/Shoulder Belt Untwisting Procedure .....33
▫ Adjustable Upper Shoulder Belt Anchorage —
If Equipped ..........................34 ▫
Automatic Locking Retractor (ALR) Mode .....35
▫ Energy Management Feature ..............36
▫ Seat Belt Pretensioners ..................36
▫ Enhanced Seat Belt Use Reminder System
(BeltAlert®) ..........................36
▫ Seat Belts And Pregnant Women ...........37
▫ Supplemental Restraint System (SRS) —
Air Bags ............................38
▫ Air Bag System Components ..............39
▫ Advanced Front Air Bag Features ...........40
▫ Air Bag Deployment Sensors And Controls ....44
▫ Event Data Recorder (EDR) ...............51
▫ Child Restraints .......................52
10 THINGS TO KNOW BEFORE STARTING YOUR VEHICLE
Page 65 of 410

ENGINE BREAK-IN RECOMMENDATIONS
A long break-in period is not required for the engine and
drivetrain (transmission and axle) in your vehicle.
Drive moderately during the first 300 miles (500 km).
After the initial 60 miles (100 km), speeds up to 50 or
55 mph (80 or 90 km/h) are desirable.
While cruising, brief full-throttle acceleration within the
limits of local traffic laws contributes to a good break-in.
Wide-open throttle acceleration in low gear can be detri-
mental and should be avoided.
The engine oil installed in the engine at the factory is a
high-quality energy conserving type lubricant. Oil changes
should be consistent with anticipated climate conditions
under which vehicle operations will occur. For the recom-
mended viscosity and quality grades, refer to “Mainte-
nance Procedures” in “Maintaining Your Vehicle”.
CAUTION!
Never use Non-Detergent Oil or Straight Mineral Oil
in the engine or damage may result.
NOTE: A new engine may consume some oil during its
first few thousand miles (kilometers) of operation. This
should be considered a normal part of the break-in and
not interpreted as a problem.
SAFETY TIPS
Transporting Passengers
NEVER TRANSPORT PASSENGERS IN THE CARGO
AREA.
2
THINGS TO KNOW BEFORE STARTING YOUR VEHICLE 63
Page 87 of 410

Heated Seats — If Equipped
On some models, the front driver and passenger seats
may be equipped with heaters in both the seat cushions
and seatbacks. The controls for the front heated seats are
located on the lower outboard side of the seat.Press the switch once to turn on the heated seats. Press
the switch a second time to shut the heating elements off.
NOTE:
Once a heat setting is selected, heat will be felt
within two to five minutes.
WARNING!
• Persons who are unable to feel pain to the skin
because of advanced age, chronic illness, diabetes,
spinal cord injury, medication, alcohol use, exhaus-
tion or other physical condition must exercise care
when using the seat heater. It may cause burns
even at low temperatures, especially if used for
long periods of time.
•
Do not place anything on the seat or seatback that
insulates against heat, such as a blanket or cushion.
This may cause the seat heater to overheat. Sitting in
a seat that has been overheated could cause serious
burns due to the increased surface temperature of the
seat.
Heated Seat Switch
3
UNDERSTANDING THE FEATURES OF YOUR VEHICLE 85
Page 114 of 410
PARKVIEW® REAR BACK UP CAMERA —
IF EQUIPPED
Your vehicle may be equipped with the ParkView® Rear
Back Up Camera that allows you to see an on-screen
image of the rear surroundings of your vehicle whenever
the shift lever is put into REVERSE. The image will be
displayed on the touchscreen display along with a cau-
tion note to “check entire surroundings” across the top of
the screen. After five seconds this note will disappear.
The ParkView® Rear Back Up Camera is located on the
top rear of the vehicle below the center light.When the vehicle is shifted out of REVERSE, the rear
camera mode is exited and the navigation or audio screen
appears again.
Rear Back Up Camera Location
112 UNDERSTANDING THE FEATURES OF YOUR VEHICLE
Page 131 of 410

NOTE:If the driver’s door is open, and the headlights or
park lights are left on, the high beam indicator light will
remain illuminated and a chime will sound until lights
have been turned to the off position.
6. Park/Headlight ON Indicator — If Equipped
This indicator will illuminate when the park
lights or headlights are turned on.
7. Odometer/Trip Odometer/Electronic Vehicle
Information Center (EVIC) Display Area
This display indicates the total distance the vehicle has
been driven.
U.S. Federal regulations require that upon transfer of
vehicle ownership, the seller certify to the purchaser the
correct mileage that the vehicle has been driven. If your
odometer needs to be repaired or serviced, the repair technician should leave the odometer reading the same
as it was before the repair or service. If s/he cannot do so,
then the odometer must be set at zero, and a sticker must
be placed in the door jamb stating what the mileage was
before the repair or service. It is a good idea for you to
make a record of the odometer reading before the repair/
service, so that you can be sure that it is properly reset, or
that the door jamb sticker is accurate if the odometer
must be reset at zero.
Shift Lever Status (RND)
The shift lever status “R,N,D,1,2,3,4,5,6” are displayed
indicating the shift lever position. Telltales “1,2,3,4,5,6”
indicate the manual mode has been engaged and the gear
selected is displayed. For further information on ERS,
refer to “Six-Speed Automatic Transmission” in “Starting
And Operating”.
4
UNDERSTANDING YOUR INSTRUMENT PANEL 129
Page 139 of 410

20. TOW/HAULThis light will illuminate when TOW HAUL
mode is selected.
21. Low Fuel Light
When the fuel level reaches approximately 3.0 gal (11.3 L)
this light will turn on, and remain on until fuel is added.
22. Fuel Gauge/Fuel Door Reminder When the ignition switch is in the ON/RUN
position, the pointer will show the level of fuel
remaining in the fuel tank. The fuel pump
symbol points to the side of the vehicle where
the fuel door is located. 23. Generic Warning Light
The Generic Warning Light will illuminate if
any of the following conditions occur:
• Air Bag Warning Light Fault
• Engine Oil Pressure Sensor Failure
• Fuel Cut-Off Intervention
• Parking Sensor Failure
24. Air Bag Warning Light
This light will turn on for four to eight seconds
as a bulb check when the ignition switch is first
turned to ON/RUN. If the light is either not on
during starting, stays on, or turns on while
driving, have the system inspected at an authorized
dealer as soon as possible. Refer to “Occupant Restraints”
in “Things To Know Before Starting Your Vehicle” for
further information.
4
UNDERSTANDING YOUR INSTRUMENT PANEL 137
Page 146 of 410

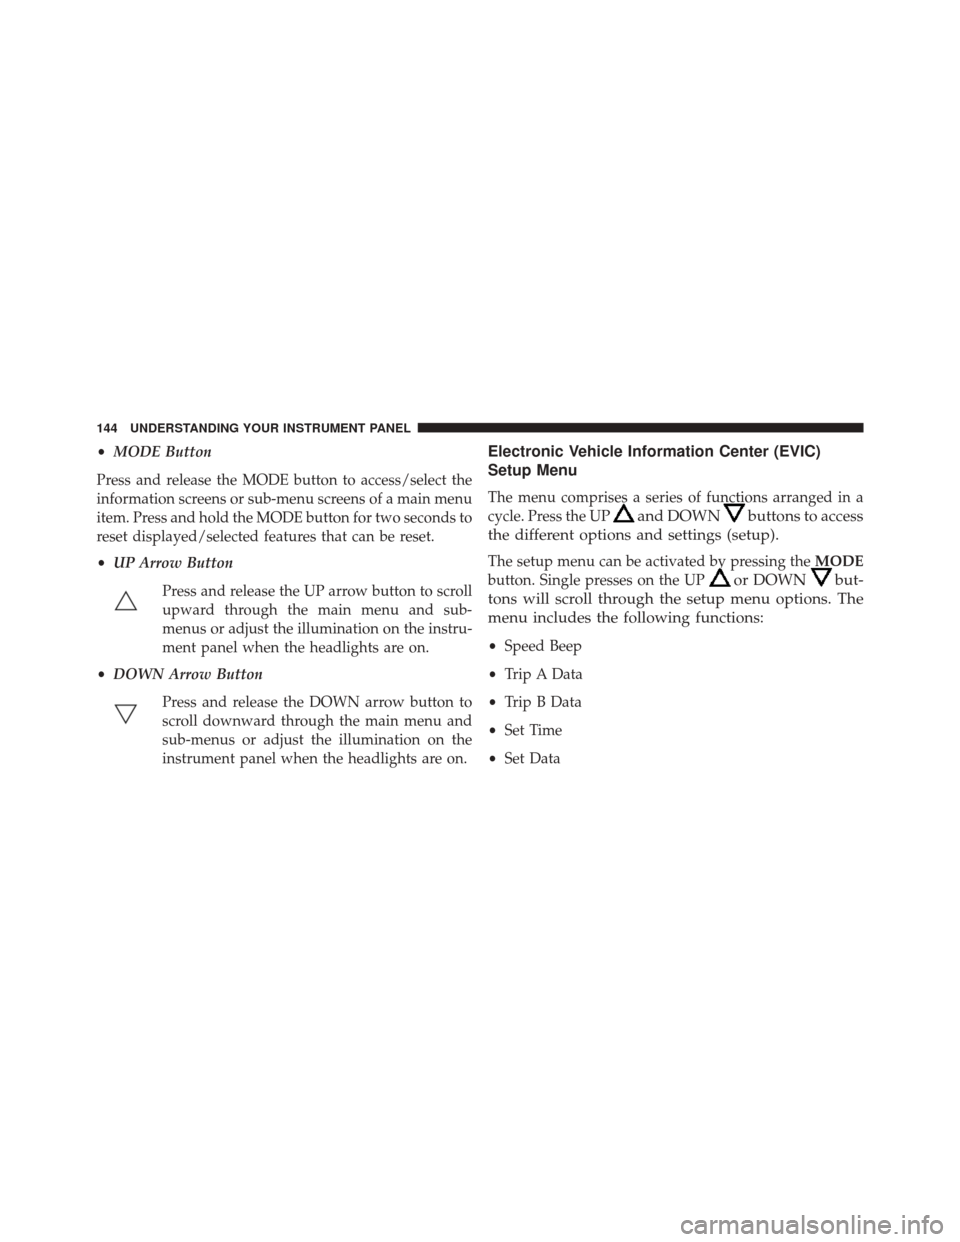
•MODE Button
Press and release the MODE button to access/select the
information screens or sub-menu screens of a main menu
item. Press and hold the MODE button for two seconds to
reset displayed/selected features that can be reset.
• UP Arrow Button
Press and release the UP arrow button to scroll
upward through the main menu and sub-
menus or adjust the illumination on the instru-
ment panel when the headlights are on.
• DOWN Arrow Button
Press and release the DOWN arrow button to
scroll downward through the main menu and
sub-menus or adjust the illumination on the
instrument panel when the headlights are on.Electronic Vehicle Information Center (EVIC)
Setup Menu
The menu comprises a series of functions arranged in a
cycle. Press the UP
and DOWNbuttons to access
the different options and settings (setup).
The setup menu can be activated by pressing the MODE
button. Single presses on the UP
or DOWNbut-
tons will scroll through the setup menu options. The
menu includes the following functions:
• Speed Beep
• Trip A Data
• Trip B Data
• Set Time
• Set Data
144 UNDERSTANDING YOUR INSTRUMENT PANEL
Page 147 of 410

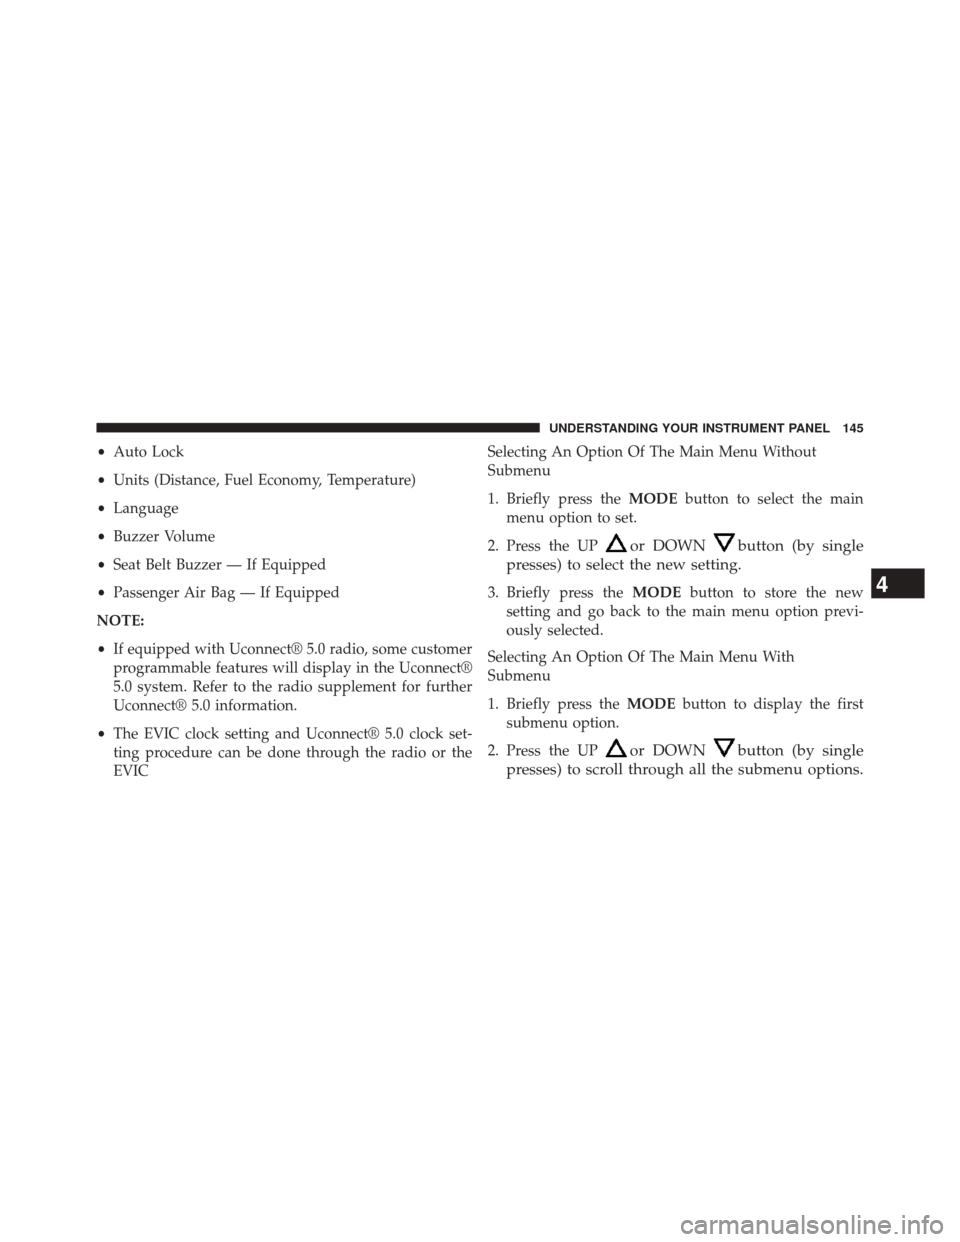
•Auto Lock
• Units (Distance, Fuel Economy, Temperature)
• Language
• Buzzer Volume
• Seat Belt Buzzer — If Equipped
• Passenger Air Bag — If Equipped
NOTE:
• If equipped with Uconnect® 5.0 radio, some customer
programmable features will display in the Uconnect®
5.0 system. Refer to the radio supplement for further
Uconnect® 5.0 information.
• The EVIC clock setting and Uconnect® 5.0 clock set-
ting procedure can be done through the radio or the
EVIC Selecting An Option Of The Main Menu Without
Submenu
1. Briefly press the
MODEbutton to select the main
menu option to set.
2. Press the UP
or DOWNbutton (by single
presses) to select the new setting.
3. Briefly press the MODEbutton to store the new
setting and go back to the main menu option previ-
ously selected.
Selecting An Option Of The Main Menu With
Submenu
1. Briefly press the MODEbutton to display the first
submenu option.
2. Press the UP
or DOWNbutton (by single
presses) to scroll through all the submenu options.
4
UNDERSTANDING YOUR INSTRUMENT PANEL 145