2014 Peugeot 508 steering wheel
[x] Cancel search: steering wheelPage 4 of 352
.
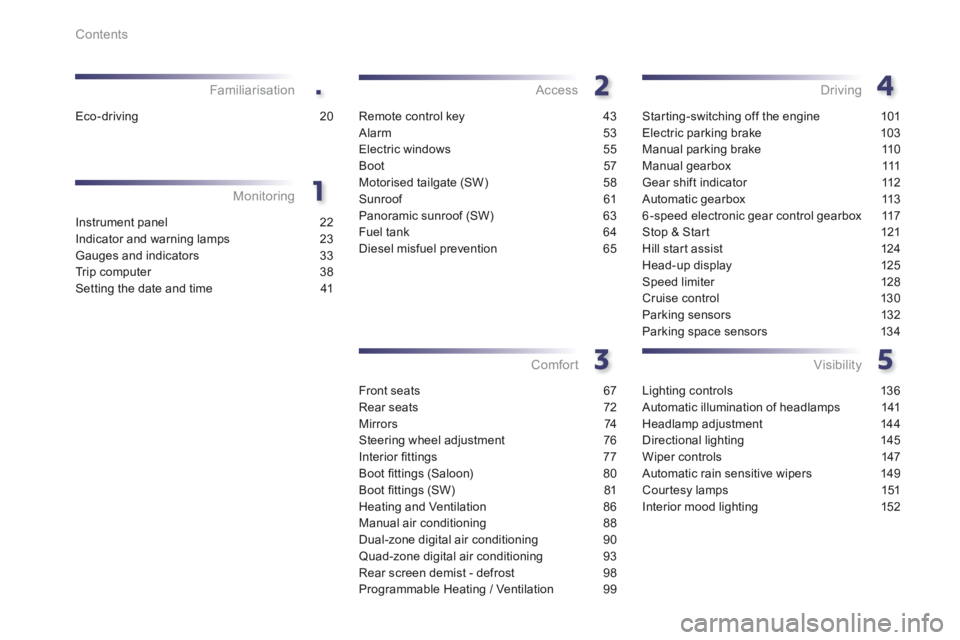
Contents
Instrument panel 22
Indicator and warning lamps 23
Gauges and indicators 33
Trip computer 38
Setting the date and time 41
Monitoring
Familiarisation
Remote control key
43
Alarm 53
Electric windows 55
Boot 57
Motorised tailgate (SW) 58
Sunroof 61
Panoramic sunroof (SW) 63
Fuel tank 64
Diesel misfuel prevention 65
Access
Front seats 67
Rear seats 72
M i r r o r s 74
Steering wheel adjustment 76
Interior fi ttings 77
Boot fi ttings (Saloon) 80
Boot fi ttings (SW) 81
Heating and Ventilation 86
Manual air conditioning 88
Dual-zone digital air conditioning 90
Quad-zone digital air conditioning 93
Rear screen demist - defrost 98
Programmable Heating / Ventilation 99
Comfort
Starting-switching off the engine 101
Electric parking brake 103
Manual parking brake 110
Manual gearbox 111
Gear shift indicator 112
Automatic gearbox 113
6-speed electronic gear control gearbox 117
Stop & Start 121
Hill start assist 124
Head-up display 125
Speed limiter 128
Cruise control 130
Parking sensors 132
Parking space sensors 134
Driving
Lighting controls 136
Automatic illumination of headlamps 141
Headlamp adjustment 144
Directional lighting 145
Wiper controls 147
Automatic rain sensitive wipers 149
Courtesy lamps 151
Interior mood lighting 152
Visibility
Eco-driving 20
Page 12 of 352
10Familiarisation
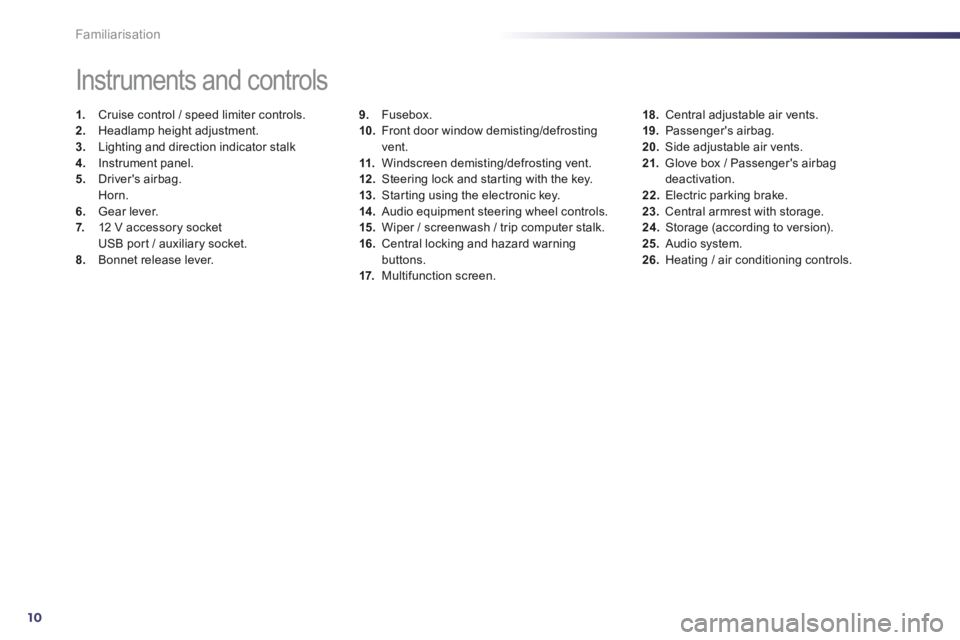
9. Fusebox. 10. Front door window demisting/defrosting vent. 11. Windscreen demisting/defrosting vent. 12 . Steering lock and starting with the key. 13. Starting using the electronic key. 14 . Audio equipment steering wheel controls. 15. Wiper / screenwash / trip computer stalk. 16. Central locking and hazard warning buttons. 17. Multifunction screen.
Instruments and controls
1. Cruise control / speed limiter controls. 2. Headlamp height adjustment. 3. Lighting and direction indicator stalk 4. Instrument panel. 5. Driver's airbag. Horn. 6. Gear lever. 7. 12 V accessory socket USB port / auxiliary socket. 8. Bonnet release lever.
18. Central adjustable air vents. 19. Passenger's airbag. 20. Side adjustable air vents. 21. Glove box / Passenger's airbag deactivation. 22. Electric parking brake. 23. Central armrest with storage. 24. Storage (according to version). 25. Audio system. 26. Heating / air conditioning controls.
Page 14 of 352
12
Familiarisation
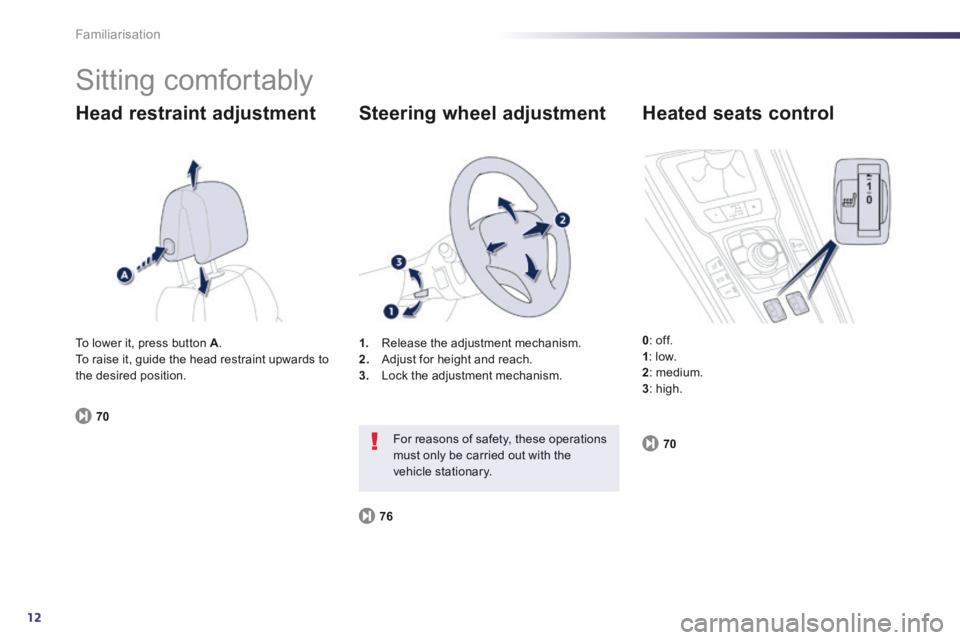
Sitting comfortably
Head restraint adjustment
70
1. Release the adjustment mechanism. 2. Adjust for height and reach. 3. Lock the adjustment mechanism.
Steering wheel adjustment
76
For reasons of safety, these operations must only be carried out with the vehicle stationary.
Heated seats control
0 : off. 1 : low. 2 : medium. 3 : high.
To lower it, press button A . To raise it, guide the head restraint upwards to the desired position.
70
Page 30 of 352
28
Monitoring
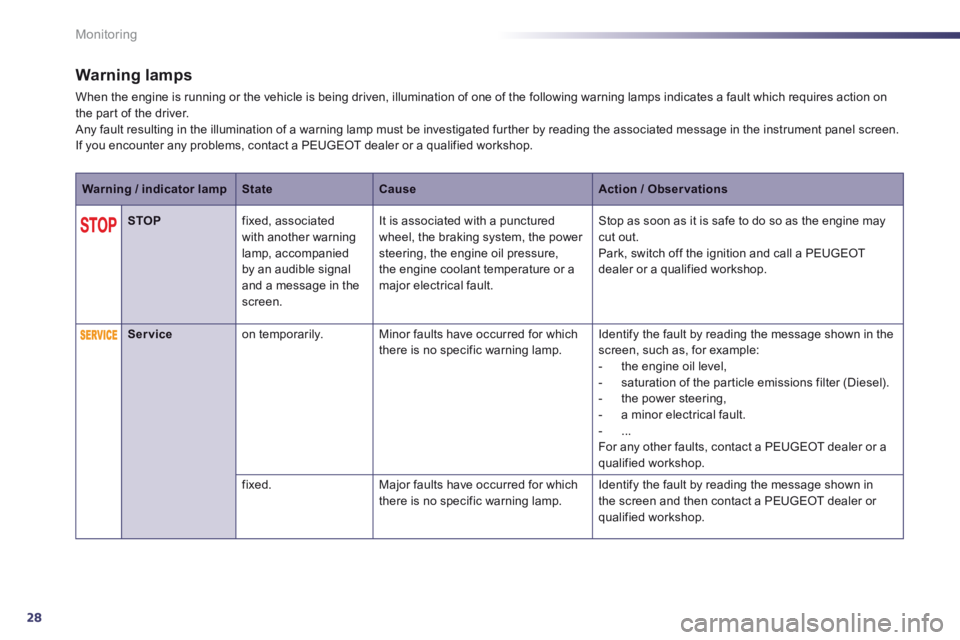
Warning lamps
When the engine is running or the vehicle is being driven, illumination of one of the following warning lamps indicates a fault which requires action on the part of the driver. Any fault resulting in the illumination of a warning lamp must be investigated further by reading the associated message in the instrument panel screen. If you encounter any problems, contact a PEUGEOT dealer or a qualified workshop.
Warning / indicator lampStateCauseAction / Observations
STOP fixed, associated with another warning lamp, accompanied by an audible signal and a message in the screen.
It is associated with a punctured wheel, the braking system, the power steering, the engine oil pressure, the engine coolant temperature or a major electrical fault.
Stop as soon as it is safe to do so as the engine may cut out. Park, switch off the ignition and call a PEUGEOT dealer or a qualified workshop.
Service on temporarily. Minor faults have occurred for which there is no specific warning lamp. Identify the fault by reading the message shown in the screen, such as, for example: - the engine oil level, - saturation of the particle emissions filter (Diesel). - the power steering, - a minor electrical fault. - ... For any other faults, contact a PEUGEOT dealer or a qualified workshop.
fixed. Major faults have occurred for which there is no specific warning lamp. Identify the fault by reading the message shown in the screen and then contact a PEUGEOT dealer or qualified workshop.
Page 41 of 352
1
39
Monitoring
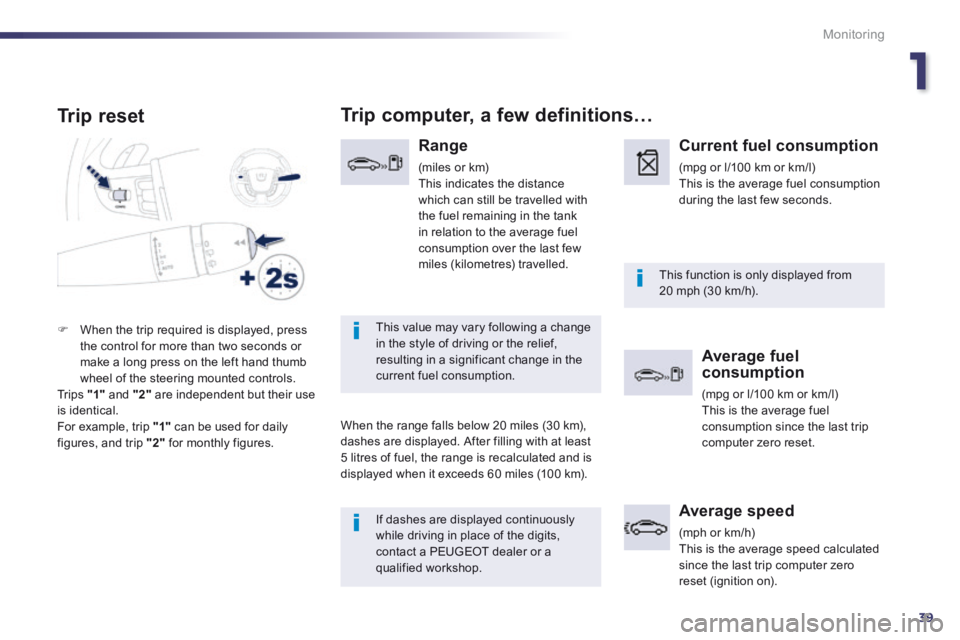
Trip reset
If dashes are displayed continuously
while driving in place of the digits, contact a PEUGEOT dealer or a qualified workshop.
This function is only displayed from 20 mph (30 km/h).
This value may vary following a change in the style of driving or the relief, resulting in a significant change in the current fuel consumption.
Trip computer, a few definitions…
Range
(miles or km) This indicates the distance which can still be travelled with the fuel remaining in the tank in relation to the average fuel consumption over the last few miles (kilometres) travelled.
When the range falls below 20 miles (30 km), dashes are displayed. After filling with at least 5 litres of fuel, the range is recalculated and is displayed when it exceeds 60 miles (100 km).
Current fuel consumption
(mpg or l/100 km or km/l) This is the average fuel consumption during the last few seconds.
Average fuel consumption
(mpg or l/100 km or km/l) This is the average fuel consumption since the last trip computer zero reset.
Average speed
(mph or km/h) This is the average speed calculated since the last trip computer zero reset (ignition on).
When the trip required is displayed, press the control for more than two seconds or make a long press on the left hand thumb wheel of the steering mounted controls. Tr i p s "1" and "2" are independent but their use is identical. For example, trip "1" can be used for daily figures, and trip "2" for monthly figures.
Page 78 of 352
76
Comfort
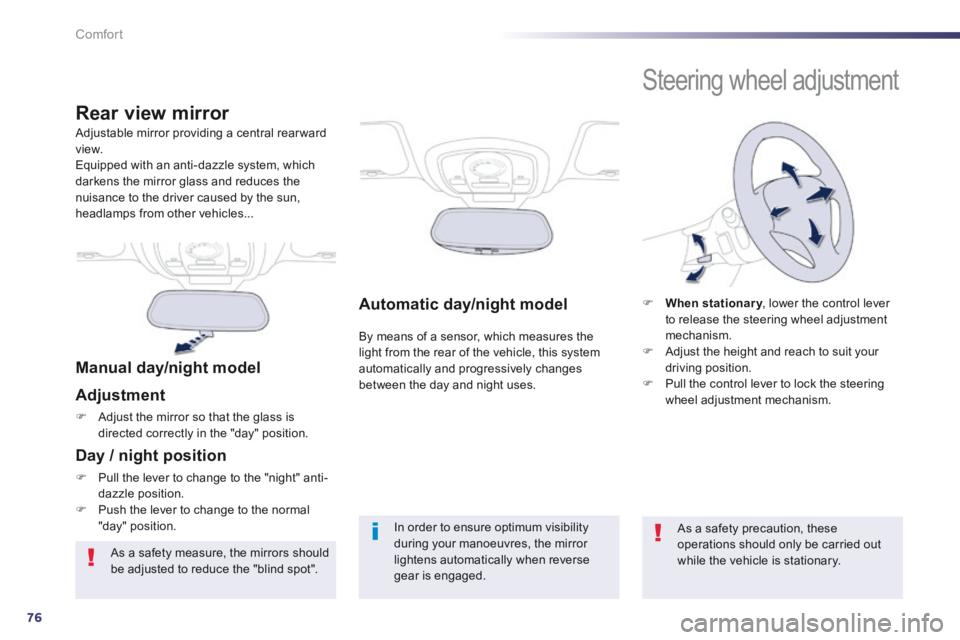
Automatic day/night model
By means of a sensor, which measures the light from the rear of the vehicle, this system automatically and progressively changes between the day and night uses.
Adjustable mirror providing a central rearward view. Equipped with an anti-dazzle system, which darkens the mirror glass and reduces the nuisance to the driver caused by the sun, headlamps from other vehicles...
Rear view mirror
Manual day/night model
Adjustment
Adjust the mirror so that the glass is directed correctly in the "day" position.
Day / night position
Pull the lever to change to the "night" anti-dazzle position. Push the lever to change to the normal "day" position. In order to ensure optimum visibility during your manoeuvres, the mirror lightens automatically when reverse gear is engaged.
Steering wheel adjustment
When stationary , lower the control lever When stationary , lower the control lever When stationaryto release the steering wheel adjustment mechanism. Adjust the height and reach to suit your driving position. Pull the control lever to lock the steering wheel adjustment mechanism.
As a safety precaution, these operations should only be carried out while the vehicle is stationary. As a safety measure, the mirrors should be adjusted to reduce the "blind spot".
Page 101 of 352
3
99
Comfort
Programmable heating
mode
This is an additional and separate system which heats the engine hot water circuit to improve defrosting and to preheat the passenger compartment.
This indicator lamp comes on onlywhen if the system is programmed in programmable heating mode.
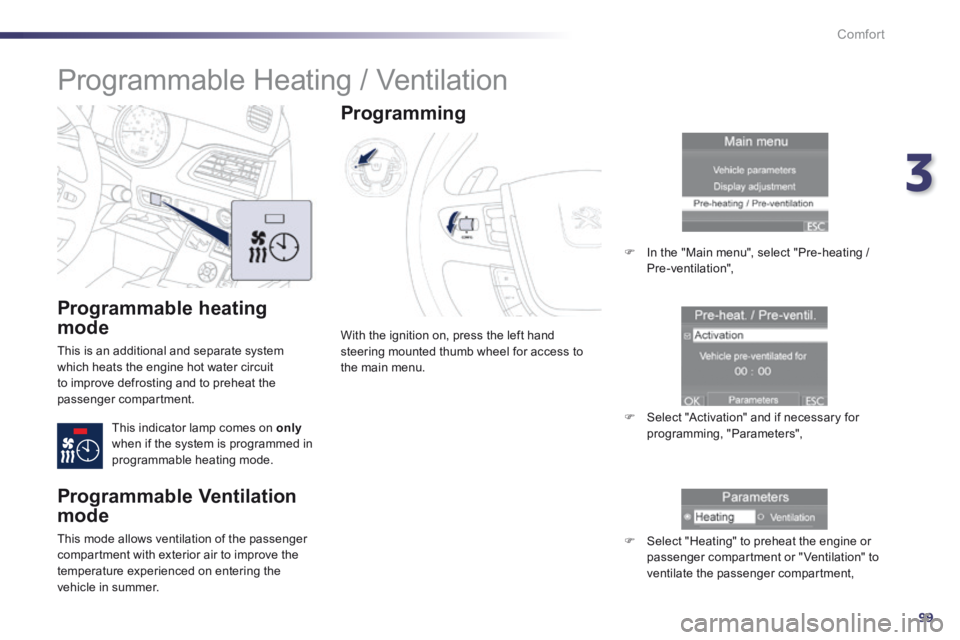
With the ignition on, press the left hand steering mounted thumb wheel for access to the main menu.
Programming
In the "Main menu", select "Pre-heating / Pre-ventilation",
Select "Activation" and if necessary for programming, "Parameters",
Select "Heating" to preheat the engine or passenger compartment or "Ventilation" to ventilate the passenger compartment,
Programmable Heating / Ventilation
Programmable Ventilation
mode
This mode allows ventilation of the passenger compartment with exterior air to improve the temperature experienced on entering the
vehicle in summer.
Page 103 of 352
4
101
Driving
Starting-switching off the engine With a manual gearbox , put the gear lever in neutral. With an electronic gear control gearbox , put the gear lever in N . With an automatic gearbox , put the gear lever in P or N .
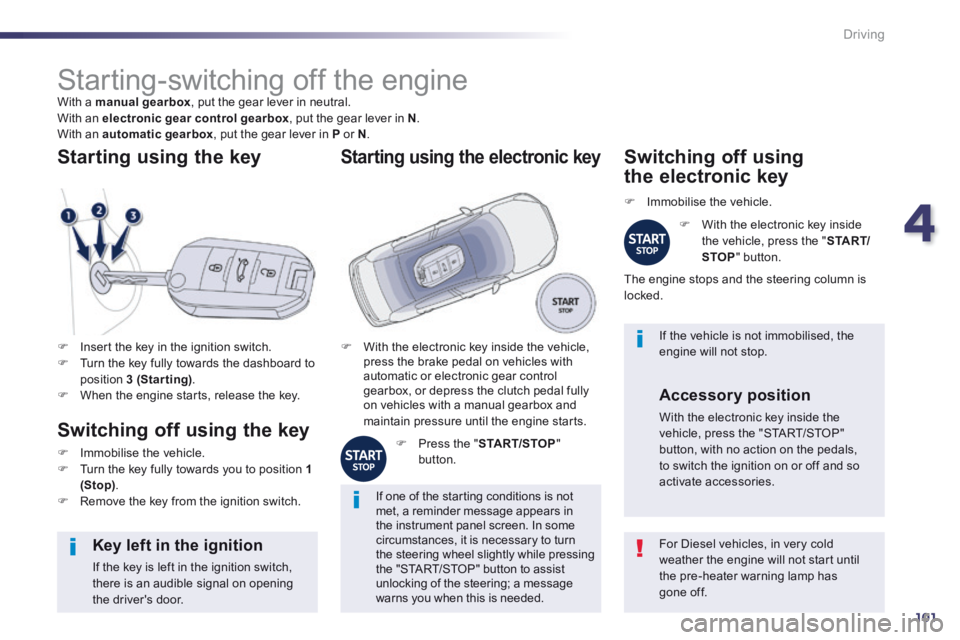
Insert the key in the ignition switch. Turn the key fully towards the dashboard to position 3 (Starting) . When the engine starts, release the key.
Starting using the key
Switching off using the key
Immobilise the vehicle. Turn the key fully towards you to position 1 (Stop) . Remove the key from the ignition switch.
For Diesel vehicles, in very cold weather the engine will not start until the pre-heater warning lamp has gone off.
Key left in the ignition
If the key is left in the ignition switch, there is an audible signal on opening the driver's door.
If one of the starting conditions is not met, a reminder message appears in the instrument panel screen. In some circumstances, it is necessary to turn the steering wheel slightly while pressing the "START/STOP" button to assist unlocking of the steering; a message warns you when this is needed.
If the vehicle is not immobilised, the engine will not stop. With the electronic key inside the vehicle, press the brake pedal on vehicles with automatic or electronic gear control gearbox, or depress the clutch pedal fully on vehicles with a manual gearbox and maintain pressure until the engine starts.
Starting using the electronic key
Press the " START/STOP " button.
Switching off using
the electronic key
Immobilise the vehicle.
With the electronic key inside the vehicle, press the " S TA R T/STOP " button.
The engine stops and the steering column is locked.
Accessory position
With the electronic key inside the vehicle, press the "START/STOP" button, with no action on the pedals, to switch the ignition on or off and so activate accessories.