Page 78 of 352
76
Comfort
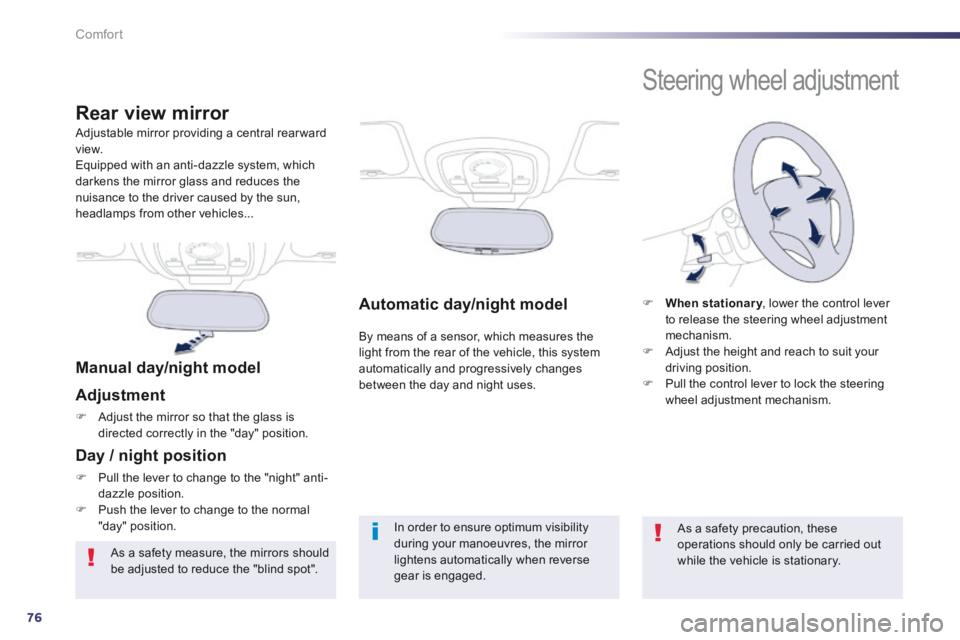
Automatic day/night model
By means of a sensor, which measures the light from the rear of the vehicle, this system automatically and progressively changes between the day and night uses.
Adjustable mirror providing a central rearward view. Equipped with an anti-dazzle system, which darkens the mirror glass and reduces the nuisance to the driver caused by the sun, headlamps from other vehicles...
Rear view mirror
Manual day/night model
Adjustment
Adjust the mirror so that the glass is directed correctly in the "day" position.
Day / night position
Pull the lever to change to the "night" anti-dazzle position. Push the lever to change to the normal "day" position. In order to ensure optimum visibility during your manoeuvres, the mirror lightens automatically when reverse gear is engaged.
Steering wheel adjustment
When stationary , lower the control lever When stationary , lower the control lever When stationaryto release the steering wheel adjustment mechanism. Adjust the height and reach to suit your driving position. Pull the control lever to lock the steering wheel adjustment mechanism.
As a safety precaution, these operations should only be carried out while the vehicle is stationary. As a safety measure, the mirrors should be adjusted to reduce the "blind spot".
Page 100 of 352
98
Comfort
Switch off the demist /defrost of the rear screen and door mirrors as soon as it is no longer needed as lower current consumption results in reduced fuel consumption.
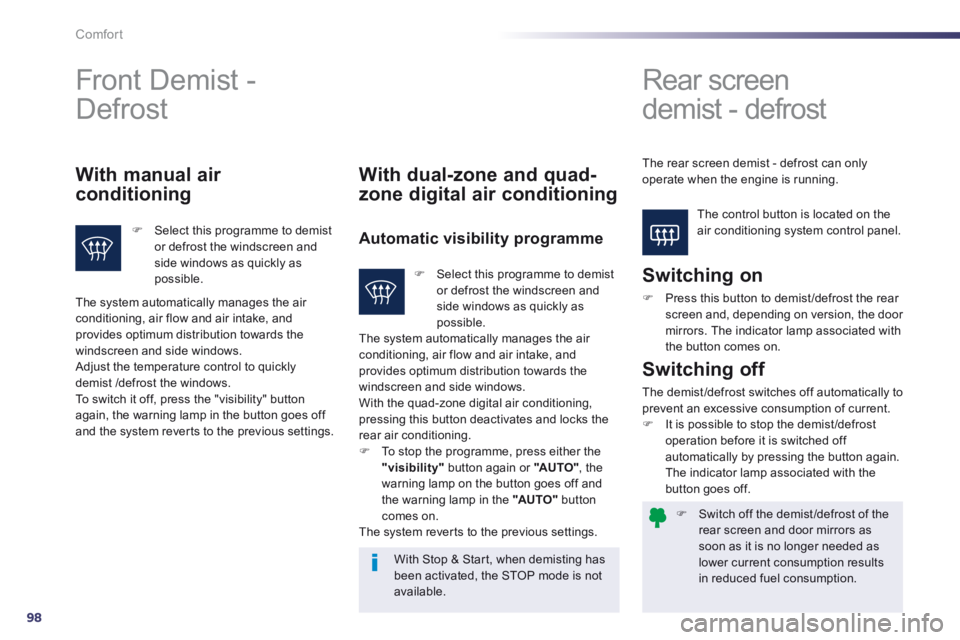
Front Demist -
Defrost Rear screen
demist - defrost
The control button is located on the air conditioning system control panel.
With manual air
conditioning
Select this programme to demist or defrost the windscreen and side windows as quickly as possible.
With dual-zone and quad-
zone digital air conditioning
Automatic visibility programme
Switching on
Press this button to demist /defrost the rear screen and, depending on version, the door mirrors. The indicator lamp associated with the button comes on.
With Stop & Start, when demisting has been activated, the STOP mode is not available.
Switching off
The demist /defrost switches off automatically to prevent an excessive consumption of current. It is possible to stop the demist /defrost operation before it is switched off automatically by pressing the button again. The indicator lamp associated with the button goes off.
The system automatically manages the air conditioning, air flow and air intake, and provides optimum distribution towards the windscreen and side windows. Adjust the temperature control to quickly demist /defrost the windows. To switch it off, press the "visibility" button again, the warning lamp in the button goes off and the system reverts to the previous settings.
Select this programme to demist or defrost the windscreen and side windows as quickly as possible. The system automatically manages the air conditioning, air flow and air intake, and provides optimum distribution towards the windscreen and side windows. With the quad-zone digital air conditioning, pressing this button deactivates and locks the rear air conditioning. To stop the programme, press either the "visibility" button again or "AUTO" , the warning lamp on the button goes off and the warning lamp in the "AUTO" button comes on. The system reverts to the previous settings.
The rear screen demist - defrost can only operate when the engine is running.
Page 143 of 352
5
141
Visibility
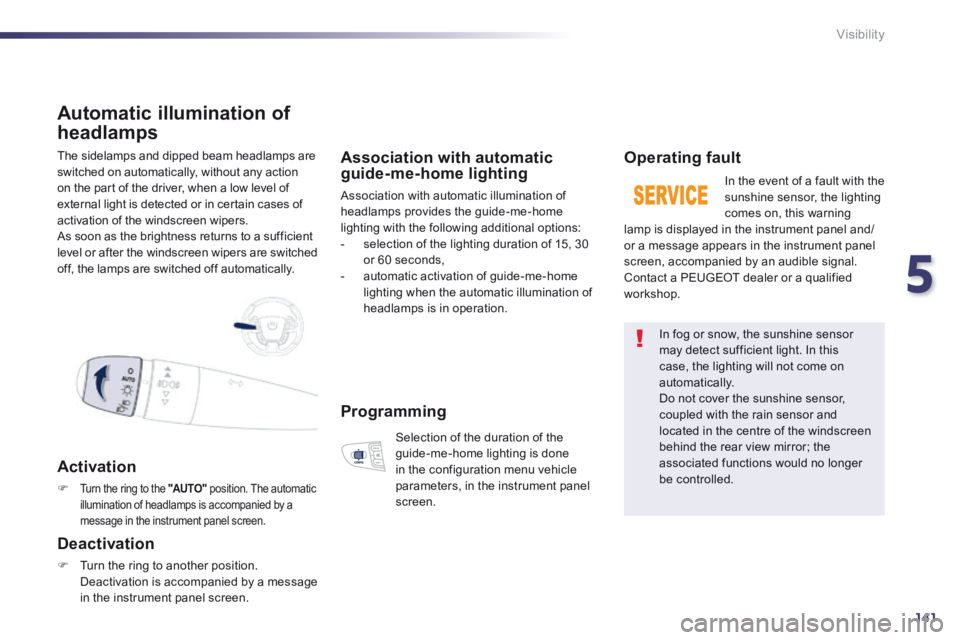
The sidelamps and dipped beam headlamps are switched on automatically, without any action on the part of the driver, when a low level of external light is detected or in certain cases of activation of the windscreen wipers. As soon as the brightness returns to a sufficient level or after the windscreen wipers are switched off, the lamps are switched off automatically.
Automatic illumination of
headlamps
Activation
Turn the ring to the "AUTO" position. The automatic illumination of headlamps is accompanied by a message in the instrument panel screen.
Deactivation
Turn the ring to another position. Deactivation is accompanied by a message
in the instrument panel screen.
Association with automatic guide-me-home lighting
Association with automatic illumination of headlamps provides the guide-me-home lighting with the following additional options: - selection of the lighting duration of 15, 30 or 60 seconds, - automatic activation of guide-me-home lighting when the automatic illumination of headlamps is in operation.
Operating fault
In the event of a fault with the sunshine sensor, the lighting comes on, this warning lamp is displayed in the instrument panel and/or a message appears in the instrument panel screen, accompanied by an audible signal. Contact a PEUGEOT dealer or a qualified workshop.
In fog or snow, the sunshine sensor may detect sufficient light. In this case, the lighting will not come on automatically. Do not cover the sunshine sensor, coupled with the rain sensor and
located in the centre of the windscreen behind the rear view mirror; the associated functions would no longer be controlled.
Programming
Selection of the duration of the guide-me-home lighting is done in the configuration menu vehicle parameters, in the instrument panel screen.
Page 145 of 352
5
143
Visibility
Exterior welcome
lighting
Remote switching on of the lighting makes your approach to the vehicle easier in poor light. It is activated according to the level of light detected by the sunshine sensor.
Switching on
Switching off
The exterior welcome lighting switches off automatically after a set time, when the ignition is switched on or on locking the vehicle.
Programming
The lighting duration is selected via the instrument panel screen
configuration menu.
Press the open padlock on the remote control. The dipped beam headlamps and the sidelamps come on; your vehicle is also unlocked.
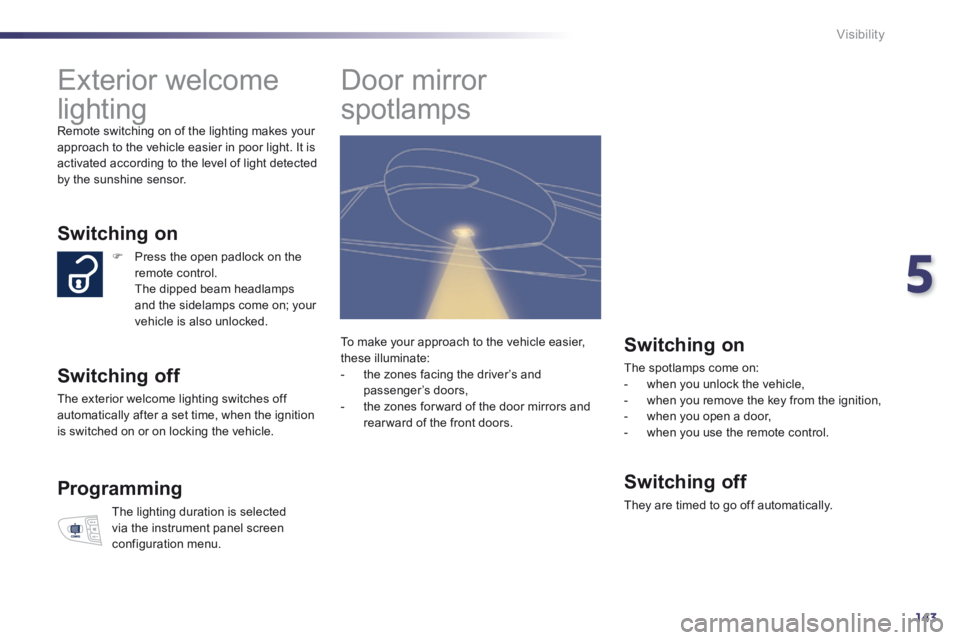
Door mirror
spotlamps
Switching on
The spotlamps come on: - when you unlock the vehicle, - when you remove the key from the ignition, - when you open a door,
- when you use the remote control.
Switching off
They are timed to go off automatically.
To make your approach to the vehicle easier, these illuminate: - the zones facing the driver’s and passenger’s doors, - the zones for ward of the door mirrors and rear ward of the front doors.
Page 151 of 352
5
149
Visibility
Automatic rain sensitive
windscreen wipers
The windscreen wipers operate automatically, without any action on the part of the driver, if rain is detected (sensor behind the rear view mirror), adapting their speed to the intensity of the rainfall.
Switching on
Briefly push the control stalk downwards. This warning lamp comes on in the instrument panel and a message is displayed.
Briefly push the control stalk downwards again, or place the control stalk in another position (Int, 1 or 2). This warning lamp goes off in the instrument panel and a message is displayed.
Switching off
The automatic rain sensitive windscreen wipers must be reactivated by pushing the control stalk downwards, if the ignition has been off for more than one minute.
Page 152 of 352
150
Visibility
Do not cover the rain sensor, linked with the sunshine sensor and located in the centre of the windscreen behind the rear view mirror. Switch off the automatic rain sensitive wipers when using an automatic car wash. In winter, it is advisable to wait until the windscreen is completely clear of ice before activating the automatic rain sensitive wipers.
Operating fault
If a fault occurs with the automatic rain sensitive wipers, the wipers will operate in intermittent mode. Have it checked by PEUGEOT dealer or a qualified workshop.
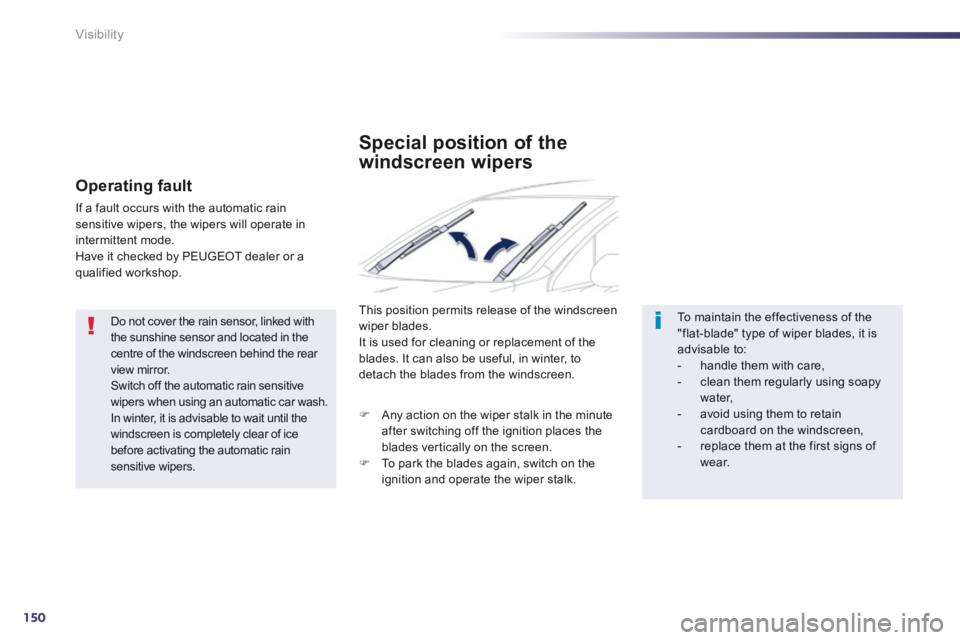
Special position of the
windscreen wipers
This position permits release of the windscreen wiper blades. It is used for cleaning or replacement of the blades. It can also be useful, in winter, to detach the blades from the windscreen.
To maintain the effectiveness of the "flat-blade" type of wiper blades, it is advisable to: - handle them with care, - clean them regularly using soapy water, - avoid using them to retain cardboard on the windscreen, - replace them at the first signs of w e a r.
Any action on the wiper stalk in the minute after switching off the ignition places the blades vertically on the screen. To park the blades again, switch on the ignition and operate the wiper stalk.
Page 198 of 352
196
Practical information
Direction indicators
Lie down under the vehicle. Remove the screws securing the underbody shield. Remove the underbody shield.
Turn the bulb holder a quarter turn and pull it out. Replace the faulty bulb. For reassembly, carry out these operations in reverse order. You can also contact a PEUGEOT dealer or a qualified workshop for the replacement of these bulbs. Integrated direction indicator side repeaters
You should contact a PEUGEOT dealer or a qualified workshop for the replacement of these bulbs.
Door mirror
spotlamps
You should contact a PEUGEOT dealer or a qualified workshop for the replacement of the light emitting diode - LED.
Page 204 of 352
202
Practical information
Fuses behind the glove box
Access to the fuses
Open the glove box. Remove the plastic cover.
Fuse N° Rating (A) Functions
F6 A or B 15 Audio system.
F8 3 Alarm.
F13 10 Front cigarette lighter.
F14 10 Front 12 V socket.
F16 3 Rear courtesy lamp, rear map reading lamps.
F17 3 Front courtesy lamp, courtesy mirror.
F28 A or B 15 Audio system.
F30 20 Rear wiper.
F32 10 Audio amplifier.