Page 20 of 404
73
74
74
Familiarisation
18
Arranging your seats
Rigid panel
Putting the seats back in place
Raise the seat back and push it rear wards until it locks.
From the boot
Pull the strap B to release the seat and push the seat back for wards gently.
Folding the seats in
the 2nd row
Pull the strap A upwards firmly to release the seat and continue to pull until the seat is fully folded.
Access to
the 3rd row seats
Close the aircraft style tables on the 2 nd row seats if they are open. Hold the control D up, the seat is released and the seat base rises to the seat back. Push the seat back for wards, holding the control D forwards.
7 seat version
After folding the seats, slide the catch C .
Page 21 of 404
.
75, 127
75, 127
Familiarisation19
Arranging your seats (7 seat version)
Pull the strap E and guide the seat until the assembly locks. Fold the concertina boards forwards.
Lower the head restraints and place the concertina board in the vertical position behind the seat. While pulling the strap F , push the seat F , push the seat Fback for wards gently. Remove the load space screen from its storage compartment and position it behind the 2 nd row seats.
Place the rigid panels of the 2 nd row seats upright and lock them then fold the concertina boards rearwards. Remove the load space cover and store it in its housing.
Changing from 7 to 5 seats Changing from 5 to 7 seats
Page 31 of 404

1
Monitoring29
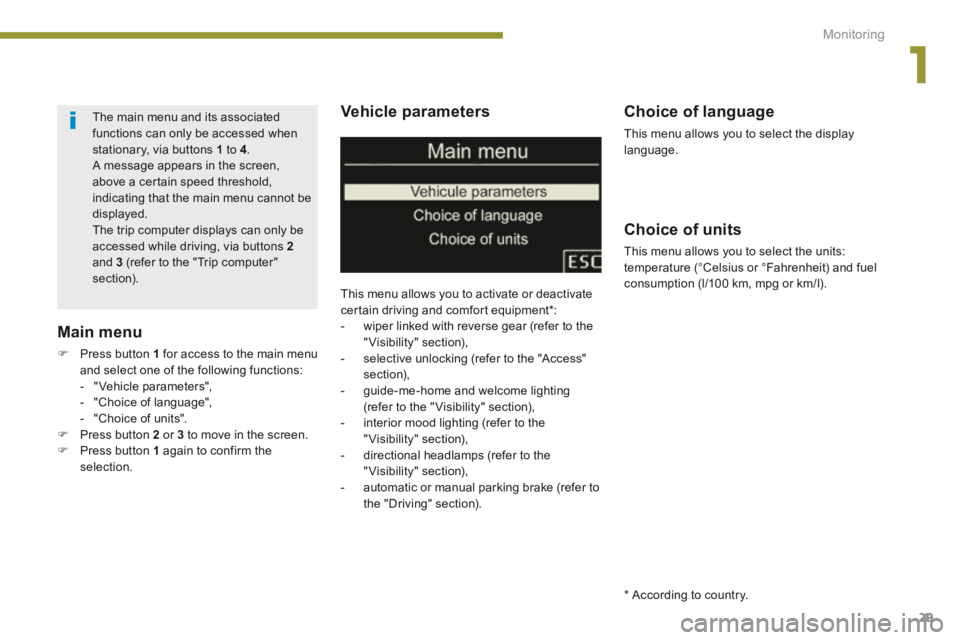
Vehicle parameters
This menu allows you to activate or deactivate
certain driving and comfort equipment * : - wiper linked with reverse gear (refer to the "Visibility" section), - selective unlocking (refer to the "Access" section), - guide-me-home and welcome lighting (refer to the " Visibility" section), - interior mood lighting (refer to the "Visibility" section), - directional headlamps (refer to the "Visibility" section), - automatic or manual parking brake (refer to the "Driving" section).
Choice of units
This menu allows you to select the units: temperature (°Celsius or °Fahrenheit) and fuel consumption (l/100 km, mpg or km/l).
Choice of language
This menu allows you to select the display language.
Main menu
Press button 1 for access to the main menu and select one of the following functions: - " Vehicle parameters", - "Choice of language", - "Choice of units".
Press button 2 or 3 to move in the screen. Press button 1 again to confirm the selection.
The main menu and its associated functions can only be accessed when stationary, via buttons 1 to 4 . A message appears in the screen, above a certain speed threshold, indicating that the main menu cannot be displayed. The trip computer displays can only be accessed while driving, via buttons 2and 3 (refer to the "Trip computer" section).
* According to country.
Page 37 of 404

1
Monitoring35
Electric parking brake flashing. The electric parking brake is not applied automatically. The application/release is faulty.
You must stop as soon as it is safe to do so. Park on flat level ground, engage a gear (or place the lever in position P for an automatic gearbox), switch off the ignition and contact a PEUGEOT dealer or a qualified workshop.
Electric parking brake fault fixed. The electric parking brake has a fault. Contact a PEUGEOT dealer or a qualified workshop without delay. For more information on the electric parking brake, refer to the corresponding section.
Warning lampis onCauseAction/Observations
Braking fixed, associated with the STOP warning lamp.
The braking system fluid level has dropped significantly. You must stop as soon as it is safe to do so. Top up with brake fluid recommended by PEUGEOT. If the problem persists, have the system checked by a PEUGEOT dealer or a qualified workshop.
+ fixed, associated with the electric parking brake malfunction warning lamp, if the parking brake is released.
The braking system has a fault. You must stop as soon as it is safe to do so. Park, switch off the ignition and contact a PEUGEOT dealer or a qualified workshop.
+ fixed, associated with the STOP and ABS warning lamps.
The electronic brake force distribution (EBFD) system has a fault. You must stop as soon as it is safe to do so. Have it checked by a PEUGEOT dealer or a qualified workshop.
Anti-lock Braking System (ABS)
fixed. The anti-lock braking system has a fault. The vehicle retains conventional braking. Drive carefully at reduced speed and contact a PEUGEOT dealer or a qualified workshop without d e l ay.
Page 43 of 404

1
Monitoring41
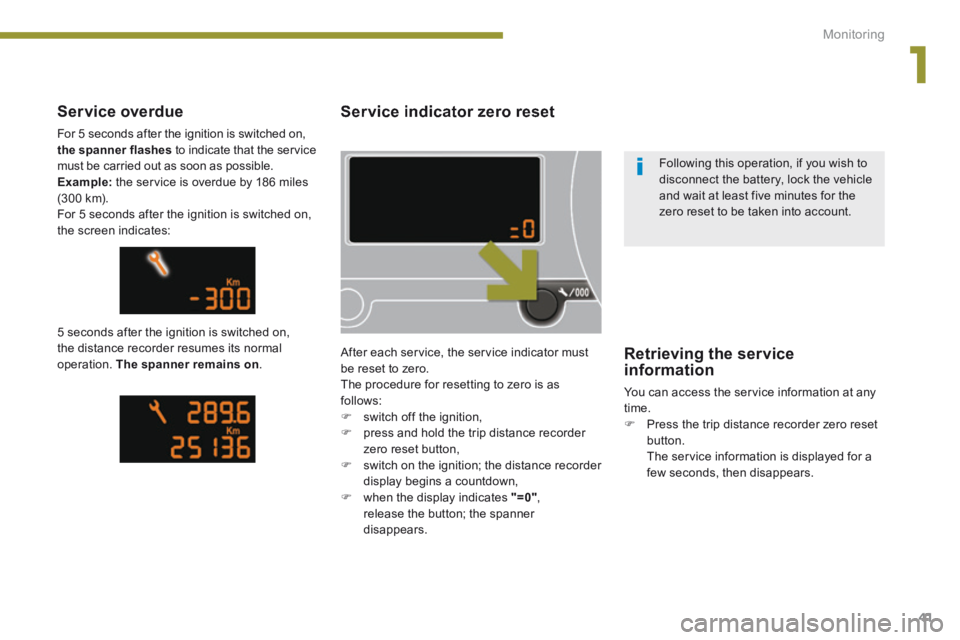
Service indicator zero reset
After each service, the service indicator must be reset to zero. The procedure for resetting to zero is as follows: switch off the ignition, press and hold the trip distance recorder zero reset button, switch on the ignition; the distance recorder display begins a countdown, when the display indicates "=0" , release the button; the spanner disappears.
Service overdue
For 5 seconds after the ignition is switched on, the spanner flashes to indicate that the service must be carried out as soon as possible. Example: the service is overdue by 186 miles (300 km). For 5 seconds after the ignition is switched on, the screen indicates:
5 seconds after the ignition is switched on, the distance recorder resumes its normal operation. The spanner remains on . Retrieving the service information
You can access the service information at any time. Press the trip distance recorder zero reset button. The service information is displayed for a few seconds, then disappears.
Following this operation, if you wish to disconnect the battery, lock the vehicle and wait at least five minutes for the zero reset to be taken into account.
Page 45 of 404

1
Monitoring43
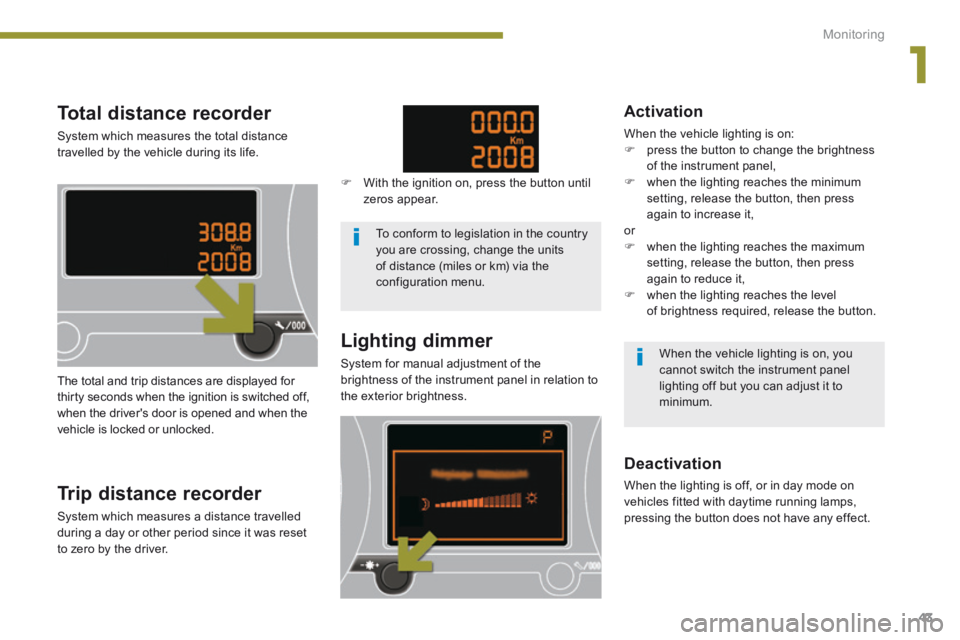
Total distance recorder
System which measures the total distance travelled by the vehicle during its life.
Lighting dimmer
System for manual adjustment of the brightness of the instrument panel in relation to the exterior brightness. The total and trip distances are displayed for thirty seconds when the ignition is switched off, when the driver's door is opened and when the vehicle is locked or unlocked.
Trip distance recorder
System which measures a distance travelled during a day or other period since it was reset to zero by the driver.
With the ignition on, press the button until zeros appear.
Deactivation
When the lighting is off, or in day mode on vehicles fitted with daytime running lamps, pressing the button does not have any effect.
Activation
When the vehicle lighting is on: press the button to change the brightness of the instrument panel, when the lighting reaches the minimum setting, release the button, then press again to increase it, or when the lighting reaches the maximum setting, release the button, then press again to reduce it, when the lighting reaches the level of brightness required, release the button.
To conform to legislation in the country you are crossing, change the units of distance (miles or km) via the configuration menu.
When the vehicle lighting is on, you cannot switch the instrument panel lighting off but you can adjust it to minimum.
Page 47 of 404

2
Multifunction screens45
Vehicle confi guration
Options
Once the "Options" menu has been selected, you can start diagnostics of the status of the equipment (active, not active, faulty).
Languages
Once the "Languages" menu has been selected, you can change the language used by the display (Français, Italiano, Nederlands, Portugues, Portugues-Brasil, Türkçe, Deutsch, English, Espanol).
Date and time
Once the "Display settings" menu has been selected, you can gain access to the following settings: - ye a r, - month, - d ay, - h o u r, - minutes, - 12 or 24 hour mode. Units
Once the "Units" menu has been selected, you can change the units for: - temperature (°C or °F), - fuel consumption (l/100 km, mpg or km/l).
Once you have selected a setting, press the "OK" button to change its value.
Wait for approximately ten seconds without any action to allow the changed data to be recorded or press the "ESC" button to cancel. The screen then returns to the normal display.
Once the " Vehicle configuration" menu has been selected, you can activate or deactivate the following equipment (according to country): - wiper linked with reverse gear (refer to the "Visibility" section), - selective unlocking (refer to the " Access" section), - "guide-me-home" and welcome lighting (refer to the " Visibility" section), - interior mood lighting (refer to the "Visibility" section), - directional headlamps (refer to the "Visibility" section), - automatic or manual parking brake (refer to the "Driving" section), - parking space sensors (se the "Driving" section), - ...
For safety reasons, configuration of the multifunction screen by the driver must only be done when stationary.
Page 49 of 404

2
Multifunction screens47
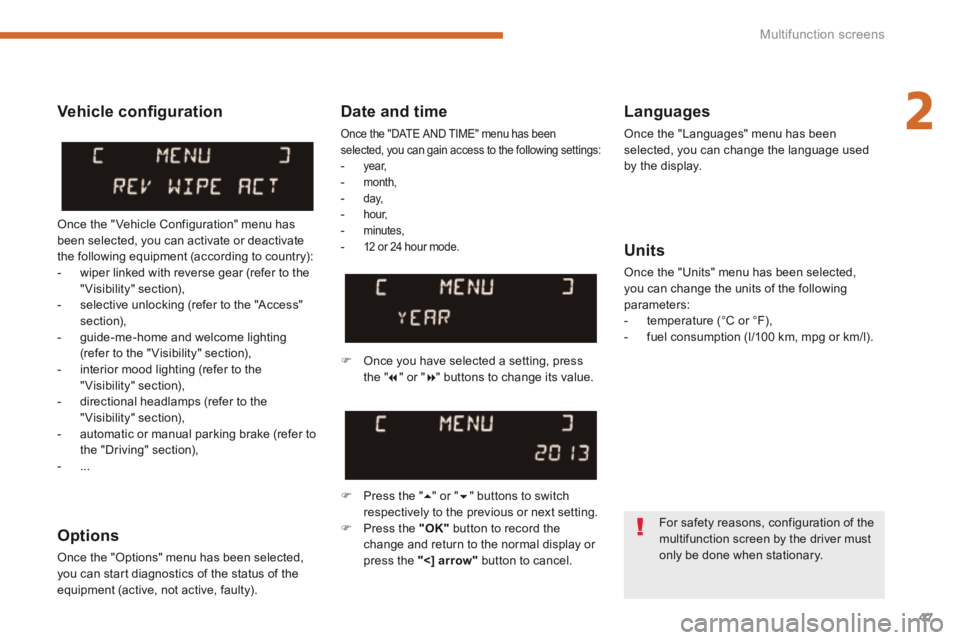
Date and time
Once the "DATE AND TIME" menu has been selected, you can gain access to the following settings: - ye a r, - month, - d ay, - h o u r, - minutes, - 12 or 24 hour mode.
Languages
Once the "Languages" menu has been selected, you can change the language used by the display.
Units
Once the "Units" menu has been selected, you can change the units of the following parameters: - temperature (°C or °F), - fuel consumption (l/100 km, mpg or km/l).
Once you have selected a setting, press t h e " " or " " buttons to change its value.
Press the " " or " " buttons to switch respectively to the previous or next setting. Press the "OK" button to record the change and return to the normal display or press the " < ] arrow" button to cancel.
Vehicle confi guration
Once the " Vehicle Configuration" menu has been selected, you can activate or deactivate the following equipment (according to country): - wiper linked with reverse gear (refer to the "Visibility" section), - selective unlocking (refer to the "Access" section), - guide-me-home and welcome lighting (refer to the " Visibility" section), - interior mood lighting (refer to the "Visibility" section), - directional headlamps (refer to the "Visibility" section), - automatic or manual parking brake (refer to the "Driving" section), - ...
Options
Once the "Options" menu has been selected, you can start diagnostics of the status of the equipment (active, not active, faulty).
For safety reasons, configuration of the multifunction screen by the driver must only be done when stationary.