Page 42 of 256
40
F With the electronic key on your person, press the boot opening control to unlock
and release the tailgate.
t
h
e vehicle is unlocked as well.
F
R
aise the tailgate by the exterior handle to
open it.
Using the Keyless Entry
and Starting system
If the vehicle had been previously unlocked by
the front door, it is not necessary to have the
electronic key on your person to use the boot
opening control. F
W
ith the electronic key on your person,
press the button on the boot sill to lock it.
or
L
ock the vehicle by the front doors.
When closing the boot, do not slam shut
the tailgate: guide it down and release it
at the end of its travel.
Access
Page 45 of 256

43
Opening
F Briefly press the control in the opening direction to open the the roof in stages.
or
F
P
ress and hold the control in the opening
direction, until the manoeuvre is complete,
to open the roof completely.
P
ressing again stops the movement of the
roof.
Closing
F Briefly press the control in the closing direction to open the the roof in stages.
or
F
P
ress and hold the control in the closing
direction, until the manoeuvre is complete,
to close the roof to position 1 .
P
ressing again stops the movement of the
roof.
F
t
o c
lose the roof completely, press and
hold the control (between positions 1
and
0) until the roof locks closed.
Position of the roof
Position 0 : Roof completely closed.
Position 1 : Automatic stop position for the roof.
Position 2 : Roof completely open.
th
e closing manoeuvre of the roof
could cause serious injuries: take
particular care with children.
If the roof does not close correctly:
-
c
heck that nothing is blocking the roof
(ignition off),
-
r
epeat the closing command (with the
engine running).
If the problem persists, contact a P
e
uge
Ot
dealer or a qualified workshop.
2
Access
Page 50 of 256

48
ensure that no person or object
prevents the seat slide from returning to
its initial position.
Check that the seat belt has reeled in
correctly so as to not impede access for
passengers to the rear seats.
Heated seat controlAccess to the rear seats
(3-door)
F Pull this control toward you to fold the seat
back and move the seat for ward.
When returning the seat to its initial position,
guide it back until the seat and backrest lock
into place.
Wit the engine running, the front seats can be
heated separately.
F
P
ress the control switch.
t
h
e indicator lamp comes on.
F
P
ressing the switch again stops the
heating.
the
temperature is controlled automatically.
the
seat heating function is deactivated about
two minutes after switching off the ignition.
t
o
r
eactivate it, switch the ignition on and press
the control switch again. Switch the seat heating off as soon
as it is no longer needed, as reducing
the vehicle's electrical current demand
reduces fuel consumption.
Comfort
Page 51 of 256
49
Your vehicle is fitted with a fixed one-piece cushion bench rear seat, and depending on version:
- a f olding split (50/50) backrest,
-
a f
olding one-piece backrest.
When not in use, or before folding the seat
backrest(s), stow the rear seat belts by
inserting their tongues in the dedicated holders,
located on the side pillars.
th
e seat backrest is folded from the rear of the
vehicle, with the boot open.
F
P
lace the head restraints in the low
position.
R
efer to the "rear head restraints" section.
F
P
ull the strap(s) A, located behind the seat
backrest(s) to release them, and lay them
on the seat cushion.
Rear seats
Stowing the seat belts Folding the seat backrest
F unfold the backrest to the rear and engage it on the anchorage B .
F
e
n
sure that the seat back has locked in
place correctly.
Returning the backrest of the
bench seat to its initial position
3-door 5-door
3
Comfort
Page 54 of 256
52
Steering wheel adjustment
(with power steering)
F When stationary, hold the steering
wheel then lower the lever to release the
adjustment mechanism.
F
A
djust the steering wheel to the desired
height and then raise the lever to lock the
adjustment mechanism.
For safety reasons, these operations
must not be carried out while driving.
Once these adjustments have been made,
ensure that you can see the instrument
panel clearly from your driving position.
Manual rear view mirror
the rear view mirror has two positions:
- d ay (normal),
-
n
ight (anti-dazzle).
to c
hange from one to the other, push or pull
the lever on the lower edge of the mirror.
Correct driving position
Before taking to the road and to make the most
of the ergonomics of your driving position, carry
out these adjustments in the following order:
-
b
ackrest angle,
-
c
ushion height,
-
l
ongitudinal position of the seat,
-
hei
ght of the steering wheel,
-
t
he interior and door mirrors.
Comfort
Page 56 of 256

54
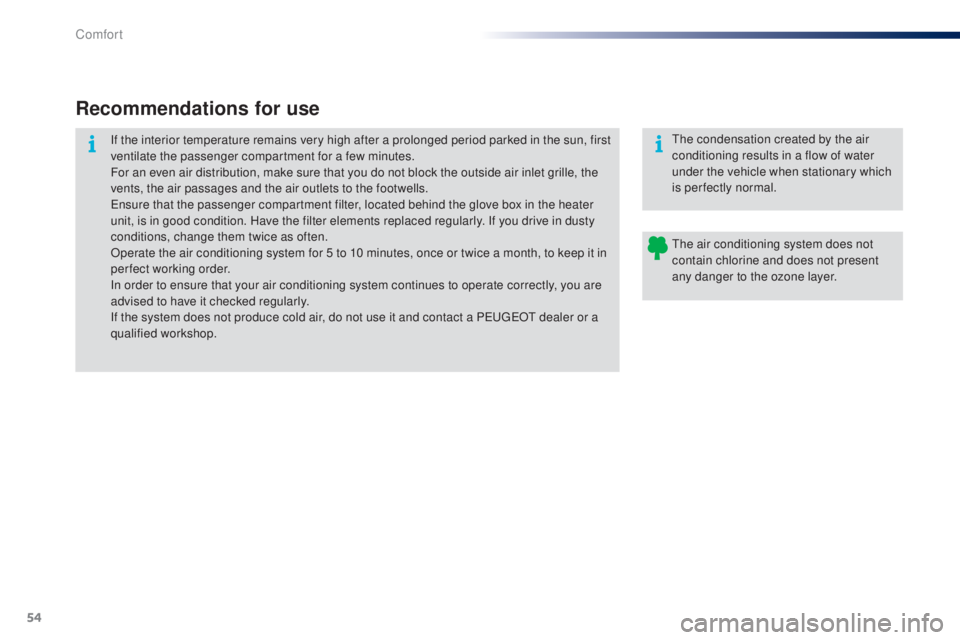
Recommendations for use
If the interior temperature remains very high after a prolonged period parked in the sun, first
ventilate the passenger compartment for a few minutes.
For an even air distribution, make sure that you do not block the outside air inlet grille, the
vents, the air passages and the air outlets to the footwells.
en
sure that the passenger compartment filter, located behind the glove box in the heater
unit, is in good condition. Have the filter elements replaced regularly. If you drive in dusty
conditions, change them twice as often.
Operate the air conditioning system for 5 to 10 minutes, once or twice a month, to keep it in
perfect working order.
In order to ensure that your air conditioning system continues to operate correctly, you are
advised to have it checked regularly.
If the system does not produce cold air, do not use it and contact a P
e
uge
Ot
dealer or a
qualified workshop.
th
e air conditioning system does not
contain chlorine and does not present
any danger to the ozone layer.th e condensation created by the air
conditioning results in a flow of water
under the vehicle when stationary which
is perfectly normal.
Comfort
Page 73 of 256

71
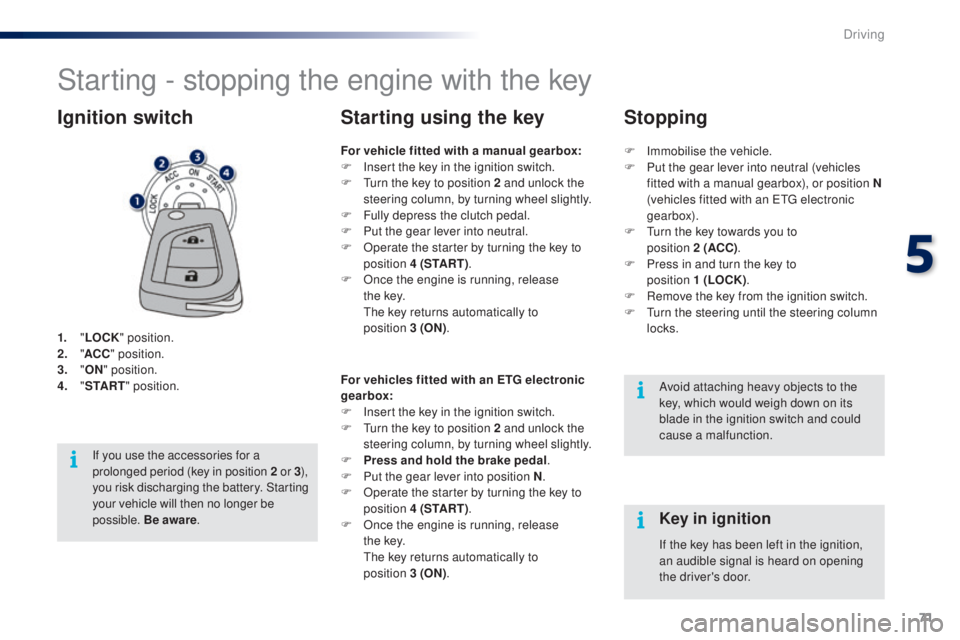
Starting - stopping the engine with the key
1. "LOCK " position.
2. " AC
C" position.
3.
"ON " position.
4.
" S
TA R T" position.
Ignition switch
Avoid attaching heavy objects to the
key, which would weigh down on its
blade in the ignition switch and could
cause a malfunction.
Key in ignition
For vehicle fitted with a manual gearbox:
F
I nsert the key in the ignition switch.
F
t
u
rn the key to position 2 and unlock the
steering column, by turning wheel slightly.
F
F
ully depress the clutch pedal.
F
P
ut the gear lever into neutral.
F
O
perate the starter by turning the key to
position 4 (S TA R T ) .
F
O
nce the engine is running, release
t h e
key.
t
h
e key returns automatically to
position
3
(ON).
Starting using the key
If the key has been left in the ignition,
an audible signal is heard on opening
the driver's door.
For vehicles fitted with an ETG electronic
gearbox:
F
I
nsert the key in the ignition switch.
F
t
u
rn the key to position 2 and unlock the
steering column, by turning wheel slightly.
F
P
ress and hold the brake pedal
.
F
P
ut the gear lever into position N
.
F
O
perate the starter by turning the key to
position 4 (S TA R T ) .
F
O
nce the engine is running, release
t h e
key.
th
e key returns automatically to
position
3
(ON) .
If you use the accessories for a
prolonged period (key in position 2
or 3),
you risk discharging the battery. Starting
your vehicle will then no longer be
possible. Be aware . F
Imm
obilise the vehicle.
F
P
ut the gear lever into neutral (vehicles
fitted with a manual gearbox), or position N
(vehicles fitted with an etg electronic
gearbox).
F
t
u
rn the key towards you to
position
2
(ACC)
.
F
P
ress in and turn the key to
position
1 (LOCK)
.
F
R
emove the key from the ignition switch.
F
t
u
rn the steering until the steering column
locks.
Stopping
5
Driving
Page 75 of 256

73
Starting using the
electronic key
With the first press on the "S TA R T/
STOP " button, this indicator lamp
flashes slowly in the instrument panel. Depending on the ambient temperature,
each attempt at starting can take up to
around 30 seconds. During this period,
do not press the "
START/STOP" button
again, or release the clutch pedal or
brake pedal (depending on the type of
gearbox).
After this period, if the engine has not
started, press the " START/STOP"
button again for another attempt at
starting. If one of the starting conditions
is not met, the Keyless
e
n
try and
Starting system indicator lamp flashes
in the instrument panel. In some
circumstances, it is necessary to
turn the steering wheel slightly while
pressing the " START/STOP " button to
assist unlocking of the steering.
For vehicles fitted with a manual gearbox:
F
W
ith the electronic key inside the vehicle,
put the gear lever into neutral and fully
depress the clutch pedal.th e presence of the electronic key in
the vehicle is essential for switching
on the ignition and starting only. Once
the engine has started,
make sure
that the electronic key remains with
the vehicle until the end of the journey:
other wise you would not be able to lock
the vehicle.
F
P
ress and release the " S TA R T/
STOP " button.
th
is indicator lamp comes on in the
instrument panel. For vehicles fitted with an ETG electronic
gearbox
:
F
W
ith the electronic key inside the vehicle,
put the gear lever at N and press the brake
pedal.
th
is indicator lamp comes on in the
instrument panel.
F
P
ress and release the "
S TA R T/
STOP " button.
5
Driving