2014 NISSAN ROGUE steering
[x] Cancel search: steeringPage 2 of 28
*See your Owner’s Manual for information.01
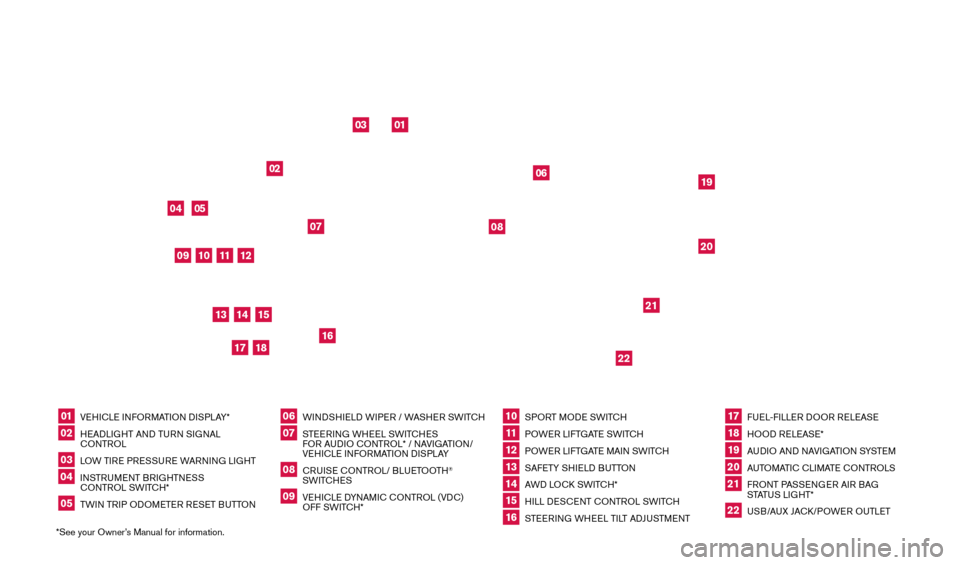
VEHICLE INFORMATION DISPLAY*
02
HEADLIGHT AND TURN SIGNAL
CONTROL
03
LOW TIRE PRESSURE WARNING LIGHT
04
INSTRUMENT BRIGHTNESS
CONTROL SWITCH*
05
TWIN TRIP ODOMETER RESET BUTTON
06
WINDSHIELD WIPER / WASHER SWITCH
07
STEERING WHEEL SWITCHES
FO
R AUDIO CONTROL* / NAVIGATION/
VEHICLE INFORMATION DISPLAY
08
CRUISE CONTROL/ BLUETOOTH
®
SWITCHES
09
VEHICLE DYNAMIC CONTROL (VDC)
OFF SWITCH*
10
SPORT MODE SWITCH
11 POWER LIFTGATE SWITCH
12
POWER LIFTGATE MAIN SWITCH
13
SAFETY SHIELD BUTTON
14
AWD LOCK SWITCH*
15
HILL DESCENT CONTROL SWITCH
16
STEERING WHEEL TILT ADJUSTMENT
17
FUEL-FILLER DOOR RELEASE
18
HOOD RELEASE*
19
AUDIO AND NAVIGATION SYSTEM
20
AUTOMATIC CLIMATE CONTROLS
21
FRONT PASSENGER AIR BAG
STATUS LIGHT*
22
USB/AUX JACK/POWER OUTLET
01
10
03
04
11
19
12
16
05
06
18
17
02
07
08
14
13
21
22
20
09
15
BEHIND STEERING
WHEEL
1766904_14d_Rogue_QRG_062514.indd 46/25/14 3:29 PM
Page 3 of 28
TABLE OF CONTENTS
NEW SYSTEM FEATURES Around View® Monitor with Moving Object Detection (MOD)
(if so equipped) ................................................2 Sport Mode ...................................................3 Blind Spot Warning (B
SW) System (if so equipped)
.....................
3 Lane Departure Warning (LD
W) System (if so equipped)
.................
4 Forward Collision W
arning (FCW) System (if so equipped)
................4 Hill Start Assist (H
SA) System
........................................4 Hill Descent Control (HD
C) System (if so equipped)
.....................5 All-Wheel Drive (A
WD) Indicator Lights
.................................5
ES
SENTIAL INFORMATION
Tire Pressure Monitoring System (TP
MS) with Easy Fill Tire Alert
.......6
Loose Fuel Cap................................................7 Fuel-filler Door.................................................7
Towing Y
our Vehicle
.............................................7
Outside Temperature Display.....................................8 Divide-N-Hide® Floor (if so equipped)..............................8 Clock Set/
Adjustment...........................................9
FIR
ST DRIVE FEATURES
NI
SSAN Intelligent Key
® System (if so equipped)...................10 Po
wer Liftgate (if so equipped)....................................11 Front Seat Adjustments.........................................11 2ND Row Seats................................................12 3RD Row Seats (if so equipped)..................................12 Outside Mirror Control Switch...................................12 Starting/Stopping the Engine....................................13
Headlight Control Switch .......................................13
Windshield W
iper and Washer Switch
............................14 Automatic Climate Controls (if so equipped) .......................15 F
M/AM/SiriusXM
® Satellite Radio with CD Player (if so equipped).....16 Cruise Control . . . . . . . . . . . . . . . . . . . . . . . . . . . . . . . . . . . .\
. . . . . . . . . . . . 17 US
B (Universal Serial Bus) Connection Port/Aux Jack and iPod
® Interface 17 Power Panoramic Moonroof (if so equipped).......................18 Center Console Storage box ....................................18 Tilt and T
elescopic Steering Wheel Adjustments
....................18
SY
STEM GUIDE
Vehicle Information Display......................................19 Bluetooth® Hands-free Phone System ............................20 System Operating Tips.......................................20 Bluetooth® System without Navigation (if so equipped)...............20 Bluetooth® System with Navigation (if so equipped) .................21 Navigation System (if so equipped)...............................23 HomeLink® Universal Transceiver (if so equipped).......................24
Please see your Owner’s Manual for important safety
information and system operation limitations.
•
A cellular telephone should not be used for any purpose while
driving so full attention may be given to vehicle operation.
• Always wear your seat belt.
• Supplement
al air bags do not replace proper seat belt usage.
•
Children 12 and under should always ride in the rear seat
properly secured in c
hild restraints or seat belts according to
their age and weight.
• Do not drink and drive.
For more information, refer to the “Safety — Seats, seat belts and
supplemental restraint system (section 1)”, “Center display, heater,
air conditioner, audio, phone and voice recognition systems (section
4)” and “Starting and driving (section 5)” of your Owner’s Manual.
Additional information about your vehicle is also available in your
Owner’s Manual, Navigation System Owner’s Manual and at www.nissanusa.com.
To view detailed
instructional videos, go to
www.nissanownersinfo.mobi/
2014/rogue
or snap this barcode with an appropriate barcode reader.
1766904_14d_Rogue_QRG_062514.indd 56/25/14 3:29 PM
Page 9 of 28
7
LOOSE FUEL CAP
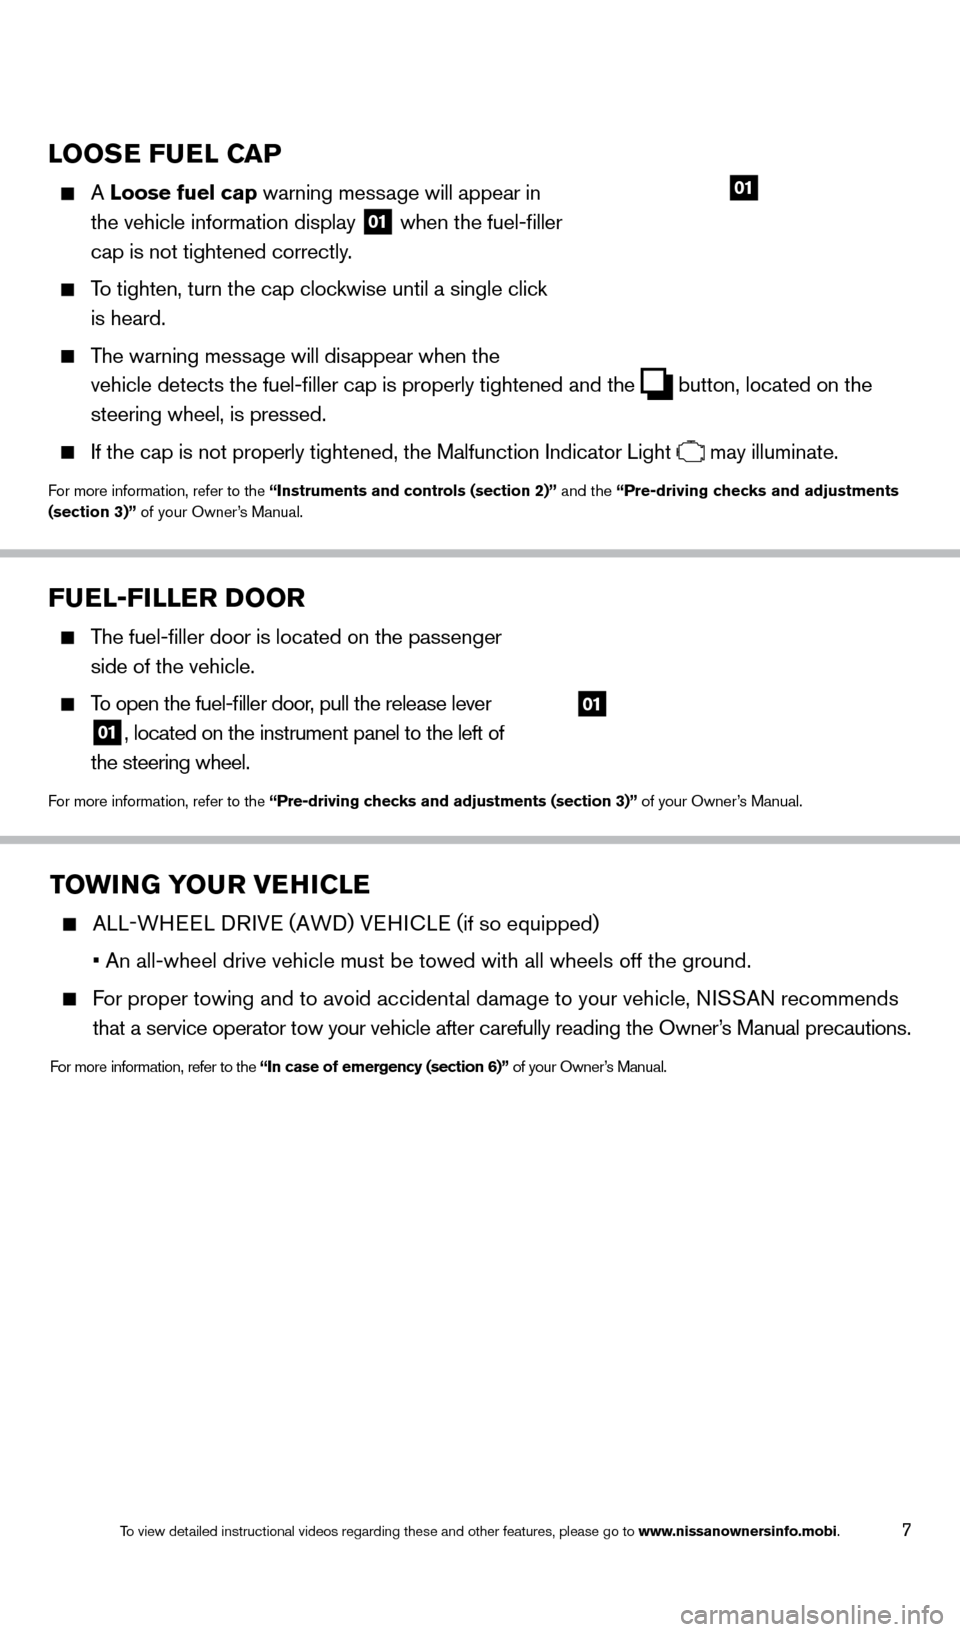
A Loose fuel cap warning mess age will appear in
the vehicle information display
01 when the fuel-filler
cap is not tightened correctly.
To tighten, turn the cap clockwise until a single click
is heard.
The warning message will disappear when the
vehicle detects the fuel-filler cap is properly tightened and the
button, located on the
steering wheel, is pressed.
If the cap is not properly tightened, the Malfunction Indicator Light may illuminate.
For more information, refer to the “Instruments and controls (section 2)” and the “Pre-driving checks and adjustments
(section 3)” of your Owner’s Manual.
01
TOWING YOUR VEHICLE
ALL-WHEEL DRIVE (AWD) VEHICLE ( if so equipped)
• An all-wheel drive vehicle must be towed with all wheels off the groun\
d.
For proper towing and to avoid accidental damage to your vehicle, NISSAN recommends
that a service operator tow your vehicle after carefully reading the Own\
er
’s Manual precautions.
For more information, refer to the “In case of emergency (section 6)” of your Owner’s Manual.
FUEL-FILLER DOOR
The fuel-filler door is located on the passenger
side of the vehicle.
To open the fuel-filler door, pull the release lever
01, located on the instrument panel to the left of
the steering wheel.
For more information, refer to the “Pre-driving checks and adjustments (section 3)” of your Owner’s Manual.
01
1766904_14d_Rogue_QRG_062514.indd 76/25/14 3:29 PM
To view detailed instructional videos regarding these and other features, please go\
to www.nissanownersinfo.mobi.
Page 10 of 28
8
ESSE NTIAL I N FOR MATION
OUTSIDE TEMPERATURE DISPLAY
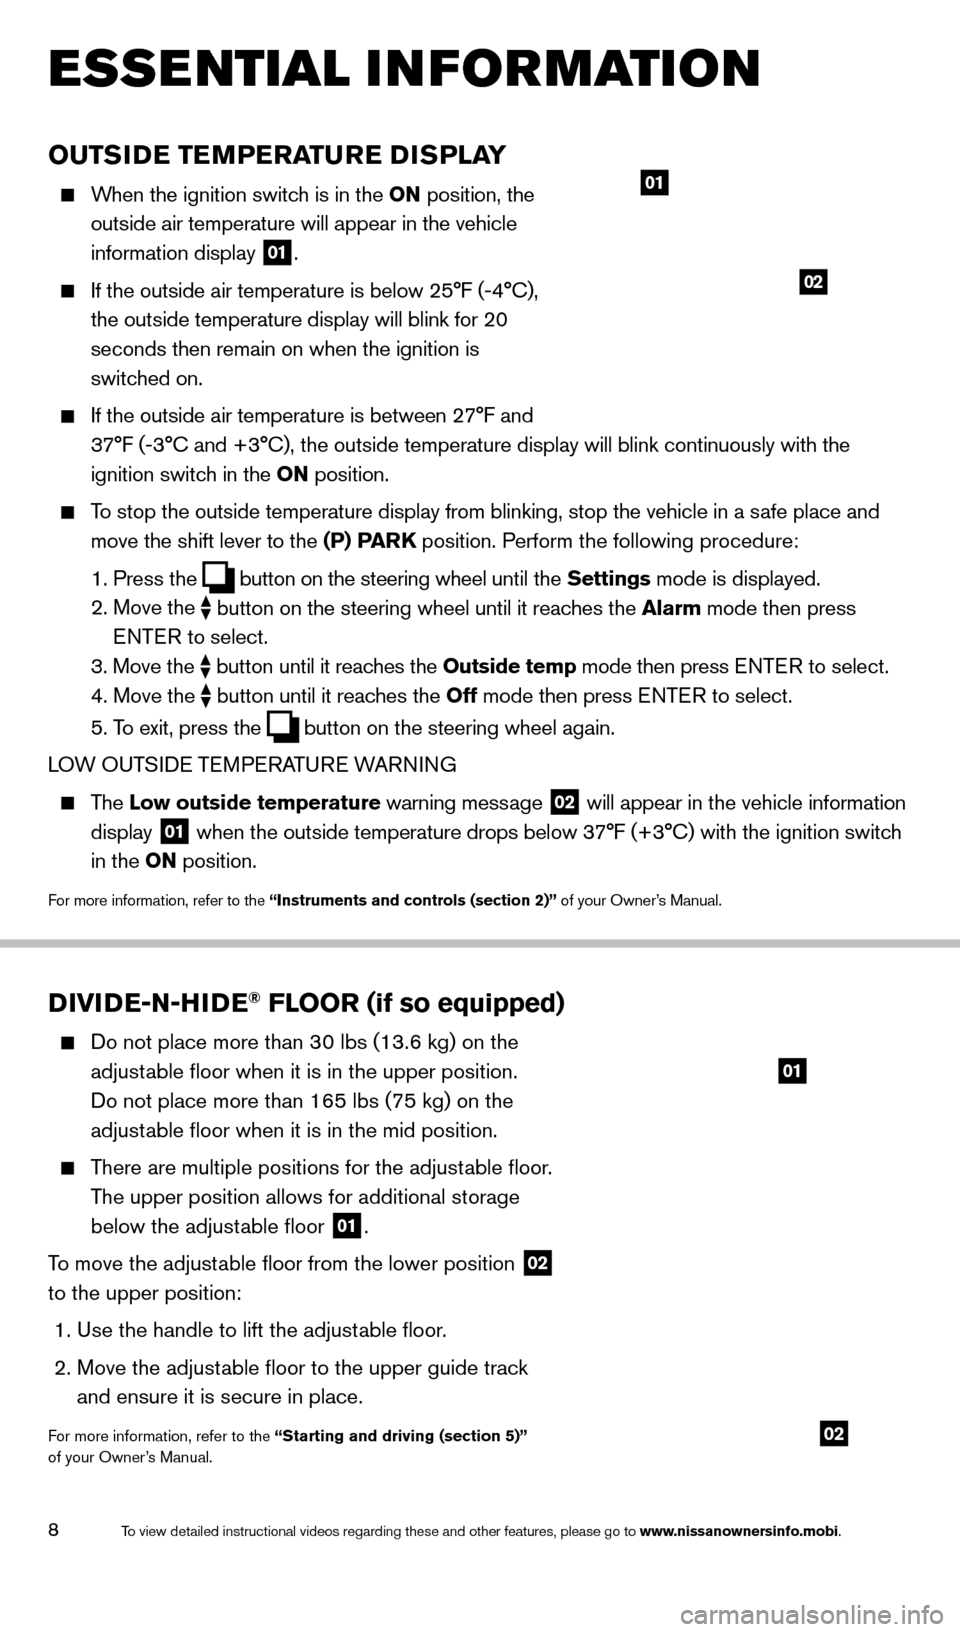
When the ignition switch is in the ON position, the
outside air temperature will appear in the vehicle
information display
01.
If the outside air temperature is below 25°F (-4°C),
the outside temperature display will blink for 20
seconds then remain on when the ignition is
switched on.
If the outside air temperature is between 27°F and
37°F (-3°C and +3°C), the outside temperature display will bli\
nk continuously with the
ignition switch in the ON position.
To stop the outside temperature display from blinking, stop the vehicle i\
n a safe place and
move the shift lever to the
(P) PARK position. Perform the following procedure:
1. Press the button on the steering wheel until the Settings mode is displayed.
2. Move the
button on the steering wheel until it reaches the Alarm mode then press
E NTE R to select.
3.
Move
the
button until it reaches the Outside temp mode then press E NTE R to select. 4. Move the
button until it reaches the Off mode then press E NTE R to select. 5. To exit, press the button on the steering wheel again.
LOW OUTSIDE TEMPERATURE WARNING
The Low outside temperature warning mess age 02 will appear in the vehicle information
display
01 when the outside temperature drops below 37°F (+3°C) with the ignition switch
in the ON position.
For more information, refer to the “Instruments and controls (section 2)” of your Owner’s Manual.
01
02
DIVIDE-N-HIDE® FLOOR (if so equipped)
Do not place more than 30 lbs (13.6 kg) on the
adjust able floor when it is in the upper position.
Do not place more than 165 lbs (75 kg) on the
adjustable floor when it is in the mid position.
There are multiple positions for the adjustable floor.
T he upper position allows for additional storage
below the adjustable floor
01.
To move the adjustable floor from the lower position
02
to the upper position:
1. Use the handle to lift the adjustable floor.
2.
Move the adjustable floor to the upper guide trac
k
and ensure it is secure in place.
For more information, refer to the “Starting and driving (section 5)”
of your Owner’s Manual.
01
02
1766904_14d_Rogue_QRG_062514.indd 86/25/14 3:29 PM
To view detailed instructional videos regarding these and other features, please go\
to www.nissanownersinfo.mobi.
Page 20 of 28
18
FIRST DRIVE FEATURES
POWER PANORAMIC MOONROOF (if so equipped)
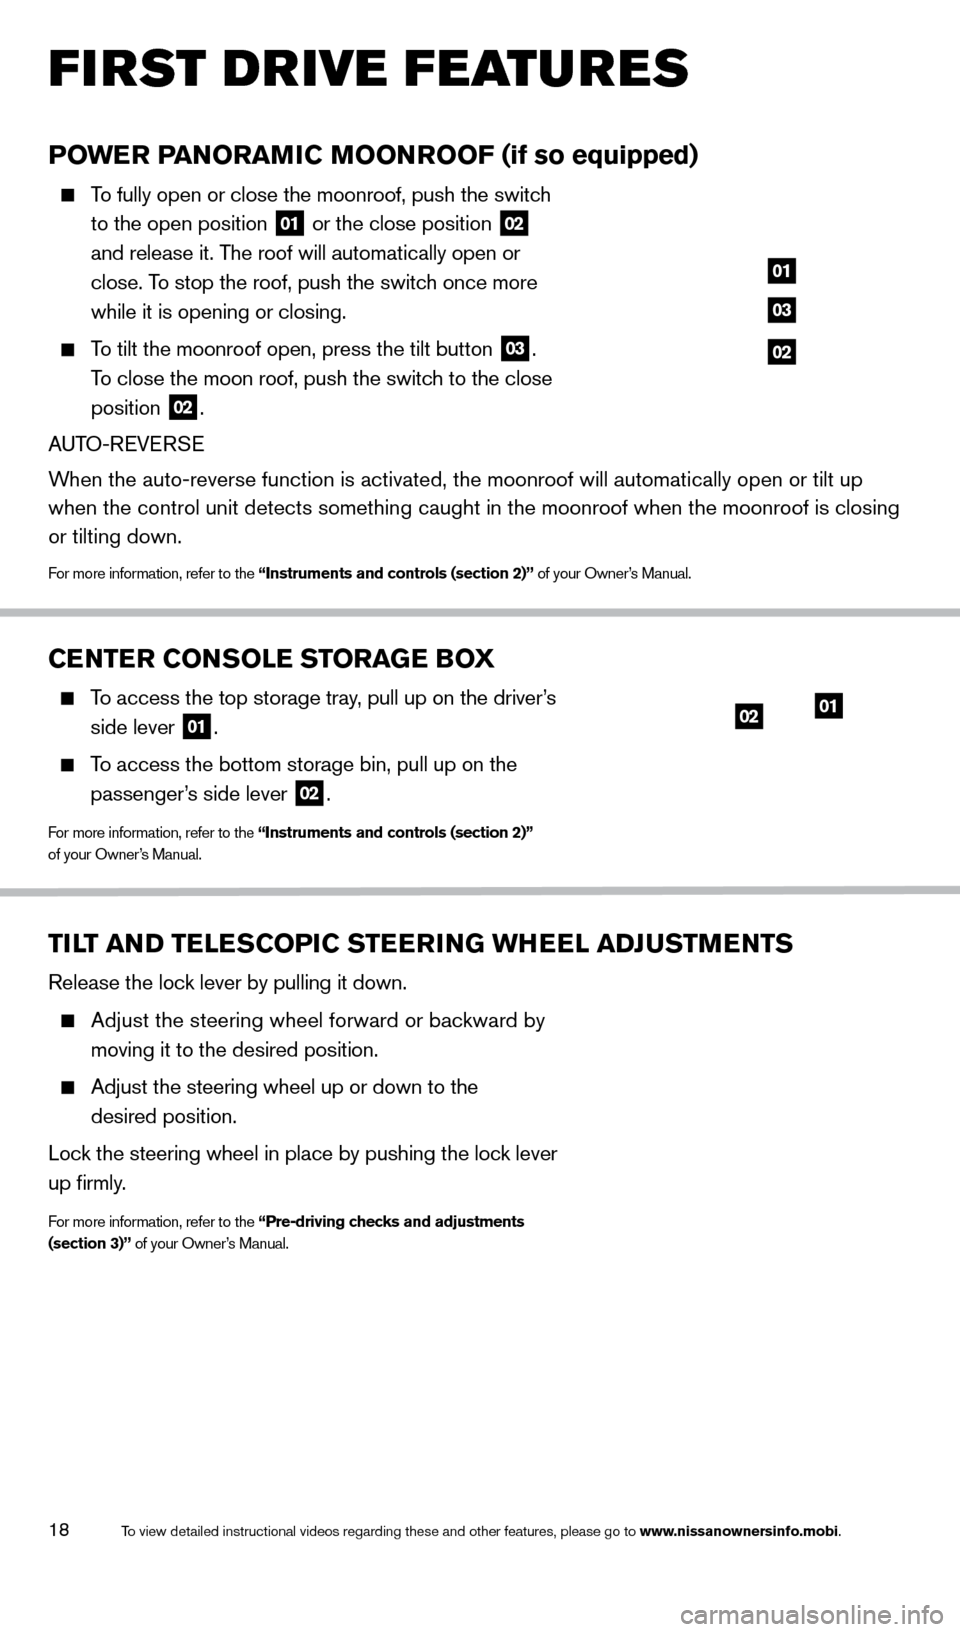
To fully open or close the moonroof, push the switch
to the open position
01 or the close position 02
and release it. The roof will automatically open or
close. To stop the roof, push the switch once more
while it is opening or closing.
To tilt the moonroof open, press the tilt button 03.
To close the moon roof, push the switch to the close
position
02.
AUTO-REVERSE
When the auto-reverse function is activated, the moonroof will automatica\
lly open or tilt up
when the control unit detects something caught in the moonroof when the \
moonroof is closing
or tilting down.
For more information, refer to the “Instruments and controls (section 2)” of your Owner’s Manual.
01
03
02
CENTER CONSOLE STORAGE BOX
To access the top storage tray, pull up on the driver’s
side lever
01.
To access the bottom storage bin, pull up on the
passenger ’s side lever
02.
For more information, refer to the “Instruments and controls (section 2)”
of your Owner’s Manual.
TILT AND TELESCOPIC STEERING WHEEL ADJUSTMENTS
Release the lock lever by pulling it down.
Adjust the steering wheel forward or backward by
moving it to the desired position.
Adjust the steering wheel up or down to the
desired position.
Lock the steering wheel in place by pushing the lock lever
up firmly.
For more information, refer to the “Pre-driving checks and adjustments
(section 3)” of your Owner’s Manual.
0102
1766904_14d_Rogue_QRG_062514.indd 186/25/14 3:30 PM
To view detailed instructional videos regarding these and other features, please go\
to www.nissanownersinfo.mobi.
Page 21 of 28
19
SYSTEM GUIDE
VEHICLE INFORMATION DISPLAY
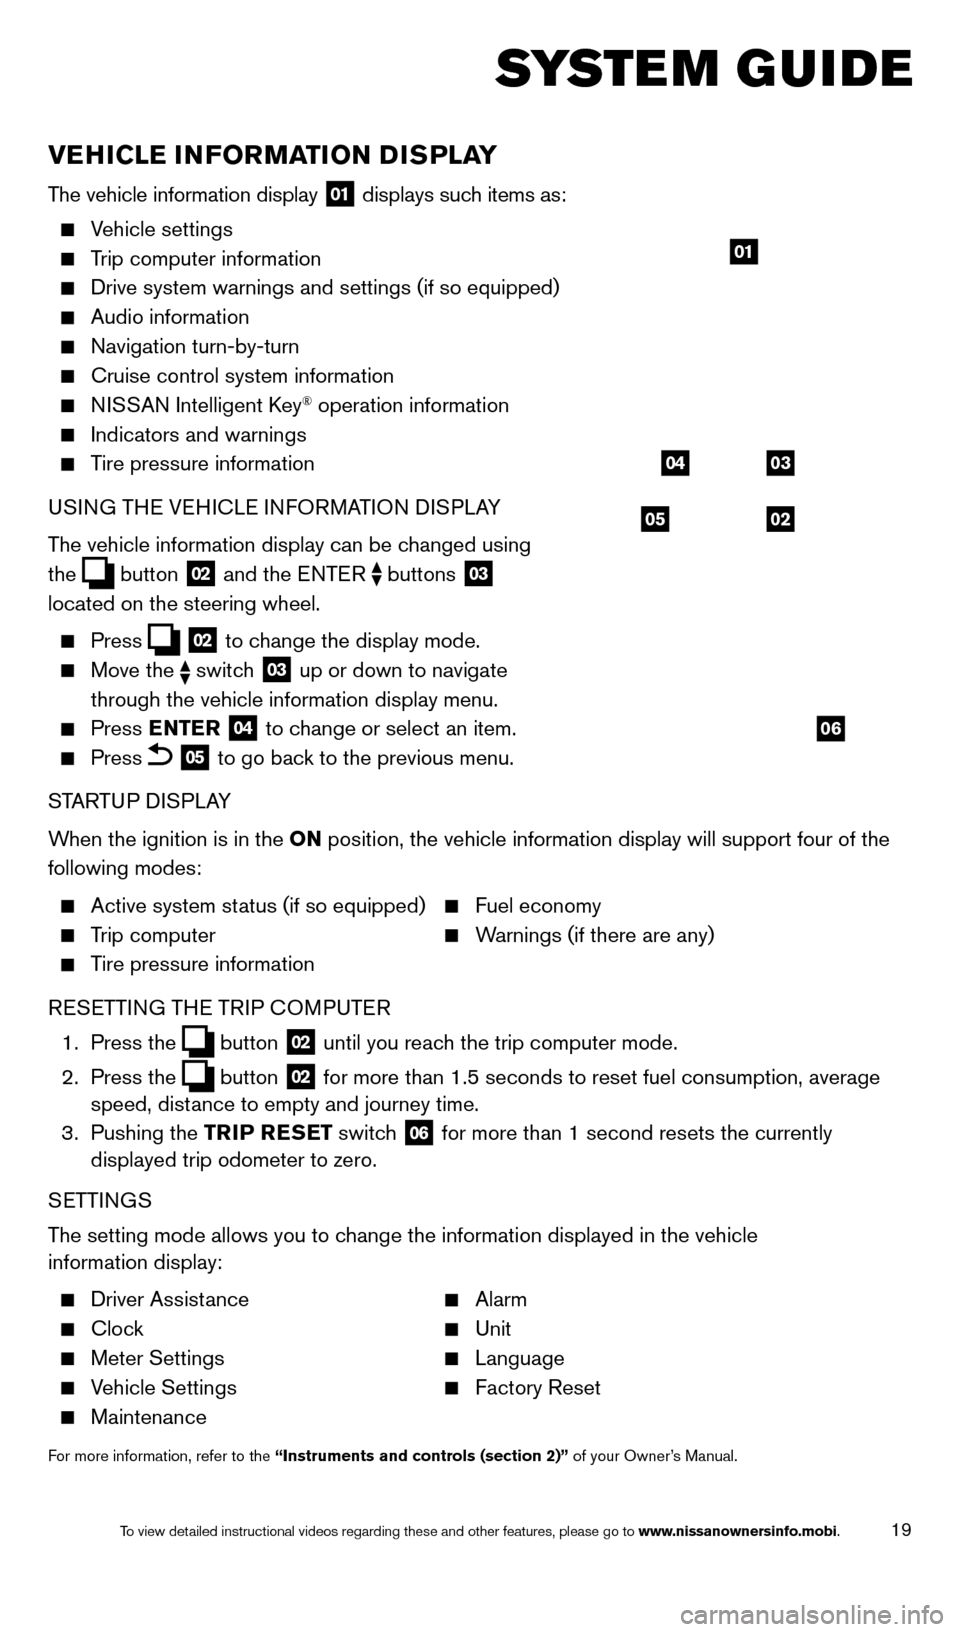
The vehicle information display 01 displays such items as:
Vehicle settings
Trip computer information
Drive system warnings and settings (if so equipped)
Audio information
Navigation turn-by-turn
Cruise control system information
NISSAN Intelligent Key® operation information
Indicators and warnings
Tire pressure information
USI NG THE VEHICLE INFORMATION DISPLAY
The vehicle information display can be changed using
the
button 02 and the ENTER buttons 03
located on the steering wheel.
Press 02 to change the display mode.
Move the switch 03 up or down to navigate
through the vehicle information display menu.
Press ENTER 04 to change or select an item.
Press 05 to go back to the previous menu.
STARTUP DISPLAY
When the ignition is in the ON position, the vehicle information display will support four of the
following modes:
Active system status (if so equipped) Fuel economy
Trip computer Warnings (if there are any)
Tire pressure information
R
ESETTING THE TRIP COMPUTER
1.
Press
the
button 02 until you reach the trip computer mode.
2.
Press
the
button 02 for more than 1.5 seconds to reset fuel consumption, average
speed, distance to empty and journey time.
3.
Pushing
the TRIP RESET switch
06 for more than 1 second resets the currently
displayed trip odometer to zero.
SETTINGS
The setting mode allows you to change the information displayed in the vehicle
information display:
Driver Assistance Alarm
Clock Unit
Meter Settings Language
Vehicle Settings Factory Reset
Maintenance
For more information, refer to the “Instruments and controls (section 2)” of your Owner’s Manual.
05
03
02
04
06
01
1766904_14d_Rogue_QRG_062514.indd 196/25/14 3:30 PM
To view detailed instructional videos regarding these and other features, please go\
to www.nissanownersinfo.mobi.
Page 22 of 28
20
SYSTEM GUIDE
BLUETOOTH® HANDS-FREE PHONE SYSTEM
A cellular telephone should not be used while driving
so full attention may be given to vehicle operation.*
S
YSTEM OPERATING TIPS
Press the button to interrupt the voice prompts
at any time and speak a command after the tone.
To use the system faster, you may speak the second
level commands with the main menu command on
the main menu. F
or example, press the
button
and after the tone say, “Call Redial”.
The “Help” command can be used to hear a list of
available commands at any time.
Reduce background noise as muc h as possible by
closing windows and pointing HVAC vents away from
the ceiling.
Speak naturally without long pauses and without
raising your voice.
When speaking Phonebook names, please be aware some phones require the la\
st name to be
spoken before the first name. F or example, “Michael Smith” may be spoken as “Smith Michael”.
To cancel a voice recognition session, say “Exit” or press and hold the button.
To decrease or increase the volume of the voice prompts, push the volume \
control switches
or
on the steering wheel or turn the VOL/ON•OFF control knob on the audio
system while the system is responding.
Voice commands can be used to operate various Bluetooth® System features using the
NISSAN Voice Recognition system. See your Owner’s Manual for detailed information.
For more detailed information and instructions, refer to your cellular phone Owner’s Manual and
visit www
.nissanusa.com/bluetooth.
BLUETOOTH® SYSTEM WITHOUT NAVIGATION (if so equipped)
PAIRING PROCEDURE
1.
Press
the
button on the steering wheel. The system announces the available commands.
3.
Say: “
Add Phone”. The system acknowledges the command and asks you to initiate connecting
from the phone handset.
4.
Initiate pairing from the phone.
• The connecting procedure varies according to eac
h cellular phone model.
For detailed connecting instructions and a list of compatible phones,
please visit www.nissanusa.com/bluetooth.
• When prompted, compare the P
IN on the display with the PIN code shown on the handset.
If your device does not support Secure Simple Pairing and requests you t\
o input a PIN,
enter “1234” from the handset.
5.
Say a name for the phone when the system asks you to provide one. Y
ou can give the phone a
name of your choice.
*Some jurisdictions prohibit the use of cellular telephones while drivin\
g.
1766904_14d_Rogue_QRG_062514.indd 206/25/14 3:30 PM
To view detailed instructional videos regarding these and other features, please go\
to www.nissanownersinfo.mobi.
Page 23 of 28

21
PHONEBOOK REGISTRATION
When the cellular phone is connected to the in-vehicle module, the data stored in the cellular
phone, such as phonebook, outgoing call logs, incoming call logs and missed call l\
ogs is
automatically transferred and registered to the system.
The availability of this function depends on each cellular phone. The copying procedure
also varies according to eac h cellular phone. See your cellular phone’s Owner’s Manual for
more information.
Up to 1,000 entries per registered cellular phone can be stored in the p\
honebook.
MAKI NG A CALL
1. Push the button on the steering wheel. A tone will sound.
2.
Say: “Call”. T
he system acknowledges the command and announces the next set of
available commands.
3.
Say: the registered person’
s name. The system acknowledges the command and announces
the next set of available commands.
4.
Say: “Y
es”. The system acknowledges the command and makes the call.
RECEIVING/ENDING A CALL
To accept the call, press the button on the steering wheel.
To reject the call, press the button.
To hang-up, press the button.
BLUETOOTH® SYSTEM WITH NAVIGATION (if so equipped)
Send predefined or custom text messages* through your vehicle’
s Bluetooth® system.
Receive texts through your vehicle’s Bluetooth® system that can be read to you.
Bluetooth® Streaming Audio allows you to use a compatible Bluetooth® phone to play
audio files from your device through your vehicle’s audio system. Once your compatible
cellular phone is connected to the vehicle’s audio system, the audio files will play through
the vehicle’s speakers.
SMARTPHONE INTEGRATION*
For information on how to pair your phone and use
popular smartphone apps in your N ISSAN, please
visit: www.nissanusa.com/connect/support.
CONNECTING PROCEDURE
1. Press the button on the control panel.
2.
Select the “Settings” key 01.
3.
Select the “Phone & Bluetooth” key 02.
02
01
*Laws in some jurisdictions may restrict the use of “Text-to-Speech.”
Some of the applications and features, such as social networking
and texting, may also be restricted. Check local regulations for any
requirements before using these features.
1766904_14d_Rogue_QRG_062514.indd 216/25/14 3:30 PM
To view detailed instructional videos regarding these and other features, please go\
to www.nissanownersinfo.mobi.