2014 NISSAN ROGUE lights
[x] Cancel search: lightsPage 3 of 28

TABLE OF CONTENTS
NEW SYSTEM FEATURES Around View® Monitor with Moving Object Detection (MOD)
(if so equipped) ................................................2 Sport Mode ...................................................3 Blind Spot Warning (B
SW) System (if so equipped)
.....................
3 Lane Departure Warning (LD
W) System (if so equipped)
.................
4 Forward Collision W
arning (FCW) System (if so equipped)
................4 Hill Start Assist (H
SA) System
........................................4 Hill Descent Control (HD
C) System (if so equipped)
.....................5 All-Wheel Drive (A
WD) Indicator Lights
.................................5
ES
SENTIAL INFORMATION
Tire Pressure Monitoring System (TP
MS) with Easy Fill Tire Alert
.......6
Loose Fuel Cap................................................7 Fuel-filler Door.................................................7
Towing Y
our Vehicle
.............................................7
Outside Temperature Display.....................................8 Divide-N-Hide® Floor (if so equipped)..............................8 Clock Set/
Adjustment...........................................9
FIR
ST DRIVE FEATURES
NI
SSAN Intelligent Key
® System (if so equipped)...................10 Po
wer Liftgate (if so equipped)....................................11 Front Seat Adjustments.........................................11 2ND Row Seats................................................12 3RD Row Seats (if so equipped)..................................12 Outside Mirror Control Switch...................................12 Starting/Stopping the Engine....................................13
Headlight Control Switch .......................................13
Windshield W
iper and Washer Switch
............................14 Automatic Climate Controls (if so equipped) .......................15 F
M/AM/SiriusXM
® Satellite Radio with CD Player (if so equipped).....16 Cruise Control . . . . . . . . . . . . . . . . . . . . . . . . . . . . . . . . . . . .\
. . . . . . . . . . . . 17 US
B (Universal Serial Bus) Connection Port/Aux Jack and iPod
® Interface 17 Power Panoramic Moonroof (if so equipped).......................18 Center Console Storage box ....................................18 Tilt and T
elescopic Steering Wheel Adjustments
....................18
SY
STEM GUIDE
Vehicle Information Display......................................19 Bluetooth® Hands-free Phone System ............................20 System Operating Tips.......................................20 Bluetooth® System without Navigation (if so equipped)...............20 Bluetooth® System with Navigation (if so equipped) .................21 Navigation System (if so equipped)...............................23 HomeLink® Universal Transceiver (if so equipped).......................24
Please see your Owner’s Manual for important safety
information and system operation limitations.
•
A cellular telephone should not be used for any purpose while
driving so full attention may be given to vehicle operation.
• Always wear your seat belt.
• Supplement
al air bags do not replace proper seat belt usage.
•
Children 12 and under should always ride in the rear seat
properly secured in c
hild restraints or seat belts according to
their age and weight.
• Do not drink and drive.
For more information, refer to the “Safety — Seats, seat belts and
supplemental restraint system (section 1)”, “Center display, heater,
air conditioner, audio, phone and voice recognition systems (section
4)” and “Starting and driving (section 5)” of your Owner’s Manual.
Additional information about your vehicle is also available in your
Owner’s Manual, Navigation System Owner’s Manual and at www.nissanusa.com.
To view detailed
instructional videos, go to
www.nissanownersinfo.mobi/
2014/rogue
or snap this barcode with an appropriate barcode reader.
1766904_14d_Rogue_QRG_062514.indd 56/25/14 3:29 PM
Page 7 of 28

5
HILL DESCENT CONTROL (HDC) SYSTEM (if so equipped)
The HDC system is designed to apply the brakes to help
control the speed of the vehicle and reduce the workload
of the driver while descending steep hills. To activate
the system:
The AWD Lock switch 01 must be on.
The Hill Descent Control system switch 02 must be ON. To deactivate the Hill Descent
Control system, push the switch
02 to the OFF position.
The shift lever must be in a forward or reverse gear.
The Hill Descent Control system operates at speeds of 15 mph (25 km/h) and below.
For more information, refer to the “Starting and driving (section 5)” of your Owner’s Manual.
02
ALL-WHEEL DRIVE (AWD) INDICATOR LIGHTS
With the ignition switch in the ON position, the AWD indicator light illuminates and
stays illuminated. The AWD indicator light
staying illuminated is a normal condition
and does not indicate a malfunction with the All-Wheel Drive system. Distribution of
torque to the front and rear wheels changes automatically, depending on the road
conditions encountered.
When AWD Lock is selected, both the AWD indicator light and the AWD Lock light
will illuminate.
For more information, refer to the “Instruments and controls (section 2)” and the “Starting and driving (section 5)”
of your Owner’s Manual.
01
1766904_14d_Rogue_QRG_062514.indd 56/25/14 3:29 PM
To view detailed instructional videos regarding these and other features, please go\
to www.nissanownersinfo.mobi.
Page 8 of 28

6
ESSE NTIAL I N FOR MATION
TIRE PRESSURE MONITORING SYSTEM (TPMS)
WITH EASY FILL TIRE ALERT
A Tire Pressure Low - Add Air warning message
w ill appear in the vehicle information display
01
and the low tire pressure warning light
02
will illuminate when one or more tires are
low in pressure and air is needed.
• Th
e tire pressures should be checked when the
tires are cold. The tires are considered cold after
the vehicle has been parked for 3 hours or more or
driven less than 1 mi (1.6 km) at moderate speeds.
When adding air to an under-inflated tire, the TPMS with Easy Fill Tire Alert provides visual
a nd audible signals outside the vehicle to help you inflate the tires to the recommended
COLD tire pressure.
To use the Easy Fill Tire Alert system:
1. M
ove the shift lever to the P (PARK ) position and apply the parking brake.
2. P
lace the ignition switch in the ON position. Do not start the engine.
3. Ad
d air to the under-inflated tire, and within a few seconds the hazard warning lights will
start flashing.
4. Wh
en the designated tire pressure is reached, the horn will beep once and the hazard
warning flashers will stop flashing.
5. R
epeat this procedure for any additional under-inflated tires.
After tire pressures are adjusted, drive the vehicle at speeds above 16 mph (25 km/h).
T he Tire Pressure Low - Add Air warning message and low tire pressure warning light
will extinguish.
In addition to the Tire Pressure Low - Add Air warning message you can view the
i ndividual tire’s pressure in the vehicle information display as well as the recommended
pressure, denoted by blue lettering, for each tire.
When the low tire pressure warning light flashes for 1 minute and then remains on, the
T PMS is not functioning properly. Have the system checked by a NISSAN dealer.
Tire pressure rises and falls depending on the heat caused by the vehicle’s operation and
the outside temperature. Low outside temperature can lower the temperature of the air
inside the tire, which can cause a lower tire inflation pressure. This may cause the low tire
pressure warning light to illuminate. If the warning light illuminates, check the tire pressure
in your tires.
• Ch
eck the tire pressure (including the spare tire) often and always prior to long
distance trips.
The Tire and Loading Information label contains valuable information. Please refer to
“ Technical and consumer information (section 9)”, in your Owner’s Manual for the location
of the Tire and Loading Information label.
For more information, refer to the “Instruments and controls (section 2)”, the “Starting and driving (section 5)” and the
“Maintenance and do-it-yourself (section 8)” of your Owner’s Manual.
02
01
Tire Pressure
Low - Add Air
1766904_14d_Rogue_QRG_062514.indd 66/25/14 3:29 PM
To view detailed instructional videos regarding these and other features, please go\
to www.nissanownersinfo.mobi.
Page 12 of 28

10
FIRST DRIVE FEATURES
NISSAN INTELLIGENT KEY® SYSTEM (if so equipped)
The NISSAN Intelligent Key® System allows you to lock or
unlock the vehicle, open your liftgate and start the engine. It
is important to make sure the Intelligent Key is with you
(that is, in your pocket or purse).
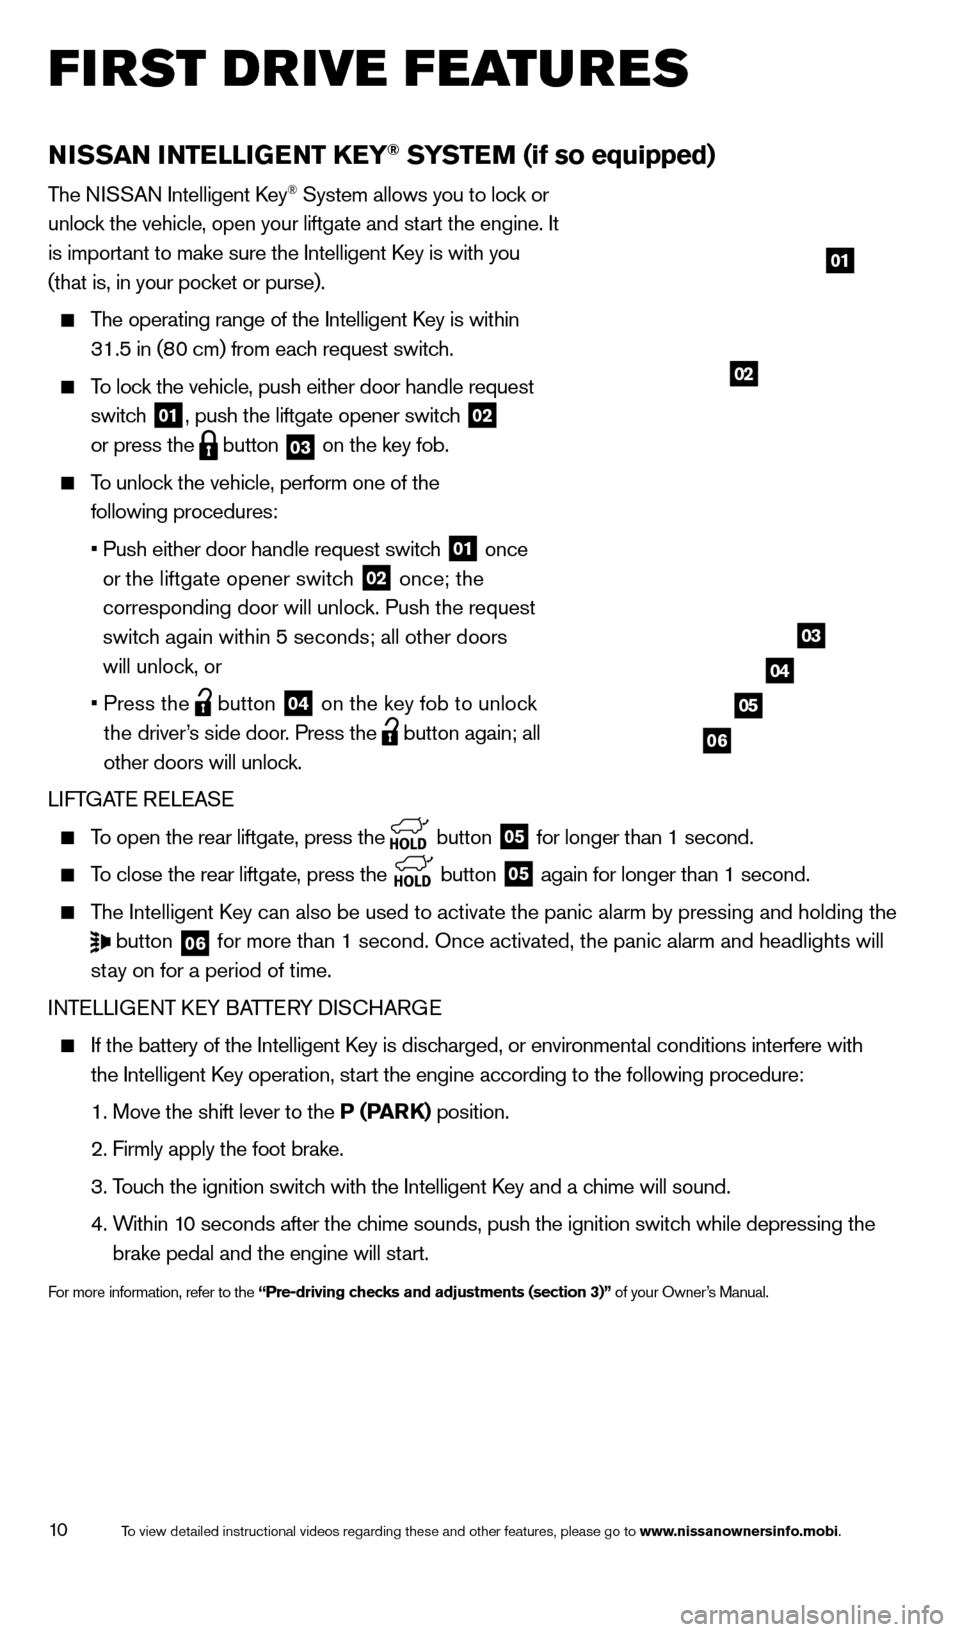
The operating range of the Intelligent Key is within
31.5 in (8 0 cm) from each request switch.
To lock the vehicle, push either door handle request
switc h
01, push the liftgate opener switch 02
or press the
button 03 on the key fob.
To unlock the vehicle, perform one of the
following procedures:
• Push either door handle request switch 01 once
or the liftgate opener switch
02 once; the
corresponding door will unlock. Push the request
switch again within 5 seconds; all other doors
will unlock, or
• Press the button 04 on the key fob to unlock
the driver’s side door. Press the
button again; all
other doors will unlock.
LIFTGATE RELEASE
To open the rear liftgate, press the button 05 for longer than 1 second.
To close the rear liftgate, press the
button 05 again for longer than 1 second.
The Intelligent Key can also be used to activate the panic alarm by pressing and holding \
the
button 06 for more than 1 second. Once activated, the panic alarm and headlights \
will
stay on for a period of time.
INTELLIGENT KEY BATTERY DISCHARGE
If the battery of the Intelligent Key is disc harged, or environmental conditions interfere with
the Intelligent Key operation, start the engine according to the following procedure:
1. Move the shift lever to the P (P
ARK) position.
2. Firmly apply the foot brake.
3. Touc
h the ignition switch with the Intelligent Key and a chime will sound.
4. Within 1
0 seconds after the chime sounds, push the ignition switch while depressing the
brake pedal and the engine will start.
For more information, refer to the “Pre-driving checks and adjustments (section 3)” of your Owner’s Manual.
01
03
04
05
02
06
1766904_14d_Rogue_QRG_062514.indd 106/25/14 3:29 PM
To view detailed instructional videos regarding these and other features, please go\
to www.nissanownersinfo.mobi.
Page 15 of 28

13
HEADLIGHT CONTROL SWITCH
HEADLIGHT CONTROL
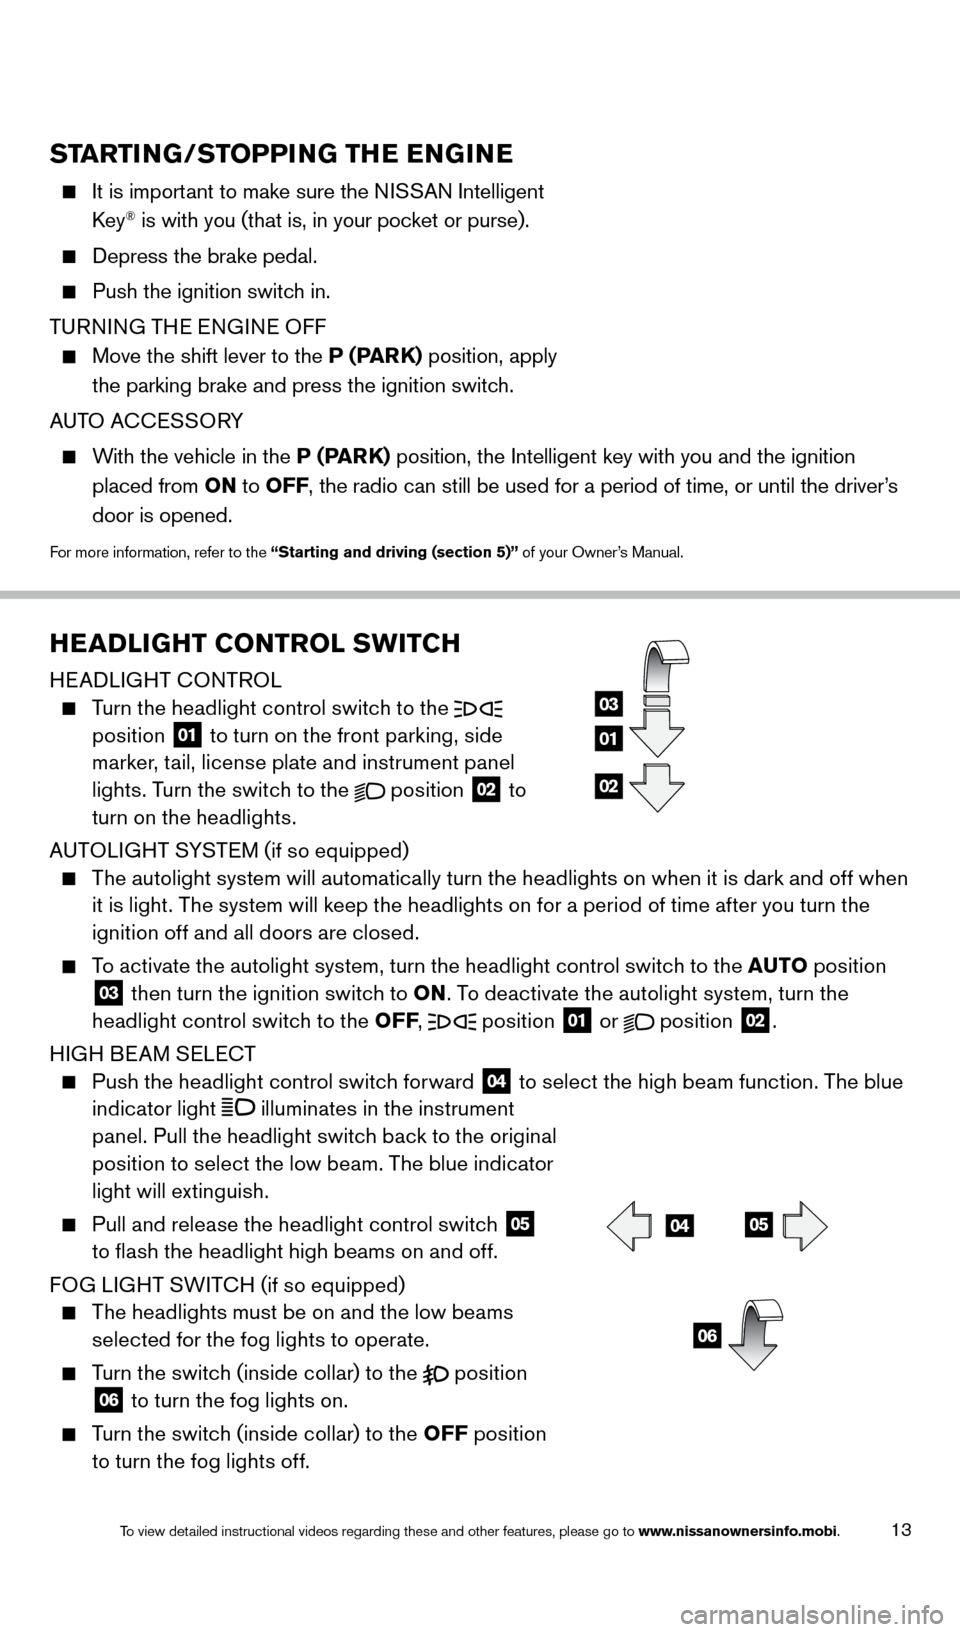
Turn the headlight control switch to the
position 01 to turn on the front parking, side
marker, tail, license plate and instrument panel
lights. Turn the switch to the
position 02 to
turn on the headlights.
AUTOLIGHT SYSTEM (if so equipped)
The autolight system will automatically turn the headlights on when it is dark and off when
i
t is light. The system will keep the headlights on for a period of time after you turn the
ignition off and all doors are closed.
To activate the autolight system, turn the headlight control switch to the AUTO po sition 03 then turn the ignition switch to ON. To deactivate the autolight system, turn the
headlight control switch to the OFF ,
position
01 or
position 02.
HIGH BEAM SELECT
Push the headlight control switch forward 04 to select the high beam function. The blue
indicator light
illuminates in the instrument
panel. Pull the headlight switch back to the original
position to select the low beam. The blue indicator
light will extinguish.
Pull and release the headlight control switch 05
to flash the headlight high beams on and off.
FOG LIGHT SWITCH (if so equipped)
The headlights must be on and the low beams
s
elected for the fog lights to operate.
Turn the switch (inside collar) to the position 06 to turn the fog lights on.
Turn the switch (inside collar) to the OFF
po sition
to turn the fog lights off.
01
03
02
0405
06
STARTING/STOPPING THE ENGINE
It is important to make sure the N ISSAN Intelligent
Key® is with you (that is, in your pocket or purse).
Depress the brake pedal.
Push the ignition switch in.
T
URNING THE ENGINE OFF
Move the shift lever to the P (P ARK) position, apply
the parking brake and press the ignition switch.
AUTO ACCESSORY
With the vehicle in the P (PARK) position, the Intelligent key with you and the ignition
placed from ON to OFF, the radio can still be used for a period of time, or until the driver’s
door is opened.
For more information, refer to the “Starting and driving (section 5)” of your Owner’s Manual.
1766904_14d_Rogue_QRG_062514.indd 136/25/14 3:29 PM
To view detailed instructional videos regarding these and other features, please go\
to www.nissanownersinfo.mobi.
Page 26 of 28

24
SYSTEM GUIDE
HOMELINK® UNIVERSAL TRANSCEIVER (if so equipped)
The HomeLink® Universal Transceiver can learn and consolidate the functions of up to 3
different hand-held transmitters, operating items such as garage doors, property gates,
outdoor and indoor lights or alarm systems.
To program the HomeLink® Universal Transceiver:
• Position the handheld transceiver 1-3 in (26-
76 mm) away from the HomeLink surface,
keeping the HomeLink indicator light in view.
• Press and hold the desired HomeLink button and the handheld transmitter \
button
simultaneously until the HomeLink indicator light flashes slowly and then ra\
pidly
.
• Both buttons may be released when the indicator light flashes rapidly
.
To verify the programing is complete, press and hold the HomeLink button \
and observe the
indicator light:
• A solid, continuous light indicates the programing is complete and the H\
omeLink button
will activate your device.
• A blinking light that turns to a solid, continuous light after 2 seconds\
indicates additional
steps are required to complete the programing.
An additional person may make the remaining steps easier. T o complete the
programing process:
• At the receiver of the device that you are programing to the HomeLink bu\
tton, press
and release the learn or smart button (the name may vary by manufacture\
r
, but it is
usually located near where the hanging antenna wire is attached to the unit). You have
approximately 30 seconds to initiate the following step.
• Press and hold the programed HomeLink button for 2 seconds and release.
You may have to repeat the previous 2 steps up to 3 times to complete the\
programing
process. HomeLink should now activate your device.
For more information, refer to the “Instruments and controls (section 2)” of your Owner’s Manual, the HomeLink website at
www.homelink.com or call 1-800-355-3515.
HOMELINK
1766904_14d_Rogue_QRG_062514.indd 246/25/14 3:30 PM
To view detailed instructional videos regarding these and other features, please go\
to www.nissanownersinfo.mobi.