Page 115 of 482
2-36Instruments and controls
headlights turn off automatically.
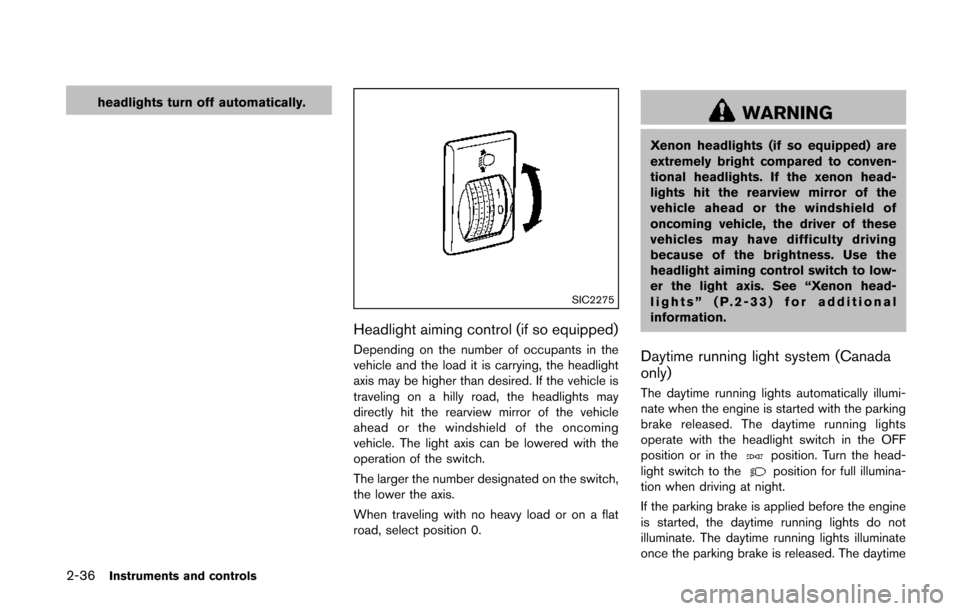
SIC2275
Headlight aiming control (if so equipped)
Depending on the number of occupants in the
vehicle and the load it is carrying, the headlight
axis may be higher than desired. If the vehicle is
traveling on a hilly road, the headlights may
directly hit the rearview mirror of the vehicle
ahead or the windshield of the oncoming
vehicle. The light axis can be lowered with the
operation of the switch.
The larger the number designated on the switch,
the lower the axis.
When traveling with no heavy load or on a flat
road, select position 0.
WARNING
Xenon headlights (if so equipped) are
extremely bright compared to conven-
tional headlights. If the xenon head-
lights hit the rearview mirror of the
vehicle ahead or the windshield of
oncoming vehicle, the driver of these
vehicles may have difficulty driving
because of the brightness. Use the
headlight aiming control switch to low-
er the light axis. See “Xenon head-
lights” (P.2-33) for additional
information.
Daytime running light system (Canada
only)
The daytime running lights automatically illumi-
nate when the engine is started with the parking
brake released. The daytime running lights
operate with the headlight switch in the OFF
position or in the
position. Turn the head-
light switch to theposition for full illumina-
tion when driving at night.
If the parking brake is applied before the engine
is started, the daytime running lights do not
illuminate. The daytime running lights illuminate
once the parking brake is released. The daytime
Page 116 of 482
running lights will remain on until the ignition
switch is pushed to the OFF position.
WARNING
When the daytime running light system
is active, tail lights on your vehicle are
not on. It is necessary at dusk to turn on
your headlights. Failure to do so could
cause an accident injuring yourself and
others.
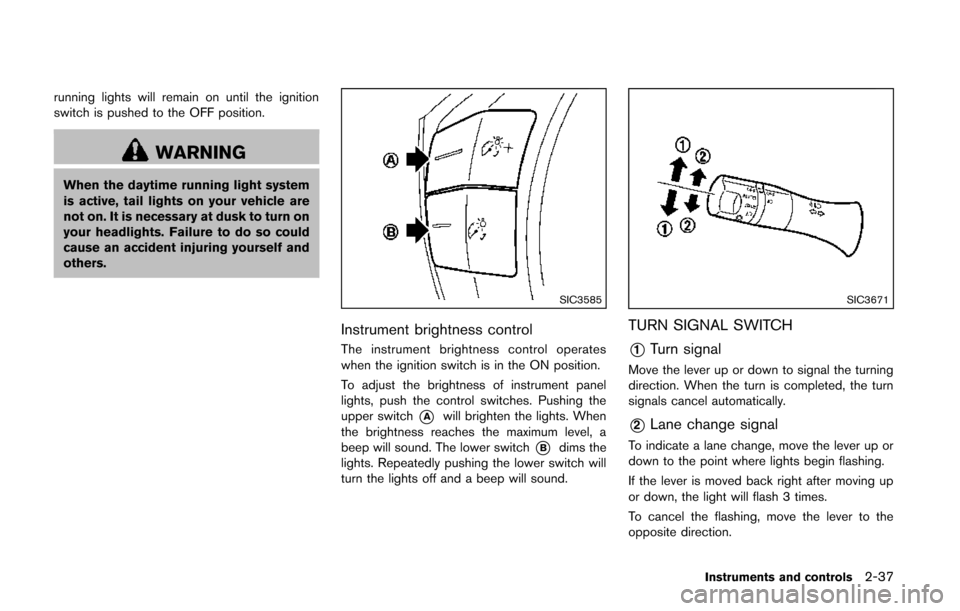
SIC3585
Instrument brightness control
The instrument brightness control operates
when the ignition switch is in the ON position.
To adjust the brightness of instrument panel
lights, push the control switches. Pushing the
upper switch
*Awill brighten the lights. When
the brightness reaches the maximum level, a
beep will sound. The lower switch
*Bdims the
lights. Repeatedly pushing the lower switch will
turn the lights off and a beep will sound.
SIC3671
TURN SIGNAL SWITCH
*1Turn signal
Move the lever up or down to signal the turning
direction. When the turn is completed, the turn
signals cancel automatically.
*2Lane change signal
To indicate a lane change, move the lever up or
down to the point where lights begin flashing.
If the lever is moved back right after moving up
or down, the light will flash 3 times.
To cancel the flashing, move the lever to the
opposite direction.
Instruments and controls2-37
Page 117 of 482
2-38Instruments and controls
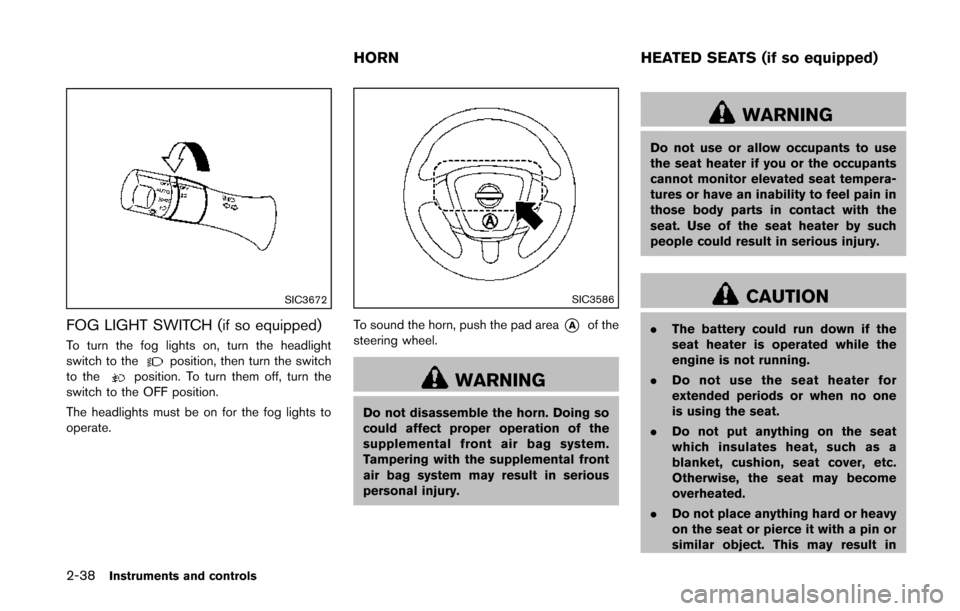
SIC3672
FOG LIGHT SWITCH (if so equipped)
To turn the fog lights on, turn the headlight
switch to theposition, then turn the switch
to theposition. To turn them off, turn the
switch to the OFF position.
The headlights must be on for the fog lights to
operate.
SIC3586
To sound the horn, push the pad area*Aof the
steering wheel.
WARNING
Do not disassemble the horn. Doing so
could affect proper operation of the
supplemental front air bag system.
Tampering with the supplemental front
air bag system may result in serious
personal injury.
WARNING
Do not use or allow occupants to use
the seat heater if you or the occupants
cannot monitor elevated seat tempera-
tures or have an inability to feel pain in
those body parts in contact with the
seat. Use of the seat heater by such
people could result in serious injury.
CAUTION
. The battery could run down if the
seat heater is operated while the
engine is not running.
. Do not use the seat heater for
extended periods or when no one
is using the seat.
. Do not put anything on the seat
which insulates heat, such as a
blanket, cushion, seat cover, etc.
Otherwise, the seat may become
overheated.
. Do not place anything hard or heavy
on the seat or pierce it with a pin or
similar object. This may result in
HORN HEATED SEATS (if so equipped)
Page 119 of 482
2-40Instruments and controls
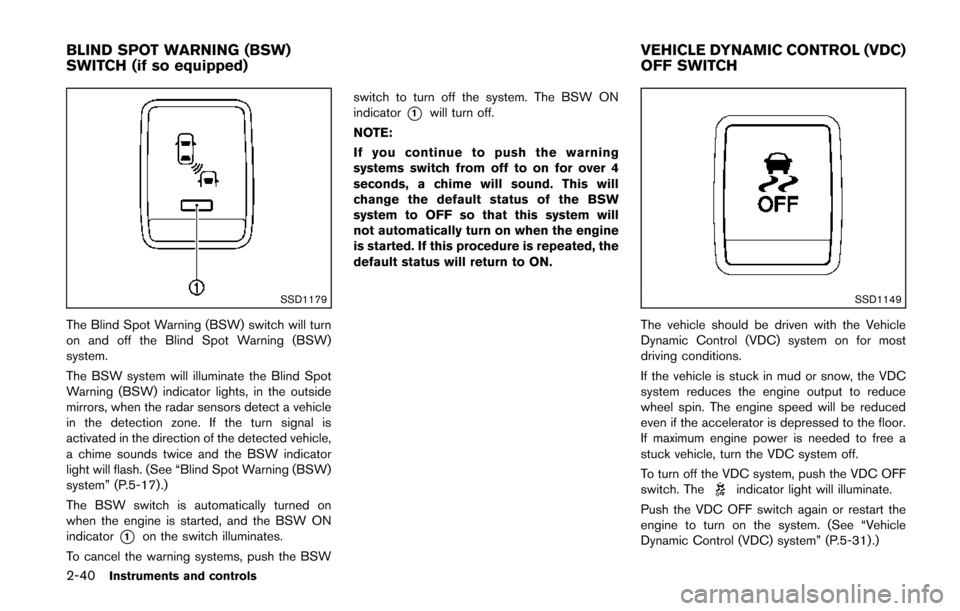
SSD1179
The Blind Spot Warning (BSW) switch will turn
on and off the Blind Spot Warning (BSW)
system.
The BSW system will illuminate the Blind Spot
Warning (BSW) indicator lights, in the outside
mirrors, when the radar sensors detect a vehicle
in the detection zone. If the turn signal is
activated in the direction of the detected vehicle,
a chime sounds twice and the BSW indicator
light will flash. (See “Blind Spot Warning (BSW)
system” (P.5-17) .)
The BSW switch is automatically turned on
when the engine is started, and the BSW ON
indicator
*1on the switch illuminates.
To cancel the warning systems, push the BSW switch to turn off the system. The BSW ON
indicator
*1will turn off.
NOTE:
If you continue to push the warning
systems switch from off to on for over 4
seconds, a chime will sound. This will
change the default status of the BSW
system to OFF so that this system will
not automatically turn on when the engine
is started. If this procedure is repeated, the
default status will return to ON.
SSD1149
The vehicle should be driven with the Vehicle
Dynamic Control (VDC) system on for most
driving conditions.
If the vehicle is stuck in mud or snow, the VDC
system reduces the engine output to reduce
wheel spin. The engine speed will be reduced
even if the accelerator is depressed to the floor.
If maximum engine power is needed to free a
stuck vehicle, turn the VDC system off.
To turn off the VDC system, push the VDC OFF
switch. The
indicator light will illuminate.
Push the VDC OFF switch again or restart the
engine to turn on the system. (See “Vehicle
Dynamic Control (VDC) system” (P.5-31) .)
BLIND SPOT WARNING (BSW)
SWITCH (if so equipped) VEHICLE DYNAMIC CONTROL (VDC)
OFF SWITCH
Page 120 of 482
CAUTION
.Use power outlet with the engine
running to avoid discharging the
vehicle battery.
. Avoid using power outlet when the
air conditioner, headlights or rear
window defroster is on.
. Before inserting or disconnecting a
plug, be sure the electrical acces-
sory being used is turned OFF.
. When not in use, be sure to close
the cap. Do not allow water or any
liquid to contact the outlet.
SIC4723Instrument panel
SIC4724Cargo area
Type A
To use the power outlet, pull the cover as
illustrated.
CAUTION
.The outlet and plug may be hot
during or immediately after use.
. Do not use with accessories that
exceed a 12 volt, 120W (10A) power
draw. Do not use double adapters or
more than one electrical accessory.
. This power outlet is not designed
for use with a cigarette lighter unit.
. Push the plug in as far as it will go.
If good contact is not made, the plug
may overheat or the internal tem-
perature fuse may open.
Instruments and controls2-41
POWER OUTLET
Page 129 of 482
2-50Instruments and controls
SIC3505
COAT HOOKS
The coat hooks are equipped beside the rear
personal lights.
CAUTION
Do not place items which are more than
2 lb (1 kg) on the hook.
SIC4659
CAUTION
.Do not pull the sunshade in any
direction other than up. This may
damage the sunshade.
. Do not operate the sunshade when
the sliding door is opening or clos-
ing. This may damage the sunshade.
Sunshades are equipped on the 2nd and 3rd
row seat windows.
To raise the sunshade, pull the knob
*Aup and
hang the sunshade on the hooks
*B. To store the sunshade, remove the sunshade
from the hooks and lower it.
The sliding door may be opened or closed with
the sunshades in either the raised or lowered
position.
SUNSHADE (if so equipped)
Page 135 of 482
2-56Instruments and controls
SIC4745
MAP LIGHTS
Push the button as illustrated to turn the light on
or off.
SIC2881
REAR PERSONAL LIGHTS
The rear personal light has a three-position
switch.
*A: OFF
*B: DOOR
*C:ON
When the switch is in the DOOR position*B,
the light illuminates when a door is opened.
The interior light timer is equipped so that the
interior light stays on for approximately 15
seconds when:
. The ignition switch is pushed to the OFF or
LOCK position. .
The driver’s door is unlocked.
. The last open door excluding the lift gate is
closed.
The interior light timer will be cancelled when:
. The driver’s door is locked.
. The ignition switch is pushed to the ON
position.
When the rear personal light switch is in the ON
position
*C, the rear personal lights illuminate,
regardless of any condition.
When the switch is in the OFF position
*A, the
rear personal lights do not illuminate, regardless
of any condition.
INTERIOR LIGHTS
Page 136 of 482
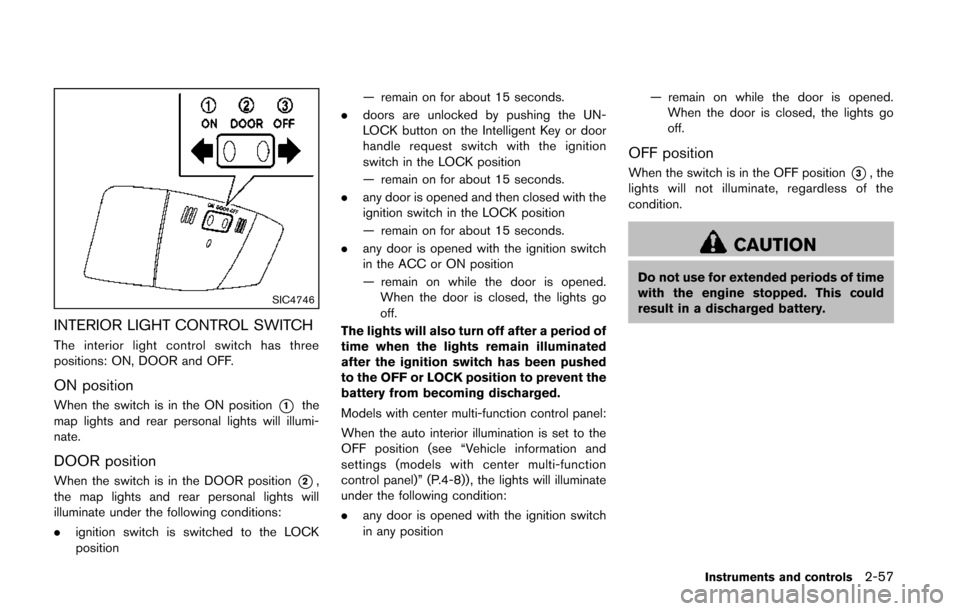
SIC4746
INTERIOR LIGHT CONTROL SWITCH
The interior light control switch has three
positions: ON, DOOR and OFF.
ON position
When the switch is in the ON position*1the
map lights and rear personal lights will illumi-
nate.
DOOR position
When the switch is in the DOOR position*2,
the map lights and rear personal lights will
illuminate under the following conditions:
. ignition switch is switched to the LOCK
position — remain on for about 15 seconds.
. doors are unlocked by pushing the UN-
LOCK button on the Intelligent Key or door
handle request switch with the ignition
switch in the LOCK position
— remain on for about 15 seconds.
. any door is opened and then closed with the
ignition switch in the LOCK position
— remain on for about 15 seconds.
. any door is opened with the ignition switch
in the ACC or ON position
— remain on while the door is opened.
When the door is closed, the lights go
off.
The lights will also turn off after a period of
time when the lights remain illuminated
after the ignition switch has been pushed
to the OFF or LOCK position to prevent the
battery from becoming discharged.
Models with center multi-function control panel:
When the auto interior illumination is set to the
OFF position (see “Vehicle information and
settings (models with center multi-function
control panel)” (P.4-8)) , the lights will illuminate
under the following condition:
. any door is opened with the ignition switch
in any position — remain on while the door is opened.
When the door is closed, the lights go
off.
OFF position
When the switch is in the OFF position*3, the
lights will not illuminate, regardless of the
condition.
CAUTION
Do not use for extended periods of time
with the engine stopped. This could
result in a discharged battery.
Instruments and controls2-57