2014 NISSAN PATHFINDER climate control
[x] Cancel search: climate controlPage 7 of 32
5
looSE FUEl CAP
A looSE FUEl CAP warning message will appear
in the vehicle information display
01 when the
fuel-filler cap is not tightened correctly.
To tighten, turn the cap clockwise until a single click
is heard.
The warning message will disappear when the vehicle detects the fuel-filler cap is properly tightened and the
reset
button 02 is pressed for about 1 second.
If the cap is not properly tightened, the Malfunction
Indicator Light
may illuminate.
For more information, refer to the “instruments and controls (section 2)” and the “Pre-driving checks and adjustments
(section 3)” of your Owner’s Manual.
02
01
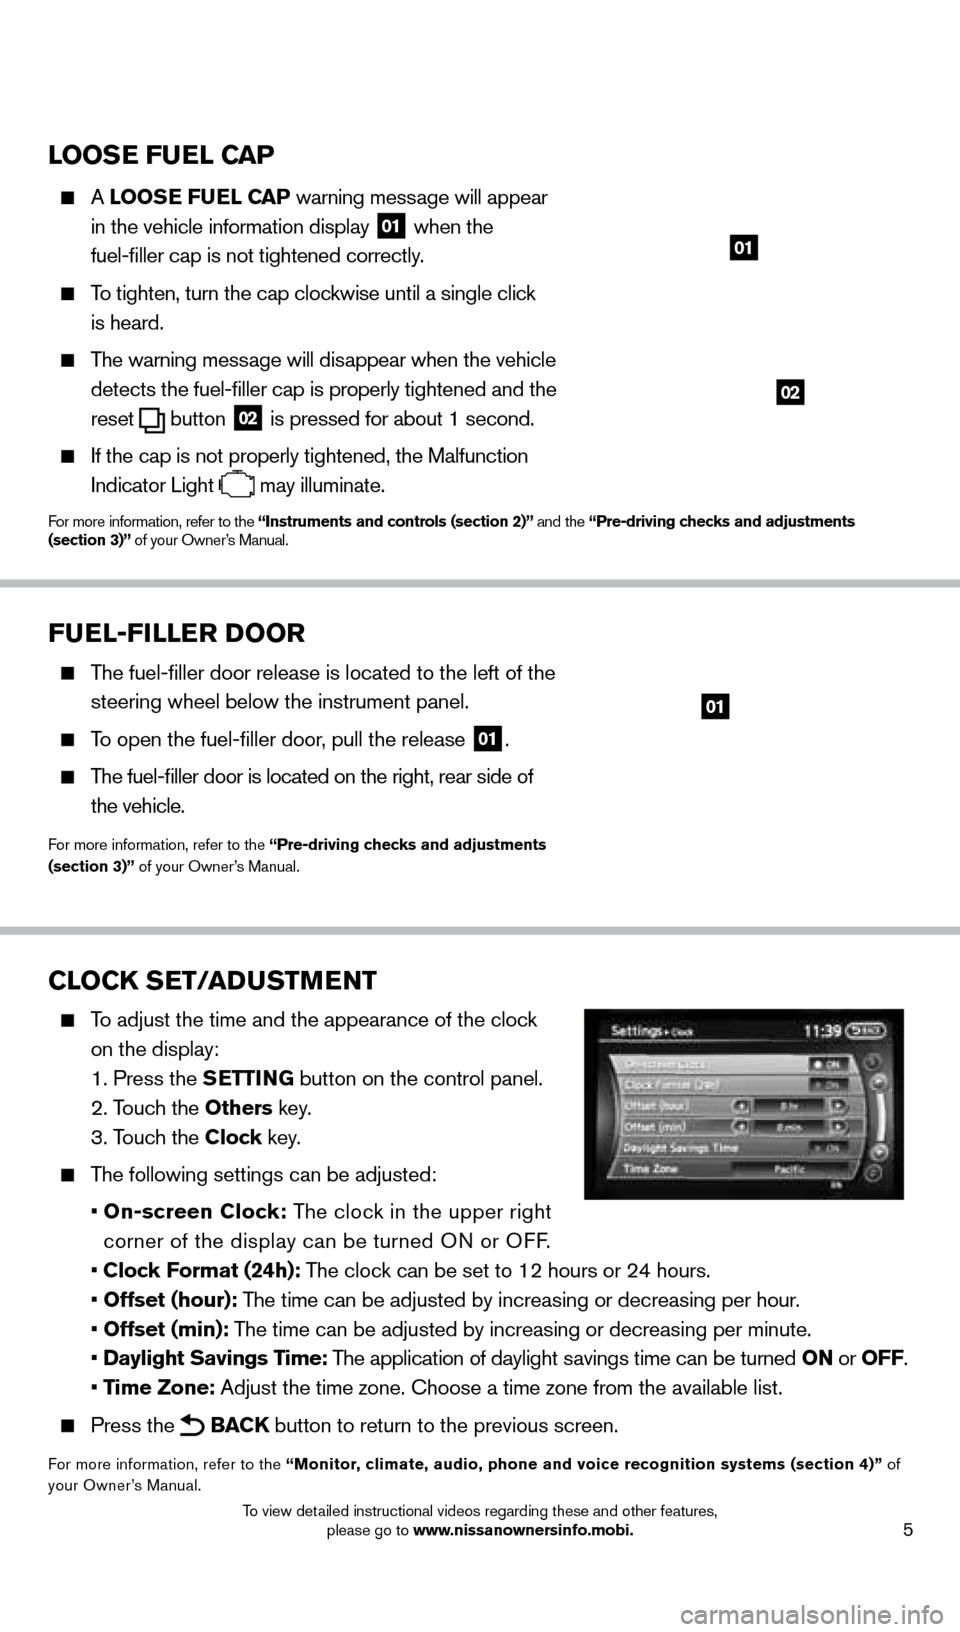
CloCK SET/ADUSTMENT
To adjust the time and the appearance of the clock
on the display:
1. Press the SETT
i
N
G button on the control panel.
2. Touch the
o thers key.
3. Touch the Clock key.
The following settings can be adjusted:
•
o n-screen Clock: The clock in the upper right
corner of the display can be turned ON or OFF.
•
Clock Format (24h): The clock can be set to 12 hours or 24 hours.
•
o ffset (hour): The time can be adjusted by increasing or decreasing per hour.
•
o ffset (min): The time can be adjusted by increasing or decreasing per minute.
•
Daylight Savings Time: The application of daylight savings time can be turned o N or o FF.
•
Time Zone: Adjust the time zone. c hoose a time zone from the available list.
Press the BACK button to return to the previous screen.
For more information, refer to the “Monitor, climate, audio, phone and voice recognition systems (section 4)” of
your Owner’s Manual.
FUEl-F ill ER Doo R
The fuel-filler door release is located to the left of the
steering wheel below the instrument panel.
To open the fuel-filler door, pull the release 01.
The fuel-filler door is located on the right, rear side of
the vehicle.
For more information, refer to the “Pre-driving checks and adjustments
(section 3)” of your Owner’s Manual.
01
1558965_14b_Pathfinder_QRG_100213.indd 510/2/13 9:27 AM
To view detailed instructional videos regarding these and other features, please go to www.nissanownersinfo.mobi.
Page 8 of 32
6
NiSSAN iNTElliG ENT KEY® SYSTE M
(if so equipped)
The NISSAN Intelligent key® system allows you to lock or
unlock your vehicle, open your liftgate and remotely start
the engine. It is important to make sure the Intelligent
k
ey
is with you (that is, in your pocket or purse).
R
eM
OT
e
e
N
GIN
e
START* (if so equipped)
The remote start operating range is approximately 200 ft (60 m) from the vehicle. The effective operating range may be shorter if there are walls or other obstructions \
between the key and
the vehicle.
For remote start to function the vehicle must be in P (PARK) with the ignition off and all doors must be closed and locked. Please see your Owner’s Manual for additional information.
To start your vehicle remotely:
1. Press the button 01.
2.
W
ithin 5 seconds press and hold the engine start
button 02 for at least 2 seconds.
The engine will start and the parking lights will turn on.
Automatic climate control will begin heating or cooling the vehicle depe\
nding on the last
used mode.
The engine will run for 10 minutes and then turn off.
Repeat steps 1 and 2 to extend the time for an additional 1 0 minute period.
•
After two remote st
arts the ignition switch must be cycled before remote start can be
used again.
To start driving, depress the brake pedal and push the ignition switch START/STo P button.
LO ck ING AND UNLO ck ING TH
e VeH
I c L
e
The lock and unlock operating range of the
Intelligent k
ey is within 31.5 in (8
0 cm) from
each request switch.
To lock the vehicle, push either door handle request switch
03 once or press the button 01 on the
Intelligent
k
ey
.
To unlock the vehicle, perform one of the following procedures:
•
Push either door handle request switc
h
03 once; the corresponding door will unlock. Push
the door handle request switch again within 30 seconds; all other doors will unlock, or
•
Press the button 04 on the Intelligent key to unloc k the driver’s side door. Press the
button
04 again; all other doors will unlock.
LIFTGAT
e
R
eL
e
AS
e
To open the rear liftgate, press the button 05 for longer than 1 second.
To close the rear liftgate, press the
button 05 again for longer than 1 second.
05010204
06
first drive features
03
1558965_14b_Pathfinder_QRG_100213.indd 610/2/13 9:27 AM
To view detailed instructional videos regarding these and other features, please go to www.nissanownersinfo.mobi.
Page 15 of 32
13
03 ON•OFF/FAN SPEED CONTROL DIAL Turn the fan speed control dial left to decrease fan speed or right to in\
crease fan speed.
Push the button to turn the system on or off.
04 MoDE BUTTo N Push the
Mo DE button to cycle through the following air flow outlets:
Air flows from the center and side vents.
Air flows from the center , side and foot vents.
Air flows mainly from the foot vents. Air flows from the defroster and foot vents.
05 A iR R EC iR CUl AT io N BUTTo N Press the air recirculation button to recirculate interior air inside the vehicle. The
indicator light on the button will come on. This system is used to avoid certain outside odors
and helps to adjust the inside vehicle temperature more effectively.
The air recirculation mode cannot be activated when the climate control s\
ystem is in the front defrosting mode
or the front defrosting and foot vent mode .
06 R EAR A iR C o NDi T io NER To control the rear automatic air conditioning system
with the front air conditioner control panel, press the
REAR button.
When the rear automatic air conditioning system is on, the indicator light on the REAR button will illuminate
and the front display will switch to the Rear Air-
conditioning screen. Use the driver temperature and fan speed buttons to\
adjust settings.
To adjust the front air conditioning system, press the REAR button again.
To turn off the rear automatic air conditioning system from the front con\
trols, press the REAR button until the Rear Air-conditioning is displayed. Then, press the ON•OFF/FAN
SPEED C
o NTR
ol
D
i
A l
03.
The rear passenger controls are unavailable when the Rear Air-conditioning screen is shown on the front display.
07 D EFRo ST iN G/DEFo GGiN G FRo NT AND SiD E W iN DoWS
Press the defroster control button to turn the system on. The A/c automatically turns on
when the defroster mode is selected. T his feature removes humidity from the air.
Turn the temperature control dial 01 to set the desired temperature.
To defrost the front and side windows, set the temperature control 01 and fan speed control 03 to their maximum settings.
08 R EAR W iN DoW AN D o UTSiD E MiR Ro R (if so equipped) DEFRo STER SW i TCH Press the rear window defroster switc
h to turn the system on or off.
This function automatically turns off after approximately 15 minutes.
09 A/C BUTTo N Press the
A/C button to turn the air conditioner system on or off. This system helps cool and
dehumidify the air inside the cabin and defog the windows.
For more information, refer to the “instruments and controls (section 2)” and the “Monitor, climate, audio, phone and
voice recognition systems (section 4)” of your Owner’s Manual.
1558965_14b_Pathfinder_QRG_100213.indd 1310/2/13 9:28 AM
To view detailed instructional videos regarding these and other features, please go to www.nissanownersinfo.mobi.
Page 16 of 32
14
FM/AM/SiriusXM SATElliTE RADi o W i TH CD/D v D P l AYER
(if so equipped)
01 VOL/ON•OFF CONTROL KNOB
Press the V OL/ON•OFF control knob to turn the system on or off. Turn the knob right or left
to increase or decrease the volume.
0103
02
04
0506
REAR CliMA TE C o NTRol S
To activate the system:
1.
Press the REAR button
01 on the front
control panel until the Rear Air-conditioning
screen is displayed.
• T
he indicator light will illuminate.
•
T
he Fan Speed, Temperature, AUT
o,
and
o
FF buttons will now control the
Rear Air-conditioning system.
2.
Press the REAR button
01 again, and the screen
will return to what was previously displayed.
•
T
he Indicator light will stay illuminated to indicate
that the Rear Air-conditioning system is active.
o FF button 02 – Turns off the rear climate control
system, and the REAR button indicator light.
Fan speed control buttons 03 – Press + or – to increase or decrease fan speed.
Temperature increase and decrease buttons 04 – Adjusts the rear temperature up
or down .
AUTo button 05 – System automatically works to keep air flow and fan speed at a
constant temperature.
For more information, refer to the “Monitor, climate, audio, phone and voice recognition systems (section 4)” of your
Owner’s Manual.
01
first drive features
020503
04
1558965_14b_Pathfinder_QRG_100213.indd 1410/2/13 9:28 AM
To view detailed instructional videos regarding these and other features, please go to www.nissanownersinfo.mobi.
Page 27 of 32
25
DUAl HEAD RESTRAiNT Dv D SYSTEM
(if so equipped)
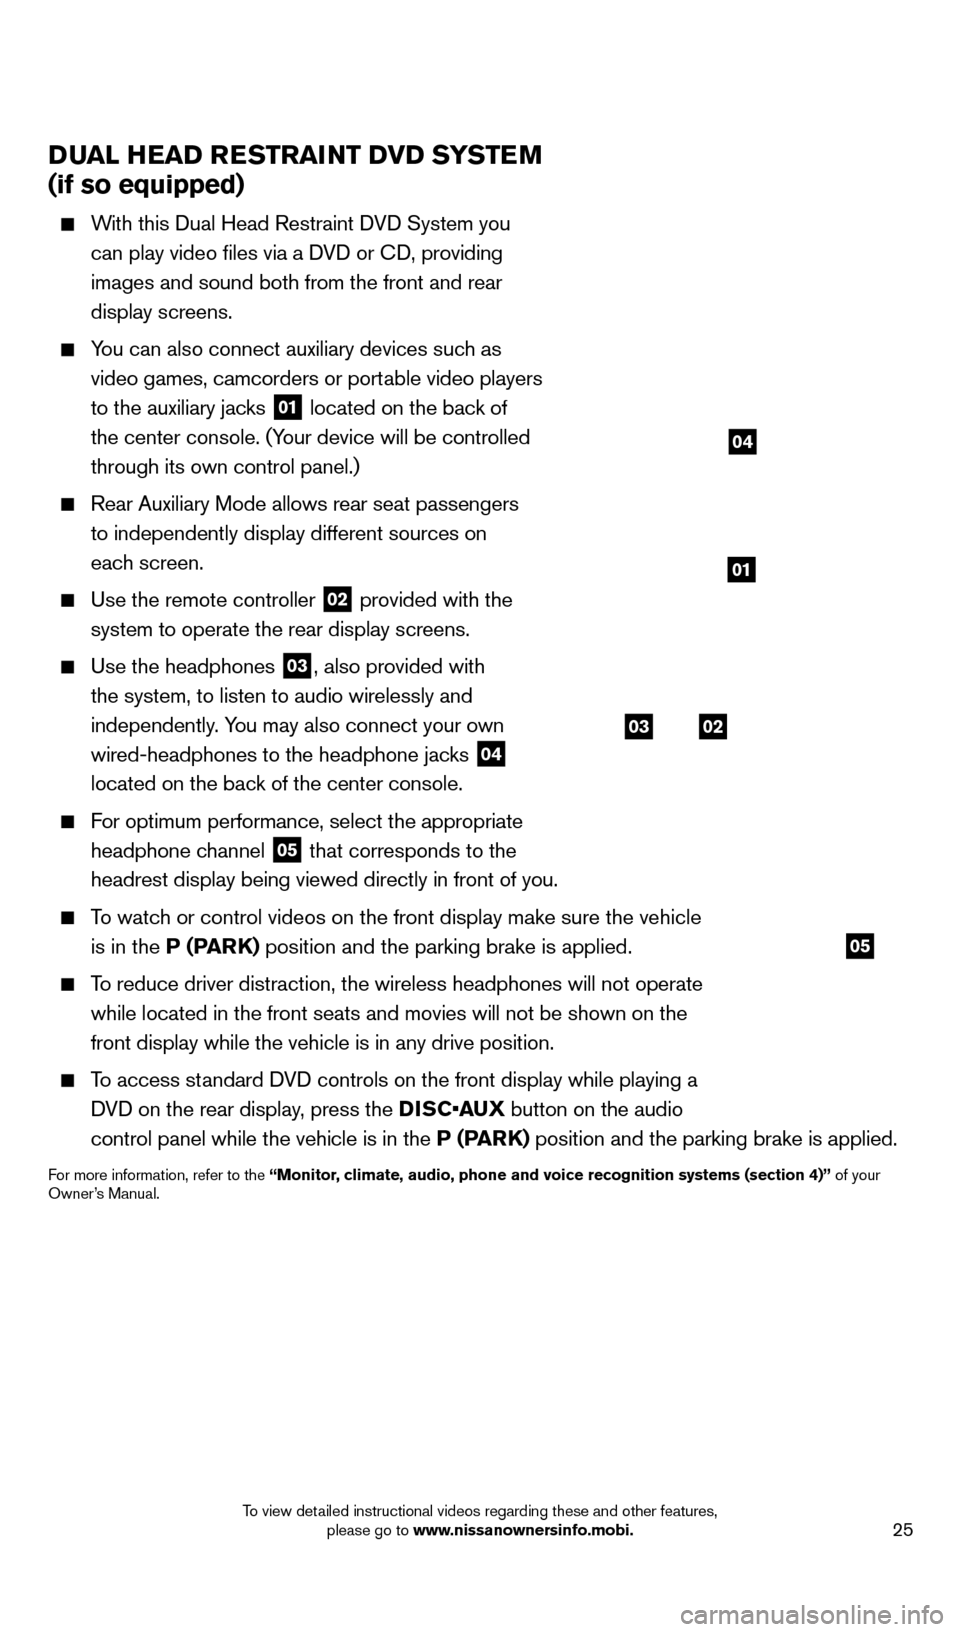
With this Dual Head Restraint DVD System you
can play video files via a DVD or c
D, providing
images and sound both from the front and rear
display screens.
You can also connect auxiliary devices such as video games, camcorders or portable video players
to the auxiliary jacks
01 located on the back of
the center console. (Your device will be controlled
through its own control panel.)
Rear Auxiliary Mode allows rear seat passengers
to independently display different sources on
each screen.
Use the remote controller 02 provided with the
system to operate the rear display screens.
Use the headphones 03, also provided with
the system, to listen to audio wirelessly and
independently. You may also connect your own
wired-headphones to the headphone jacks
04
located on the back of the center console.
For optimum performance, select the appropriate
headphone channel
05 that corresponds to the
headrest display being viewed directly in front of you.
To watch or control videos on the front display make sure the vehicle is in the P (PARK) position and the parking brake is applied.
To reduce driver distraction, the wireless headphones will not operate while located in the front seats and movies will not be shown on the
front display while the vehicle is in any drive position.
To access standard DVD controls on the front display while playing a DVD on the rear display, press the DISC•AUX button on the audio
control panel while the vehicle is in the P (PARK) position and the parking brake is applied.
For more information, refer to the “Monitor, climate, audio, phone and voice recognition systems (section 4)” of your
Owner’s Manual.
system guide
03
05
02
01
04
1558965_14b_Pathfinder_QRG_100213.indd 2510/2/13 9:28 AM
To view detailed instructional videos regarding these and other features, please go to www.nissanownersinfo.mobi.