2014 NISSAN PATHFINDER ECU
[x] Cancel search: ECUPage 135 of 492
STORAGE TRAY
WARNING
Do not place sharp objects in the trays to
help prevent injury in an accident or sud-
den stop.
LUGGAGE HOOKS
When securing items using luggage hooks lo-
cated on the back of the seat or side finisher do
not apply a load over more than 6.5 lbs (29 N) to
a single hook.
The luggage hooks that are located on the floor
should have loads less then 110 lbs (490 N) to a
single hook.
The luggage hooks can be used to secure cargo
with ropes or other types of straps.
WARNING
●Properly secure all cargo with ropes or
straps to help prevent it from sliding or
shifting. Do not place cargo higher than
the seatbacks. In a sudden stop or col-
lision, unsecured cargo could cause
personal injury.
● Use suitable ropes and hooks to secure
cargo.
● Never allow anyone to ride in the lug-
gage area. It is extremely dangerous to
ride in a cargo area inside of a vehicle.
In a collision, people riding in these
areas are more likely to be seriously
injured or killed.
● Do not allow people to ride in any area
of your vehicle that is not equipped with
seats and seat belts.
● The child restraint top tether strap may
be damaged by contact with items in
the cargo area. Secure any items in the
cargo area. Your child could be seri-
ously injured or killed in a collision if
the top tether strap is damaged.
● Be sure everyone in your vehicle is in a
seat and using a seat belt properly.
LIC2214LIC2208
2-48Instruments and controls
Page 137 of 492
●Properly secure all cargo with ropes or
straps to help prevent it from sliding or
shifting. In a sudden stop or collision,
unsecured cargo could cause personal
injury.
CAUTION
Always install the cross bars onto the roof
side rails before loading cargo of any kind.
Loading cargo directly onto the roof side
rails or the vehicle’s roof may cause ve-
hicle damage.
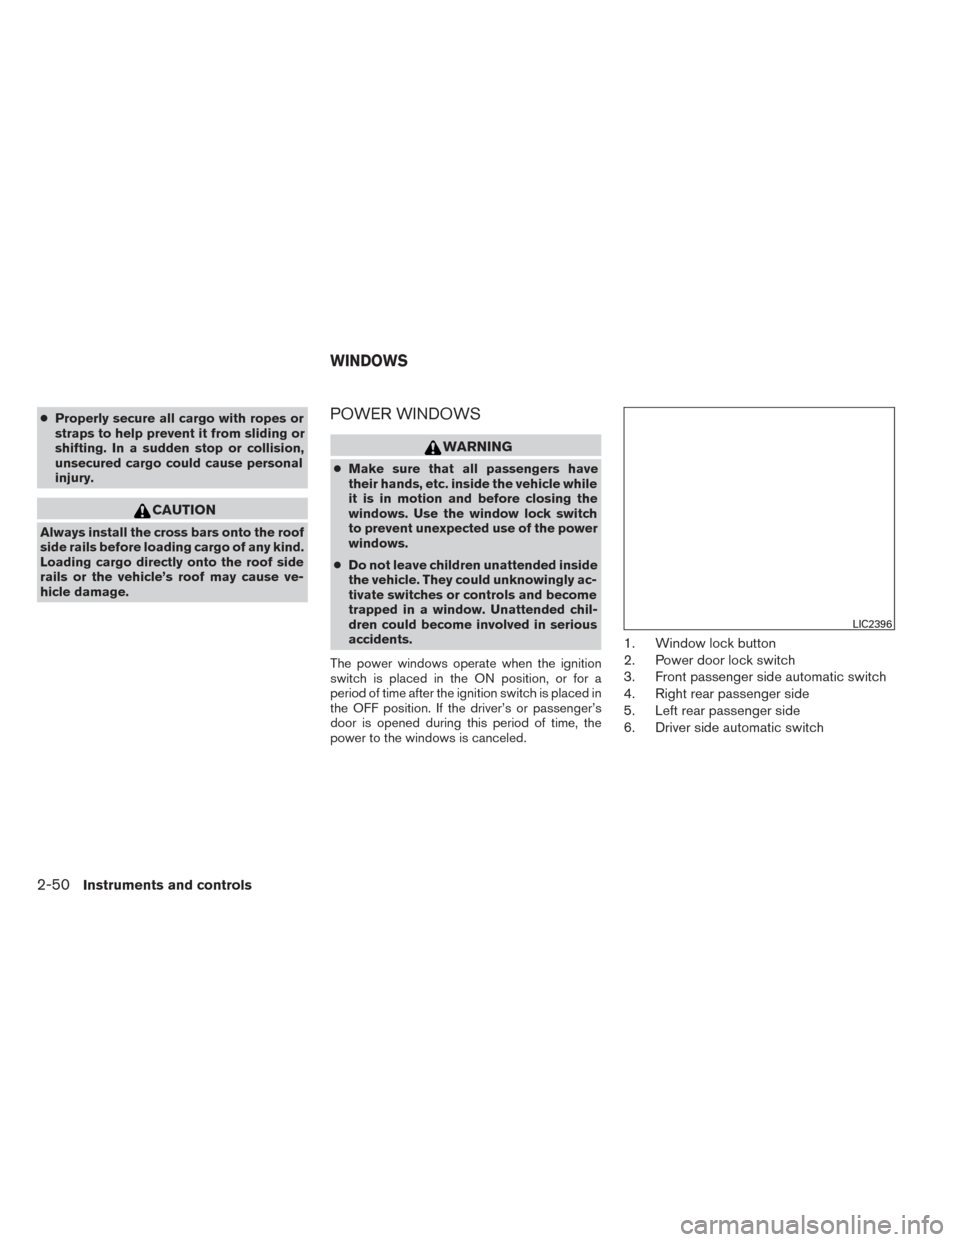
POWER WINDOWS
WARNING
● Make sure that all passengers have
their hands, etc. inside the vehicle while
it is in motion and before closing the
windows. Use the window lock switch
to prevent unexpected use of the power
windows.
● Do not leave children unattended inside
the vehicle. They could unknowingly ac-
tivate switches or controls and become
trapped in a window. Unattended chil-
dren could become involved in serious
accidents.
The power windows operate when the ignition
switch is placed in the ON position, or for a
period of time after the ignition switch is placed in
the OFF position. If the driver’s or passenger’s
door is opened during this period of time, the
power to the windows is canceled.
1. Window lock button
2. Power door lock switch
3. Front passenger side automatic switch
4. Right rear passenger side
5. Left rear passenger side
6. Driver side automatic switch
LIC2396
WINDOWS
2-50Instruments and controls
Page 145 of 492
CAUTION
Do not use for extended periods of time
with the engine stopped. This could result
in a discharged battery.The HomeLink® Universal Transceiver provides
a convenient way to consolidate the functions of
up to three individual hand-held transmitters into
one built-in device.
HomeLink® Universal Transceiver:
● Will operate most Radio Frequency (RF)
devices such as garage doors, gates, home
and office lighting, entry door locks and se-
curity systems.
● Is powered by your vehicle’s battery. No
separate batteries are required. If the vehi-
cle’s battery is discharged or is discon-
nected, HomeLink® will retain all program-
ming.
When the HomeLink® Universal Trans-
ceiver is programmed, retain the original
transmitter for future programming proce-
dures (Example: new vehicle purchases) .
Upon sale of the vehicle, the programmed
HomeLink® Universal Transceiver buttons
should be erased for security purposes. For
additional information, refer to “Program-
ming HomeLink®” later in this section.
WARNING
● Do not use the HomeLink® Universal
Transceiver with any garage door
opener that lacks safety stop and re-
verse features as required by federal
safety standards. (These standards be-
came effective for opener models
manufactured after April 1, 1982) . A ga-
rage door opener which cannot detect
an object in the path of a closing garage
door and then automatically stop and
reverse, does not meet current federal
safety standards. Using a garage door
opener without these features in-
creases the risk of serious injury or
death.
● During the programming procedure
your garage door or security gate will
open and close (if the transmitter is
within range) . Make sure that people or
objects are clear of the garage door,
gate, etc. that you are programming.
● Your vehicle’s engine should be turned
off while programming the HomeLink®
Universal Transceiver.
HOMELINK® UNIVERSAL
TRANSCEIVER (if so equipped)
2-58Instruments and controls
Page 161 of 492
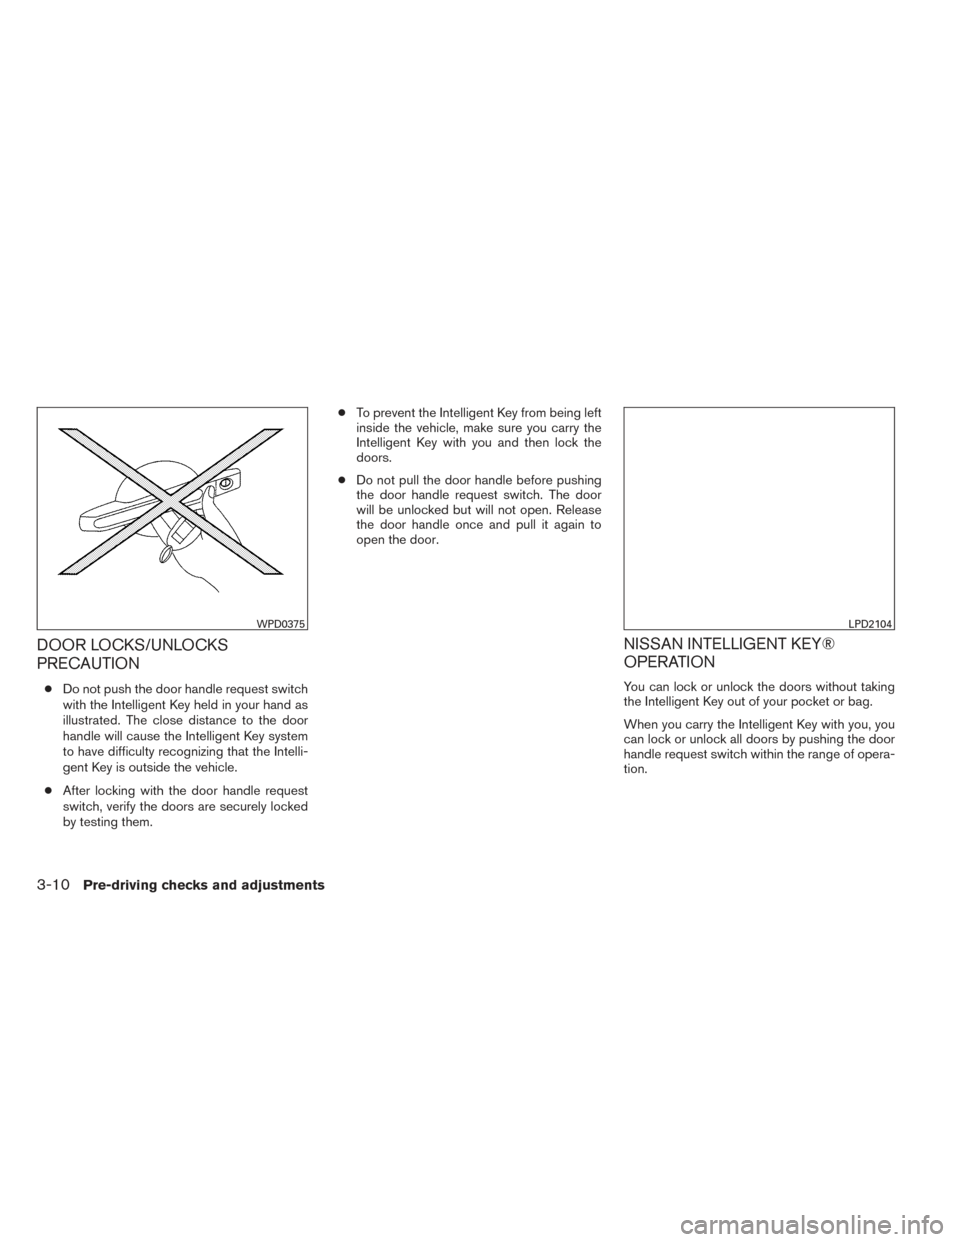
DOOR LOCKS/UNLOCKS
PRECAUTION
●Do not push the door handle request switch
with the Intelligent Key held in your hand as
illustrated. The close distance to the door
handle will cause the Intelligent Key system
to have difficulty recognizing that the Intelli-
gent Key is outside the vehicle.
● After locking with the door handle request
switch, verify the doors are securely locked
by testing them. ●
To prevent the Intelligent Key from being left
inside the vehicle, make sure you carry the
Intelligent Key with you and then lock the
doors.
● Do not pull the door handle before pushing
the door handle request switch. The door
will be unlocked but will not open. Release
the door handle once and pull it again to
open the door.
NISSAN INTELLIGENT KEY®
OPERATION
You can lock or unlock the doors without taking
the Intelligent Key out of your pocket or bag.
When you carry the Intelligent Key with you, you
can lock or unlock all doors by pushing the door
handle request switch within the range of opera-
tion.
WPD0375LPD2104
3-10Pre-driving checks and adjustments
Page 162 of 492
Locking doors
1. Move the shift lever to the P (Park) position,place the ignition switch in the LOCK posi-
tion and make sure you carry the Intelligent
Key with you.
2. Close all doors.
3. Push any door handle request switch while carrying the Intelligent Key with you.
4. All doors and the rear liftgate will lock.
5. The hazard warning lights flash twice and the outside buzzer sounds once. NOTE:
● Request switches for all doors and lift-
gate can be deactivated when the I-Key
Door Lock setting is switched to OFF in
the Vehicle Settings of the vehicle in-
formation display. For additional infor-
mation, see “Vehicle information dis-
play” in the “Instruments and controls”
section of this manual.
● Doors lock with the door handle request
switch while the ignition switch is not in the
LOCK position. ●
Doors do not lock by pushing the door
handle request switch while any door is
open. However, doors lock with the me-
chanical key even if any door is open.
● Doors do not lock with the door handle
request switch with the Intelligent Key inside
the vehicle and a beep sounds to warn you.
However, when an Intelligent Key is inside
the vehicle, doors can be locked with an-
other Intelligent Key.
CAUTION
● After locking the doors using the re-
quest switch, make sure that the doors
have been securely locked by operating
the door handles or the rear liftgate
opener switch.
● When locking the doors using the re-
quest switch, make sure to have the
Intelligent Key in your possession be-
fore operating the request switch to
prevent the Intelligent Key from being
left in the vehicle.
● The request switch is operational only
when the Intelligent Key has been de-
tected by the Intelligent Key system.LPD2105LPD2106
Pre-driving checks and adjustments3-11
Page 164 of 492
NOTE:
Request switches for all doors and liftgate
can be deactivated when the I-Key Door
Lock setting is switched to OFF in the Ve-
hicle Settings of the vehicle information
display. For additional information, see
“Vehicle information display” in the “In-
struments and controls” section of this
manual.
If a door handle is pulled while unlocking the
doors, that door may not be unlocked. Returning
the door handle to its original position will unlock
the door. If the door does not unlock after return-ing the door handle, push the door handle re-
quest switch to unlock the door.
All doors will be locked automatically unless one
of the following operations is performed within
1 minute after pushing the request switch.
● Opening any door.
● Pushing the ignition switch.
The interior light timer illuminates for a period of
time when a door is unlocked and the room light
switch is in the DOOR position.
The interior light can be turned off without waiting
by performing one of the following operations. ● Placing the ignition switch in the ON posi-
tion.
● Locking the doors with the remote controller.
● Switching the room light switch to the OFF
position.
● Switching the Auto Room Lamp to the OFF
position in Vehicle Settings of the vehicle
information display. See “Vehicle information
display” in the “Instruments and controls”
section.
HOW TO USE THE REMOTE
KEYLESS ENTRY FUNCTION
The remote keyless entry function can operate all
door locks using the remote keyless function of
the Intelligent Key. The remote keyless function
can operate at a distance of 33 ft (10 m) away
from the vehicle. The operating distance de-
pends upon the conditions around the vehicle.
The remote keyless entry function will not func-
tion under the following conditions:
● When the Intelligent Key is not within the
operational range.
● When the doors or the rear liftgate are open
or not closed securely.
● When the Intelligent Key battery is dis-
charged.
CAUTION
When locking the doors using the Intelli-
gent Key, be sure not to leave the key in
the vehicle.
LPD2106
Pre-driving checks and adjustments3-13
Page 165 of 492
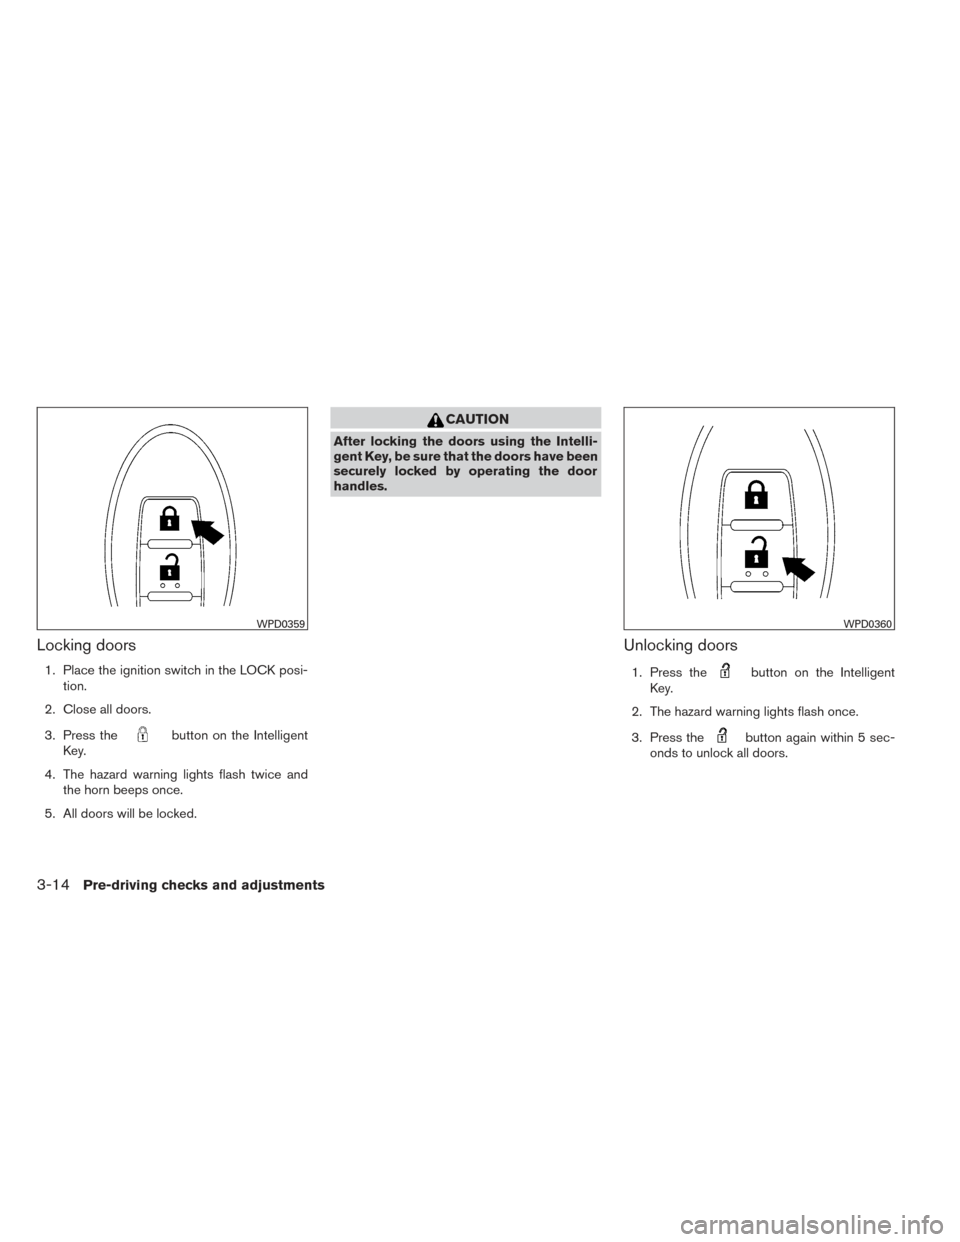
Locking doors
1. Place the ignition switch in the LOCK posi-tion.
2. Close all doors.
3. Press the
button on the Intelligent
Key.
4. The hazard warning lights flash twice and the horn beeps once.
5. All doors will be locked.
CAUTION
After locking the doors using the Intelli-
gent Key, be sure that the doors have been
securely locked by operating the door
handles.
Unlocking doors
1. Press thebutton on the Intelligent
Key.
2. The hazard warning lights flash once.
3. Press the
button again within 5 sec-
onds to unlock all doors.
WPD0359WPD0360
3-14Pre-driving checks and adjustments
Page 172 of 492
EXTENDING ENGINE RUN TIME
The remote start feature can be extended one
time by performing the steps listed in “Remote
starting the vehicle” in this section. Run time will
be calculated as follows:● The first 10 minute run time will start when
the remote start function is performed.
● The second 10 minutes will start immedi-
ately when the remote start function is per-
formed. For example, if the engine has been
running for 5 minutes, and 10 minutes are
added, the engine will run for a total of
15 minutes.
A maximum of two remote starts, or a single start
with an extension, are allowed between ignition
cycles.
The ignition switch must be cycled to the ON
position and then back to the OFF position be-
fore the remote start procedure can be used
again.
CANCELING A REMOTE START
To cancel a remote start, perform one of the
following: ● Aim the Intelligent Key at the vehicle and
press and hold
until the parking lights
turn off.
● Turn on the hazard warning flashers.
● Cycle the ignition switch ON and then OFF.
CONDITIONS THE REMOTE START
WILL NOT WORK
The remote start will not operate if any of the
following conditions are present:
● The ignition switch is placed in the ON po-
sition.
● The hood is not securely closed.
● The hazard warning lights are on.
● The I–Key Indicator Light
remains
solid in the vehicle information display. ●
The alarm sounds due to illegal entry into the
vehicle.
● The ignition switch is pushed without an
Intelligent Key in the vehicle.
● The ignition switch is pushed with an Intelli-
gent Key in the vehicle but the brake pedal is
not depressed.
● Two remote vehicle starts, or a single remote
start with an extension, have already been
used.
● The vehicle is not in P (Park) .
● The Remote Start function has been
switched to the OFF position in Vehicle Set-
tings of the vehicle information display. For
additional information, see “Vehicle informa-
tion display” in the “Instruments and con-
trols” section of this manual.
The remote engine start may display a warning or
indicator in the vehicle information display. For an
explanation of the warning or indicator please see
“Vehicle information display warning and indica-
tors” in the “Instruments and controls” section.
Pre-driving checks and adjustments3-21