2014 NISSAN PATHFINDER power steering
[x] Cancel search: power steeringPage 187 of 492
supplemental restraint system” section, and
“Tilt/Telescopic Steering” and “Outside mir-
rors” in this section.During this step, do not place the ignition
switch in any position other than ON.
4. Push the SET switch and, within 5 seconds, push the memory switch (1 or 2) .
The indicator light for the pushed memory
switch will come on and stay on for approxi-
mately 5 seconds after pushing the switch.
After the indicator light goes off, the se-
lected positions are stored in the selected
memory (1 or 2) . A chime will sound if the
memory has been stored correctly (if so
equipped) .
If a new memory is stored in the same memory
switch, the previous memory will be deleted.
Linking a keyfob to a stored memory
position
Each keyfob can be linked to a stored memory
position (memory switch 1 or 2) with the follow-
ing procedure. 1. Follow the steps for storing a memory posi- tion. 2. While the indicator light for the memory
switch being set is illuminated for 5 sec-
onds, press the
button on the keyfob.
The indicator light will blink. After the indica-
tor light goes off, the keyfob is linked to that
memory setting.
With the ignition switch placed in the OFF posi-
tion, press the
button on the keyfob. The
driver’s seat, steering wheel and outside mirrors
will move to the memorized position.
NOTE:
If a new memory position is saved to the
memory switch, the keyfob automatically
re-links.
Reverse tilt-down feature (if so
equipped)
The reverse tilt-down feature will turn the se-
lected outside mirror surface downward to pro-
vide better rear visibility close to the vehicle.
When the ignition switch is in the ON position,
turn the outside mirror control switch to the left or
right position. Only one mirror can be selected at
a time.
Move the shift lever to R (Reverse) . The selected
mirror will turn downward. The selected mirror surface will return to its origi-
nal position when any of the following have oc-
curred:
● The shift lever is moved to any position other
than R (Reverse) .
● The outside mirror control switch is set to the
neutral or center position.
● The ignition switch is placed in the OFF
position.
NOTE:
If the outside mirror control switch is in the
neutral position, neither mirror will turn
downward when the shift lever is moved to
R (Reverse) .
Seat synchronization function
The seat synchronization function automatically
adjusts the positions of the steering wheel and
outside mirrors when the seat is adjusted using
the power seat switches.
However, the steering wheel and outside mirrors
will not move if the seat is adjusted over the
maximum thresholds. The system considers that
the steering wheel and outside mirror adjust-
ments are not necessary because the seat may
3-36Pre-driving checks and adjustments
Page 294 of 492
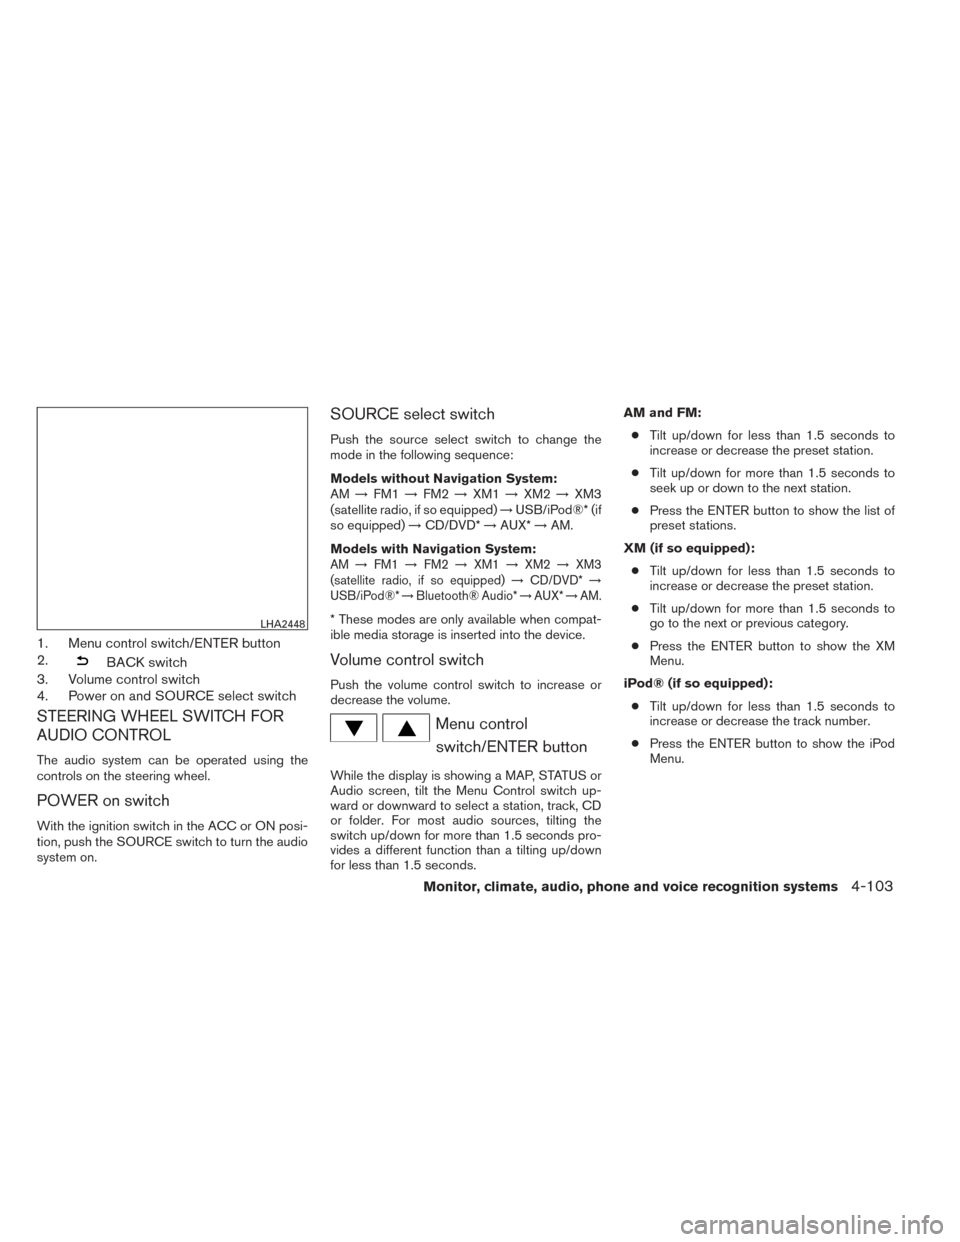
1. Menu control switch/ENTER button
2.
BACK switch
3. Volume control switch
4. Power on and SOURCE select switch
STEERING WHEEL SWITCH FOR
AUDIO CONTROL
The audio system can be operated using the
controls on the steering wheel.
POWER on switch
With the ignition switch in the ACC or ON posi-
tion, push the SOURCE switch to turn the audio
system on.
SOURCE select switch
Push the source select switch to change the
mode in the following sequence:
Models without Navigation System:
AM →FM1 →FM2 →XM1 →XM2 →XM3
(satellite radio, if so equipped) →USB/iPod®* (if
so equipped) →CD/DVD* →AUX* →AM.
Models with Navigation System:
AM →FM1 →FM2 →XM1 →XM2 →XM3
(satellite radio, if so equipped) →CD/DVD* →
USB/iPod®* →Bluetooth® Audio* →AUX* →AM.
* These modes are only available when compat-
ible media storage is inserted into the device.
Volume control switch
Push the volume control switch to increase or
decrease the volume.
Menu control
switch/ENTER button
While the display is showing a MAP, STATUS or
Audio screen, tilt the Menu Control switch up-
ward or downward to select a station, track, CD
or folder. For most audio sources, tilting the
switch up/down for more than 1.5 seconds pro-
vides a different function than a tilting up/down
for less than 1.5 seconds. AM and FM:
● Tilt up/down for less than 1.5 seconds to
increase or decrease the preset station.
● Tilt up/down for more than 1.5 seconds to
seek up or down to the next station.
● Press the ENTER button to show the list of
preset stations.
XM (if so equipped): ● Tilt up/down for less than 1.5 seconds to
increase or decrease the preset station.
● Tilt up/down for more than 1.5 seconds to
go to the next or previous category.
● Press the ENTER button to show the XM
Menu.
iPod® (if so equipped): ● Tilt up/down for less than 1.5 seconds to
increase or decrease the track number.
● Press the ENTER button to show the iPod
Menu.
LHA2448
Monitor, climate, audio, phone and voice recognition systems4-103
Page 353 of 492
5 Starting and driving
Precautions when starting and driving................5-2
Exhaust gas (carbon monoxide) ..................5-2
Three-way catalyst ..............................5-2
Tire Pressure Monitoring System (TPMS) ..........5-3
On-pavement and off-road driving
precautions ....................................5-6
Avoiding collision and rollover ....................5-6
Off-road recovery ...............................5-7
Rapid air pressure loss ..........................5-7
Drinking alcohol/drugs and driving ................5-8
Driving safety precautions .......................5-8
Push-Button Ignition Switch .......................5-10
Operating range ............................... 5-11
Push-button ignition switch positions ............5-11
Emergency engine shut off .....................5-12
NISSAN Intelligent Key® battery discharge .......5-12
NISSAN vehicle immobilizer system .............5-13
Before starting the engine ......................... 5-13
Starting the engine ............................... 5-14
Remote start (if so equipped) ...................5-14
Driving the vehicle ................................ 5-15
Continuously Variable Transmission (CVT) ........5-15
Parking brake .................................... 5-18Cruise control
.................................... 5-19
Precautions on cruise control ...................5-19
Cruise control operations .......................5-20
Break-in schedule ................................ 5-21
Fuel efficient driving tips ........................... 5-21
Increasing fuel economy ........................... 5-22
Intelligent 4WD (if so equipped) ....................5-23
4x4i system operation .......................... 5-23
Parking/parking on hills ............................ 5-26
Power steering ................................... 5-27
Brake system .................................... 5-27
Brake precautions ............................. 5-27
Anti-lock Braking System (ABS) .................5-28
Vehicle Dynamic Control (VDC) system .............5-29
Rise-up and build-up .......................... 5-31
Brake
force distribution ........................ 5-31
Hill start assist system ............................ 5-32
Cold weather driving .............................. 5-33
Freeing a frozen door lock ......................5-33
Anti-freeze .................................... 5-33
Battery ....................................... 5-33
Draining of coolant water .......................5-33
Tire equipment ................................ 5-33
Page 380 of 492
WARNING
●If the engine is not running or is turned
off while driving, the power assist for
the steering will not work. Steering will
be harder to operate.
● When the power steering warning light
illuminates with the engine running,
there will be no power assist for the
steering. You will still have control of
the vehicle but the steering will be
harder to operate. Have the power
steering system checked by a NISSAN
dealer.
The power steering system is designed to pro-
vide power assist while driving to operate the
steering wheel with light force.
When the steering wheel is operated repeatedly
or continuously while parking or driving at a very
low speed, the power assist for the steering
wheel will be reduced. This is to prevent over-
heating of the power steering system and protect
it from getting damaged. While the power assist
is reduced, steering wheel operation will become
heavy. If the steering wheel operation is still per-
formed, the power steering may stop and the
power steering warning light will illuminate. In a
safe location, stop the engine and push the igni-
tion switch to the OFF position. The temperature of the power steering system will go down after a
period of time and the power assist level will
return to normal after starting the engine. The
power steering warning light will go off. Avoid
repeating such steering wheel operations that
could cause the power steering system to over-
heat.
You may hear a noise from the front of the vehicle
when the steering wheel is operated. This is a
normal operational noise and is not a malfunction.
If the electric power steering warning light
PS
illuminates while the engine is running, it may
indicate the power steering system is not func-
tioning properly and may need servicing. Have
the power steering system checked by a
NISSAN dealer.
When the electric power steering warning light
illuminates with the engine running, there will be
no power assist for the steering but you will still
have control of the vehicle. At this time, greater
steering effort is required to operate the steering
wheel, especially in sharp turns and at low
speeds.
For additional information see “Power steering
warning light” in the “Instruments and controls”
section. The brake system has two separate hydraulic
circuits. If one circuit malfunctions, you will still
have braking at 2 wheels.
BRAKE PRECAUTIONS
Vacuum assisted brakes
The brake booster aids braking by using engine
vacuum. If the engine stops, you can stop the
vehicle by depressing the brake pedal. However,
greater foot pressure on the brake pedal will be
required to stop the vehicle and stopping dis-
tance will be longer.
Using the brakes
Avoid resting your foot on the brake pedal while
driving. This will overheat the brakes, wear out the
brake pads faster, and reduce gas mileage.
To help reduce brake wear and to prevent the
brakes from overheating, reduce speed and
downshift to a lower gear before going down a
slope or long grade. Overheated brakes may
reduce braking performance and could result in
loss of vehicle control.
POWER STEERING
BRAKE SYSTEM
Starting and driving5-27
Page 381 of 492
WARNING
●While driving on a slippery surface, be
careful when braking, accelerating or
downshifting. Abrupt braking or accel-
erating could cause the wheels to skid
and result in an accident.
● If the engine is not running or is turned
off while driving, the power assist for
the brakes will not work. Braking will be
harder.
Wet brakes
When the vehicle is washed or driven through
water, the brakes may get wet. As a result, your
braking distance will be longer and the vehicle
may pull to one side during braking.
To dry the brakes, drive the vehicle at a safe
speed while lightly pressing the brake pedal to
heat up the brakes. Do this until the brakes return
to normal. Avoid driving the vehicle at high
speeds until the brakes function correctly.
Parking brake break-in
Break-in the parking brake shoes whenever the
effect of the parking brake is weakened or when-
ever the parking brake shoes and/or drum/rotors
are replaced, in order to assure the best brake
performance. This procedure is described in the vehicle service
manual and can be performed by a NISSAN
dealer.
ANTI-LOCK BRAKING SYSTEM
(ABS)
WARNING
●
The Anti-lock Braking System (ABS) is a
sophisticated device, but it cannot pre-
vent accidents resulting from careless
or dangerous driving techniques. It can
help maintain vehicle control during
braking on slippery surfaces. Remem-
ber that stopping distances on slippery
surfaces will be longer than on normal
surfaces even with ABS. Stopping dis-
tances may also be longer on rough,
gravel or snow covered roads, or if you
are using tire chains. Always maintain a
safe distance from the vehicle in front
of you. Ultimately, the driver is respon-
sible for safety.
● Tire type and condition may also affect
braking effectiveness.
– When replacing tires, install the specified size of tires on all four
wheels. – When installing a spare tire, make
sure that it is the proper size and type
as specified on the Tire and Loading
Information label. See “Tire and
Loading Information label” in the
“Technical and consumer informa-
tion” section of this manual.
– For detailed information, see “Wheels and tires” in the “Mainte-
nance and do-it-yourself” section of
this manual.
The Anti-lock Braking System (ABS) controls the
brakes so the wheels do not lock during hard
braking or when braking on slippery surfaces.
The system detects the rotation speed at each
wheel and varies the brake fluid pressure to pre-
vent each wheel from locking and sliding. By
preventing each wheel from locking, the system
helps the driver maintain steering control and
helps to minimize swerving and spinning on slip-
pery surfaces.
Using the system
Depress the brake pedal and hold it down. De-
press the brake pedal with firm steady pressure,
but do not pump the brakes. The ABS will oper-
ate to prevent the wheels from locking up. Steer
the vehicle to avoid obstacles.
5-28Starting and driving
Page 399 of 492
3. Get out of the vehicle. Look and listen forsteam or coolant escaping from the radiator
before opening the hood. (If steam or cool-
ant is escaping, turn off the engine.) Do not
open the hood further until no steam or
coolant can be seen.
4. Open the engine hood.
WARNING
If steam or water is coming from the en-
gine, stand clear to prevent getting
burned.
5. Visually check drive belts for damage or looseness. Also check if the cooling fan is
running. The radiator hoses and radiator
should not leak water. If coolant is leaking,
the water pump belt is missing or loose, or
the cooling fan does not run, stop the en-
gine.
WARNING
Be careful not to allow your hands, hair,
jewelry or clothing to come into contact
with, or get caught in, engine belts or the
engine cooling fan. The engine cooling
fan can start at any time. 6. After the engine cools down, check the cool-
ant level in the engine coolant reservoir tank
with the engine running. Add coolant to the
engine coolant reservoir tank if necessary.
Have your vehicle repaired at a NISSAN
dealer. When towing your vehicle, all State (Provincial in
Canada) and local regulations for towing must be
followed. Incorrect towing equipment could dam-
age your vehicle. Towing instructions are avail-
able from a NISSAN dealer. Local service opera-
tors are generally familiar with the applicable laws
and procedures for towing. To assure proper
towing and to prevent accidental damage to your
vehicle, NISSAN recommends having a service
operator tow your vehicle. It is advisable to have
the service operator carefully read the following
precautions:
WARNING
●
Never ride in a vehicle that is being
towed.
● Never get under your vehicle after it has
been lifted by a tow truck.
CAUTION
● When towing, make sure that the trans-
mission, axles, steering system and
powertrain are in working condition. If
any of these conditions apply, dollies or
a flatbed tow truck must be used.
● Always attach safety chains before
towing.
TOWING YOUR VEHICLE
6-12In case of emergency
Page 412 of 492
8 Maintenance and do-it-yourself
Maintenance requirements..........................8-2
General maintenance ..............................8-2
Explanation of general maintenance items .........8-2
Maintenance precautions ...........................8-5
Engine compartment check locations ................8-6
Engine cooling system .............................8-7
Checking engine coolant level ...................8-8
Changing engine coolant ........................8-8
Engine oil .........................................8-9
Checking engine oil level ........................8-9
Changing engine oil ........................... 8-10
Changing engine oil filter .......................8-11
Continuously Variable Transmission (CVT) fluid ......8-11
Power steering fluid ............................... 8-12
Brake fluid ....................................... 8-12
Windshield-washer fluid ........................... 8-13
Windshield-washer fluid reservoir ...............8-13
Battery .......................................... 8-14
Jump starting ................................. 8-15
Variable voltage control system (if so equipped) . . ....8-16
Drive belt ........................................ 8-16
Spark plugs ...................................... 8-17Replacing spark plugs
......................... 8-17
Air cleaner ....................................... 8-18
In-cabin microfilter ............................. 8-18
Windshield wiper blades .......................... 8-18
Cleaning ..................................... 8-18
Replacing .................................... 8-19
Brakes .......................................... 8-20
Fuses ........................................... 8-21
Engine compartment ........................... 8-21
Passenger compartment .......................8-22
Battery replacement .............................. 8-23
NISSAN Intelligent Key® .......................8-24
Lights ........................................... 8-25
Headlights .................................... 8-25
Fog lights (if so equipped) ......................8-25
Exterior and interior lights .......................8-26
Wheels
and tires ................................. 8-29
Tire pressure . . . ............................... 8-29
Tire labeling ................................... 8-32
Types of tires .................................. 8-35
Tire chains .................................... 8-36
Changing wheels and tires .....................8-36
Page 415 of 492
Seat beltsCheck that all parts of the seat belt
system (for example, buckles, anchors, adjusters
and retractors) operate properly and smoothly,
and are installed securely. Check the belt web-
bing for cuts, fraying, wear or damage.
Steering wheel Check for changes in the steer-
ing system, such as excessive freeplay, hard
steering or strange noises.
Warning lights and chimes Make sure all
warning lights and chimes are operating properly.
Windshield wiper and washer* Check that
the wipers and washer operate properly and that
the wipers do not streak.
Windshield defroster Check that the air
comes out of the defroster outlets properly and in
sufficient quantity when operating the heater or
air conditioner.
Under the hood and vehicle
The maintenance items listed here should be
checked periodically (for example, each time you
check the engine oil or refuel) .
Battery* Check the fluid level in each cell. It
should be between the MAX and MIN lines. Ve-
hicles operated in high temperatures or under
severe conditions require frequent checks of the
battery fluid level. NOTE:
Care should be taken to avoid situations that
can lead to potential battery discharge and
potential no-start conditions such as: 1. In-
stallation or extended use of electronic ac-
cessories that consume battery power when
the engine is not running (Phone chargers,
GPS, DVD players, etc.) 2. Vehicle is not
driven regularly and/or only driven short dis-
tances. In these cases, the battery may need
to be charged to maintain battery health.
Brake fluid level*
Make sure that the brake fluid
level is between the MIN and MAX lines on the
reservoir.
Engine coolant level* Check the coolant level
when the engine is cold.
Engine drive belts* Make sure the drive belts
are not frayed, worn, cracked or oily.
Engine oil level* Check the level after parking
the vehicle on a level surface with the engine off.
Wait more than 10 minutes for the oil to drain
back into the oil pan.
Exhaust system Make sure there are no loose
supports, cracks or holes. If the sound of the
exhaust seems unusual or there is a smell of
exhaust fumes, immediately have the exhaust
system inspected by a NISSAN dealer. See the
carbon monoxide warning in the “Starting and
driving” section of this manual. Fluid leaks
Check under the vehicle for fuel, oil,
water or other fluid leaks after the vehicle has
been parked for a while. Water dripping from the
air conditioner after use is normal. If you should
notice any leaks or if gasoline fumes are evident,
check for the cause and have it corrected imme-
diately.
Power steering fluid level* and lines Check
the level when the fluid is cold, with the engine
off. Check the lines for proper attachment, leaks,
cracks, etc.
Radiator and hoses Check the front of the
radiator and clean off any dirt, insects, leaves,
etc., that may have accumulated. Make sure the
hoses have no cracks, deformation, rot or loose
connections.
Underbody The underbody is frequently ex-
posed to corrosive substances such as those
used on icy roads or to control dust. It is very
important to remove these substances from the
underbody, otherwise rust may form on the floor
pan, frame, fuel lines and exhaust system. At the
end of winter, the underbody should be thor-
oughly flushed with plain water, in those areas
where mud and dirt may have accumulated. See
the “Appearance and care” section of this
manual.
Windshield-washer fluid* Check that there is
adequate fluid in the reservoir.
8-4Maintenance and do-it-yourself