Page 478 of 492

●When launching a boat, don’t allow the wa-
ter level to go over the exhaust tail pipe or
rear bumper.
● Make sure you disconnect the trailer lights
before backing the trailer into the water or
the trailer lights may burn out.
When towing a trailer, final drive gear oil
should be replaced and transmission
oil/fluid should be changed more fre-
quently. For additional information, see the
“Maintenance and do-it-yourself” section
earlier in this manual.
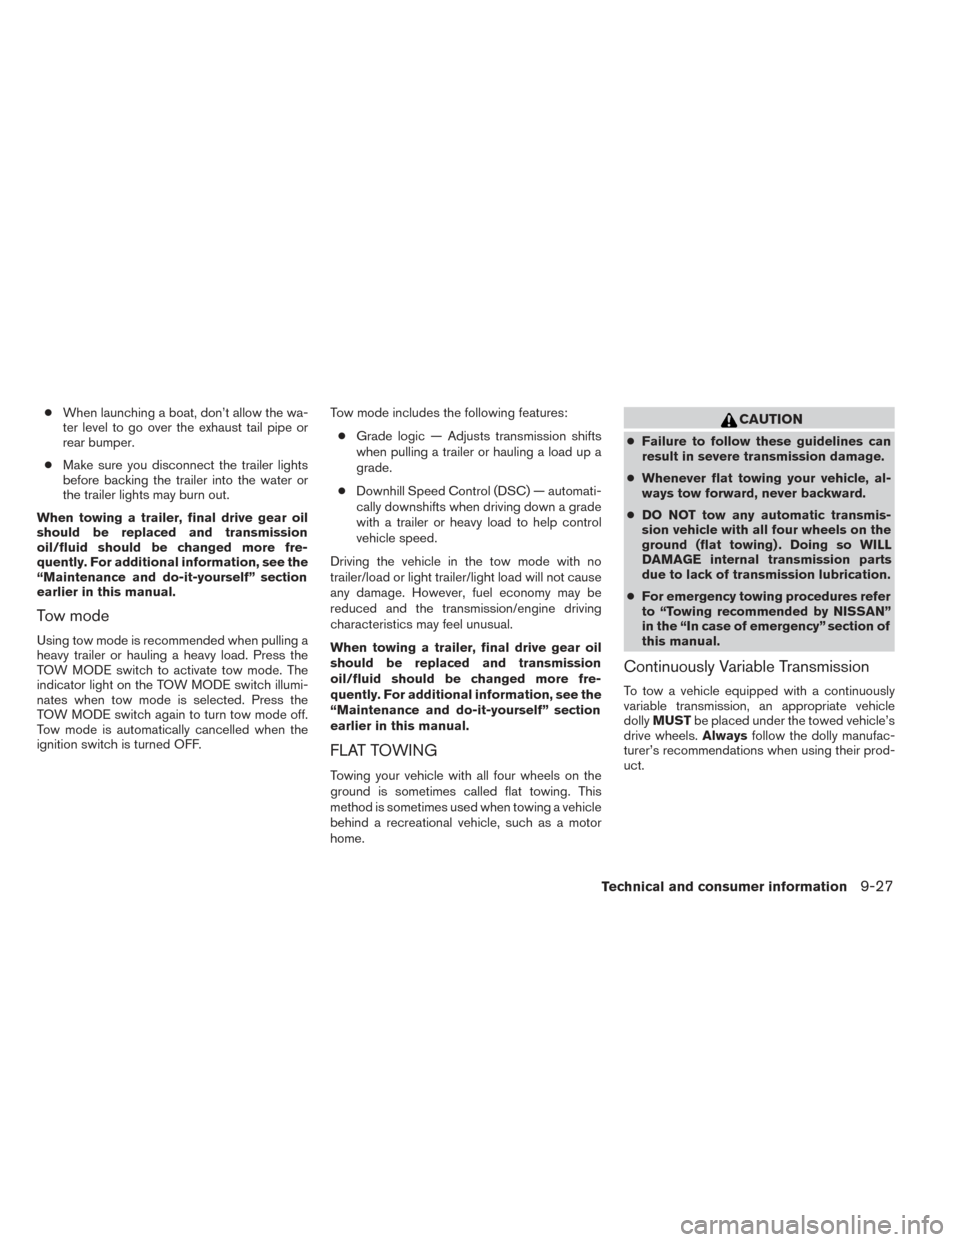
Tow mode
Using tow mode is recommended when pulling a
heavy trailer or hauling a heavy load. Press the
TOW MODE switch to activate tow mode. The
indicator light on the TOW MODE switch illumi-
nates when tow mode is selected. Press the
TOW MODE switch again to turn tow mode off.
Tow mode is automatically cancelled when the
ignition switch is turned OFF. Tow mode includes the following features:
● Grade logic — Adjusts transmission shifts
when pulling a trailer or hauling a load up a
grade.
● Downhill Speed Control (DSC) — automati-
cally downshifts when driving down a grade
with a trailer or heavy load to help control
vehicle speed.
Driving the vehicle in the tow mode with no
trailer/load or light trailer/light load will not cause
any damage. However, fuel economy may be
reduced and the transmission/engine driving
characteristics may feel unusual.
When towing a trailer, final drive gear oil
should be replaced and transmission
oil/fluid should be changed more fre-
quently. For additional information, see the
“Maintenance and do-it-yourself” section
earlier in this manual.
FLAT TOWING
Towing your vehicle with all four wheels on the
ground is sometimes called flat towing. This
method is sometimes used when towing a vehicle
behind a recreational vehicle, such as a motor
home.
CAUTION
● Failure to follow these guidelines can
result in severe transmission damage.
● Whenever flat towing your vehicle, al-
ways tow forward, never backward.
● DO NOT tow any automatic transmis-
sion vehicle with all four wheels on the
ground (flat towing) . Doing so WILL
DAMAGE internal transmission parts
due to lack of transmission lubrication.
● For emergency towing procedures refer
to “Towing recommended by NISSAN”
in the “In case of emergency” section of
this manual.
Continuously Variable Transmission
To tow a vehicle equipped with a continuously
variable transmission, an appropriate vehicle
dolly MUST be placed under the towed vehicle’s
drive wheels. Alwaysfollow the dolly manufac-
turer’s recommendations when using their prod-
uct.
Technical and consumer information9-27
Page 481 of 492

Additional information concerning motor
vehicle safety may be obtained from Trans-
port Canada’s Road Safety Information
Centre at 1-800-333-0371 or online at
www.tc.gc.ca/roadsafety (English speak-
ers) or www.tc.gc.ca/securiteroutiere
(French speakers) .
To notify NISSAN of any safety concerns
please contact our Consumer Information
Centre toll free at 1-800-387-0122.
WARNING
A vehicle equipped with Four-Wheel Drive
(4WD) should never be tested using a two
wheel dynamometer (such as the dyna-
mometers used by some states for emis-
sions testing) , or similar equipment. Make
sure you inform the test facility personnel
that your vehicle is equipped with 4WD
before it is placed on a dynamometer.
Using the wrong test equipment may re-
sult in transmission damage or unex-
pected vehicle movement which could re-
sult in serious vehicle damage or personal
injury.
Due to legal requirements in some states and
Canadian Provinces, your vehicle may be re-
quired to be in what is called the “ready condi-
tion” for an Inspection/Maintenance (I/M) test of
the emission control system.
The vehicle is set to the “ready condition” when it
is driven through certain driving patterns. Usually,
the ready condition can be obtained by ordinary
usage of the vehicle. If a powertrain system component is repaired or
the battery is disconnected, the vehicle may be
reset to a “not ready” condition. Before taking the
I/M test, check the vehicle’s inspection/
maintenance test readiness condition. Place the
ignition switch in the ON position without starting
the engine. If the Malfunction Indicator Light
(MIL) comes on steady for 20 seconds and then
blinks for 10 seconds , the I/M test condition is
“not ready”. If the MIL does not blink after 20 sec-
onds, the I/M test condition is “ready”. Contact a
NISSAN dealer to set the “ready condition” or to
prepare the vehicle for testing.
READINESS FOR INSPECTION/
MAINTENANCE (I/M) TEST
9-30Technical and consumer information
Page 486 of 492

Fueloctanerating...............9-4
Fuel recommendation.............9-3
Loosefuelcapwarning........2-26,3-28
Fuses.......................8-21
Fusiblelinks ...................8-21
G
Garage door opener, HomeLink® Universal
Transceiver....................2-58
Gascap .....................3-27
Gauge Engine coolant temperature gauge .....2-5
Fuel gauge ...................2-5
Odometer ...................2-4
Speedometer .................2-4
Tachometer ..................2-4
Trip odometer .................2-4
Generalmaintenance...............8-2
Glovebox.....................2-47
Gloveboxlock..................2-47
H
Hands-free phone system,
Bluetooth®...............4- 118, 4-131
Hazard warning flasher switch ..........6-2
Headlightandturnsignalswitch........2-31
Headlightcontrolswitch ............2-32
Headlights....................8-25
Heated seats ............2-36,2-37,2-40
Heated steering wheel .............2-38 Heater
Heater and air conditioner
controls................4-41,4-45
Heater operation ...........4-41,4-46
Rear seat air conditioner ..........4-43
Hill start assist system ..............5-32
HomeLink® Universal Transceiver .......2-58
Hood release ...................3-22
Hook Luggagehook................2-48
Horn .......................2-36
I
Ignition Switch Push-Button Ignition Switch ........5-10
Image viewer ...................4-20
Immobilizer system .........2-27,3-4,5-13
Important vehicle information label .......9-10
In-cabin microfilter ................8-18
Increasing fuel economy .............5-22
Indicator lights and audible reminders
(See warning/indicator lights and audible
reminders)....................2-10
Inside automatic anti-glare mirror ........3-32
Inside mirror ...................3-32
Instrument brightness control ..........2-34
Instrument panel ...............0-6,2-2
Instrument panel dimmer switch ........2-34
Intelligent Key system Key operating range ..............3-9
Key operation ................3-10
Mechanicalkey ................3-3
Remote keyless entry operation .......3-13
Troubleshooting guide ............3-18 Warning signals
...............3-18
Interiorlight....................2-56
iPod® Player ...............4-93,4-95
ISOFIX child restraints .............1-35
J
Jump starting ...................6-9
K
Keyfob battery replacement ...........8-23
Keyless entry With Intelligent Key system
(See Intelligent Key system) .........3-13
Keys, For Intelligent Key system .......3-2,3-7
L
Labels Air conditioner specification label .....9-11
C.M.V.S.S. certification label ........9-10
Emission control information label .....
9-10
Engine serial number ............9-10
F.M.V.S.S. certification label .........9-10
Tire and Loading Information label .....9-11
Vehicle identification number (VIN) plate . .9-9
Warning labels (for SRS) ..........1-68
LATCH (Lower Anchors and Tethers for CHildren)
System ......................1-35
Liftgate......................3-22
Lift gate release .................3-26
10-3