Page 392 of 492
2. Remove the jack and tool kit cover by liftingup using the handles. 3. Remove the tool kit�B.
● To release the tool kit, release the hook
and eye straps
�C. 4. Remove the jack.
●The jack is secured by a fastener�D,to
release the fastener assemble the exten-
sion
�Einto the wheel nut wrench�Fas
illustrated and rotate counterclockwise to
release.
● Insert the flat end of the wheel nut wrench
�Finto the slot of the fastener�D, and
rotate counterclockwise to release the
jack.
5. The lowering mechanism for the spare tire is located on the passenger side of the cargo
area. Remove the cover
�Gto access the
spare tire winch.
LCE2036LCE2037LCE2038
In case of emergency6-5
Page 393 of 492
6. Insert the spare tire winch socket�Hto the
lowering mechanism nut.
7. To lower the spare tire, insert the wheel nut wrench
�Fto the extension�Eand insert
the T-shaped end to the winch socket
�H
and rotate counterclockwise.
8. After removing the spare tire from under the vehicle, be sure to crank the cable up to
stow it.
NOTE:
Fully lower the spare tire below the vehicle
before attempting to remove the winch
from the spare tire.
CAUTION
● Make sure safety cable is coiled above
spare tire when reinstalling spare
tire/wheel.
● When re-installing the spare tire under
the vehicle after use, be sure to secure
it with the tire stem facing down toward
the ground. If the spare tire is improp-
erly secured with the tire stem facing up
towards the bottom of the vehicle, there
is an increased risk of separating from
the vehicle in the event of crash which
may pose a hazard in traffic or risk of
injury to others.
Jacking up vehicle and removing the
damaged tire
WARNING
● Never get under the vehicle while it is
supported only by the jack. If it is nec-
essary to work under the vehicle, sup-
port it with safety stands.
● Use only the jack provided with your
vehicle to lift the vehicle. Do not use the
jack provided with your vehicle on other
vehicles. The jack is designed for lifting
only your vehicle during a tire change. ●
Use the correct jack-up points. Never
use any other part of the vehicle for jack
support.
● Never jack up the vehicle more than
necessary.
● Never use blocks on or under the jack.
● Do not start or run the engine while
vehicle is on the jack. It may cause the
vehicle to move. This is especially true
for vehicles with limited slip
differentials.
● Do not allow passengers to stay in the
vehicle while it is on the jack.
● Never run the engine with a wheel(s) off
the ground. It may cause the vehicle to
move.
Always refer to the illustration for the correct
placement and jack-up points for your specific
vehicle model and jack type.
Carefully read the caution label attached to
the jack body and the following instruc-
tions. 1. Loosen each wheel nut one or two turns by turning counterclockwise with the wheel nut
wrench. Do not remove the wheel nuts
until the tire is off the ground.
LCE2039
6-6In case of emergency
Page 395 of 492
NOTE:
If the lug nut wrench/jack handle contacts
the ground while raising the vehicle, disas-
semble the lug nut wrench from the jack
extension rod, rotate it 90 degrees and re-
assemble.5. Remove the wheel nuts and then remove the tire.Installing the spare tire
The spare tire is designed for emergency
use. See specific instructions under the
heading “Wheels and tires” in the “Mainte-
nance and do-it-yourself” section of this
manual.
1. Clean any mud or dirt from the surface be- tween the wheel and hub.
2. Carefully put the spare tire on and tighten the wheel nuts finger tight.
3. With the wheel nut wrench, tighten wheel nuts alternately and evenly as illustrated until
they are tight. 4. Lower the vehicle slowly until the tire
touches the ground. Then, with the wheel
nut wrench, tighten the wheel nuts securely
in the sequence illustrated (
�A,�B,�C,�D,
�E) . Lower the vehicle completely.
WARNING
●Incorrect wheel nuts or improperly
tightened wheel nuts can cause the
wheel to become loose or come off.
This could cause an accident.
● Do not use oil or grease on the wheel
studs or nuts. This could cause the nuts
to become loose.
● Retighten the wheel nuts when the ve-
hicle has been driven for 600 miles
(1,000 km) (also in cases of a flat tire,
etc.) .
As soon as possible, tighten the wheel nuts
to the specified torque with a torque
wrench.
Wheel nut tightening torque: 83 ft-lb (113 N·m)
The wheel nuts must be kept tightened to
specification at all times. It is recom-
mended that wheel nuts be tightened to
specifications at each lubrication interval.
LCE2043WCE0056
6-8In case of emergency
Page 396 of 492
Adjust tire pressure to the COLD pressure.
COLD pressure: After vehicle has been
parked for three hours or more or driven
less than 1 mile (1.6 km) .
COLD tire pressures are shown on the tire
and loading information label affixed to the
driver side center pillar.5. Securely store the flat tire and jacking equip- ment in the vehicle.
6. Close the liftgate.
WARNING
● Always make sure that the spare tire
and jacking equipment are properly se-
cured after use. Such items can become
dangerous projectiles in an accident or
sudden stop.
● The spare tire is designed for emer-
gency use. See specific instructions un-
der the heading “Wheels and tires” in
the “Maintenance and do-it-yourself”
section of this manual. ●
When re-installing the spare tire under
the vehicle after use, be sure to secure
it with the tire stem facing down toward
the ground. If the spare tire is improp-
erly secured with the tire stem facing up
towards the bottom of the vehicle, there
is an increased risk of separating from
the vehicle in the event of crash which
may pose a hazard in traffic or risk of
injury to others. To start your engine with a booster battery, the
instructions and precautions below must be fol-
lowed.
WARNING
●
If done incorrectly, jump starting can
lead to a battery explosion, resulting in
severe injury or death. It could also
damage your vehicle.
● Explosive hydrogen gas is always pres-
ent in the vicinity of the battery. Keep all
sparks and flames away from the
battery.
● Do not allow battery fluid to come into
contact with eyes, skin, clothing or
painted surfaces. Battery fluid is a cor-
rosive sulfuric acid solution which can
cause severe burns. If the fluid should
come into contact with anything, imme-
diately flush the contacted area with
water.
● Keep battery out of the reach of
children.
● The booster battery must be rated at
12 volts. Use of an improperly rated
battery can damage your vehicle.
JUMP STARTING
In case of emergency6-9
Page 400 of 492
For information about towing your vehicle behind
a recreational vehicle (RV) , refer to “Flat towing”
in the “Technical and consumer information” sec-
tion of this manual.
TOWING RECOMMENDED BY
NISSANFour-wheel drive models
NISSAN recommends that towing dollies be
used when towing your vehicle or place the ve-
hicle on a flat bed truck as illustrated.
CAUTION
Never tow 4WD models with any of the
wheels on the ground as this may cause
serious and expensive damage to the
powertrain.
LCE2049
In case of emergency6-13
Page 401 of 492
Front-Wheel Drive models
NISSAN recommends that your vehicle be towed
with the driving wheels (front) off the ground or
place the vehicle on a flat bed truck as illustrated.
WARNING
●Never tow your vehicle with the front
wheels on the ground or four wheels on
the ground (forward or backward) , as
this may cause serious and expensive
damage to the transmission. If it is nec-
essary to tow the vehicle with the rear
wheels raised always use towing dollies
under the front wheels.
● When towing with the rear wheels on
the ground or on towing dollies, place
the ignition switch in the ACC or ON
position, and secure the steering wheel
in the straight-ahead position with a
rope or similar device.
LCE2050
6-14In case of emergency
Page 402 of 492
VEHICLE RECOVERY (freeing a stuck
vehicle)
Pulling a stuck vehicle
WARNING
To avoid vehicle damage, serious per-
sonal injury or death when recovering a
stuck vehicle:
●Contact a professional towing service
to recover the vehicle if you have any
questions regarding the recovery
procedure.
● Attach recovery devices only to main
structural members of the vehicle or the
recovery hooks.
● Do not use the vehicle tie-downs to tow
or free a stuck vehicle.
● Only use devices specifically designed
for vehicle recovery and follow the
manufacturer’s instructions.
● Always pull the recovery device straight
out from the front of the vehicle. Never
pull at an angle.
● Route recovery devices so they do not
touch any part of the vehicle except the
attachment point. If your vehicle is stuck in sand, snow, mud, etc.,
use a tow strap or other device designed specifi-
cally for vehicle recovery. Always follow the
manufacturer’s instructions for the recovery de-
vice.
Do not use the tie-down hooks for towing or
vehicle recovery.
Rocking a stuck vehicle
WARNING
●
Stand clear of a stuck vehicle.
● Do not spin your tires at high speed.
This could cause them to explode and
result in serious injury. Parts of your
vehicle could also overheat and be
damaged.
If your vehicle is stuck in sand, snow, mud, etc.,
use the following procedure: 1. Turn off the Vehicle Dynamic Control System (VDC) .
2. Make sure the area in front and behind the vehicle is clear of obstructions.
3. Turn the steering wheel right and left to clear an area around the front tires. 4. Slowly rock the vehicle forward and back-
ward.
● Shift back and forth between R (Reverse)
and D (Drive) .
● Apply the accelerator as little as possible
to maintain the rocking motion.
● Release the accelerator pedal before
shifting between R and D.
● Do not spin the tires above 35 MPH
(55 km/h).
5. If the vehicle cannot be freed after a few tries, contact a professional towing service
to remove the vehicle.
In case of emergency6-15
Page 404 of 492
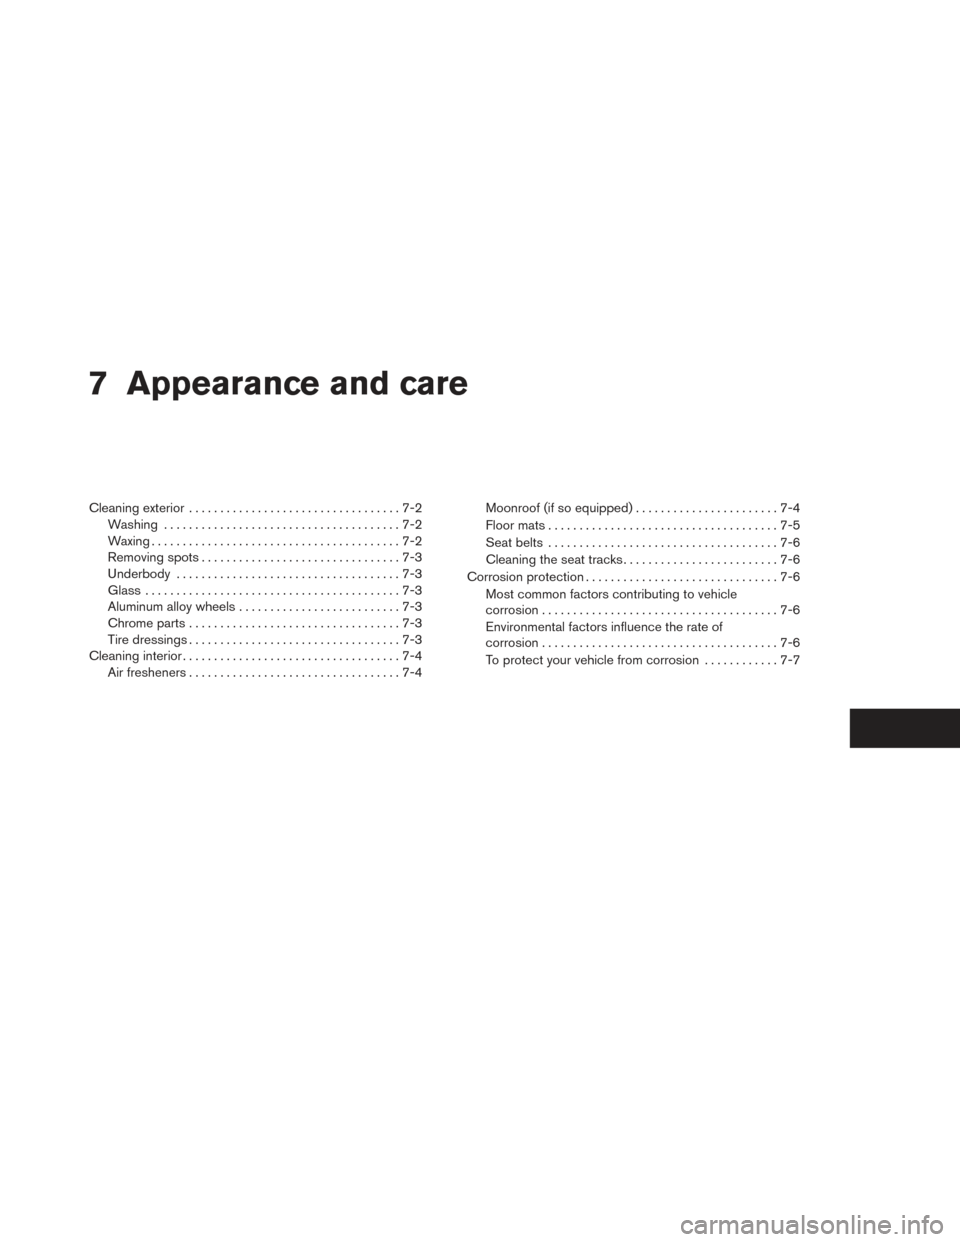
7 Appearance and care
Cleaning exterior..................................7-2
Washing ......................................7-2
Waxing ........................................7-2
Removing spots ................................7-3
Underbody ....................................7-3
Glass .........................................7-3
Aluminum alloy wheels ..........................7-3
Chrome parts ..................................7-3
Tire dressings ..................................7-3
Cleaning interior ...................................7-4
Air fresheners ..................................7-4 Moonroof (if so equipped)
.......................7-4
Floor mats .....................................7-5
Seat belts .....................................7-6
Cleaning the seat tracks .........................7-6
Corrosion protection ...............................7-6
Most common factors contributing to vehicle
corrosion ......................................7-6
Environmental factors influence the rate of
corrosion ......................................7-6
To protect your vehicle from corrosion ............7-7